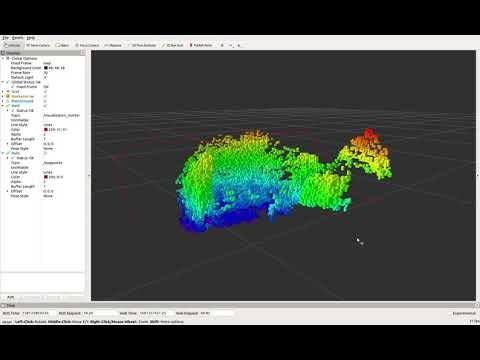
DJI Tello等ドローンの自律飛行を実現するには、3D環境でナビゲーション経路を計画としてOMPL(Open Motion Planning Library)を試してみます。
目次
- OMPLのインストール
- OMPLの基礎
- OMPL.appの入門
- OMPLの使用
- DJI Telloの使用
- navigationスタックの使い方
- OMPLで3D 経路計画
- 状態空間環境のセットアップ ← いまココ
動作環境
- Ubuntu 18.04
- ROS Melodic
- Tello EDU
状態空間環境のセットアップ
# include "ros/ros.h"
# include "visualization_msgs/Marker.h"
# include <geometry_msgs/Pose.h>
# include <geometry_msgs/PoseStamped.h>
# include <message_filters/subscriber.h>
# include <nav_msgs/Odometry.h>
# include <nav_msgs/Path.h>
# include <octomap/octomap.h>
# include <octomap_msgs/Octomap.h>
# include <octomap_msgs/conversions.h>
# include <octomap_ros/conversions.h>
# include <trajectory_msgs/MultiDOFJointTrajectory.h>

# include <ompl/base/OptimizationObjective.h>
# include <ompl/base/objectives/PathLengthOptimizationObjective.h>
# include <ompl/base/spaces/SE3StateSpace.h>
// #include <ompl/geometric/planners/rrt/RRTstar.h>
# include <ompl/geometric/SimpleSetup.h>
# include <ompl/geometric/planners/rrt/InformedRRTstar.h>

# include <iostream>
# include <ompl/config.h>

# include "fcl/broadphase/broadphase.h"
# include "fcl/collision.h"
# include "fcl/config.h"
# include "fcl/math/transform.h"
# include "fcl/octree.h"
# include "fcl/traversal/traversal_node_octree.h"

namespace ob = ompl::base;
namespace og = ompl::geometric;

class planner
{
public:
  // Constructor
  planner(void)
  {
    //ドローンの衝突幾何形状
    Quadcopter =
        std::shared_ptr<fcl::CollisionGeometry>(new fcl::Box(0.5, 0.5, 0.3));
    //解像度パラメータ
    fcl::OcTree* tree = new fcl::OcTree(
        std::shared_ptr<const octomap::OcTree>(new octomap::OcTree(0.15)));
    tree_obj = std::shared_ptr<fcl::CollisionGeometry>(tree);

    //経路計画の状態空間
    space = ob::StateSpacePtr(new ob::SE3StateSpace());

    // create a start state
    ob::ScopedState<ob::SE3StateSpace> start(space);

    // create a goal state
    ob::ScopedState<ob::SE3StateSpace> goal(space);

    // set the bounds for the R^3 part of SE(3)
    ob::RealVectorBounds bounds(3);
    bounds.setLow(0, -5);
    bounds.setHigh(0, 5);
    bounds.setLow(1, -5);
    bounds.setHigh(1, 5);
    bounds.setLow(2, -3);
    bounds.setHigh(2, 2);
    space->as<ob::SE3StateSpace>()->setBounds(bounds);

    // construct an instance of  space information from this state space
    si = ob::SpaceInformationPtr(new ob::SpaceInformation(space));

    start->setXYZ(0, 0, 0);
    start->as<ob::SO3StateSpace::StateType>(1)->setIdentity();

    goal->setXYZ(0, 0, 0);
    goal->as<ob::SO3StateSpace::StateType>(1)->setIdentity();

    // set state validity checking for this space
    si->setStateValidityChecker(
        std::bind(&planner::isStateValid, this, std::placeholders::_1));

    // create a problem instance
    pdef = ob::ProblemDefinitionPtr(new ob::ProblemDefinition(si));

    // set the start and goal states
    pdef->setStartAndGoalStates(start, goal);

    // set Optimizattion objective
    pdef->setOptimizationObjective(planner::getPathLengthObjWithCostToGo(si));
  } // end of Constructor

}; // end of planner
OMPLで経路計画を実行
OMPLで経路計画を実行のYouTube動画
Prev: 6.7. point_cloud2から3D octomapの生成
