![]() Japanese notation
Japanese notation
キッティング ファームウェア ビルド
こちらに統合しました
フラッシュ&インストールシステム「焼いたらMAP-E」
システム構成図
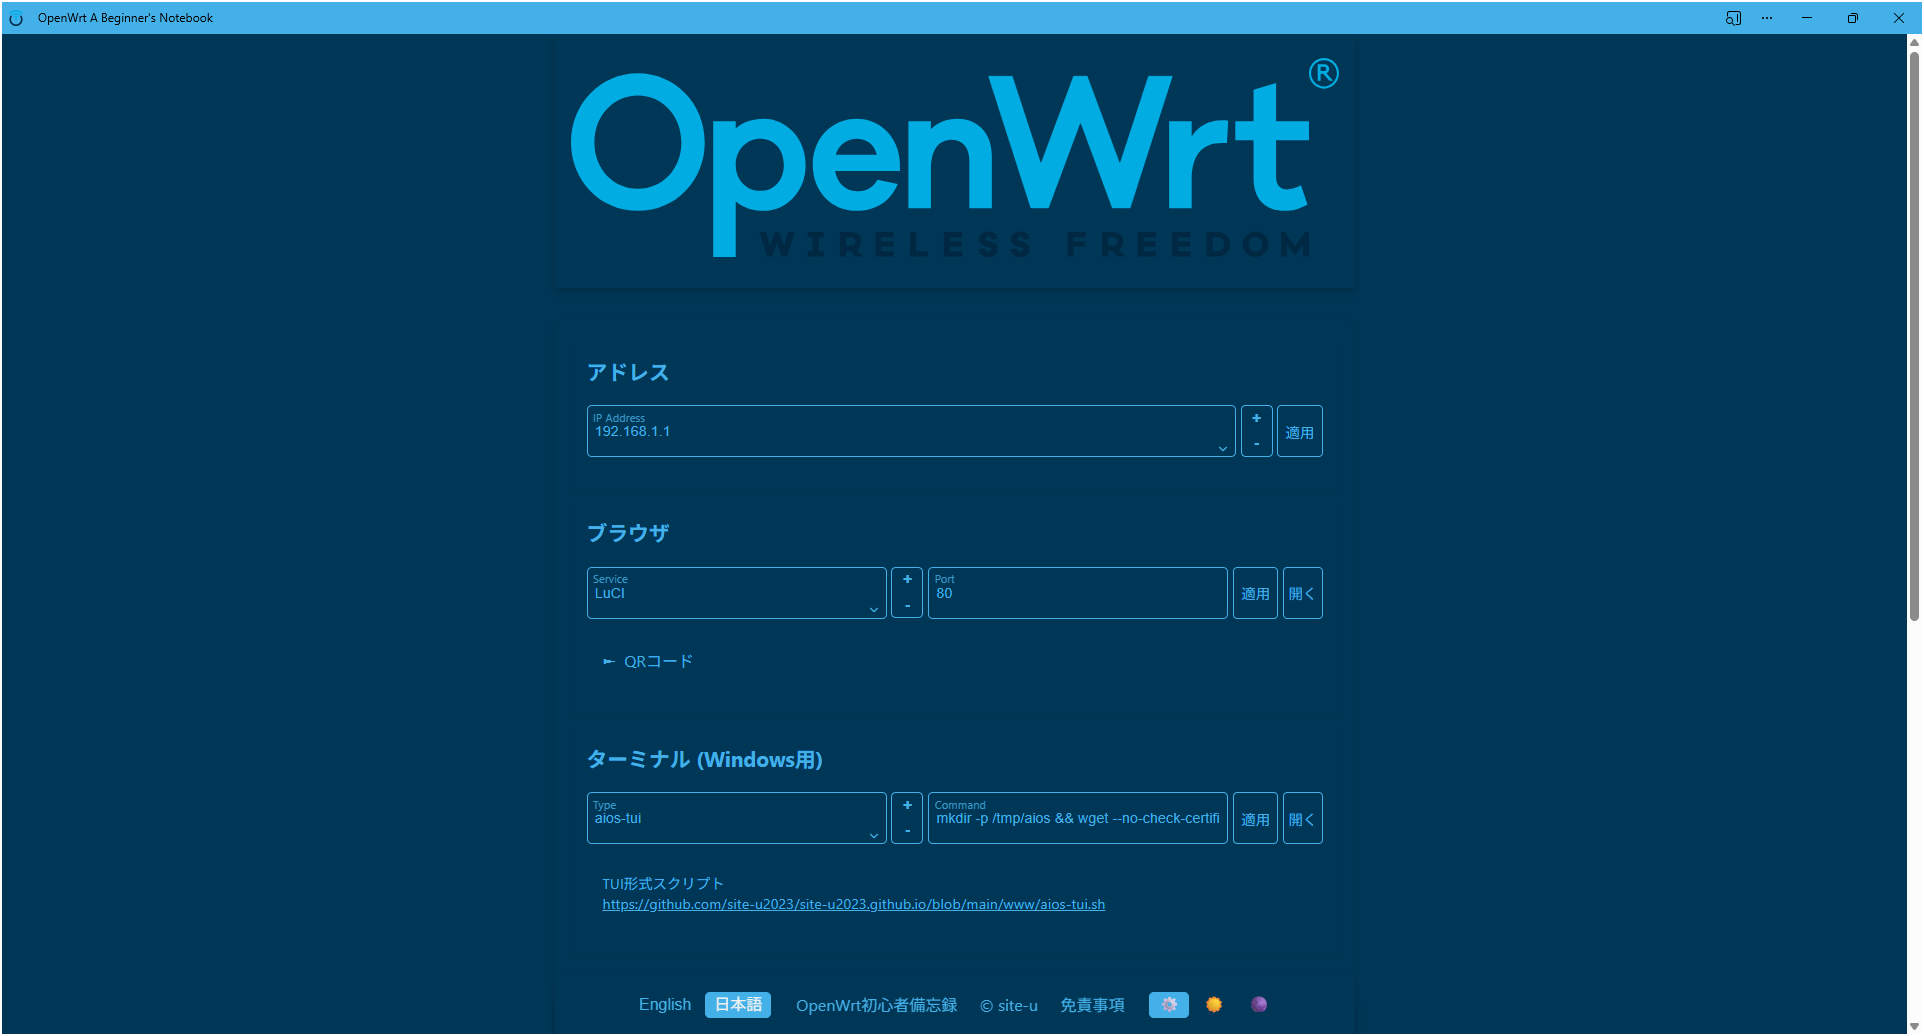
ランディングページ(ポータルサイト)
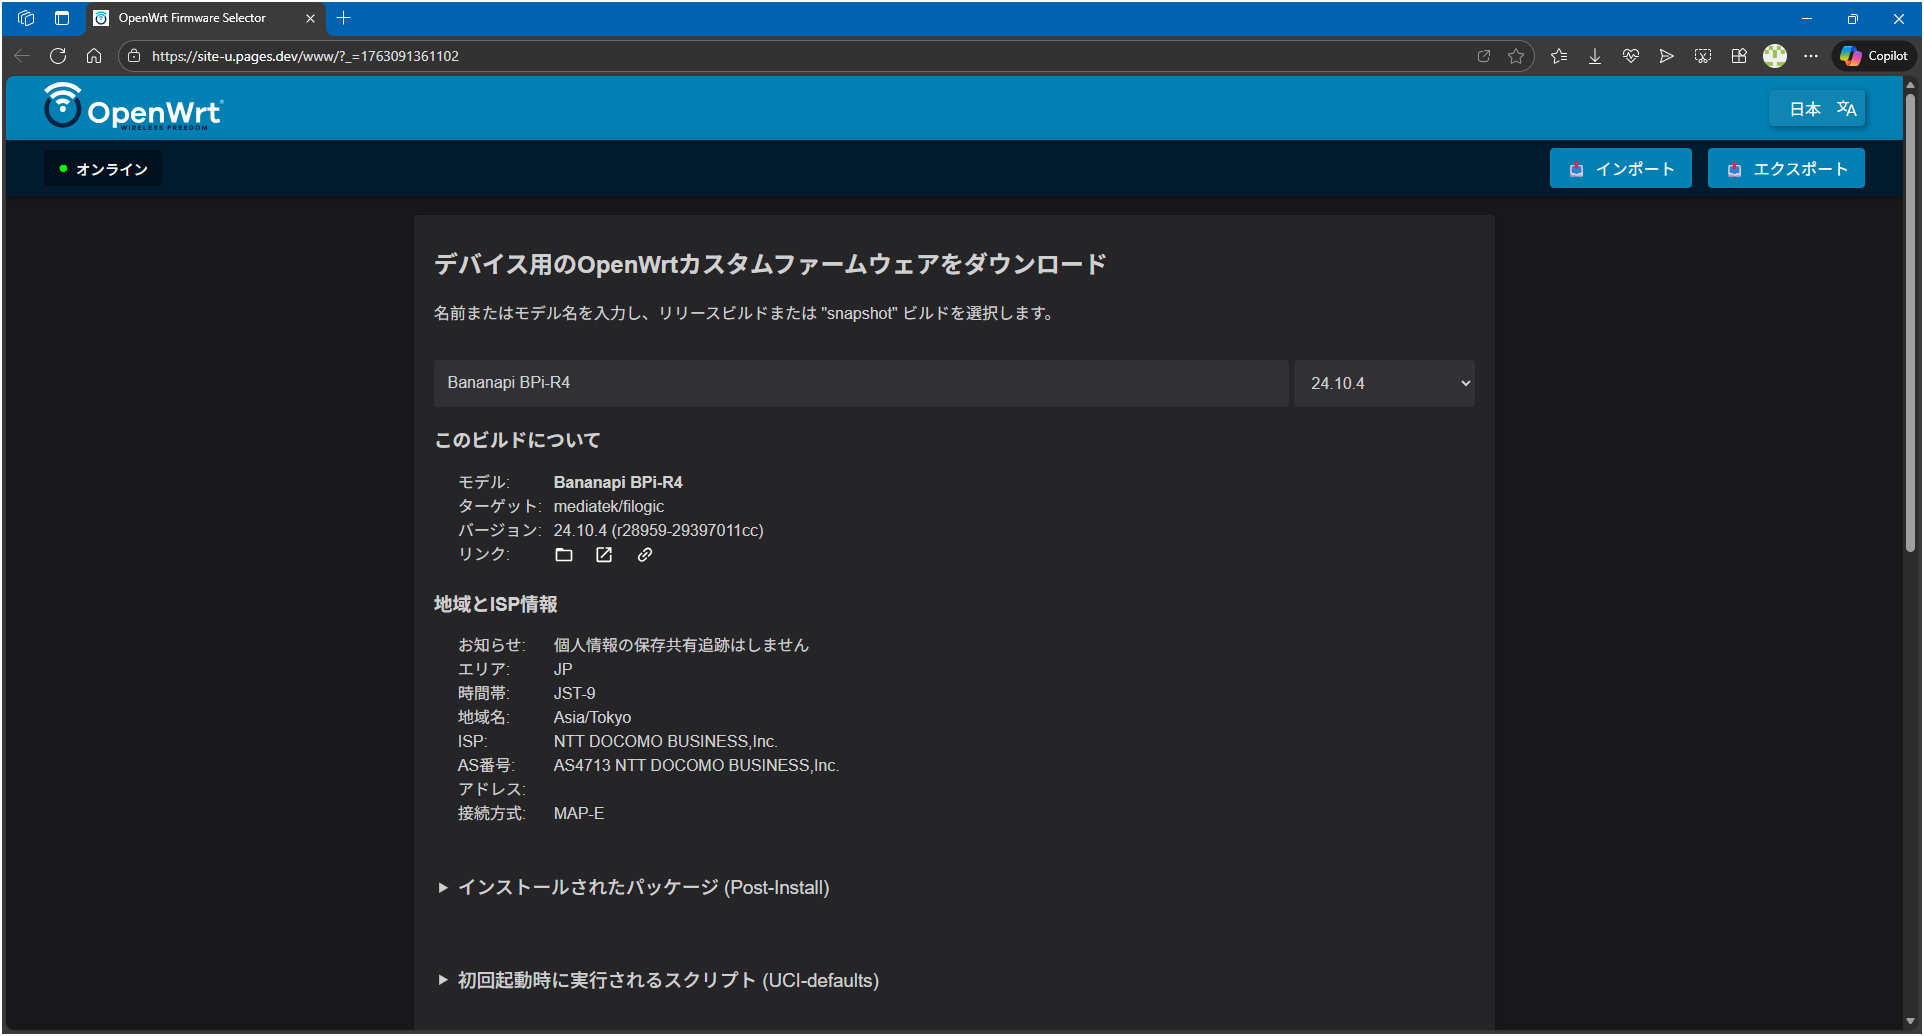
キッティングツール(カスタムビルダー)
| 機能比較 | 公式ビルダー | カスタムビルダー |
|---|---|---|
| 基本機能 | ||
| デバイス検索 | ○ | ○ |
| バージョン選択 | ○ | ○ |
| パッケージ追加 | 手動入力 | プリセット + 手動入力 |
| 初回起動時設定追加 | 手動入力 | 自動生成 + 手動編集 |
| 国コード自動設定 | × | ○ |
| 言語コード自動設定 | × | ○ |
| タイムゾーン自動設定 | × | ○ |
| ゾーンネーム自動設定 | × | ○ |
| ISP自動判定 | × | ○ |
| 日本専用機能 | ||
| DS-Lite自動設定 | × | ネットワーク自動構成API連携 |
| MAP-E自動設定 | × | ネットワーク自動構成API連携 |
| map.shパッチ適用 | × | ニチバン対策 |
| 高度な機能 | ||
| 設定インポート/エクスポート | × | テキスト形式 |
| ASUサーバー生存確認 | × | リアルタイム表示 |
| バグ対応 | ||
| IPv4アドレス変更 | × | SNAPSHOT対応済み |
| 技術仕様 | ||
| uci-defaultsサイズ制限 | 20KB | 13KB実装/20KB |
| APIサーバー | ASU公式 | ASU公式 + 独自API |
| ホスティング | OpenWrt公式 | Cloudflare Pages |
| オープンソース | GitHub公開 | GitHub公開 |
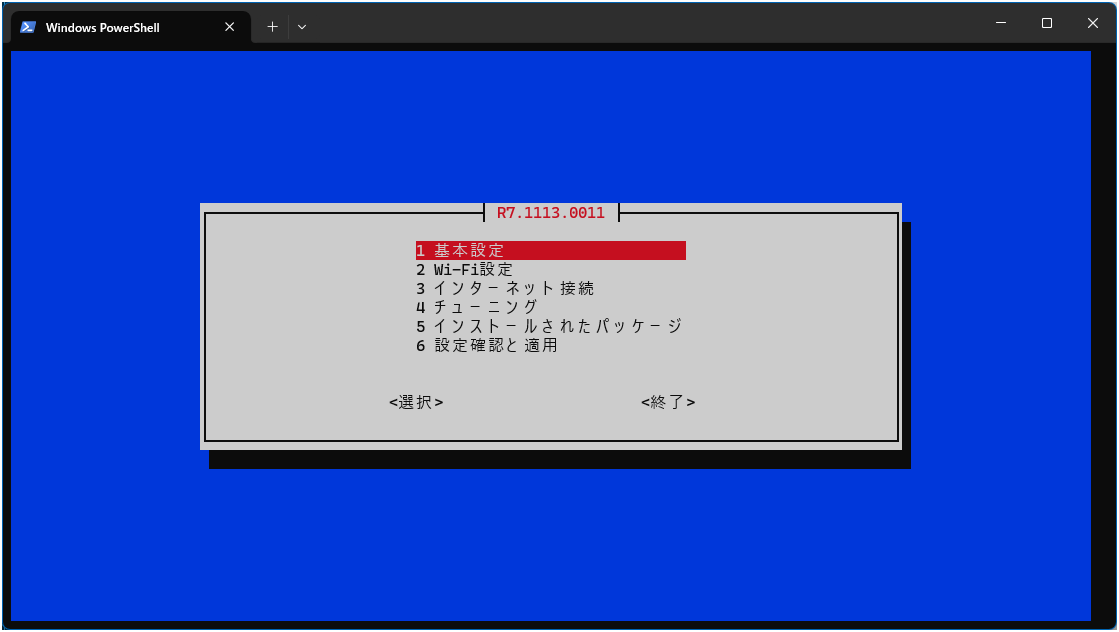
コンソールツール
はじめに
初心者対応構成
- Windowsからの導入手順
- スクリプトでの自動設定
-
UCI (ttyd)、Webコンソール (LuCi)、ファイラー (SFTP)にて比較作業がおススメ

新規設定用 オールインワンスクリプト 初心者対応
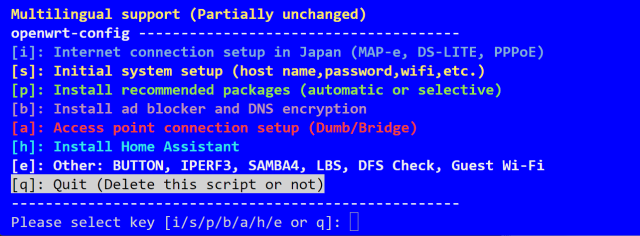
オールインワンスクリプト

![]() 不具合あればご連絡下さい
不具合あればご連絡下さい
![]() APK(スナップショット)は一部利用可
APK(スナップショット)は一部利用可
仕様
- スクリプト : config-software
- 対応ファームウェア : 19.07以降 ※一部スナップショット及び19、21非対応
- 対応デバイス状態 : 初期値
- 動作確認デバイス : Velop WRT Pro 7/ BPI-R3/ NCP-HG100/ Hyper-V: x86/64
- 動作確認クライアント:Windows11 バージョン24H2/ バージョン23H2
- インターネット設定:ホームゲートウェイ(HGW)接続必須
詳細
- システム初期設定(ホストネーム・パスワード・wifi等)
-
インターネット(MAP-e・DS-LITE・PPPoE)接続設定
- OCNバーチャルコネクト・V6プラス・IPv6オプション自動設定(マルチセッション対応)
- マルチセッション対応の設定のみ実行
- NURO光 MAP-e
- トランジックス自動設定
- クロスパス自動設定
- v6 コネクト自動設定
- PPPoE(iPv4・IPv6): 要認証ID(ユーザー名)・パスワード
- PPPoEのIPv4接続の設定を実行
- PPPoEのIPv4及びIPv6接続の設定を実行
- OCNバーチャルコネクト・V6プラス・IPv6オプション自動設定(マルチセッション対応)
-
推奨パッケージインストール(USB自動判別)
- 自動フルインストール(推奨パッケージオールイン)
- 選択インストール
- フラッシュ後にインストールしたパッケージ確認
- アクセスポイント(Dumb / ブリッジ)設定
-
AdGuardHome AdBlock DoH DoTインストール
-
AdGuardHomeの設定とインストール(カスタムフィルターアドイン)
- 管理用ウェブインターフェイス設定(ポート・ユーザー名・パスワードのみ)
-
AdBlockdのインストールと設定(カスタムフィルターアドイン)
- AdBlockのインストールと設定(カスタムフィルターアドイン)
- AdBlock-fastのインストールと設定(カスタムフィルターアドイン)
- DNS over HTTPS(DoH)のインストールと設定
- DNS over TLS(DoT)Stubbyのインストールと設定
-
AdGuardHomeの設定とインストール(カスタムフィルターアドイン)
- ホームアシスタント
- 他
- 終了
デバイスアクセス
PowerShellの開始
- キー入力:
Win+x>a>はい
パワーシェル7のインストールとショートカット作成
powershell
$currentVersion = $PSVersionTable.PSVersion
Write-Host "Current PowerShell version: $($currentVersion)"
$installed = Get-Command pwsh -ErrorAction SilentlyContinue
if ($installed) {
    Write-Host "PowerShell 7 is already installed. Skipping installation."
} else {
    Write-Host "Installing PowerShell 7..."
    $url = "https://aka.ms/install-powershell.ps1"
    Invoke-WebRequest -Uri $url -OutFile "install-powershell.ps1"
    .\install-powershell.ps1
    Write-Host "PowerShell 7 installation completed."
}
$desktop = [Environment]::GetFolderPath("Desktop")
$shortcutPath = "$desktop\PowerShell 7 (Admin).lnk"
$targetPath = "C:\Program Files\PowerShell\7\pwsh.exe"
$arguments = "-Command Start-Process pwsh -Verb runAs"
$shell = New-Object -ComObject WScript.Shell
$shortcut = $shell.CreateShortcut($shortcutPath)
$shortcut.TargetPath = $targetPath
$shortcut.Arguments = $arguments
$shortcut.Description = "PowerShell 7 Administrator Shortcut"
$shortcut.WorkingDirectory = "$HOME"
$shortcut.IconLocation = $targetPath
$shortcut.Save()
Write-Host "PowerShell 7 administrator shortcut has been created."
UCI(SSH)アクセス
powershell:初期設定用
ssh -o StrictHostKeyChecking=no -oHostKeyAlgorithms=+ssh-rsa root@192.168.1.1
- root@192.168.1.1's password:
初期値:パスワード無し
SSHログイン出来ない場合
-
%USERPROFILE%\.ssh\known_hosts※Windows隠しファイル
powershell
Clear-Content .ssh\known_hosts -Force
OpenSSHのインストールが無い場合
- 機能の確認
※Windows 10 Fall Creators Update(1709)以降標準搭載
powershell
Get-WindowsCapability -Online | Where-Object Name -like 'OpenSSH*'
- 機能のインストール
powershell
Add-WindowsCapability -Online -Name OpenSSH.Server~~~~0.0.1.0
オールインワンスクリプト設定
仕様
- /etc/config/ttyd
config ttyd
	option interface '@lan'
	option command '/bin/login -f root'
	option ipv6 '1'
	list client_option 'theme={"background": "black"}'
	list client_option 'titleFixed=ttyd'

config ttyd 'ttyd'
	option port '8888'
	option interface '@lan'
	option ipv6 '1'
	option command 'confsoft'
	list client_option 'theme={"background": "blue"}'
	list client_option 'titleFixed=config-software'
※ttydの設定から変更可
デバイスのWANにHGWまたはインターネットに繋がる回線に接続
![]() インターネット接続を設定する場合はHGWに直結させる事
インターネット接続を設定する場合はHGWに直結させる事
初回設定及び実行
powershell
mkdir -p /etc/config-software; wget --no-check-certificate -O /etc/config-software/ttyd.sh https://raw.githubusercontent.com/site-u2023/config-software/main/ttyd.sh; sh /etc/config-software/ttyd.sh; confsoft
MAP-eなど未設定でIPv4不通の場合
※https://github.com/ はIPv6利用で接続可
- 設定用クライアントをLAN1に接続
ssh
# IPv6利用設定
uci add network device
uci set network.@device[-1].name='lan1'
uci set network.@device[-1].mtu='1500'
uci set network.@device[-1].ipv6='1'
uci set network.@device[-1].mtu6='1500'
#
uci commit network
/etc/init.d/network reload
フラッシュ容量不足でスクリプトが実行出来ない場合
confsoft.sh
スクリプトのみ実行 ※ttyd未利用
powershell
mkdir -p /etc/config-software; wget --no-check-certificate -O /etc/config-software/confsoft.sh https://raw.githubusercontent.com/site-u2023/config-software/main/confsoft.sh; sh /etc/config-software/confsoft.sh; confsoft
アクセス
ファイラー(SFTP)
クライアント設定(WIndows)
- 手動インストール
- ダウンロード:WinSCP
自動インストール
- キー入力:
Win+x>a>はい - 最新版ソフトウェアのインストール
powershell:クライアントPC
$psVersion = $PSVersionTable.PSVersion.Major
$LINKS = Invoke-WebRequest "https://winscp.net/eng/download.php"
$LINKS_VERSION = $LINKS.Links | Where-Object {$_.href -like "*WinSCP-*-Setup.exe*"} | Select-Object -ExpandProperty href
$VERSION = ($LINKS_VERSION -split '/')[-2] -replace "WinSCP-([0-9]+\.[0-9]+\.[0-9]+).*", '$1'
Write-Host "Version to install: $VERSION"
$downloadUrl = "https://jaist.dl.sourceforge.net/project/winscp/WinSCP/$VERSION/WinSCP-$VERSION-Setup.exe?viasf=1"
Write-Host "Downloading from: $downloadUrl"
$ONAMAE = (whoami).Split('\')[1]
$destinationPath = "C:\Users\$ONAMAE\Downloads\WinSCP-$VERSION-Setup.exe"
Invoke-WebRequest -Uri $downloadUrl -OutFile $destinationPath
Write-Host "Installing WinSCP..."
Start-Process -FilePath $destinationPath -ArgumentList "/VERYSILENT /NORESTART" -Wait
Invoke-Expression "C:\Users\$ONAMAE\AppData\Local\Programs\WinSCP\WinSCP.exe"
-
警告>強制的に貼り付け - WinSCP設定
- セッション
- ホスト名:
192.168.1.1 - ユーザー名:
root - パスワード:
設定したパスワード -
ログインをクリック
- ホスト名:
- セッション
初期化
ファクトリーリセット(初期化)
# 要注意
firstboot && reboot now
This will erase all settings and remove any installed packages. Are you sure? [N/y] y
デバイスリセットボタン
デバイスのリセットボタンを5秒押し続ける
メインページ
GitHub
あとがき
面白くなって色々ワンコピペに組み込んでみました


