はじめに
お勉強のために好きに使えるLinuxの仮想環境を作成します。
使用ツール
- Windows10
- Windowd PowerShell(コマンドプロンプトでも可)
手順
1. VirtualBoxインストール
2. Vagrantインストール
3. Vagrantfileを設置
4. 仮想マシンの操作
5. Tera Termに接続
6. WinSCPに接続
7. vagrantユーザーをrootに切り替え
8. パスワード設定
9. SSH接続許可(rootユーザー)
10. zip/unzipをインストール
11. Vagrantにて仮想環境を配布
やってみよう
今回は、手順1~3までを実行します。
1. VirtualBoxインストール
VirtualBoxダウンロードページからWindows installerををダウンロードします。

ダウンロードしたWindows installerをダブルクリックして実行します。
すべて初期設定のままインストールで問題ないと思います。
2. Vagrantインストール
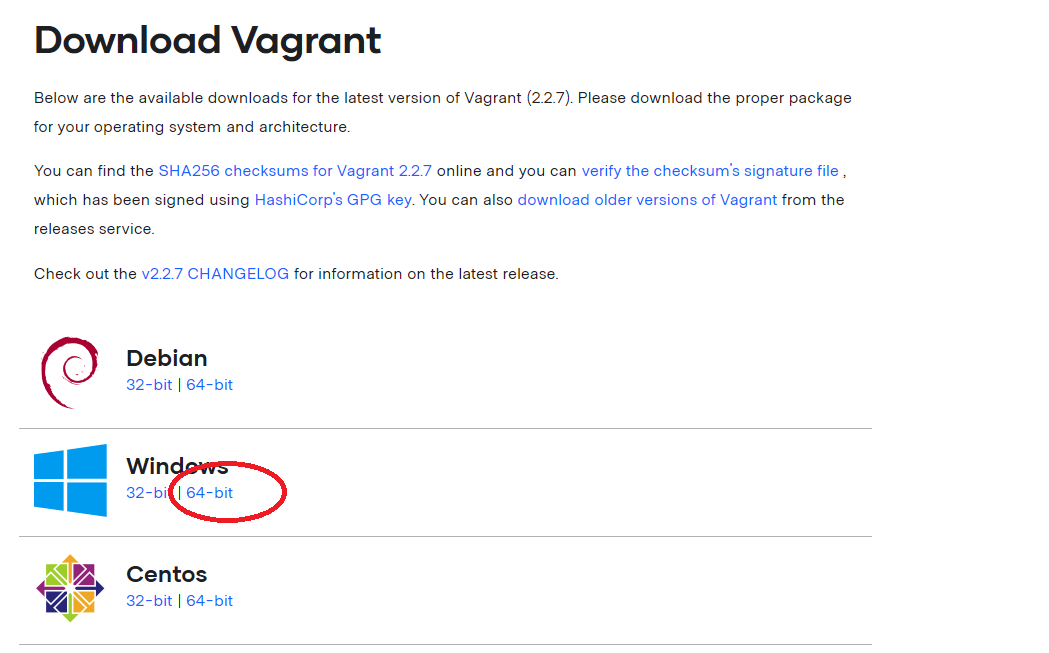
Download Vagrantページからインストーラーをダウンロードします。

インストーラーを実行します。こちらも初期設定のままで問題ないと思います。
インストールが終了したらPCを再起動します。
3. Vagrantfileを設置
Vagrantを実行するフォルダを準備する。
Vagrantを実行するためのフォルダを作成します。
特にどこに作らなければならないという決まりはないようです。
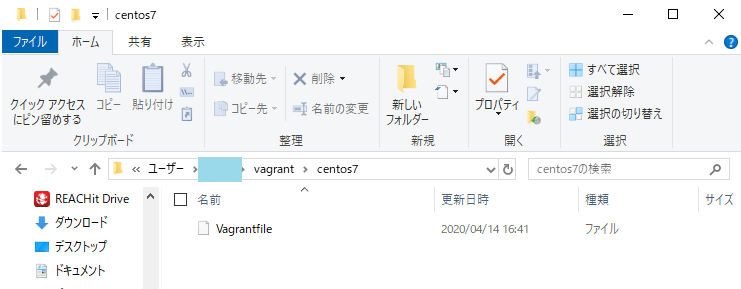
今回は、下記のようなフォルダを作成しました。
C:\Users\user_name\vagrant\centos7
「user_name」部分はご自分の環境に置き換えてください。
Vagrantを実行したフォルダごとに1つの仮想マシンができます。
Vagrantファイルを作成する。
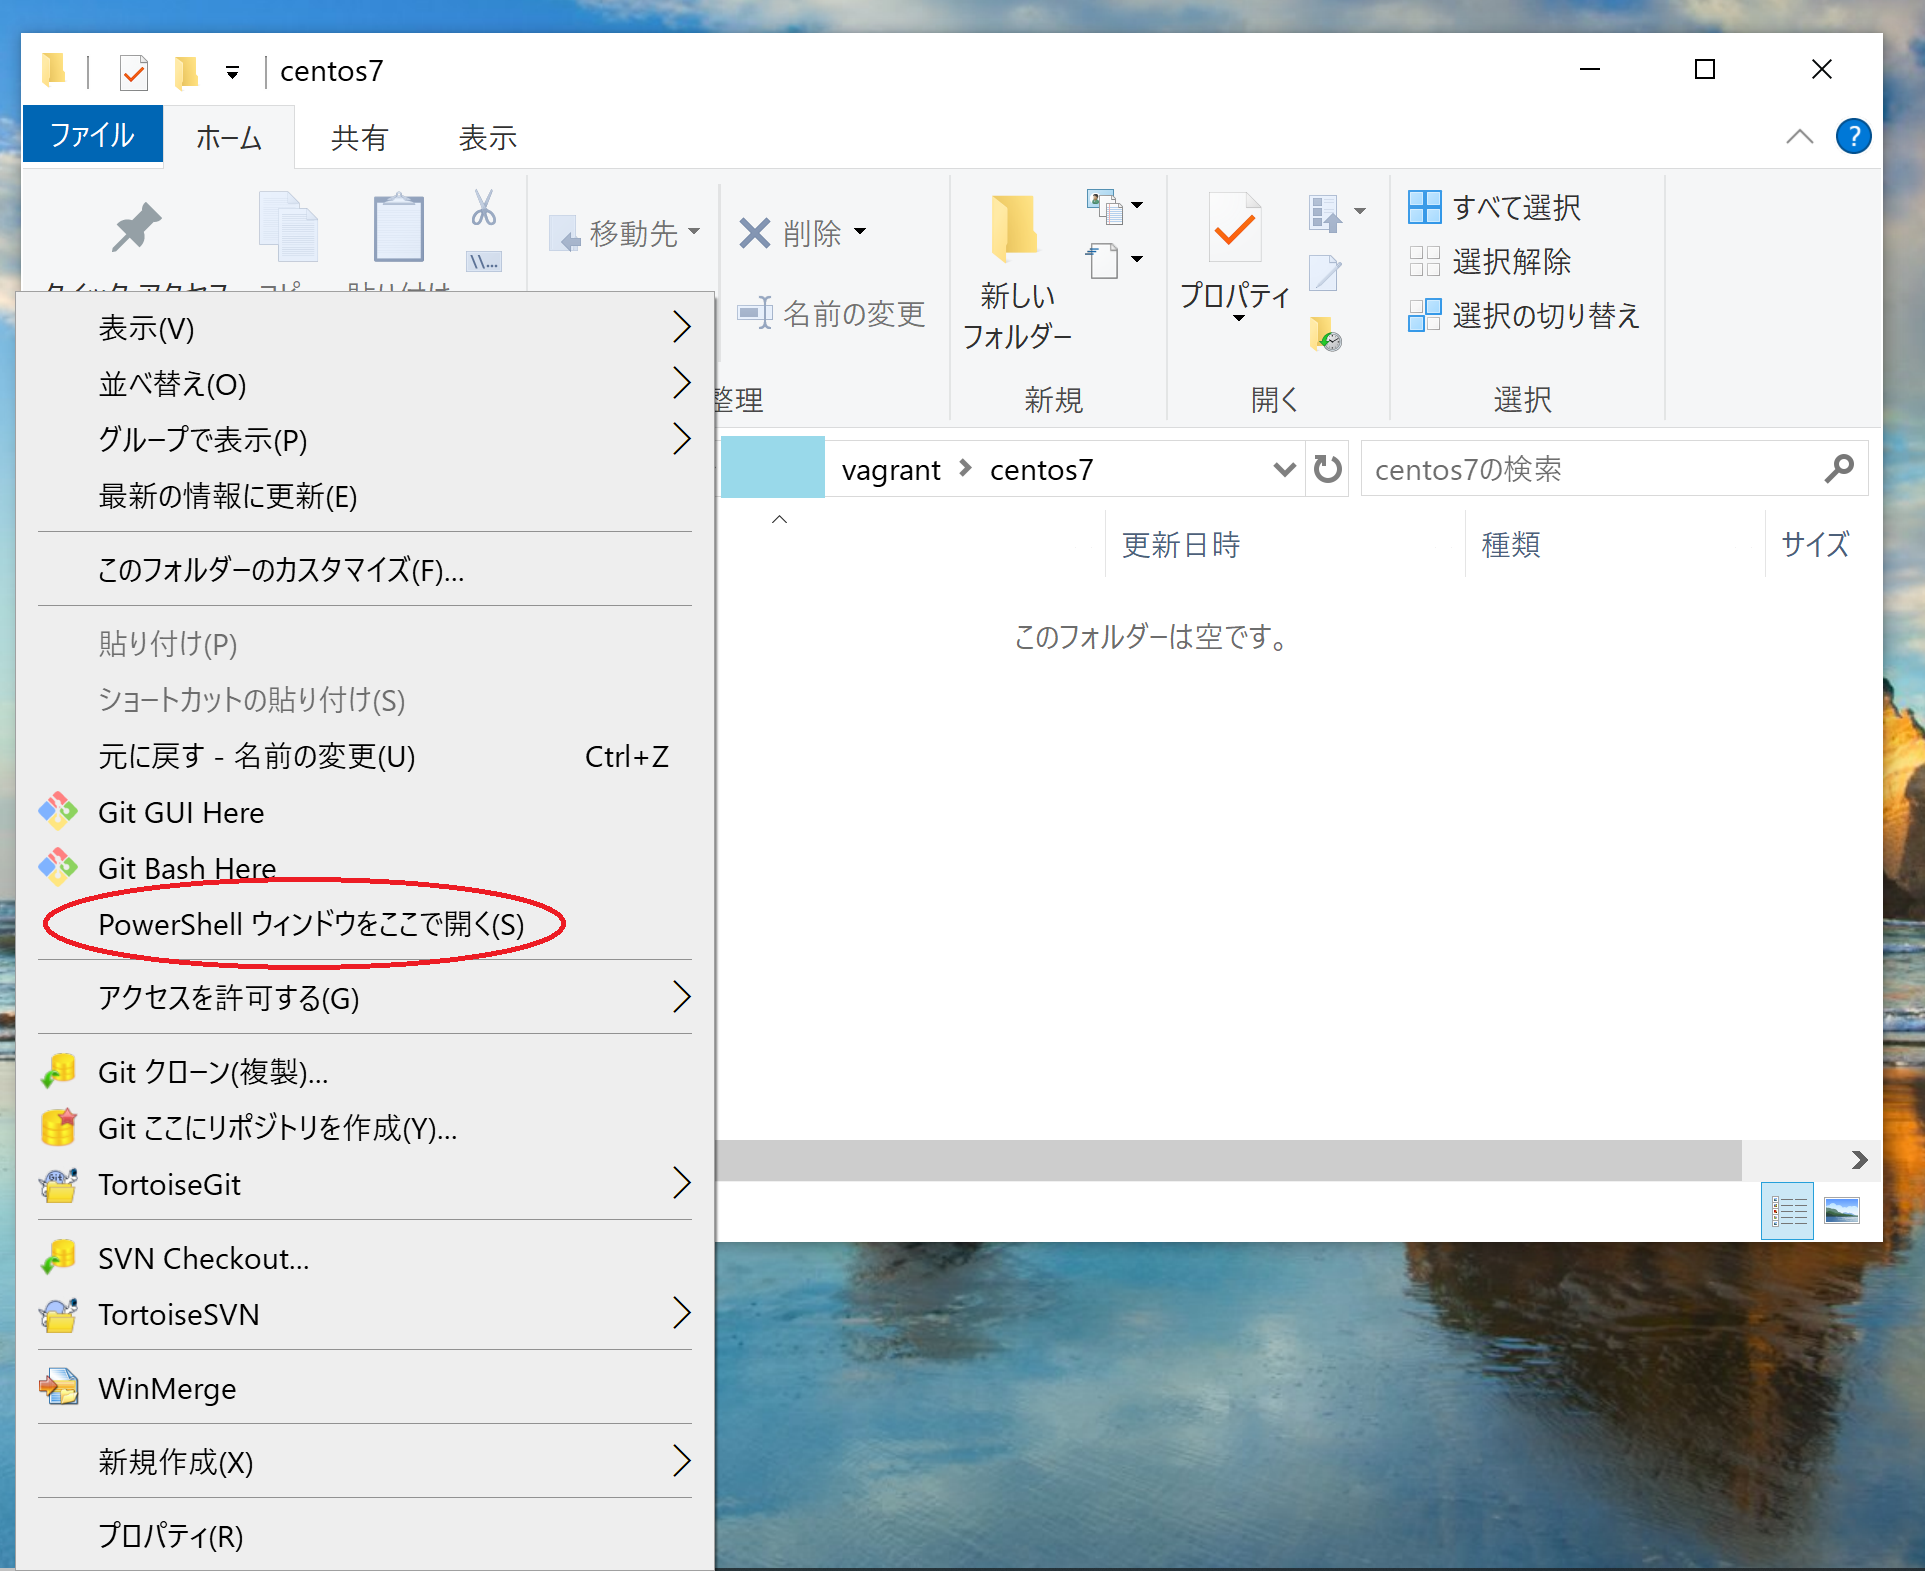
上記で作成したcentos7フォルダでShiftキーを押下しながら右クリックして、
下の画像のように「PowerShellウィンドウをここで開く」を選択します。

するとcentos7フォルダでPowerShellが開きます。
コマンドプロンプト派の方はコマンドプロンプトを開いてcdでcentos7フォルダへ移動しましょう。

PowerShell(またはコマンドプロンプト)で以下のコマンドを実行すると、Vagrantfileが生成されます。
vagrant init
Vagrantfileの設定をする。
生成されたVagrantfileをお好きなエディタで開き、
中の記載をすべて消して下記を記述してください。
「user_name」部分はご自分の環境に置き換えてください。
「vb.name」も任意の名前でよいようです。
VAGRANTFILE_API_VERSION = "2"
Vagrant.configure(VAGRANTFILE_API_VERSION) do |config|
  config.vm.box = "centos/7"
  config.vm.network :private_network, ip: "192.168.33.10"
  config.vm.provider "virtualbox" do |vb|
    vb.name = "centos7"
    vb.gui = false
    vb.memory = "4096"
  end
  config.ssh.private_key_path = "c:/Users/user_name/.vagrant.d/insecure_private_key"
  config.ssh.insert_key = false
  if Object.const_defined? 'VagrantVbguest'
    config.vbguest.auto_update = false
    config.vbguest.no_remote = true
  end
end
以上でVirtualBox・VagrantインストールからVagrantfileを設置まで行いました。
参考サイト
【Linux環境構築】VagrantとVirtualBoxとは?使い方を初心者向けに解説!
関連ページ
Windows10にVagrantをを入れてCentOS7をインストールしよう
1.VagrantインストールからVagrantfileを設置まで
2. 仮想マシンの操作
3. WinSCP、Tera Termに秘密鍵でログイン
4. WinSCP、Tera Termにrootユーザーでパスワードログイン
5. zip/unzipをインストール
6. Vagrantにて仮想環境を配布

