はじめに
作成した仮想マシンでいろいろと試すにあたって、zip/unzipは入れていて損はないでしょう。
zip/unzipを例に、コマンドインストールの方法を学びます。
使用ツール
- Tera Term
手順
1. VirtualBoxインストール
2. Vagrantインストール
3. Vagrantfileを設置
4. 仮想マシンの操作
5. Tera Termに接続
6. WinSCPに接続
7. vagrantユーザーをrootに切り替え
8. パスワード設定
9. SSH接続許可(rootユーザー)
10. zip/unzipをインストール
11. Vagrantにて仮想環境を配布
やってみよう
10. zip/unzipをインストール
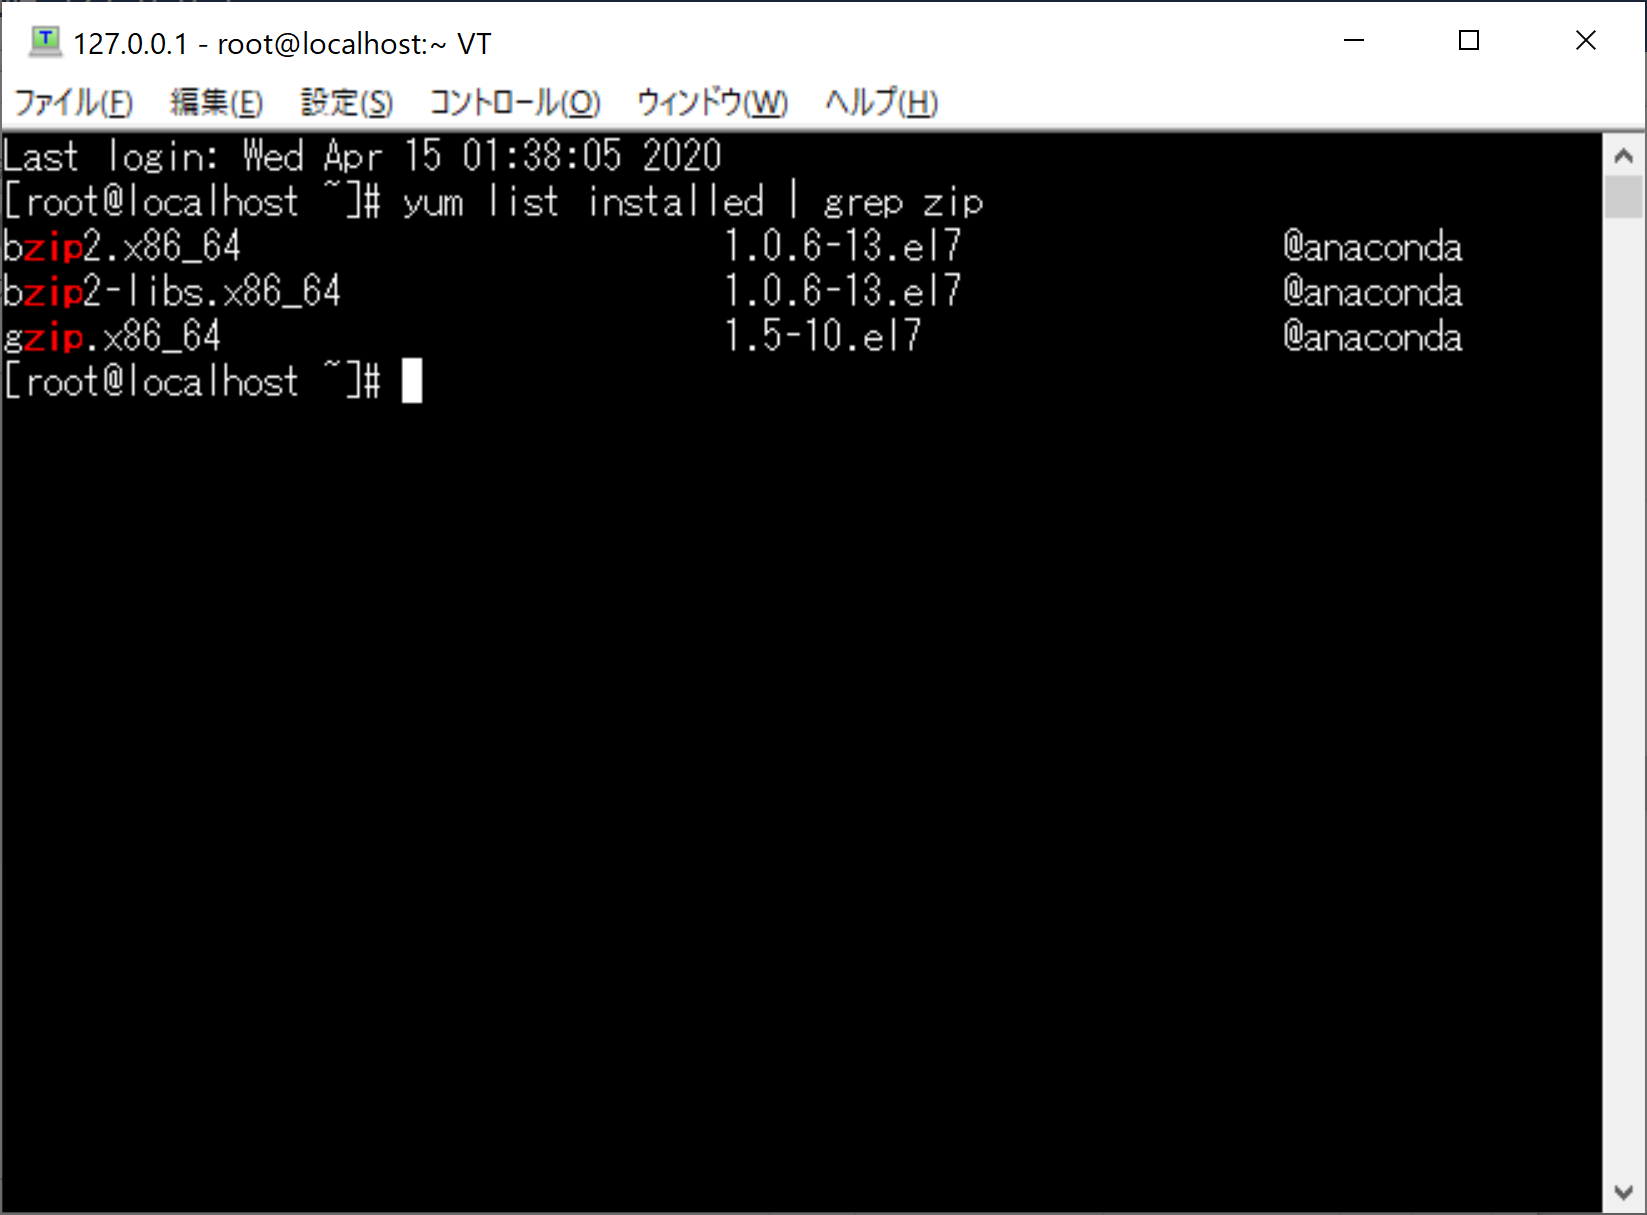
コマンドがインストールされているか確認
以下のコマンドでzip/unzipがインストールされているか確認します。
yum list installed | grep zip
インストール
以下のコマンドでインストールします。
確認の選択肢が出てきたらすべて「y」を入力します。
yum install zip
yum install unzip
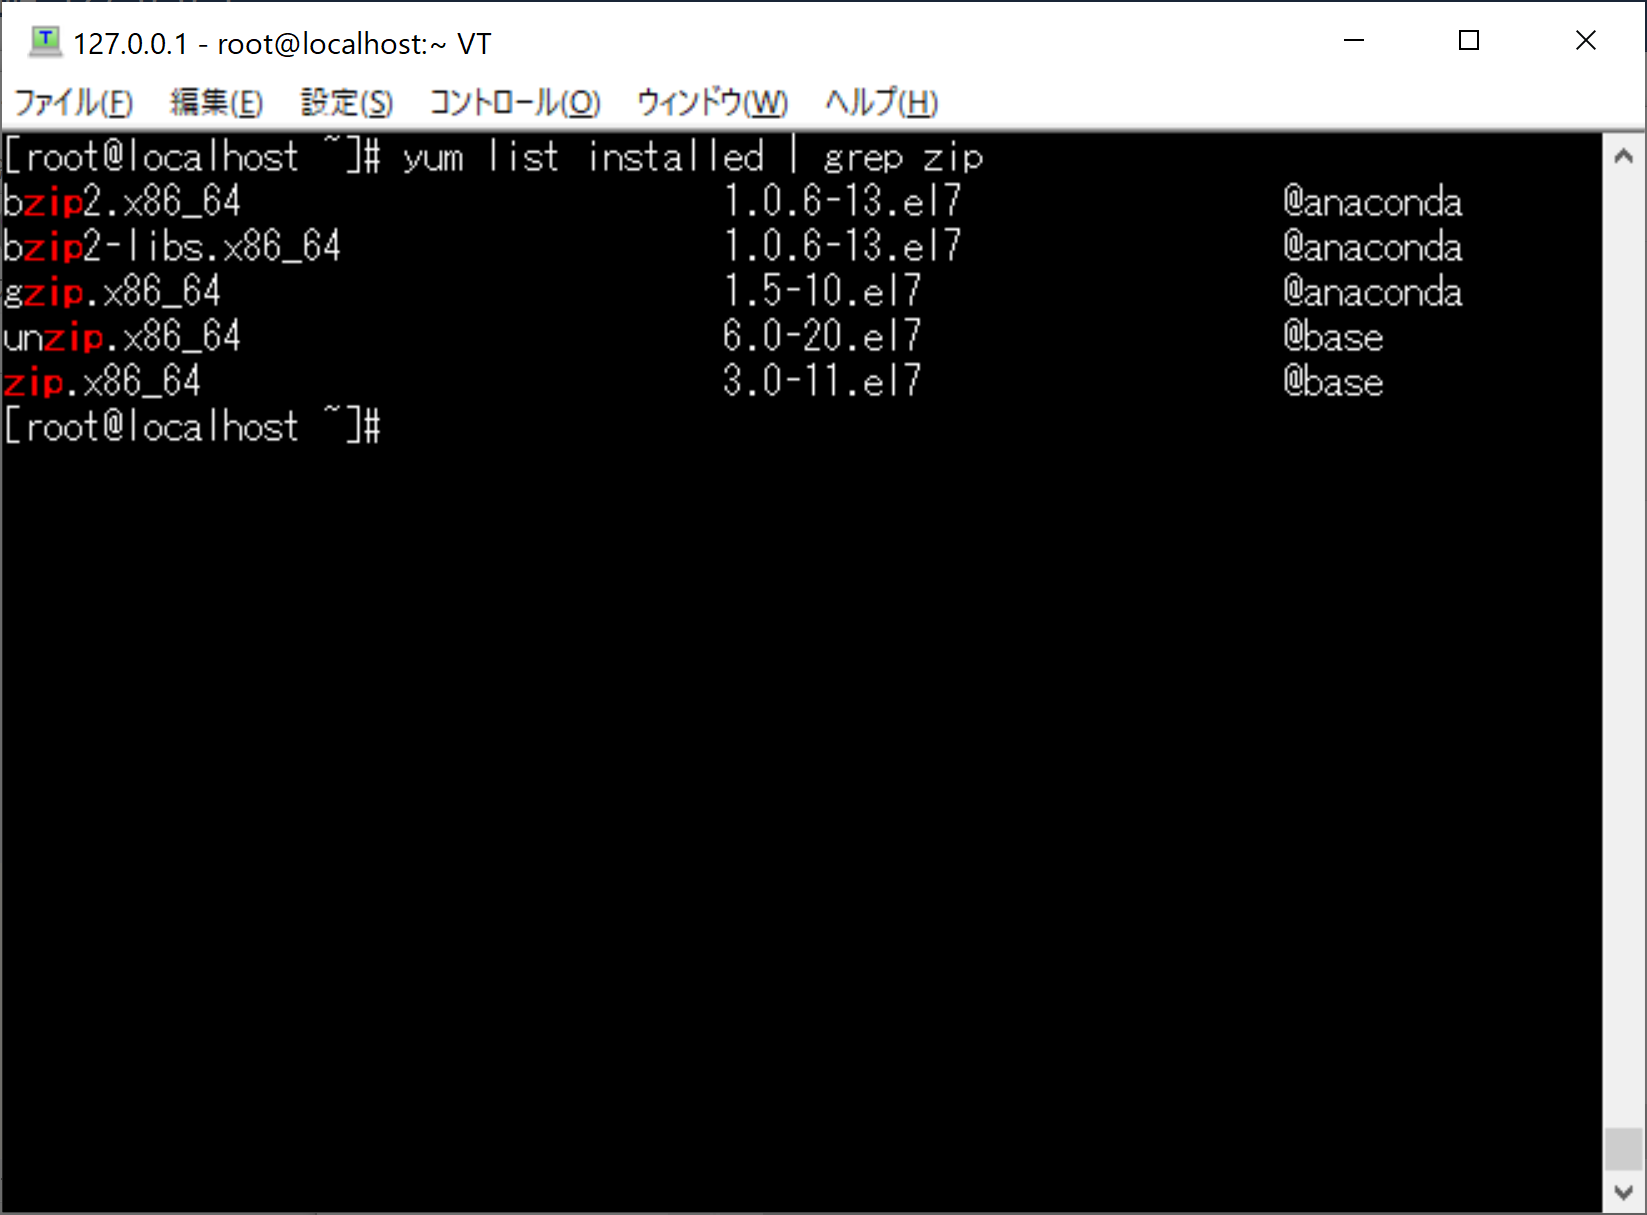
インストールできているか確認してみましょう。

できてますね。
参考サイト
CentOS に zip を yum で普通にインストールしました。今更です!
関連ページ
Windows10にVagrantをを入れてCentOS7をインストールしよう
1. VagrantインストールからVagrantfileを設置まで
2. 仮想マシンの操作
3. WinSCP、Tera Termに秘密鍵でログイン
4. WinSCP、Tera Termにrootユーザーでパスワードログイン
5.zip/unzipをインストール
6. Vagrantにて仮想環境を配布
