チュートリアルをこなす!
以前にgatsbyの基本のチュートリアルをこなしたのですが、まだチュートリアルが残っているので最後までやっていこうと思いました。
今回実施するgatsbyのチュートリアルはこちら
https://www.gatsbyjs.com/tutorial/plugin-and-theme-tutorials/
https://www.gatsbyjs.com/tutorial/source-plugin-tutorial/
早速やっていきましょう。
Plugin & Theme Tutorials
https://www.gatsbyjs.com/tutorial/plugin-and-theme-tutorials/
ここではプラグインとテーマのチュートリアルの概略が記載されていました。
ざっくり言うと
プラグインは、Gatsby APIを実装するNode.jsパッケージ。
テーマは、事前設定された機能やデータソーシング、UIコードをギャツビーサイトに追加するプラグインの一種。
要はサイト構築に便利な物が作れまっせ(しかも共有出来まっせ)ってことで理解しました。
次行きましょう。
Creating a Source Plugin
https://www.gatsbyjs.com/tutorial/source-plugin-tutorial/
ここでは独自のソースプラグインを作成するようです。
ソースプラグインについてはチュートリアルにこう書かれています。
ソースプラグインは、任意のソースからのデータをGatsbyが処理できる形式に変換します。 Gatsbyサイトでは、いくつかのソースプラグインを使用して、興味深い方法でデータを組み合わせることができます。
つまり構築サイト内のソースからデータを抜き出して、良い感じのデータに変換できるってことかな?
とにかく次次!
How to create a source plugin
なんだか色々な事を書いてあるけど英語よくわかんねぇから、とりあえず実技に進もう。
Set up an example site
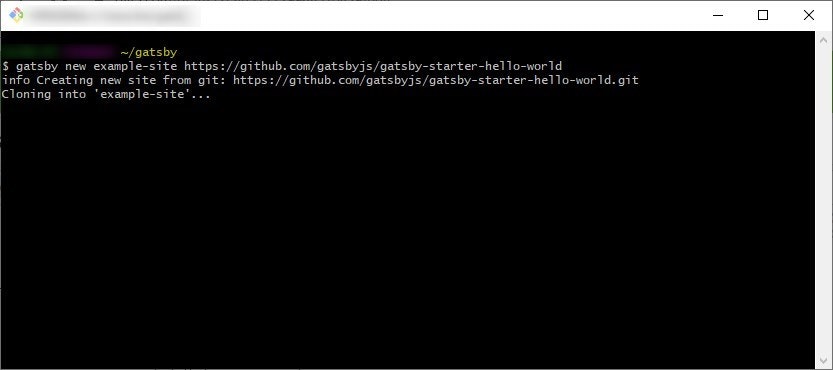
以下コマンドでサンプルサイトを作成
gatsby new example-site https://github.com/gatsbyjs/gatsby-starter-hello-world
Set up a source plugin
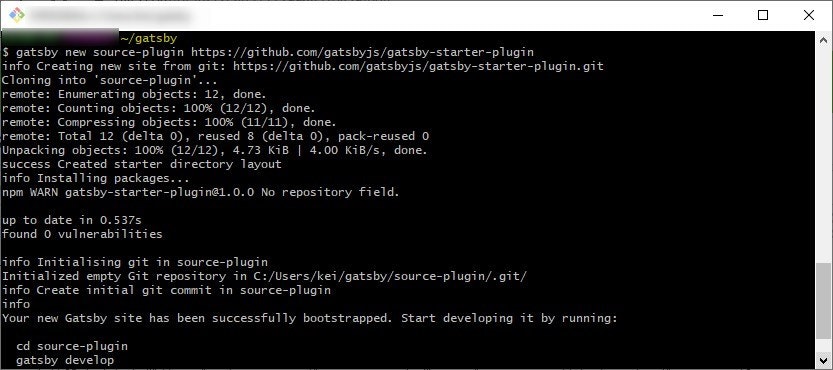
以下コマンドでソースプラグインを作成
gatsby new source-plugin https://github.com/gatsbyjs/gatsby-starter-plugin
Install your plugin in the example site
サンプルサイトにソースプラグインをインストールします。
example-site/gatsby-config.jsを以下のように修正します。
module.exports = {
  /* Your site config here */
  plugins: [require.resolve(`../source-plugin`)],←ここ修正
}
example-siteを起動します。example-siteディレクトリに移動して以下を実行
gatsby develop
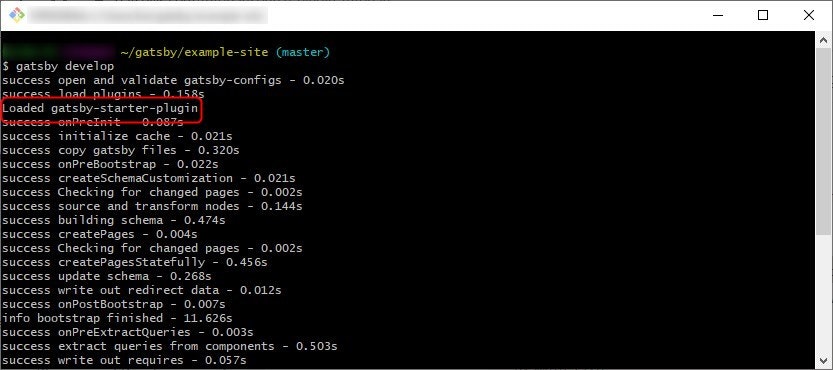
ロードされてる!
このログはsource-plugin/gatsby-node.jsに出力コマンドがあります。
exports.onPreInit = () => console.log("Loaded gatsby-starter-plugin")
Source data and create nodes
source-plugin/gatsby-node.jsを以下のように書き換え
// constants for your GraphQL Post and Author types
const POST_NODE_TYPE = `Post`

exports.sourceNodes = async ({
  actions,
  createContentDigest,
  createNodeId,
  getNodesByType,
}) => {
  const { createNode } = actions

  const data = {
    posts: [
      { id: 1, description: `Hello world!` },
      { id: 2, description: `Second post!` },
    ],
  }

  // loop through data and create Gatsby nodes
  data.posts.forEach(post =>
    createNode({
      ...post,
      id: createNodeId(`${POST_NODE_TYPE}-${post.id}`),
      parent: null,
      children: [],
      internal: {
        type: POST_NODE_TYPE,
        content: JSON.stringify(post),
        contentDigest: createContentDigest(post),
      },
    })
  )

  return
}
再起動
graphqlを見ると

allPostという項目が増えています。
チュートリアル通りのクエリを実行するとこんな感じ。
うん。source-plugin/gatsby-node.jsに書かれたPost情報が記載されてる。
postもあるね。
なるほどね。サイトのディレクトリとファイルの内容だけでSQLみたいなクエリ作って取得するようにイメージしておこう。
だめだ超眠い。
今回はここまで。
ありがとうございました。
gatsby 過去の作業履歴
gatsby入門 チュートリアルをこなす 0.開発環境をセットアップする
gatsby入門 チュートリアルをこなす 1. ギャツビービルディングブロックについて知る(1)
gatsby入門 チュートリアルをこなす 1. ギャツビービルディングブロックについて知る(2)
gatsby入門 チュートリアルをこなす 2. ギャツビーのスタイリングの概要
gatsby入門 チュートリアルをこなす 3. ネストされたレイアウトコンポーネントの作成
gatsby入門 チュートリアルをこなす 4. ギャツビーのデータ
gatsby入門 チュートリアルをこなす 5. ソースプラグインとクエリされたデータのレンダリング
gatsby入門 チュートリアルをこなす 6. 変圧器プラグイン※Transformer pluginsのgoogle翻訳
gatsby入門 チュートリアルをこなす 7. プログラムでデータからページを作成する
gatsby入門 チュートリアルをこなす 8. 公開するサイトの準備
gatsby入門 ブログ作ってサーバーにアップしてみる