gatsbyの作業履歴
gatsby入門 チュートリアルをこなす 0.開発環境をセットアップする
gatsby入門 チュートリアルをこなす 1. ギャツビービルディングブロックについて知る(1)
gatsby入門 チュートリアルをこなす 1. ギャツビービルディングブロックについて知る(2)
gatsby入門 チュートリアルをこなす 2. ギャツビーのスタイリングの概要
gatsby入門 チュートリアルをこなす 3. ネストされたレイアウトコンポーネントの作成
gatsby入門 チュートリアルをこなす 4. ギャツビーのデータ
gatsby入門 チュートリアルをこなす 5. ソースプラグインとクエリされたデータのレンダリング
gatsby入門 チュートリアルをこなす 6. 変圧器プラグイン※Transformer pluginsのgoogle翻訳
gatsby入門 チュートリアルをこなす 7. プログラムでデータからページを作成する
今回:gatsby入門 チュートリアルをこなす 8. 公開するサイトの準備
gatsby入門 ブログ作ってサーバーにアップしてみる
チュートリアルをこなす!
今回実施するgatsbyのチュートリアルはこちら
https://www.gatsbyjs.com/tutorial/part-eight/
基本はこれで最後かな?
チュートリアルの冒頭にこう書かれています。
この最後のセクションでは、Lighthouseと呼ばれる強力なサイト診断ツールを導入して、サイトを稼働させるための一般的な手順をいくつか説明します。途中で、Gatsbyサイトでよく使用するプラグインをいくつか紹介します。
※google翻訳です。
早速やっていきましょう。
ソースは前回作ったやつを使用します。
Preparing a Site to Go Live
Audit with Lighthouse
何やら監査をするそうな。
まずサイトの本番ビルドが必要のようです。
Create a production build
まず、すでに開発サーバが起動している場合は停止する。
そして、以下コマンドを実行する。
gatsby build
そして
gatsby serve
そして以下にアクセス
http://localhost:9000
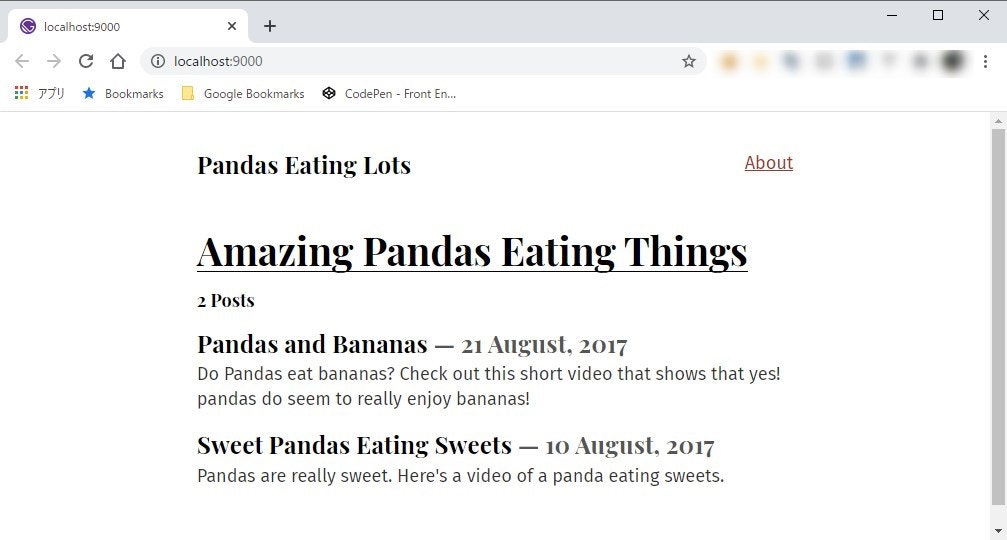
OK!
Run a Lighthouse audit
続いてLighthouseテストを実行します。
手順は以下とチュートリアルに記載
1.Chromeシークレットモードでサイトを開いて、拡張機能がテストに干渉しないようにします。次に、Chrome DevToolsを開きます。
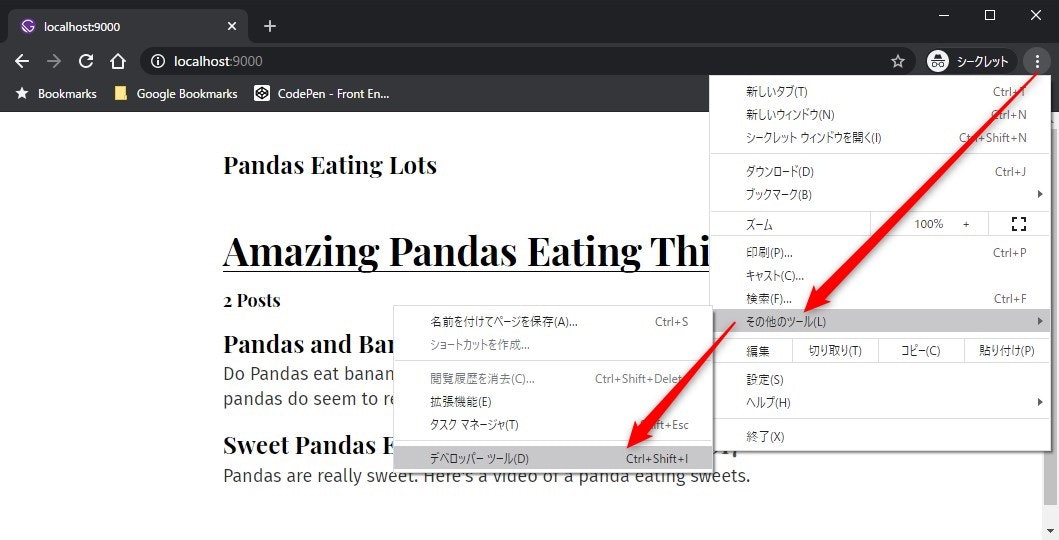
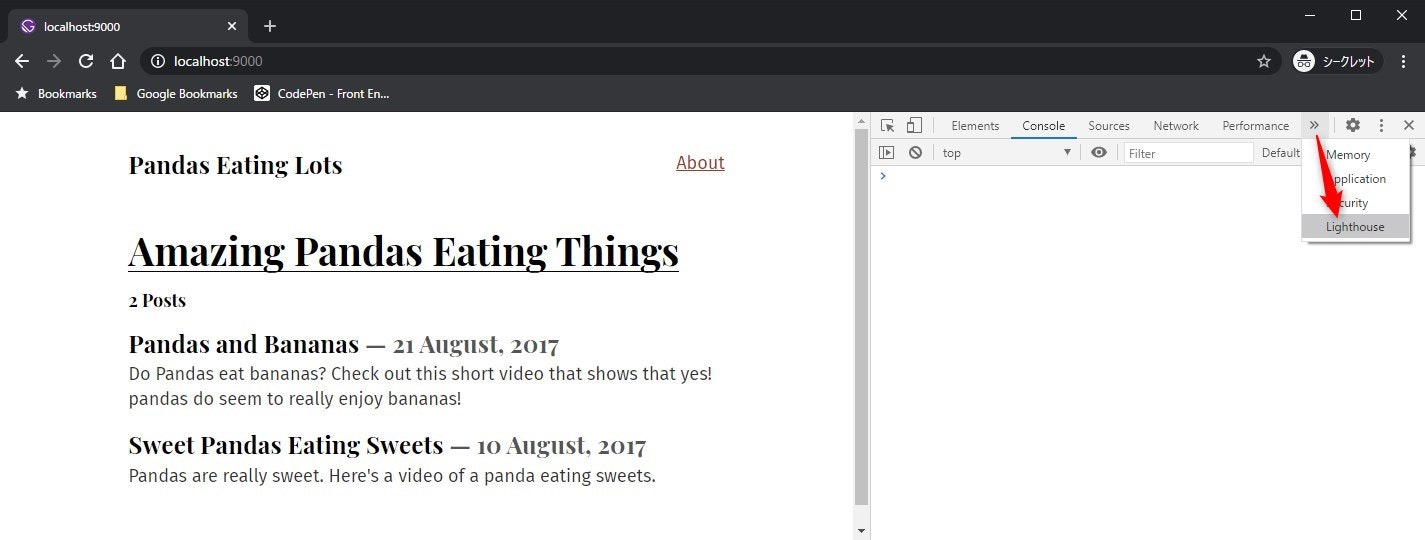
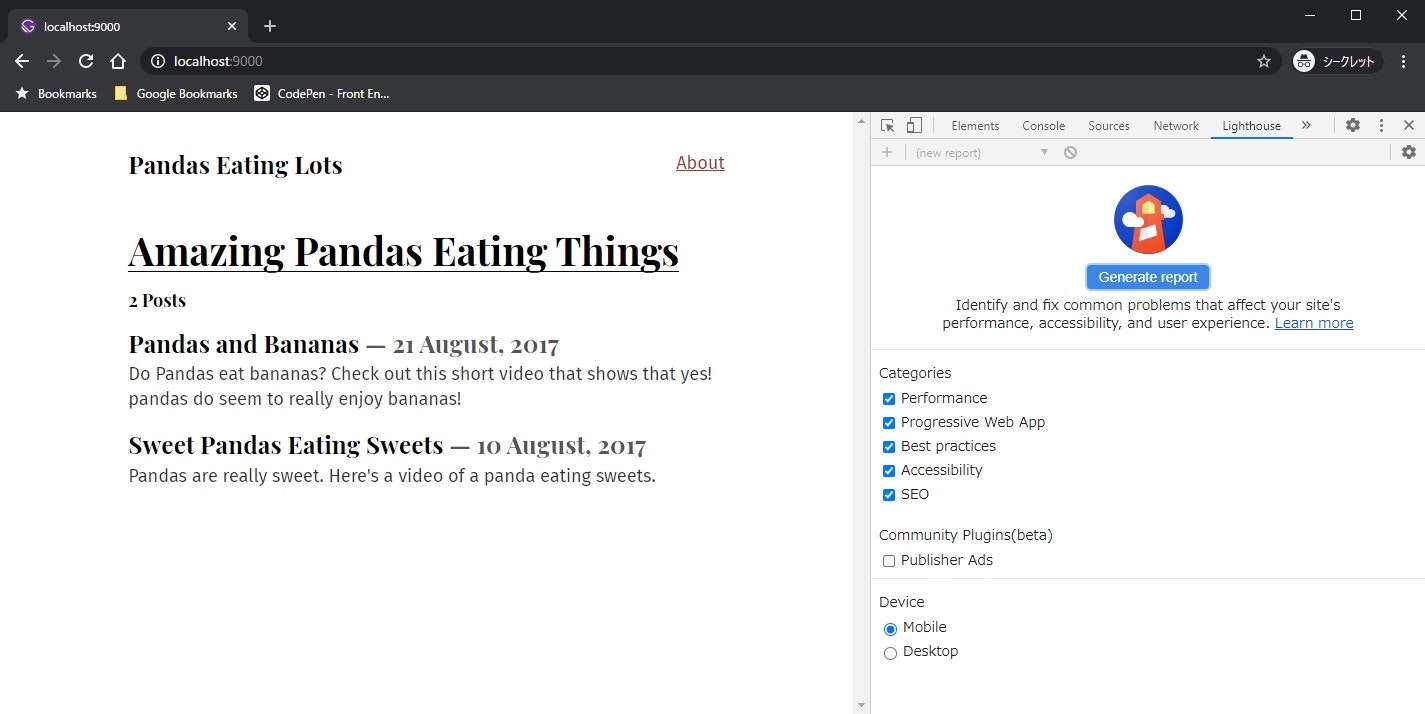
なんか出てきた。
Generate reportを押します。
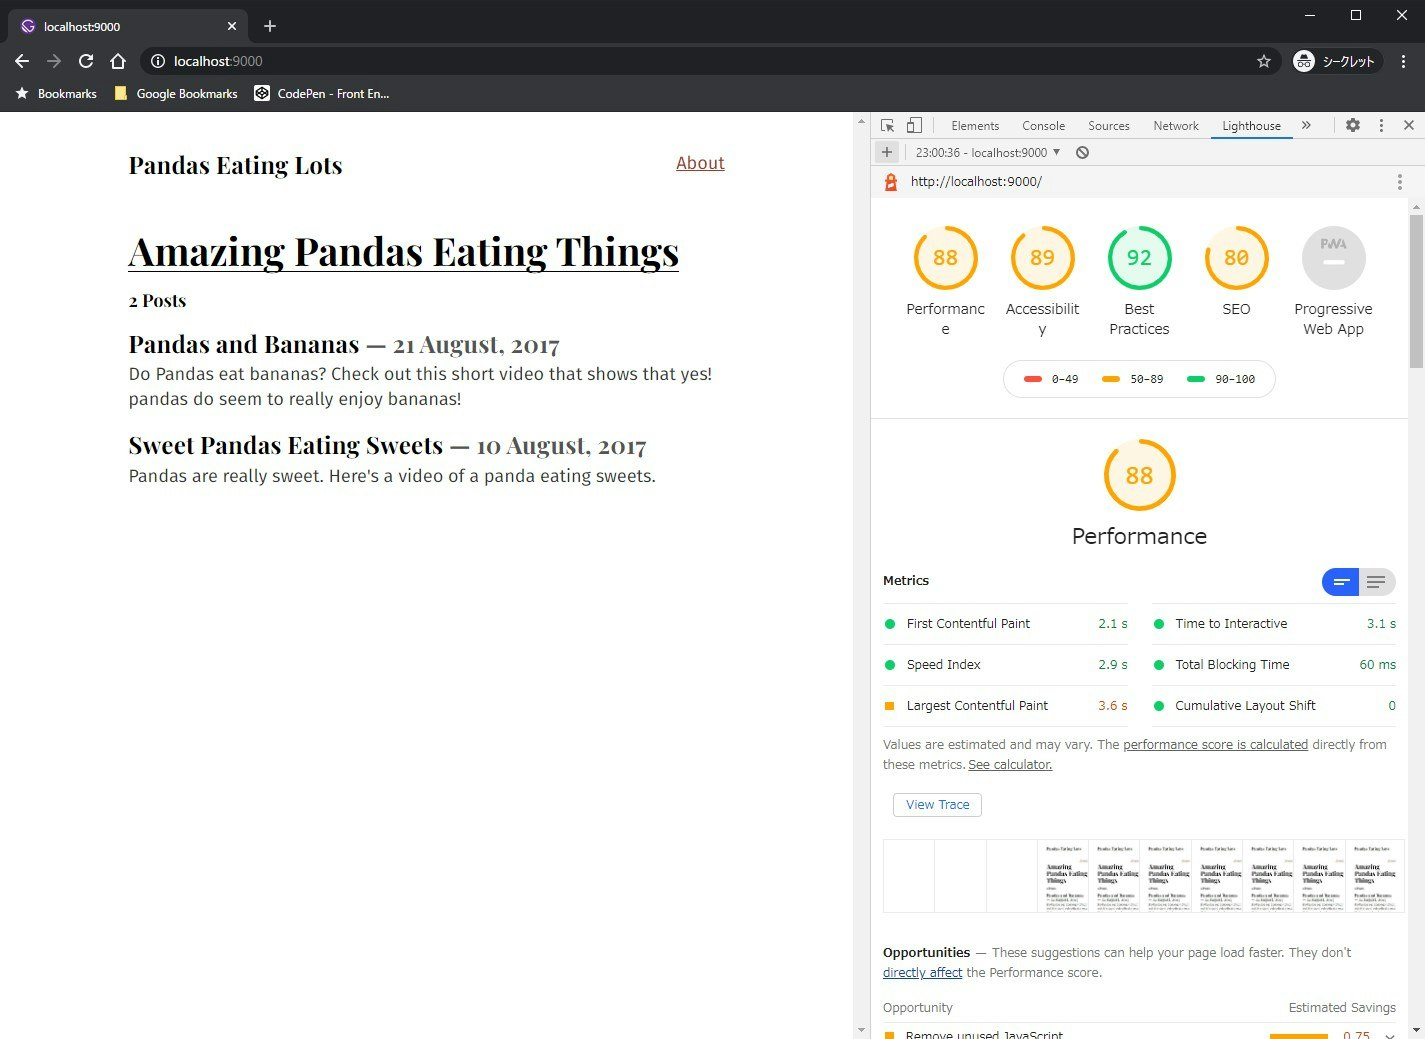
またなんか出てきた。
なんか黄色がいっぱい。。。
Add a manifest file
LighthouseのProgressive Web App不足を見直すみたい。
そしてなんだかmanifestを作れば良いらしい。
そしてGatsby’s manifest pluginを使うみたい
Using gatsby-plugin-manifest
プラグインを以下コマンドでインストール
npm install --save gatsby-plugin-manifest
※サイト直下のディレクトリで実行
とりあえずサーバ停止して実行しました。
何やらicon.pngがsrc/images配下にいるみたい。
適当にどっかから持ってくる。
gatsby-config.jsを修正
module.exports = {
  siteMetadata: {
    title: `Pandas Eating Lots`,
  },
  plugins: [
    {
      resolve: `gatsby-source-filesystem`,
      options: {
        name: `src`,
        path: `${__dirname}/src/`,
      },
    },
    `gatsby-plugin-emotion`,
    `gatsby-transformer-remark`,
    {
      resolve: `gatsby-plugin-typography`,
      options: {
        pathToConfigModule: `src/utils/typography`,
      },
    },
    ↓ここから
    {
      resolve: `gatsby-plugin-manifest`,
      options: {
        name: `GatsbyJS`,
        short_name: `GatsbyJS`,
        start_url: `/`,
        background_color: `#6b37bf`,
        theme_color: `#6b37bf`,
        // Enables "Add to Homescreen" prompt and disables browser UI (including back button)
        // see https://developers.google.com/web/fundamentals/web-app-manifest/#display
        display: `standalone`,
        icon: `src/images/icon.png`, // This path is relative to the root of the site.
      },
    },
    ↑ここまで追記
  ],
}
※過去チュートリアルの場合です。
Add offline support
なんかpwaにservice workerがいるみたい。
Gatsby’s offline pluginをインストールします。
プラグインを以下コマンドでインストール
npm install --save gatsby-plugin-offline
gatsby-config.jsを修正
module.exports = {
  siteMetadata: {
    title: `Pandas Eating Lots`,
  },
  plugins: [
    {
      resolve: `gatsby-source-filesystem`,
      options: {
        name: `src`,
        path: `${__dirname}/src/`,
      },
    },
    `gatsby-plugin-emotion`,
    `gatsby-transformer-remark`,
    {
      resolve: `gatsby-plugin-typography`,
      options: {
        pathToConfigModule: `src/utils/typography`,
      },
    },
    {
      resolve: `gatsby-plugin-manifest`,
      options: {
        name: `GatsbyJS`,
        short_name: `GatsbyJS`,
        start_url: `/`,
        background_color: `#6b37bf`,
        theme_color: `#6b37bf`,
        // Enables "Add to Homescreen" prompt and disables browser UI (including back button)
        // see https://developers.google.com/web/fundamentals/web-app-manifest/#display
        display: `standalone`,
        icon: `src/images/icon.png`, // This path is relative to the root of the site.
      },
    },
    `gatsby-plugin-offline`,←これ追記
  ],
}
Add page metadata
ページにメタデータを追加します。
またまたプラグインをインストール
Using React Helmet and gatsby-plugin-react-helmet
以下コマンドを実行
npm install --save gatsby-plugin-react-helmet react-helmet
gatsby-config.jsを修正
module.exports = {
  siteMetadata: {
    title: `Pandas Eating Lots`,
    description: `A simple description about pandas eating lots...`,←これ追記
    author: `gatsbyjs`,←これ追記
  },
  plugins: [
    {
      resolve: `gatsby-source-filesystem`,
      options: {
        name: `src`,
        path: `${__dirname}/src/`,
      },
    },
    `gatsby-plugin-emotion`,
    `gatsby-transformer-remark`,
    {
      resolve: `gatsby-plugin-typography`,
      options: {
        pathToConfigModule: `src/utils/typography`,
      },
    },
    {
      resolve: `gatsby-plugin-manifest`,
      options: {
        name: `GatsbyJS`,
        short_name: `GatsbyJS`,
        start_url: `/`,
        background_color: `#6b37bf`,
        theme_color: `#6b37bf`,
        // Enables "Add to Homescreen" prompt and disables browser UI (including back button)
        // see https://developers.google.com/web/fundamentals/web-app-manifest/#display
        display: `standalone`,
        icon: `src/images/icon.png`, // This path is relative to the root of the site.
      },
    },
    `gatsby-plugin-offline`,
    `gatsby-plugin-react-helmet`,←これ追記
  ],
}
src/components/seo.jsを追加し以下を記述
import React from "react"
import PropTypes from "prop-types"
import { Helmet } from "react-helmet"
import { useStaticQuery, graphql } from "gatsby"

function SEO({ description, lang, meta, title }) {
  const { site } = useStaticQuery(
    graphql`
      query {
        site {
          siteMetadata {
            title
            description
            author
          }
        }
      }
    `
  )

  const metaDescription = description || site.siteMetadata.description

  return (
    <Helmet
      htmlAttributes={{
        lang,
      }}
      title={title}
      titleTemplate={`%s | ${site.siteMetadata.title}`}
      meta={[
        {
          name: `description`,
          content: metaDescription,
        },
        {
          property: `og:title`,
          content: title,
        },
        {
          property: `og:description`,
          content: metaDescription,
        },
        {
          property: `og:type`,
          content: `website`,
        },
        {
          name: `twitter:card`,
          content: `summary`,
        },
        {
          name: `twitter:creator`,
          content: site.siteMetadata.author,
        },
        {
          name: `twitter:title`,
          content: title,
        },
        {
          name: `twitter:description`,
          content: metaDescription,
        },
      ].concat(meta)}
    />
  )
}

SEO.defaultProps = {
  lang: `en`,
  meta: [],
  description: ``,
}

SEO.propTypes = {
  description: PropTypes.string,
  lang: PropTypes.string,
  meta: PropTypes.arrayOf(PropTypes.object),
  title: PropTypes.string.isRequired,
}

export default SEO
src/templates/blog-post.jsを修正
import React from "react"
import { graphql } from "gatsby"
import Layout from "../components/layout"
import SEO from "../components/seo"←これ追記

export default function BlogPost({ data }) {
  const post = data.markdownRemark
  return (
    <Layout>
      <SEO title={post.frontmatter.title} description={post.excerpt} />←これ追記
      <div>
        <h1>{post.frontmatter.title}</h1>
        <div dangerouslySetInnerHTML={{ __html: post.html }} />
      </div>
    </Layout>
  )
}

export const query = graphql`
  query($slug: String!) {
    markdownRemark(fields: { slug: { eq: $slug } }) {
      html
      frontmatter {
        title
      }
      excerpt←これ追記
    }
  }
`
これでもう一回Lighthouseを実行か
もう一回ビルドして動かすか。。。
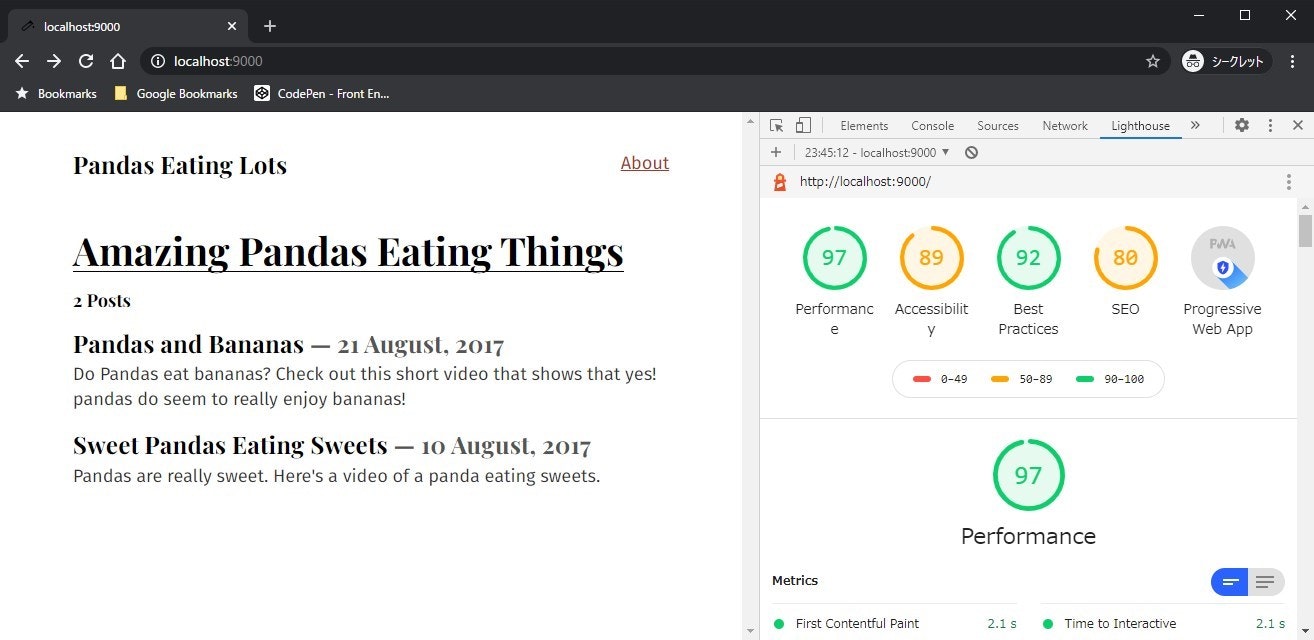
なんかあんまり向上はしてねぇな。
まぁでもちょっと向上したからいいか。HTTPSにするとか今のところ無理だし!
Keep making it better
Lighthouseを見ながら良いもの作っていってくださいねー!
だって。
基本は以上であとはまだチュートリアルがあるから見て作っていってね!
だって。
う~ん。。。どうしよう。
とりあえず今回はここまで。
ありがとうございました。