前置き
独学で、子供の成長アプリを作った時のことを、記録として残していきます。
間違っているところなどあれば、ご連絡お願いします。
①Djangoのようこそページへたどり着くまで
②NginxでDjangoのようこそページへたどり着くまで <--ここです
③カスタムユーザーを作ってadminにたどり着く
④ログインログアウトをしよう
⑤ユーザー登録(サインイン)機能を作ろう
⑥ユーザーごとのデータ登録できるようにする〜CRU編
⑦ユーザーごとのデータ登録できるようにする〜削除編
⑧画像ファイルのアップロード
⑨身長体重を記録する@一括削除機能つき
⑩成長曲線グラフを描いてみよう
⑪本番環境へデプロイ+色々手直し
Goal
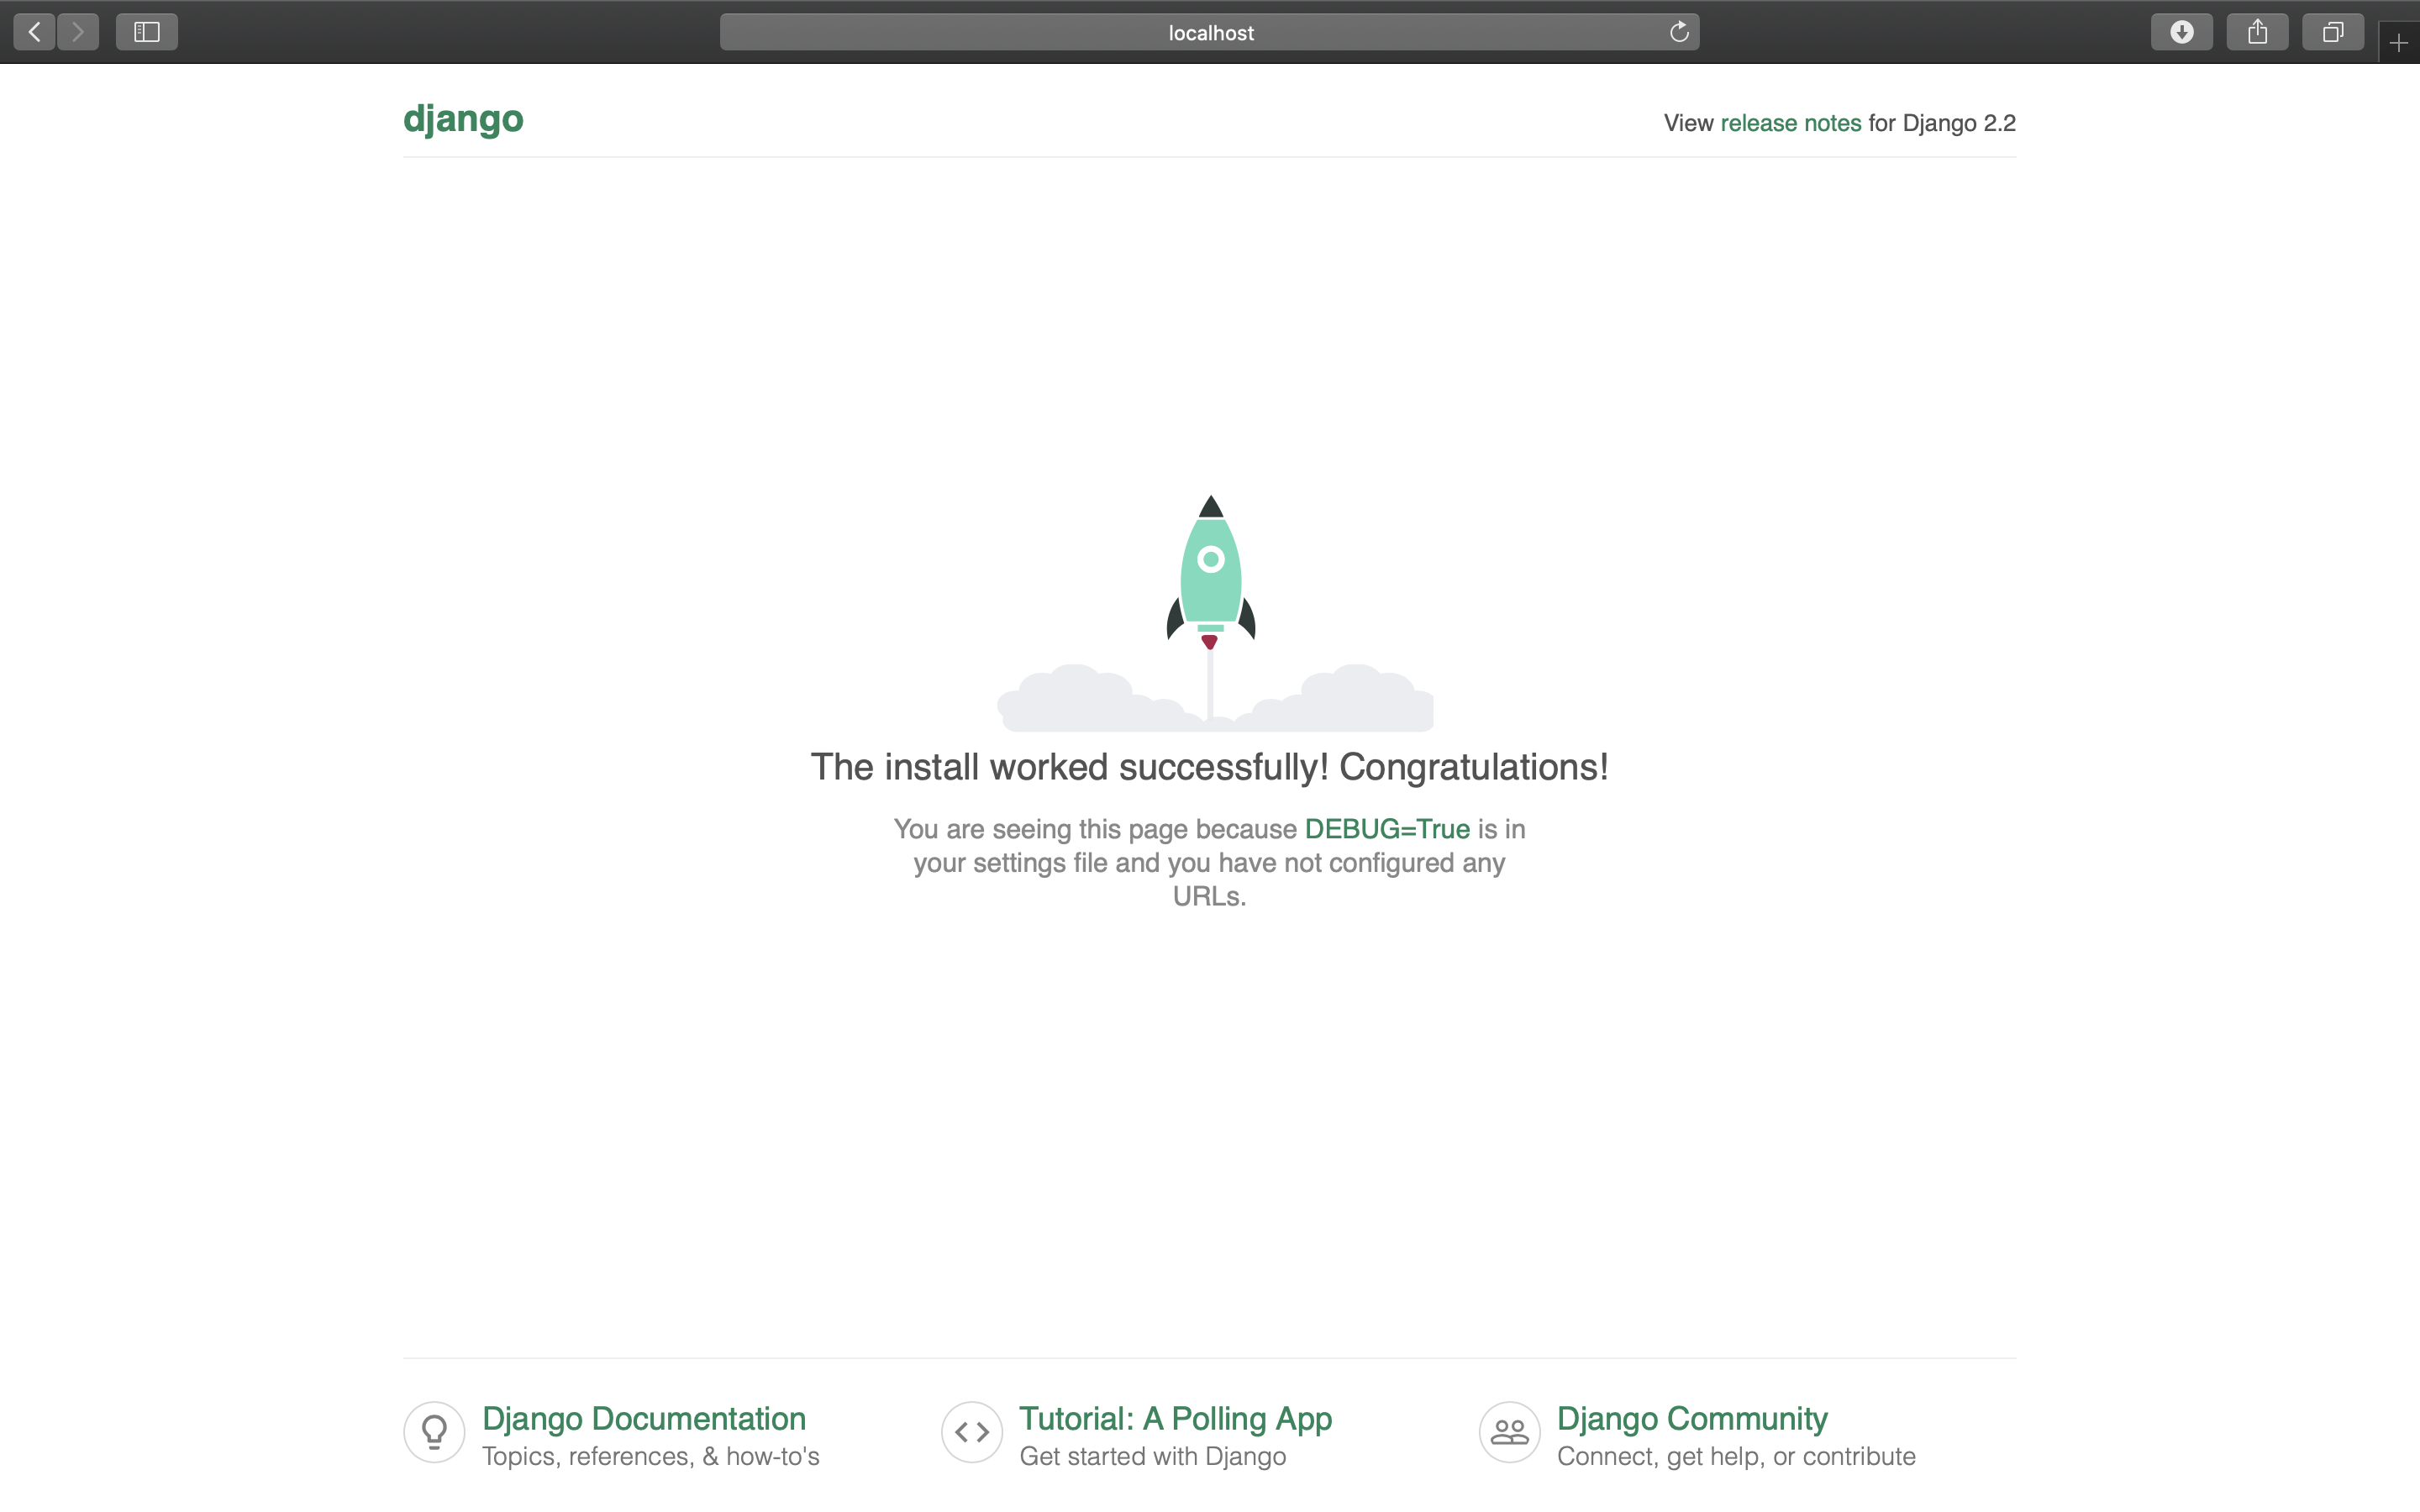
NginxからDjangoのようこそページへたどり着く
uWsgiの設定
NginxとDjangoを繋ぐためのuwsgiを入れる。
Django==2.2.2
psycopg2==2.8.4
uwsgi==2.0.17
docker-composeも変更する。
nginxのコンテナ設定追加と、webコンテナのコマンド・ポート設定を変更する。
version: "3"

services:

  nginx: #ここを追加する
    image: nginx:1.13
    ports:
      - "8000:8000"
    volumes:
      - ./nginx/conf:/etc/nginx/conf.d
      - ./nginx/uwsgi_params:/etc/nginx/uwsgi_params
      - ./static:/static #staticも繋ぐ
    depends_on:
      - web

  db-postgres:
    image: postgres

  web:
    build: ./web
    volumes:
      - ./src:/code
    expose:
     - "8000" #ポートフォワードじゃなくて普通にport空ける
    depends_on:
      - db-postgres
    command: uwsgi --socket :8000 --module mysite.wsgi #uwsgi起動に変更
Nginxの設定
こんなファイル体系になるように、nginx配下を作っていく
.
├── docker-compose.yml
├── nginx
│   ├── conf
│   │   └── mysite_nginx.conf
│   └── uwsgi_params
├── src
│   ├── manage.py
│   ├── mysite
│   │   ├── __init__.py
│   │   ├── __pycache__
│   │   │   ├── __init__.cpython-37.pyc
│   │   │   ├── settings.cpython-37.pyc
│   │   │   ├── urls.cpython-37.pyc
│   │   │   └── wsgi.cpython-37.pyc
│   │   ├── settings.py
│   │   ├── urls.py
│   │   └── wsgi.py
│   └── static
└── web
    ├── Dockerfile
    └── requirements.txt
confファイルで、静的レスポンスと動的レスポンスを振り分けてるイメージ。
upstream django {
    ip_hash;
    server web:8000;
}

server {
    listen      8000;
    server_name 127.0.0.1;
    charset     utf-8;

    client_max_body_size 75M;

    location /static {
        alias /static;
    }

    location / {
        uwsgi_pass  django;
        include     /etc/nginx/uwsgi_params;
    }
}
uwsgi_paramsは、そのまま。
uwsgi_param  QUERY_STRING       $query_string;
uwsgi_param  REQUEST_METHOD     $request_method;
uwsgi_param  CONTENT_TYPE       $content_type;
uwsgi_param  CONTENT_LENGTH     $content_length;

uwsgi_param  REQUEST_URI        $request_uri;
uwsgi_param  PATH_INFO          $document_uri;
uwsgi_param  DOCUMENT_ROOT      $document_root;
uwsgi_param  SERVER_PROTOCOL    $server_protocol;
uwsgi_param  REQUEST_SCHEME     $scheme;
uwsgi_param  HTTPS              $https if_not_empty;

uwsgi_param  REMOTE_ADDR        $remote_addr;
uwsgi_param  REMOTE_PORT        $remote_port;
uwsgi_param  SERVER_PORT        $server_port;
uwsgi_param  SERVER_NAME        $server_name;
Dockerで立ち上げよう
requirement.txtを直したら、buildしておく。
docker-compose build
Dockerを起動
docker-compose up
localhost:8000へアクセスする
Djangoのrunserverと同じように、初期画面が表示されたら成功!

参考