1
0

Delete article

Deleted articles cannot be recovered.

Draft of this article would be also deleted.

Are you sure you want to delete this article?

More than 5 years have passed since last update.

【クラウド初心者向け】Amazon Connectのユーザー(エージェント)作成

Last updated at Posted at 2019-11-26

概要

  • お客様の電話を受け取って対応する人。
  • ソフトフォンを利用してお客様からの電話を受け取ります。
  • ユーザー(エージェント)は複数のルーティングプロファイルを割り当てる事ができます。

使用ユーザー

  • IAMユーザー

手順

  1. AWSにサインインします。

    1. アカウント、ユーザー名、パスワードを入力してサインインします。
      アカウント内(IAM)で作成したユーザーを使用してコンソールにサインインする
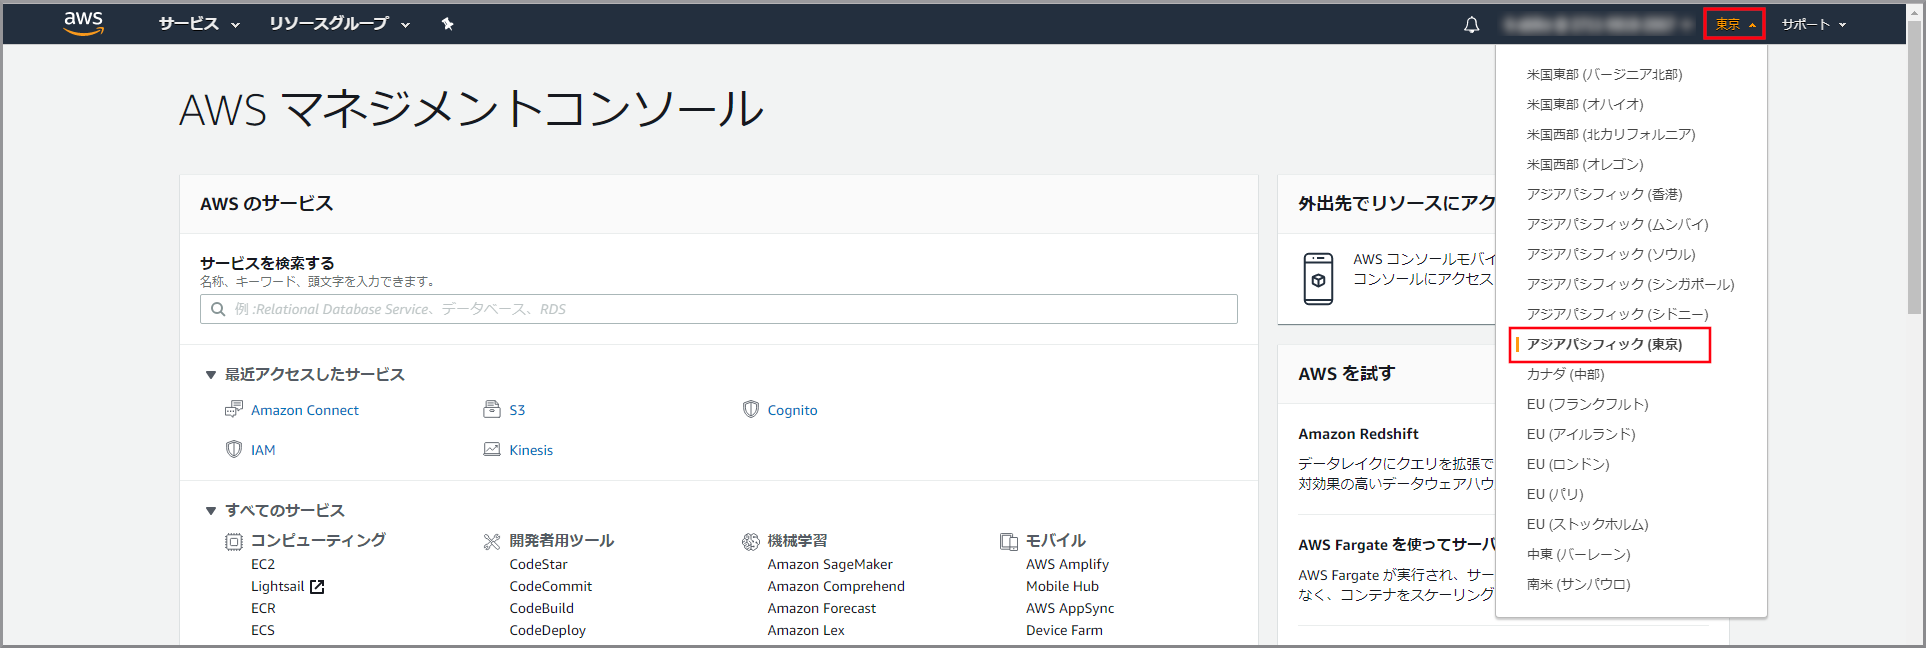
  2. 『AWSマネジメントコンソール』画面の右上にある《リージョン名》をクリックし、ドロップダウンます。
    image.png

  3. 『AWSマネジメントコンソール』画面にある「サービスを検索」にConnectと入力し、検索結果から《Amazon Connect》をクリックし、Amazon Connect コンソール(https://console.aws.amazon.com/connect/)を開きます。
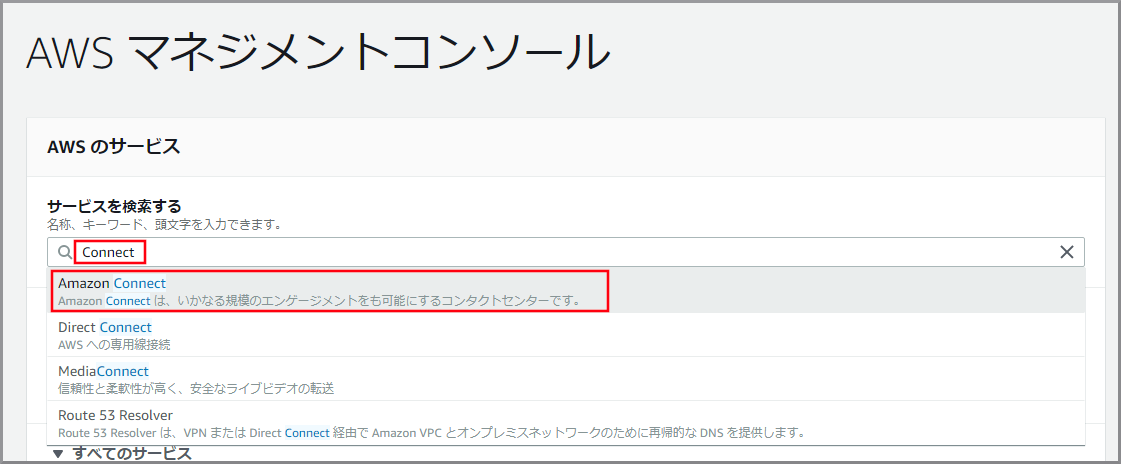
    image.png

  4. Amazon Connectのインスタンス一覧が表示されるので、該当のインスタンスをクリックします。
    image.png

  5. インスタンスの概要が表示されるので《管理者としてログイン》をクリックします。
    image.png

  6. ダッシュボードの左側のメニューから《ユーザー管理》をクリックします。
    image.png

  7. 《新しいユーザーの追加》をクリックします。
    image.png

  8. 「作成」が選択されていることを確認し、《次へ》をクリックします。
    image.png

  9. 以下の項目を入力、選択し、《保存》をクリックします。
    image.png

    1. 名:適当な名を入力します。
    2. 姓:適当な姓を入力します。
    3. ログイン名:適当なログイン名を入力します。
    4. パスワード、パスワード確認:適当なパスワードを入力します。
    5. ルーティングプロファイル:【クラウド初心者向け】Amazon Connectのルーティングプロファイル作成で作成したキューを選択します。
    6. セキュリティプロファイル:「Agent」を選択します。
      (セキュリティプロファイルはAmazon Connect内ユーザーの権限設定です。)
  10. 登録が完了し、ユーザー(エージェント)が一覧に表示されます。
    image.png

参考サイト

目次に戻る

1
0
0

Register as a new user and use Qiita more conveniently

  1. You get articles that match your needs
  2. You can efficiently read back useful information
  3. You can use dark theme
What you can do with signing up
1
0

Delete article

Deleted articles cannot be recovered.

Draft of this article would be also deleted.

Are you sure you want to delete this article?