前回の記事
前回はデモをとりあえず動かすところまで実施しました。
VMware上のUbuntu 22.04にROS2を入れてOpen-RMFデモを動かしてみた(デモ操作①)
今回はRMFのダッシュボードからGUIで操作してロボットを動かしたいと思います。
デモ自体は下記を参考にしています。
RMF Demos
https://github.com/open-rmf/rmf_demos/
手順
- ホストOS(Windows11)準備
- ゲストOS(Ubuntu 22.04(LTS))準備
- ROS2導入
- Open-RMF導入
- デモ操作 ←今回はここの内容
思いのほか長くなりそうだったので、いくつかの記事に分割しています。
VMware上のUbuntu 22.04にROS2を入れてOpen-RMFデモを動かしてみた(準備編)
VMware上のUbuntu 22.04にROS2を入れてOpen-RMFデモを動かしてみた(ROS2導入編)
VMware上のUbuntu 22.04にROS2を入れてOpen-RMFデモを動かしてみた(Open-RMF導入編)
VMware上のUbuntu 22.04にROS2を入れてOpen-RMFデモを動かしてみた(デモ操作①)
VMware上のUbuntu 22.04にROS2を入れてOpen-RMFデモを動かしてみた(デモ操作②)
5.デモ操作
前回はOpen-RMFを導入したばかりで、GUIでのタスクのサブミット方法が分かりませんでしたが、今回は「rmf-web」のダッシュボードから実施していきたいと思います。
これ以外にも、「rmf-panel」という方法も紹介されていましたが、自分の環境ではうまくいきませんでした。
その為、この記事では「rmf-web」の方法で紹介したいと思います。
rmf-panelエラーログ
参考:
https://github.com/open-rmf/rmf-panel-js
サーバー自体は起動するも、ROS(デモ)を起動すると404エラーが発生
ubuntu@ubuntu2204:~/rmf-panel-js/rmf_panel$ python3 -m http.server 3000
Serving HTTP on 0.0.0.0 port 3000 (http://0.0.0.0:3000/) ...
127.0.0.1 - - [13/May/2024 13:17:38] "GET / HTTP/1.1" 200 -
127.0.0.1 - - [13/May/2024 13:17:38] "GET /dist/app.bundle.js HTTP/1.1" 304 -
127.0.0.1 - - [13/May/2024 13:17:47] code 404, message File not found
127.0.0.1 - - [13/May/2024 13:17:47] "GET /_internal HTTP/1.1" 404 -
127.0.0.1 - - [13/May/2024 13:18:38] code 404, message File not found
127.0.0.1 - - [13/May/2024 13:18:38] "GET /_internal HTTP/1.1" 404 -
127.0.0.1 - - [13/May/2024 13:18:38] code 404, message File not found
127.0.0.1 - - [13/May/2024 13:18:38] "GET /_internal HTTP/1.1" 404 -
起動しているサーバーにはアクセスはできるが、何も操作できない。
「REFRESH」などをクリックしても反応なし。
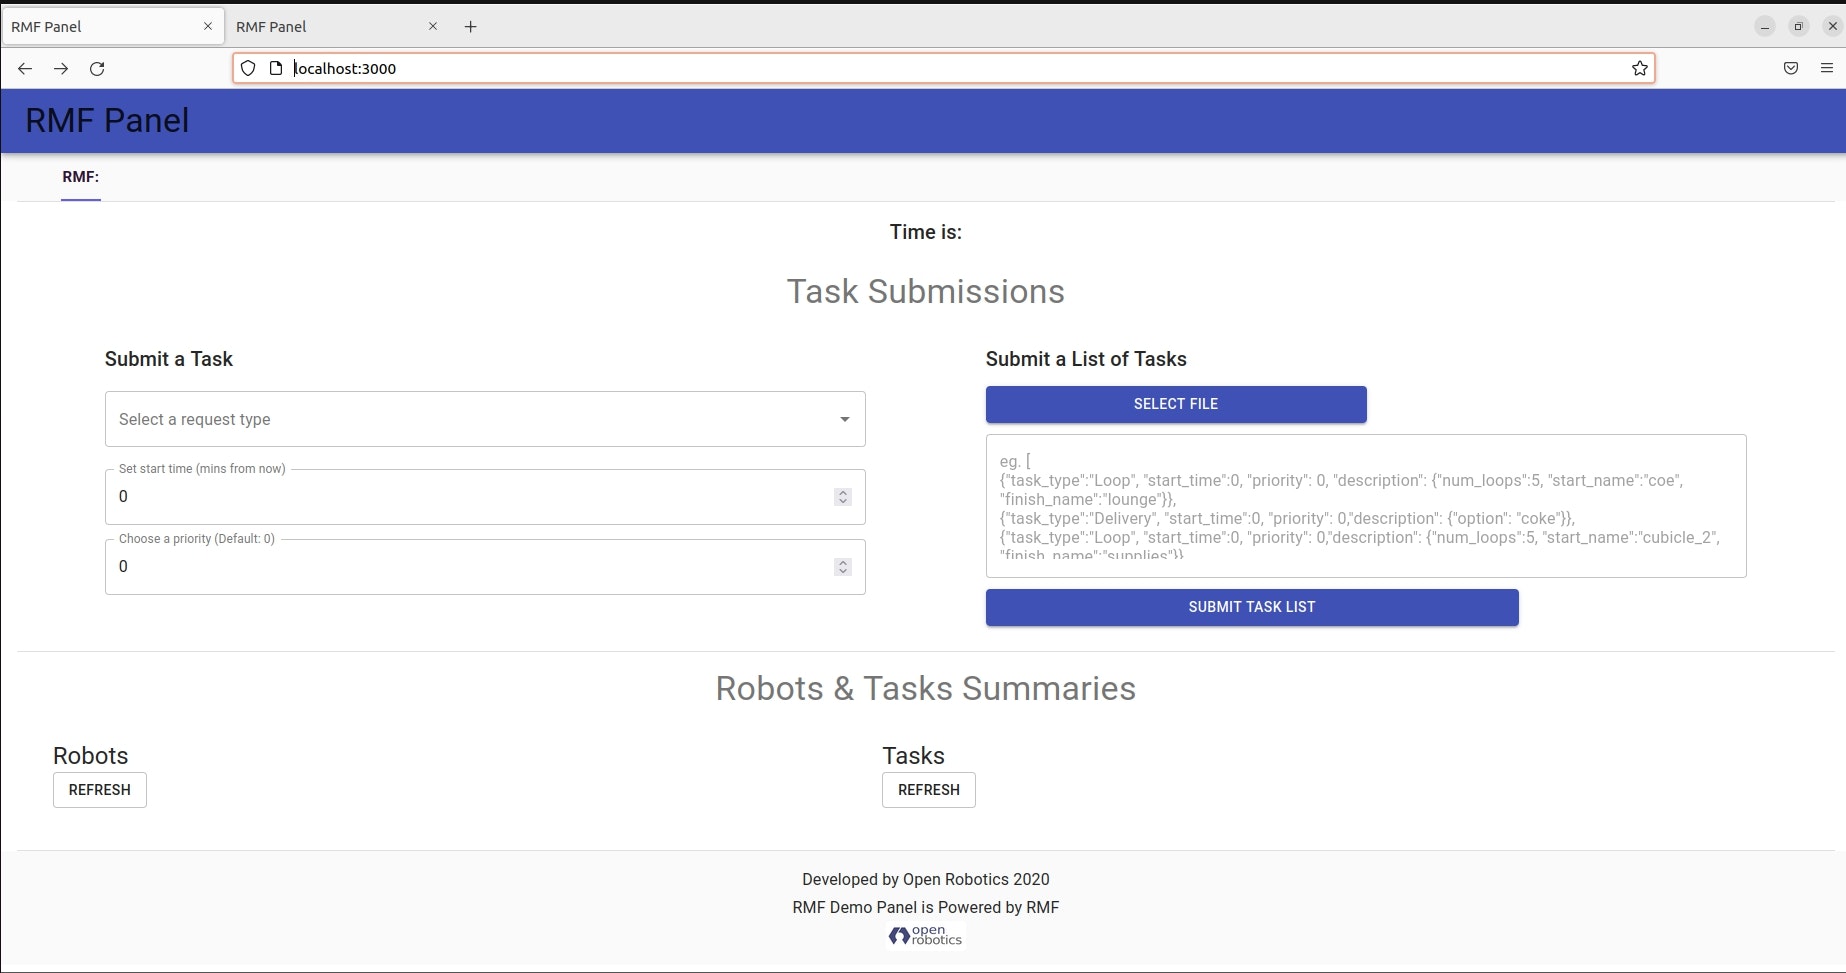
ROS側のログ
URLにアクセスできないとのエラーが大量に出力された。色々他のポートなども試したが結局うまくいかず。
ただし、通常通りGazeboやRvizは起動できていた。
$ ros2 launch rmf_demos_gz_classic hotel.launch.xml server_uri:="ws://localhost:8000/_internal"
・
・
[fleet_adapter-18] [WARN] [1715574967.199314288] [tinyRobot_fleet_adapter]: BroadcastClient unable to connect to [ws://localhost:8000/_internal]. Please make sure server is running. Error msg: invalid state
[fleet_adapter-16] [WARN] [1715574967.220279150] [cleanerBotA_fleet_adapter]: BroadcastClient unable to connect to [ws://localhost:8000/_internal]. Please make sure server is running. Error msg: invalid state
[fleet_adapter-20] [WARN] [1715574967.279454233] [deliveryRobot_fleet_adapter]: BroadcastClient unable to connect to [ws://localhost:8000/_internal]. Please make sure server is running. Error msg: invalid state
localhost:3000で接続はできましたが、ROSをlaunchしても、接続できないというエラーが出てロボットの操作や情報取得ができませんでした。(私が理解していないだけかもしれません。うまくいったかた教えていただけると嬉しいです。。。)
rmf-web準備
下記を参考にrmf-webを導入します。
(今回はオールインワンで導入する為、デモやROS2を導入したサーバーに入れています。)
https://github.com/open-rmf/rmf-web
ターミナルから下記のコマンドを実行し、pnpmやnodejsなどを導入します。
$ git clone https://github.com/open-rmf/rmf-web.git
$ cd rmf-web/
$ sudo curl -fsSL https://get.pnpm.io/install.sh | bash -
$ pnpm env use --global 20
その後、下記コマンドでpipenvなどを導入します。
$ sudo apt install python3-venv  #Ubunutuなので左記も実行
$ pip3 install pipenv
$ cd /home/ubuntu/rmf-web/
$ pnpm install
rmf-web起動
下記コマンドでダッシュボードを起動します。
$ source /opt/ros/humble/setup.bash  # .bachrcに組み込んでいる場合は不要
$ source /home/ubuntu/rmf_ws/install/setup.bash
$ cd /home/ubuntu/rmf-web/packages/dashboard
$ pnpm start
起動ログ
ubuntu@ubuntu2204:~/rmf-web/packages/dashboard$ pnpm start

> rmf-dashboard@0.0.1 start /home/ubuntu/rmf-web/packages/dashboard
> concurrently npm:start:rmf-server npm:start:react
[start:rmf-server]
[start:rmf-server] > rmf-dashboard@0.0.1 start:rmf-server
[start:rmf-server] > RMF_SERVER_USE_SIM_TIME=true npm --prefix ../api-server start
[start:rmf-server]
[start:react]
[start:react] > rmf-dashboard@0.0.1 start:react
[start:react] > pnpm run --filter {.}^... build && node scripts/start.js
[start:react]
[start:rmf-server]
[start:rmf-server] > api-server@0.0.0 start
[start:rmf-server] > rm -rf run && mkdir -p run/cache && MF_API_SERVER_CONFIG=${RMF_API_SERVER_CONFIG:-sqlite_local_config.py} ../../scripts/pipenv run python -m api_server
[start:rmf-server]
[start:react] Scope: 6 of 10 workspace projects
[start:react] ../rmf-models build$ tsc --build
[start:rmf-server] Courtesy Notice: Pipenv found itself running within a virtual environment, so it will automatically use that environment, instead of creating its own for any project. You can set PIPENV_IGNORE_VIRTUALENVS=1 to force pipenv to ignore that environment and create its own instead. You can set PIPENV_VERBOSITY=-1 to suppress this warning.
[start:react] ../rmf-models build: Done
[start:react] ../api-client build$ tsc --build
[start:rmf-server] WARNING:fastapi:authentication is disabled
[start:react] ../api-client build: Done
[start:react] ../react-components build$ tsc --build
[start:react] ../rmf-auth build$ tsc --build
[start:react] ../rmf-auth build: Done
[start:react] ../react-components build: Done
[start:react] (node:28049) [DEP_WEBPACK_DEV_SERVER_ON_AFTER_SETUP_MIDDLEWARE] DeprecationWarning: 'onAfterSetupMiddleware' option is deprecated. Please use the 'setupMiddlewares' option.
[start:react] (Use `node --trace-deprecation ...` to show where the warning was created)
[start:react] (node:28049) [DEP_WEBPACK_DEV_SERVER_ON_BEFORE_SETUP_MIDDLEWARE] DeprecationWarning: 'onBeforeSetupMiddleware' option is deprecated. Please use the 'setupMiddlewares' option.
[start:react] Starting the development server...
[start:react]
[start:react] Compiled with warnings.
[start:react]
[start:react] Warning
[start:react] (655:3) autoprefixer: Replace color-adjust to print-color-adjust. The color-adjust shorthand is currently deprecated.
[start:react]
[start:react] Search for the keywords to learn more about each warning.
[start:react] To ignore, add // eslint-disable-next-line to the line before.
[start:react]
[start:react] WARNING in ../../node_modules/.pnpm/leaflet@1.8.0/node_modules/leaflet/dist/leaflet.css (../../node_modules/.pnpm/css-loader@6.10.0_webpack@5.91.0_esbuild@0.18.20_/node_modules/css-loader/dist/cjs.js??ruleSet[1].rules[1].oneOf[5].use[1]!../../node_modules/.pnpm/postcss-loader@6.2.1_postcss@8.4.38_webpack@5.91.0_esbuild@0.18.20_/node_modules/postcss-loader/dist/cjs.js??ruleSet[1].rules[1].oneOf[5].use[2]!../../node_modules/.pnpm/source-map-loader@5.0.0_webpack@5.91.0_esbuild@0.18.20_/node_modules/source-map-loader/dist/cjs.js??ruleSet[1].rules[0]!../../node_modules/.pnpm/leaflet@1.8.0/node_modules/leaflet/dist/leaflet.css)
[start:react] Module Warning (from ../../node_modules/.pnpm/postcss-loader@6.2.1_postcss@8.4.38_webpack@5.91.0_esbuild@0.18.20_/node_modules/postcss-loader/dist/cjs.js):
[start:react] Warning
[start:react]
[start:react] (655:3) autoprefixer: Replace color-adjust to print-color-adjust. The color-adjust shorthand is currently deprecated.
[start:react]
[start:react] webpack compiled with 1 warning
[start:react] No errors found.
デモ起動
別ターミナルでHOTELデモを下記のコマンドを実行します。
$ source /opt/ros/humble/setup.bash  # .bachrcに組み込んでいる場合は不要
$ source /home/ubuntu/rmf_ws/install/setup.bash
$ ros2 launch rmf_demos_gz_classic hotel.launch.xml server_uri:="ws://localhost:8000/_internal"
GazeboやRvizが起動するまで待ちます。
rmf-web起動確認
下記URLでアクセスを行います。
http://localhost:3000/
または
http://localhost:3000/_internal
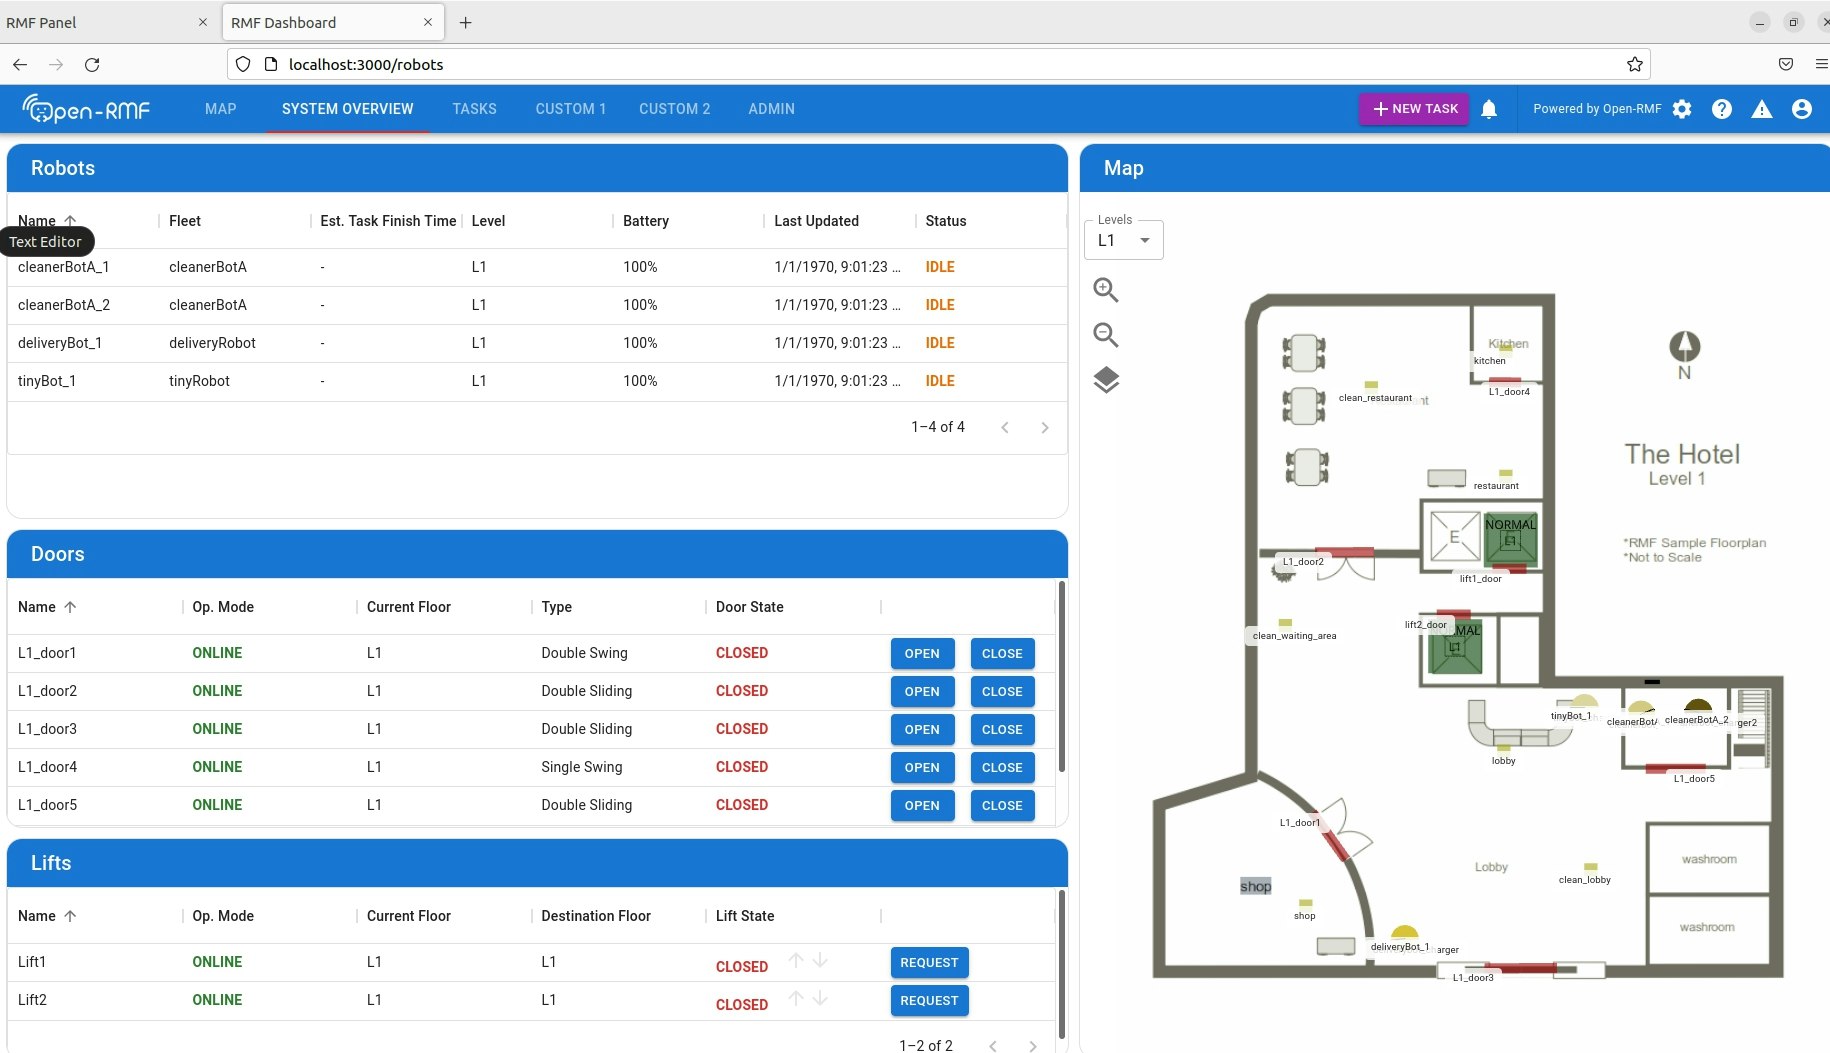
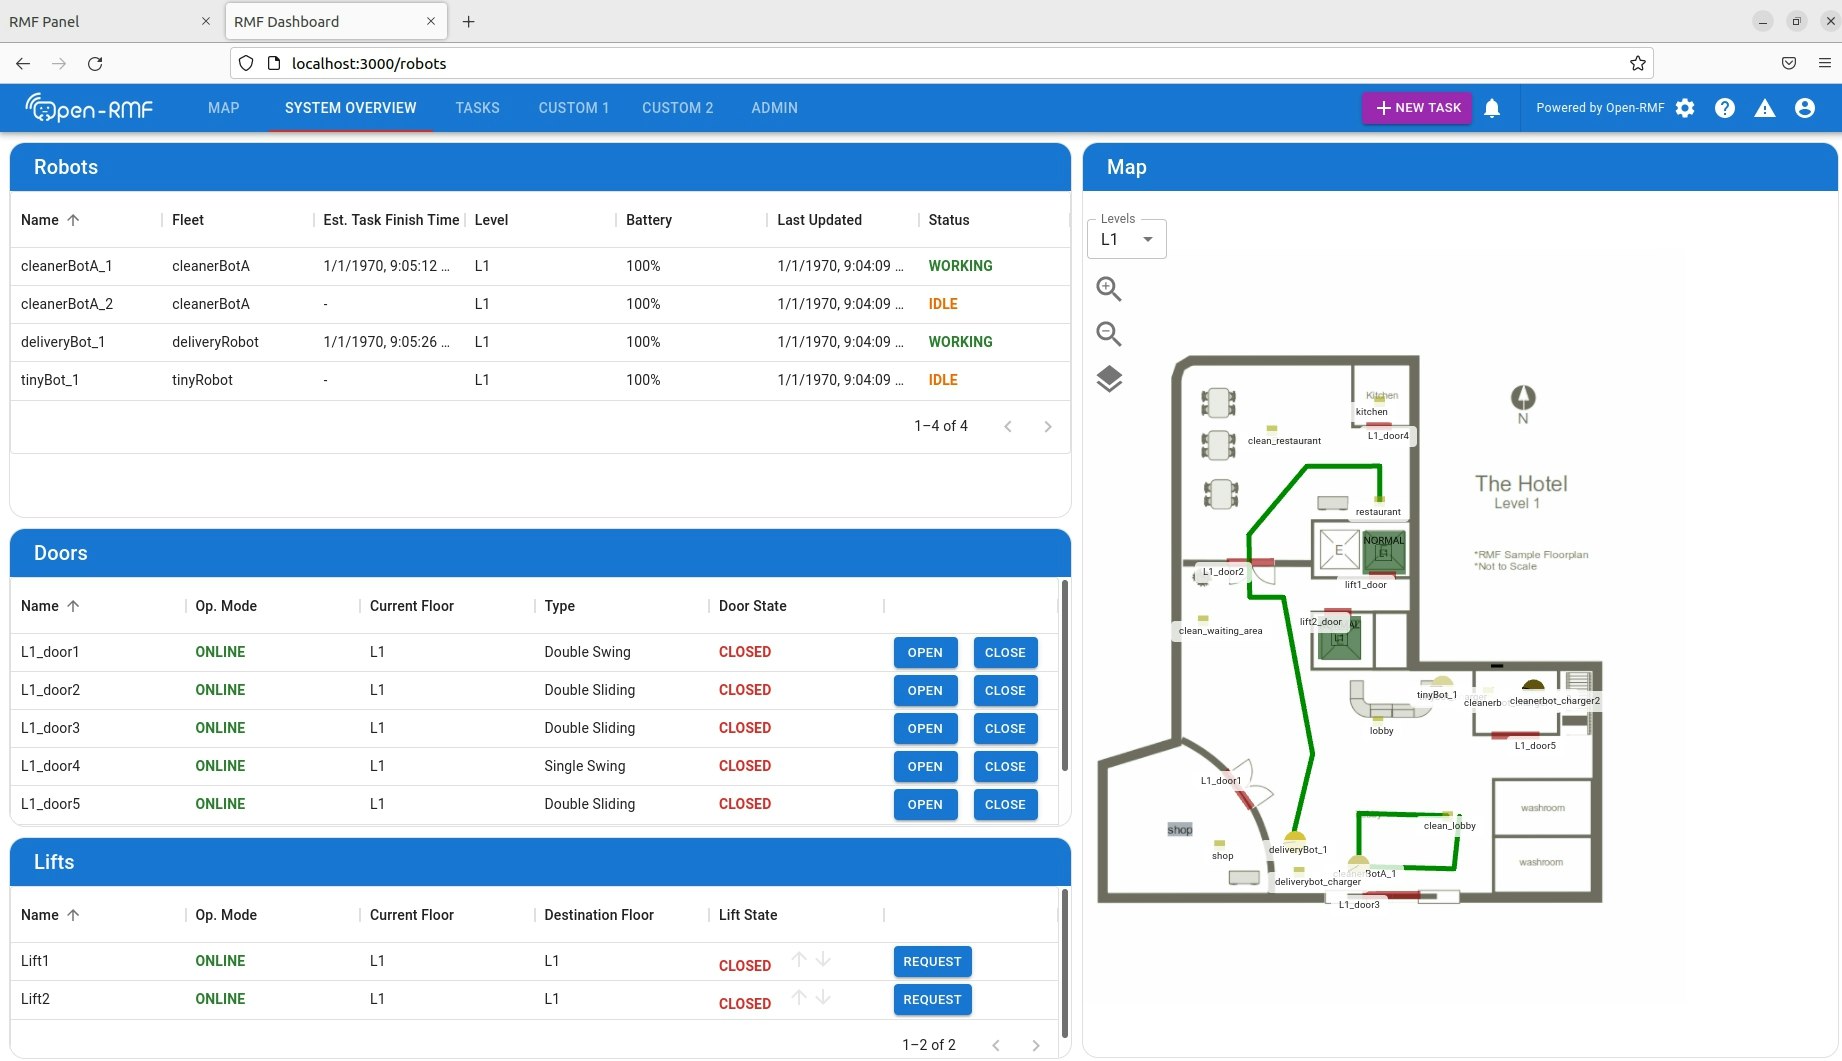
こちらにアクセスするとダッシュボードを開くことができました。
SYSTEM OVERVIEWでは、各ロボットの状態やドアやリフトの状態を確認することができました。
※ロボットの情報がうまく取得できない場合などは、ROS launchを停止して再度起動したりすると取得できることがありました。
GUIからタスク実行
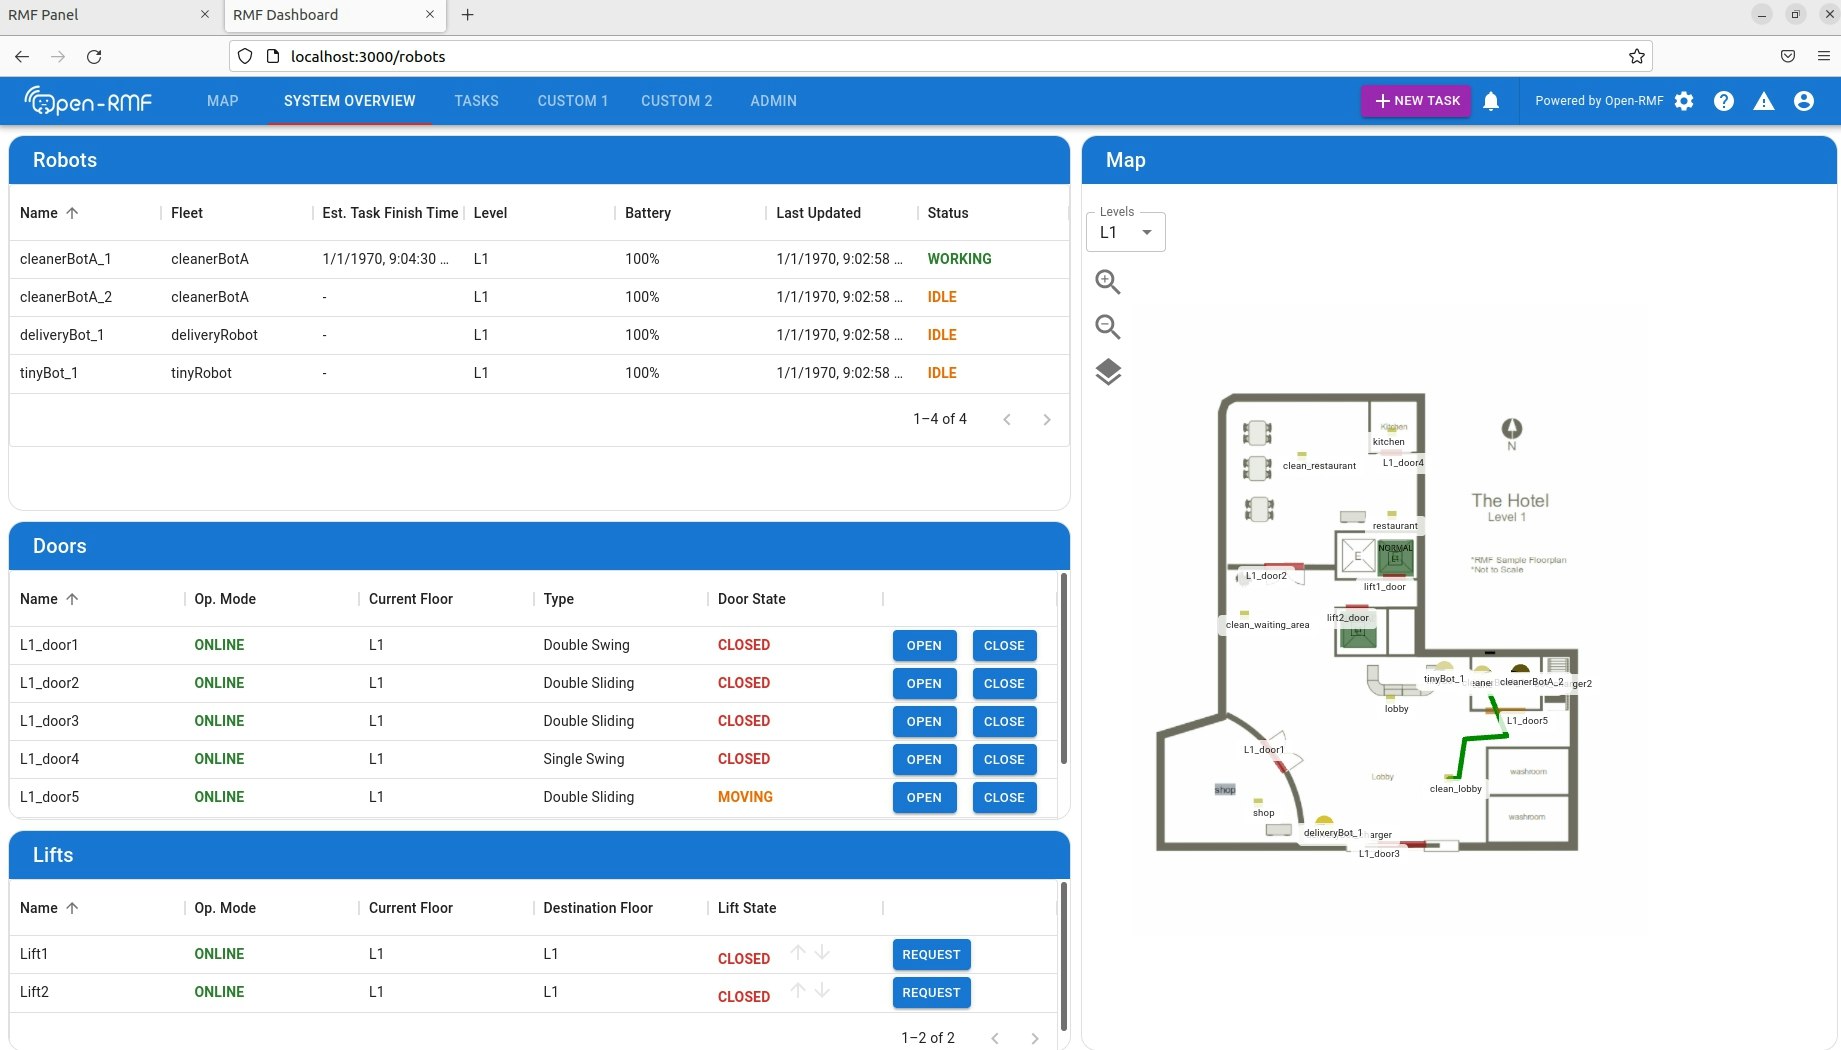
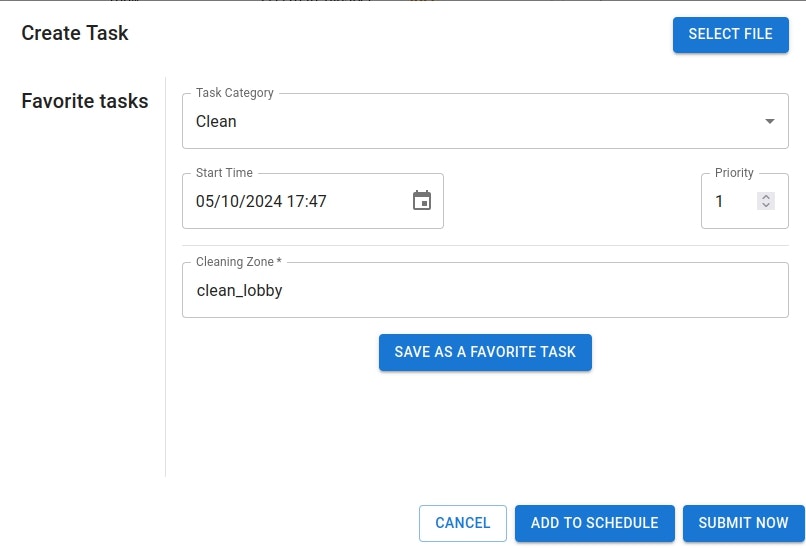
「SYSTEM OVERVIEW」の右上にある「+NEW TASK」からタスクを設定して「SUBMIT NOW」で実行します。
今回は「Clean」のタスクを実行します。
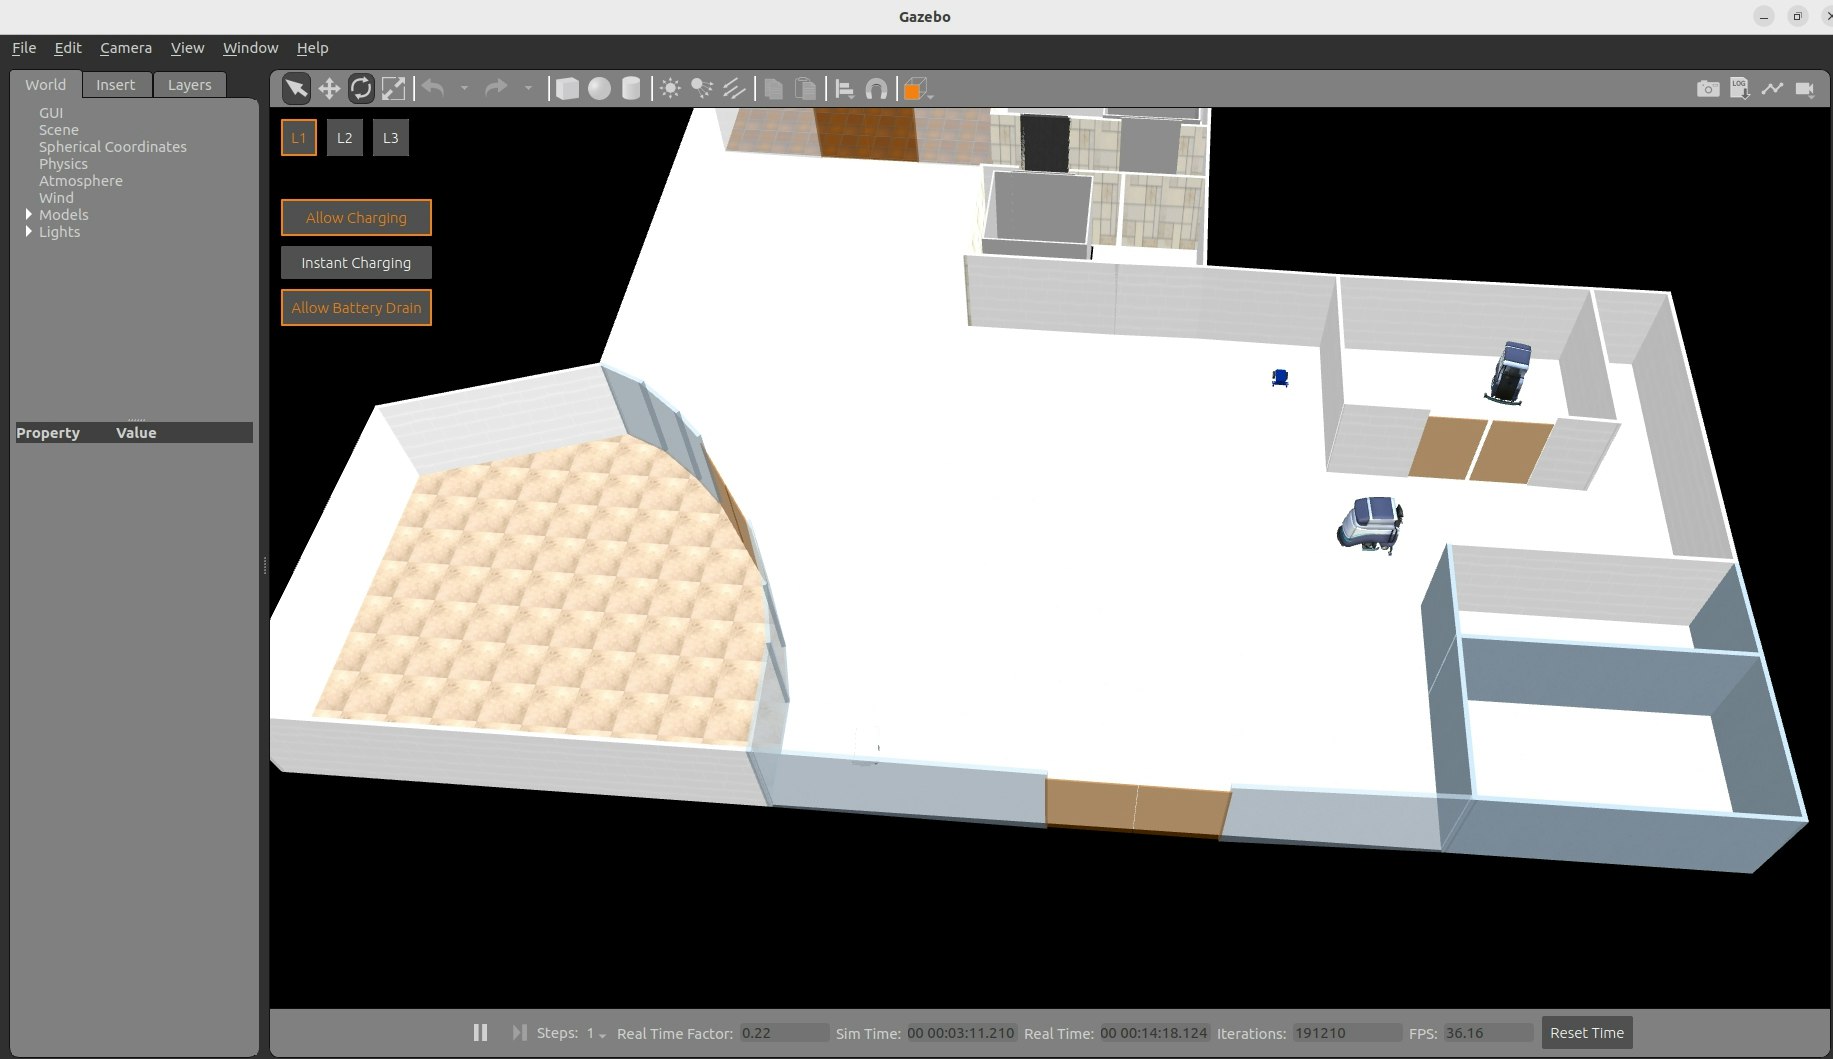
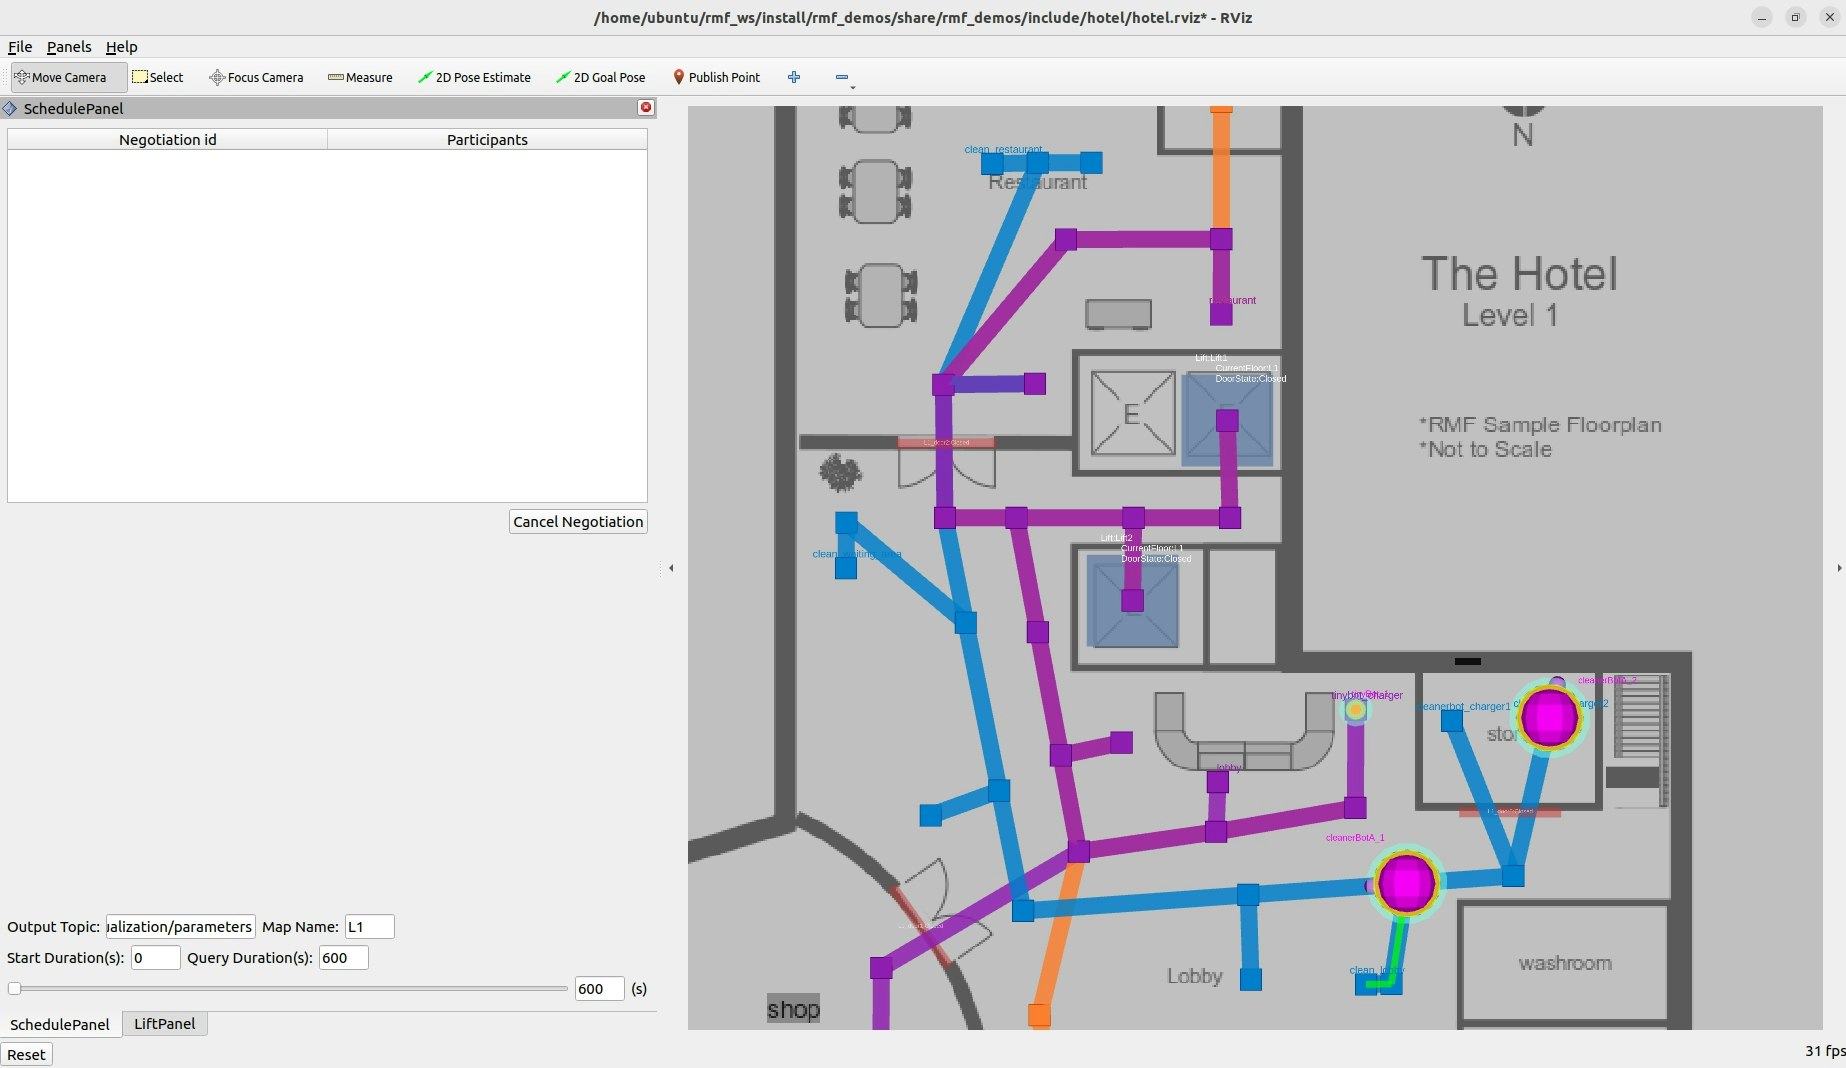
当然ですが、GazeboやRviz上でも同様の状況を確認できています。
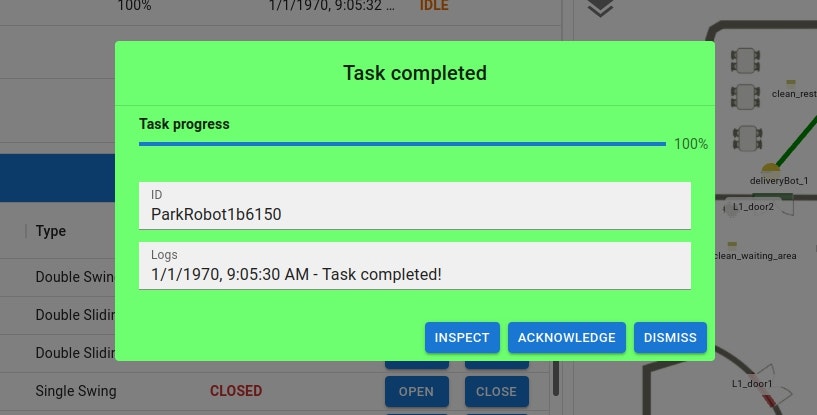
また、別のタスクを並行して実行(SUBMIT)しましたが、ちゃんとロボットに反映されて「WORKING」という状態になっています。
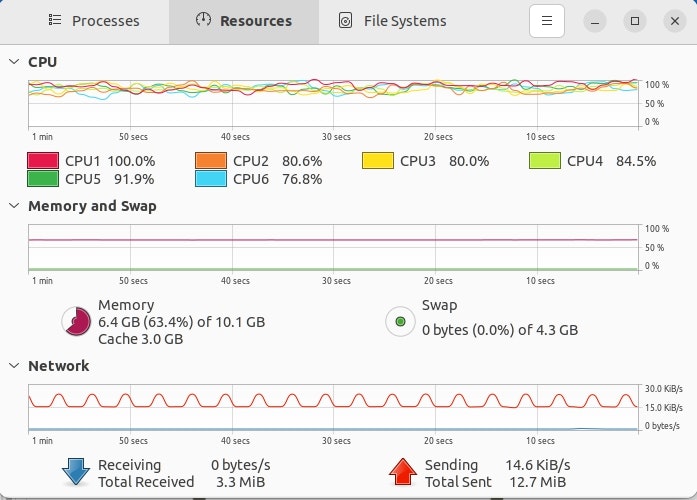
実行中のリソースモニターの様子。
かなりCPUがかつかつでした、最低でもCPU4は必要と思います。
可能であればCPU8以上あるとよいかもしれません。
今回はrmf-webのGUI(ダッシュボード)からタスクを実行してみました。
今後も、色々と調査を続け共有できる内容があれば、記事にしてみたいと思います。
