はじめに
React Nativeを用いて作ってみたいネイティブアプリケーションができた為、まずはセットアップの備忘録としてこの記事を残します。
ちなみにReact Nativeとは、Cross-Platformに対応している(iOS、Android、Web etc...)に対応したアプリケーションを開発することができます。
参照 : React Native
実行環境
macOS Catalina: 10.15.4
node: v12.18.3
react-native-cli: 2.0.1
watchman: 4.9.0
環境構築
brewを使用し、NodeとWatchmanをインストールします。
Nodeはいいとして、Watchmanとは、FaceBook推奨のファイル変更管理ツールです
参照: Watchman公式
brew install node
brew install watchman
また、CocoaPodsをインストールすると便利なのでinstallしていきます。
CocoaPodsとは、ライブラリ管理ツールです。
sudo gem install cocoapods
プロジェクト作成
iOSシミュレータを起動します。
open -a Simulator
iOSシミュレータの起動が確認できたら、いったん閉じ、
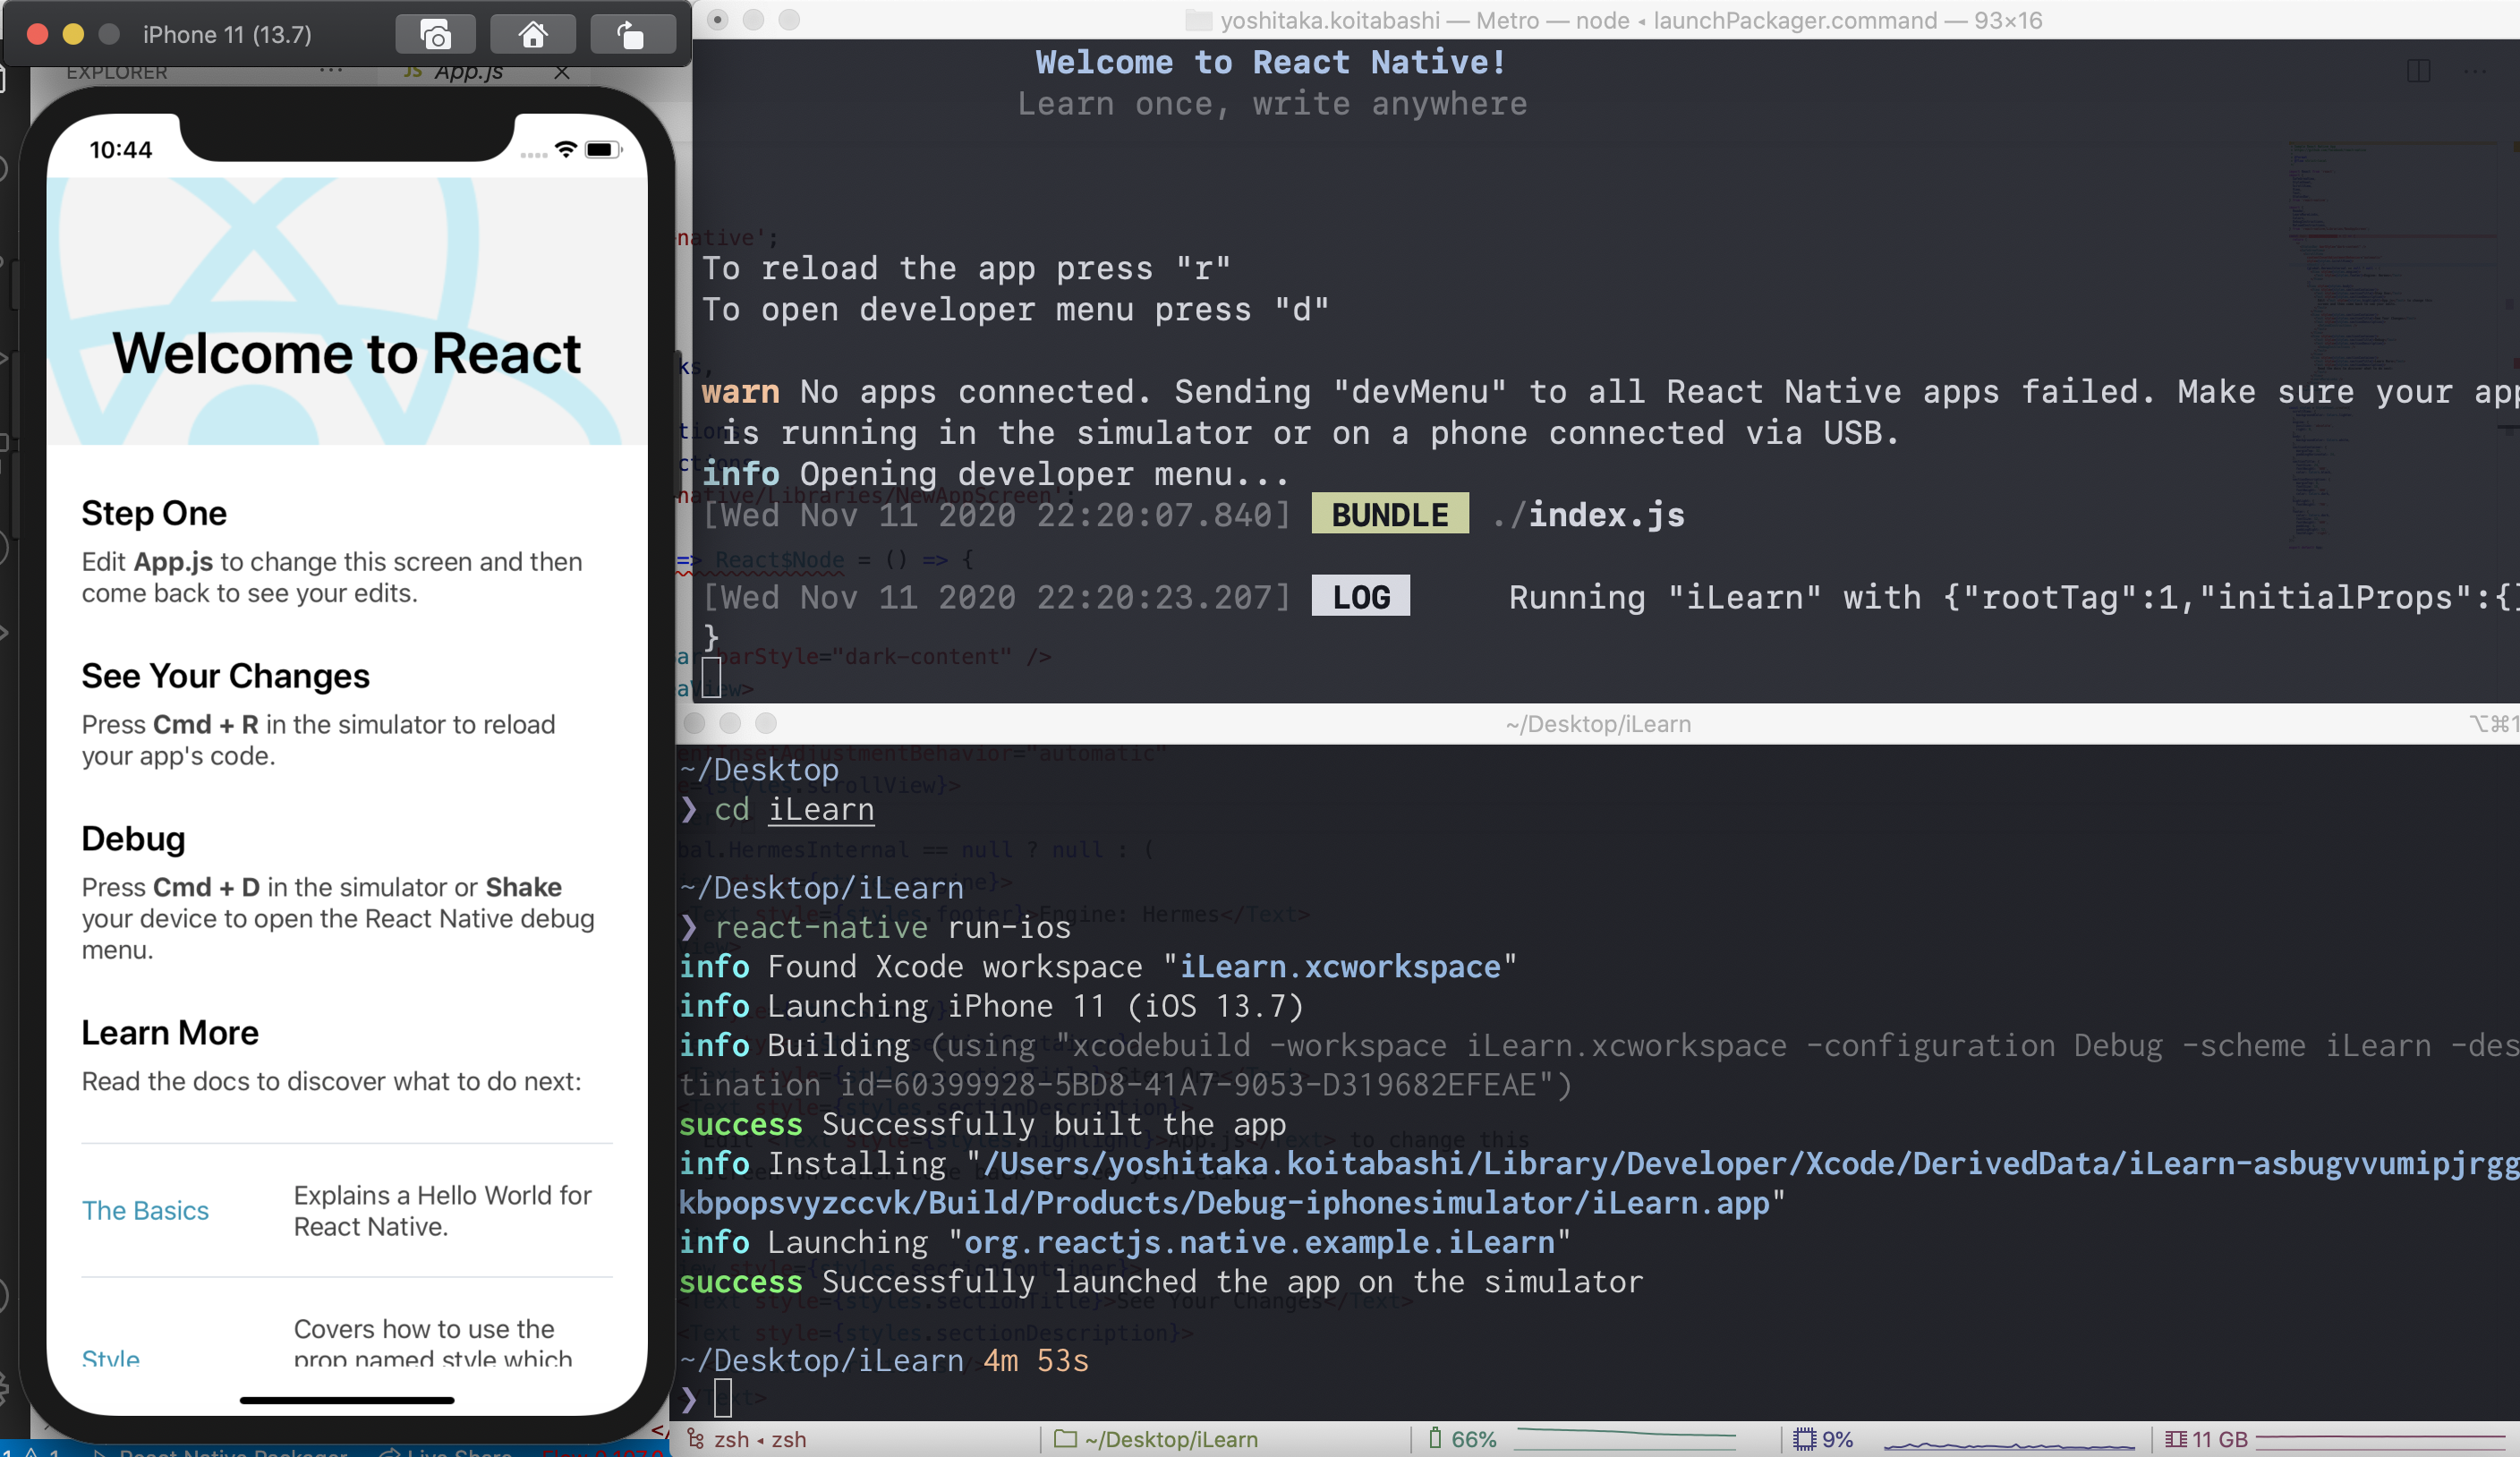
次はアプリケーションを作成し、iOSで起動します。
react-native init Test(プロジェクトの名前)
cd Test
react-native run-ios
ディレクトリの構成
こちら参照: React公式Docを参考にし、
下記にディレクトリ構成例を記載します。
今回は、ファイルタイプ別にグループ化する方法を採用します。
api/
  APIUtils.js
  APIUtils.test.js
  ProfileAPI.js
  UserAPI.js
components/
  Avatar.js
  Avatar.css
  Feed.js
  Feed.css
  FeedStory.js
  FeedStory.test.js
  Profile.js
  ProfileHeader.js
  ProfileHeader.css
おわり
次回は、実際に作成したアプリケーションとコードを記事にしていこうと思います。
