はじめに
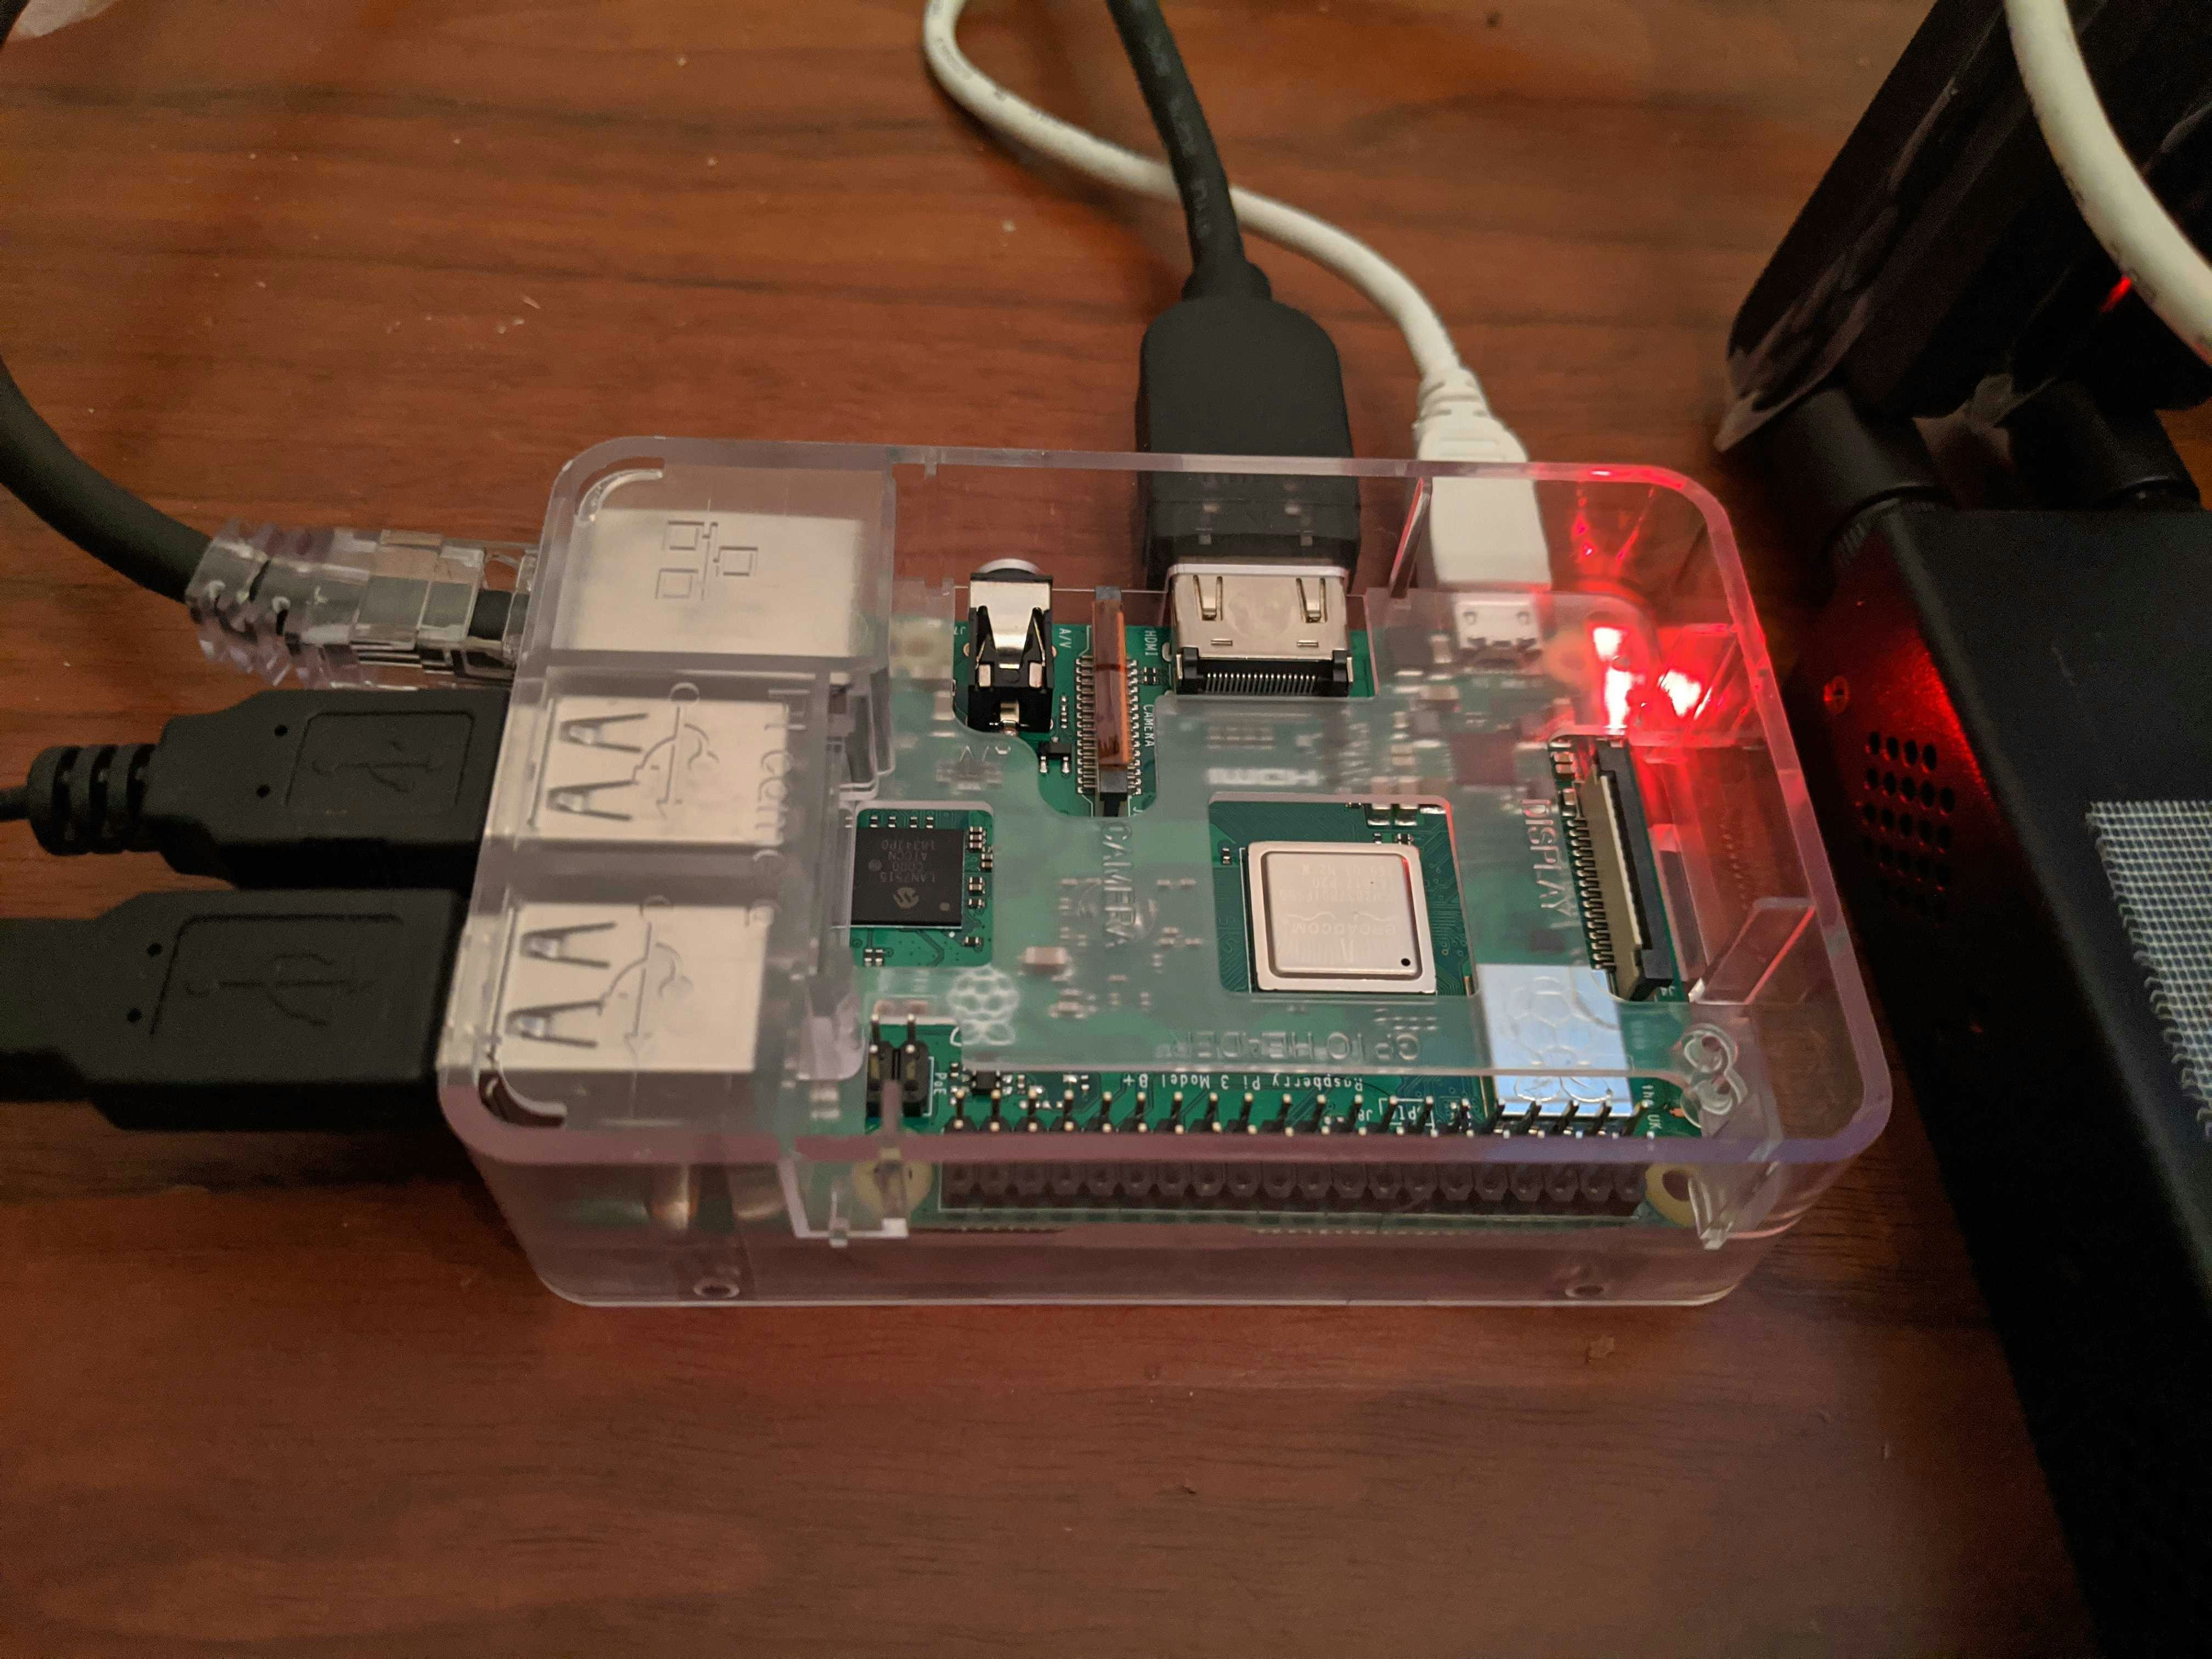
前回の記事では、RaspberryPiを活用してCaptivePortal付きのWifiAPを作成しました。その際に、WifiアダプターをAP化するhostapdに加えて、DHCPサーバーであるisc-dhcp-server, DNSサーバーであるdnsmasqを導入し、いわゆるルーターモードで動作するWifiAPを作りました。今回の記事では、ブリッジモードで動作するAPを作ります。(接続するクライアントがeth0側のサブネットに直接つながっているように見えるモードです)
手順

初期設定
- brctlコマンドを有効化する為に、下記を入れておくと良いかもしれません(任意)
pi@raspberrypi:~ $ sudo apt install -y bridge-utils
Network Interfaceの設定
- eth0 (インターネット側)
- IP: 192.168.10.200
- Netmask: 255.255.255.0
- Gateway: 192.168.10.1
- DNS: 8.8.8.8
- br0 (eth0-wlan0ブリッジ用)
- IP: 192.168.10.201
- Netmask: 255.255.255.0
/etc/network/interfaces
# interfaces(5) file used by ifup(8) and ifdown(8)

# Please note that this file is written to be used with dhcpcd
# For static IP, consult /etc/dhcpcd.conf and 'man dhcpcd.conf'

# Include files from /etc/network/interfaces.d:
source-directory /etc/network/interfaces.d

iface eth0 inet static
address 192.168.10.200
netmask 255.255.255.0
gateway 192.168.10.1
dns-nameservers 8.8.8.8

auto br0
iface br0 inet static
address 192.168.10.201
netmask 255.255.255.0
bridge_ports eth0 wlan0
hostapdの導入&設定
hostapdは一言でいうと、RaspberryPi上のWifiアダプターを親機化する為のソフトです。
pi@raspberrypi:~ $ sudo apt install -y hostapd
下記のように設定ファイルを書くことで、SSIDや認証方式、Wifiパスワード等が設定可能です。
/etc/hostapd/hostapd.conf
interface=wlan0
bridge=br0
driver=nl80211
ssid=_TAGURO_SANZYOU
hw_mode=g
channel=8
wmm_enabled=1
macaddr_acl=0
ieee80211n=1
ht_capab=[HT40-][HT40+][SHORT-GI-20][SHORT-GI-40]
ieee80211ac=0
vht_capab=
ieee80211d=1
country_code=JP
ieee80211h=1
local_pwr_constraint=3
spectrum_mgmt_required=1
auth_algs=1
wpa=2
wpa_key_mgmt=WPA-PSK
rsn_pairwise=CCMP
wpa_passphrase=YOUR_PASSWORD
参考: https://qiita.com/JhonnyBravo/items/5df2d9b2fcb142b6a67c
設定が完了したら下記手順で有効化します。
pi@raspberrypi:~ $ sudo systemctl unmask hostapd.service
Removed /etc/systemd/system/hostapd.service.
pi@raspberrypi:~ $ sudo systemctl start hostapd.service
pi@raspberrypi:~ $ sudo systemctl enable hostapd.service
/etc/rc.localの編集
/etc/rc.local
# !/bin/sh -e
#
# rc.local
#
# This script is executed at the end of each multiuser runlevel.
# Make sure that the script will "exit 0" on success or any other
# value on error.
#
# In order to enable or disable this script just change the execution
# bits.
#
# By default this script does nothing.

# Print the IP address
_IP=$(hostname -I) || true
if [ "$_IP" ]; then
  printf "My IP address is %s\n" "$_IP"
fi

# eth0の起動
ifup eth0

# br0の起動
ifup br0

# wlan0の省電力モードをOFFにする (不要かもしれない)
sudo iw dev wlan0 set power_save off

exit 0
動作テスト
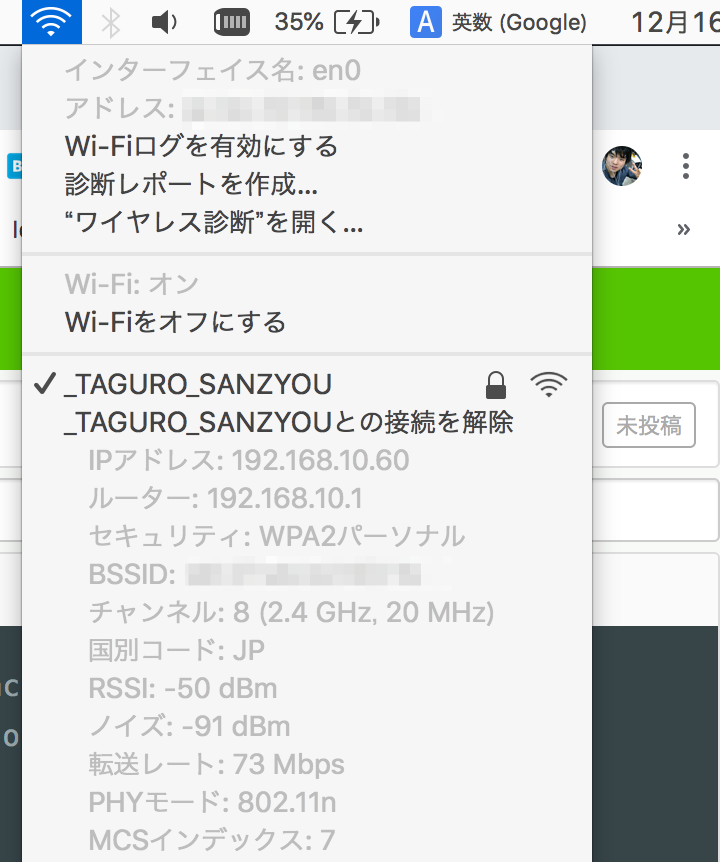
設定に問題がなければ、/etc/hostapd/hostapd.confで指定したSSIDでWifiAPが有効になります。前回の記事では、RaspberryPi内にDHCPサーバーを構築していたので、RaspberryPiがWifi接続クライアントに対してIPアドレスの割り当てをしていました。今回は、ブリッジモードどして動作している為、RaspberryPiのeth0につながる上位のルーターのDHCPからIPアドレス割り当てを受けています。