概要
タイトルの通り、Serverless Frameworkを使用して、AWS上のLambdaにデプロイするまでの開発環境構築手順
最終的には、NestJSのアプリケーションをLambdaにデプロイして「Hello World」を表示させたいと思います。
1. Serverless Frameworkをインストールする前に
事前に開発環境を整えます。本記事の開発端末はMacです。
基本的なインストールが完了している方は、Serverless Frameworkをインストールするところから読んでいただければと思います。
Homebrewのインストール
ホームページにあるスクリプトを実行する
$ /usr/bin/ruby -e "$(curl -fsSL https://raw.githubusercontent.com/Homebrew/install/master/install)"
nodebrewのインストール
「Homebrew」が使えるようになったので、次に「nodebrew」をインストールします。
nodebrewはNode.jsのインストールから複数のバージョンを管理・切り替えできるツールになります。
$ brew install nodebrew
Node.jsのインストール
必要なバージョンを指定してインストールします。
$ nodebrew install-binary latest
インストール直後はcurrent: noneとなっているため、必要なバージョンを有効化します。
nodebrew use v x.x.x
参考記事:https://qiita.com/kyosuke5_20/items/c5f68fc9d89b84c0df09
AWSCLIのインストール
Macの場合、pipが初めからインストールされているため、pipを使用してAWSCLIをインストールしたいと思います。
sudo pip install awscli
Gitのインストール
GitはHomebrewを使用してインストールします。
参考:https://qiita.com/micheleno13/items/133aee005ae37c28960e
Gitをインストールしてもxcode-selectがインストールされていないと使用できない場合があります。
xcode-select --install
参考:https://qiita.com/royroy/items/338362362de73a94fc0c
必要アカウントの用意(登録)
-
awsアカウント
- アカウントの作成
https://aws.amazon.com/jp/register-flow/ - IAMユーザの作成
https://docs.aws.amazon.com/ja_jp/IAM/latest/UserGuide/id_users_create.html - IAM アクセスキーの発行
作成したIAMユーザを選択し、「認証情報」から「アクセスキーの作成」を選択し、アクセスキーとシークレットキーを取得します。(後ほど使用するのでどこかに保管してください)
- アカウントの作成
-
GitHub(コード管理する場合のみ)
GitHub(アカウント)登録:https://github.co.jp/
Gitについて参考(全般):https://employment.en-japan.com/engineerhub/entry/2017/01/31/110000
2. Serverless Frameworkのインストール
参考:https://dev.classmethod.jp/cloud/aws/easy-deploy-of-lambda-with-serverless-framework/
npmからServerless Frameworkをインストールします。
$ npm install -g serverless
完了したら動作確認します。(バージョン確認)
$ serverless -v
Framework Core: 1.59.3
Plugin: 3.2.5
SDK: 2.2.1
Components Core: 1.1.2
Components CLI: 1.4.0
AWSアカウントの設定
Serverless FrameworkからLambdaなどAWSのリソースにデプロイする際にアクセス権限が必要なための設定です。
先ほどAWSアカウントを登録した際のIAMアクセスキーの情報をServerless Frameworksに設定します。
sls config credentials --provider aws --key XXXXXXXXXXXXEXAMPLE --secret XXXXXXXXXXXXXXXXXXXXXXXXXXXXXXEXAMPLEKEY
3. NestJS を Lambda にデプロイする
基本的な開発環境が整ったので、実際にServerless Frameworkを使用してデプロイを行いたいと思います。
以下リポジトリをそのまま引用します。
https://github.com/rdlabo/serverless-nestjs
NestJSのインストール
今回はNestJSのアプリケーションを使用するためインストールします。
$ npm install @nestjs/cli serverless -g
ソースをローカルにコピー
Git Cloneでローカルにソースをコピーします。
git clone https://github.com/rdlabo/serverless-nestjs.git
デプロイ時に必要なパッケージをインストール
$ npm install
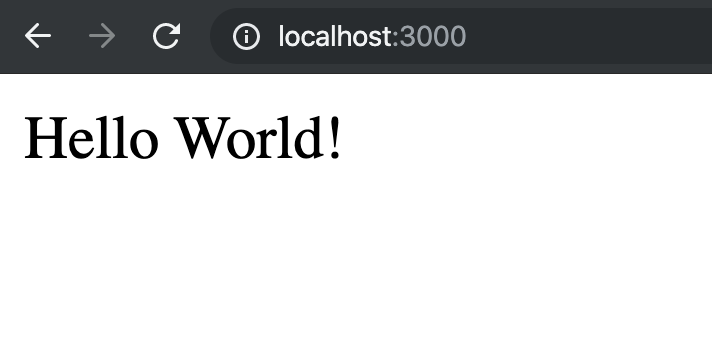
ローカルで「Hello World」が表示されるか確認
$ npm start
ブラウザで確認します。
http://localhost:3000/

Lambdaデプロイ
$ sls deploy
Serverless: Packaging service...
Serverless: Excluding development dependencies...
Serverless: Creating Stack...
~~~~~~~~~~~~~~~~~~~~~~~~~~ 省略 ~~~~~~~~~~~~~~~~~~~~~~~~~~
endpoints:
  ANY - https://jpvi3b5i8a.execute-api.us-east-1.amazonaws.com/dev/
  ANY - https://jpvi3b5i8a.execute-api.us-east-1.amazonaws.com/dev/{proxy+}
functions:
  index: serverless-nestjs-dev-index
layers:
  None
Serverless: Run the "serverless" command to setup monitoring, troubleshooting and testing.
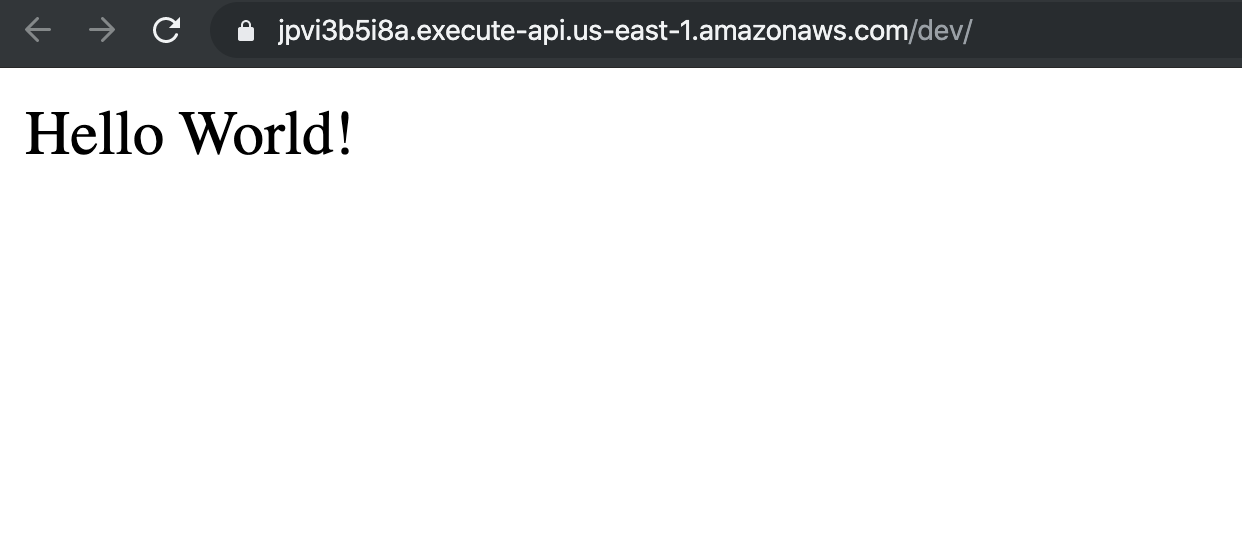
生成されたエンドポイントで確認します。
※デプロイしたサーバによってエンドポイントは異なります。
https://jpvi3b5i8a.execute-api.us-east-1.amazonaws.com/dev/

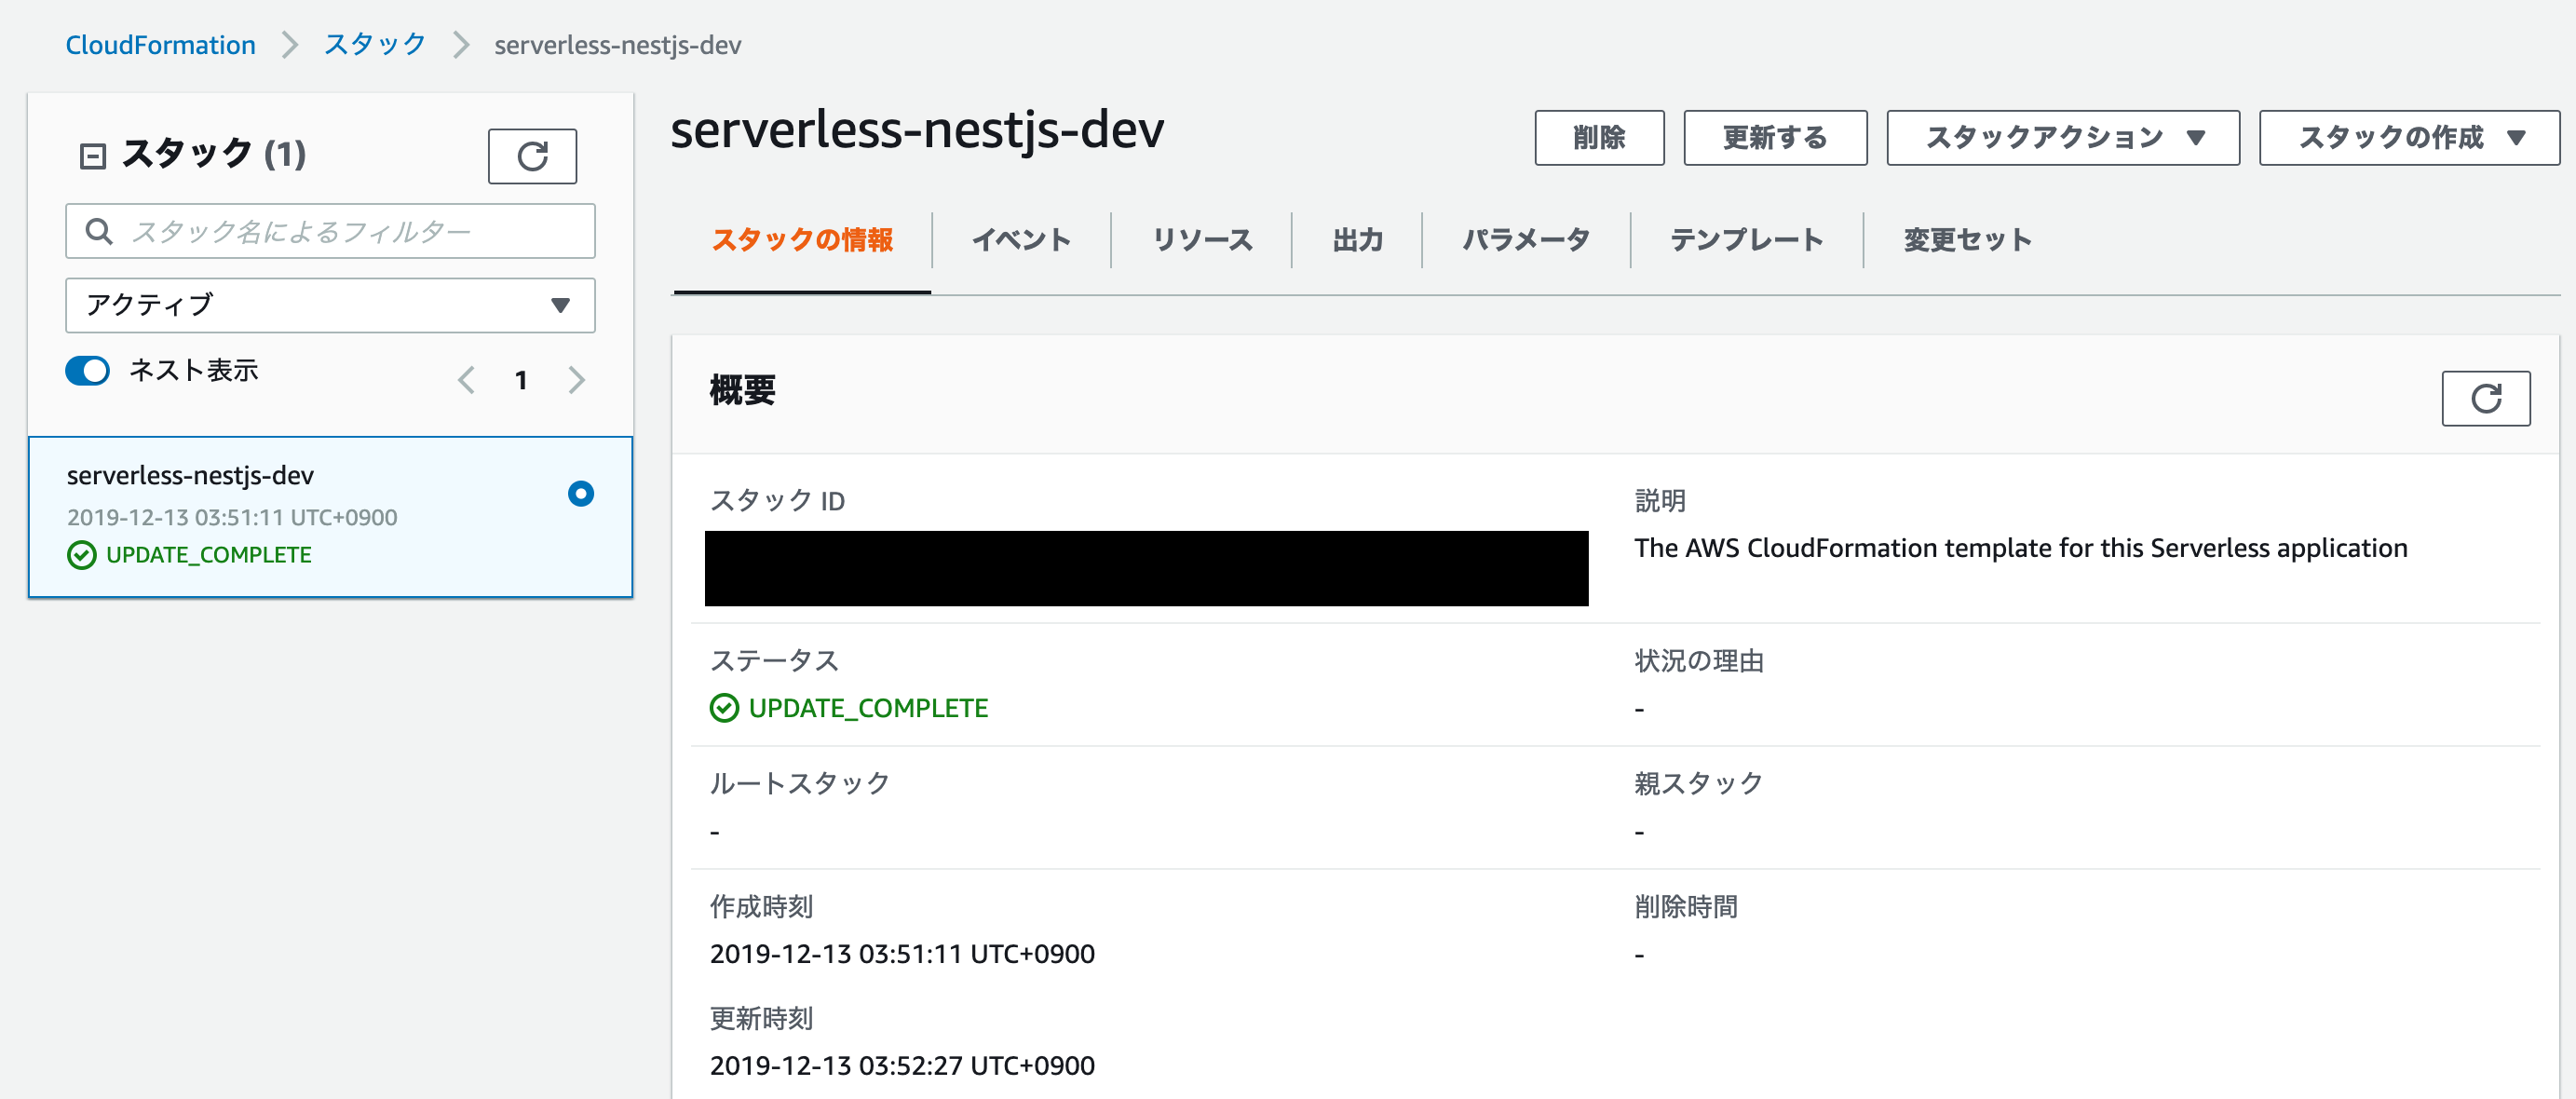
AWSコンソール上でリソースが作成されたことを確認します。
リージョンはバージニア北部(us-east-1)に作成されています。

確認したらリソースは削除してください。