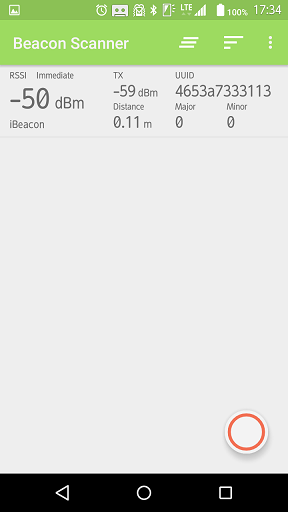
環境
- Raspberry Pi 3 Model B
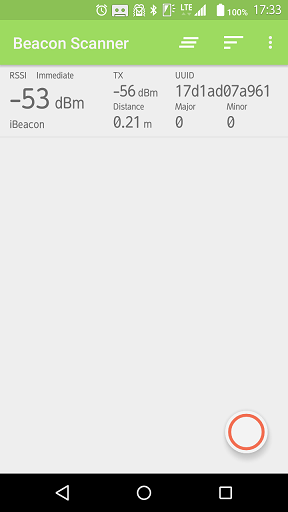
- スマホ → arrows RM02 Android OS 5.1.1
- beacon検出アプリ
→ https://play.google.com/store/apps/details?id=de.flurp.beaconscanner.app&hl=ja
インストールするもの
・bluez
・Node.js
・bleacon
とりあえずビーコンとして動かす方法
以下のリンクを参考にbluezを導入。ただし、記事ではBluetoothのドングルを使用している。
Raspberry Pi 3 Model BではBluetoothが内蔵されているので、そのまま使えばOK。
https://jyun1.blogspot.com/2013/12/i-beacon-make-by-raspberry-pi.html
ビーコンの設定を細かく行えるようにする方法
Node.jsとbleaconを導入。jsファイルを編集することでビーコンの設定が可能。
Node.jsは以下のリンクを参考に導入。
https://github.com/hokaccha/nodebrew
https://qiita.com/ombran/items/c59525e429c9c363325d
https://qiita.com/yuyakato/items/a1225154445520dc2db3
bleaconは以下のリンクを参考に導入。
https://qiita.com/yuyakato/items/739443960fac2668f4a3#bleacon%E3%82%92%E3%82%A4%E3%83%B3%E3%82%B9%E3%83%88%E3%83%BC%E3%83%AB%E3%81%99%E3%82%8B
以下のリンクの「bleacon.js」にビーコンの設定を行える方法が記載されている。
ファイル名は適当でOK。今回は「testbeacon.js」にしておく。
https://qiita.com/FePlus/items/f2865085d2cd907fcc54
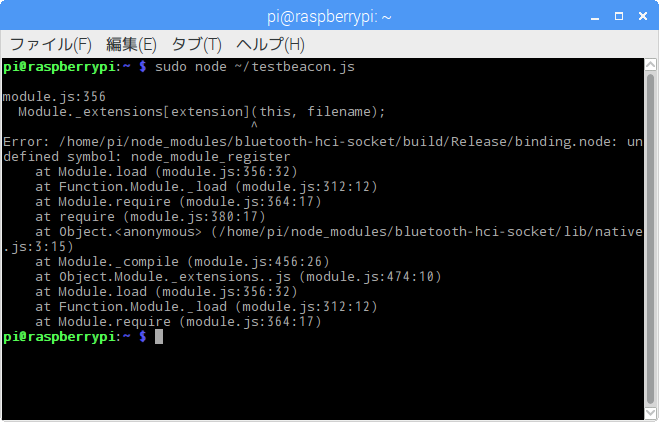
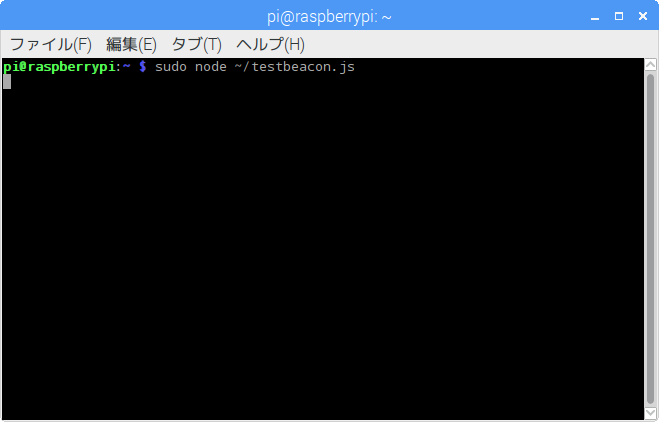
先ほどのjsファイルを以下のパスに作成した後に、実行すると以下のエラーが発生。
/home/pi/testbeacon.js
「node_module_register」で検索をしても何が問題なのかさっぱりわからなくて苦労した。
Node.jsを導入するときに設定した以下のパスが反映されていないのが原因だった。
export PATH=$HOME/.nodebrew/current/bin:$PATH
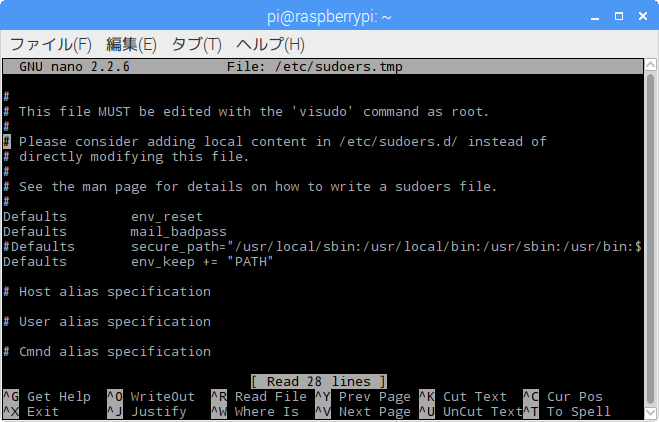
sudoで実行するときは設定を変更しておかないとユーザーが指定したパスは反映されないらしい。
以下の記事を参考に修正。
https://qiita.com/akito1986/items/e9ca48cfcd56fdbf4c9d
