はじめに
ローカルで作業可能な仮想サーバーを構築する手順。
Macを使用しているので、CLIはターミナル。
以下インストール済み。
・Xcode
・homebrew
Linuxにもあんまり慣れてない人向け。
必要なツール(アプリ)のインストール
1.VirtualBox ダウンロード
仮想環境(VM)を立ち上げるツール。
https://www.virtualbox.org/
2.Vagrant ダウンロード
VirtualBoxの設定や仮想OSイメージのダウンロード、起動などを行ってくれるツール。
https://www.vagrantup.com/downloads.html
Vagrantをインストールした後、vagrantコマンドが使用できるようになります。
$ vagrant -v
VagtantでCentOS7を起動
1.Vagrantfile作成
**プログラミング必要なの?**と思う人もいるかもしれませんが、
結論、要りません。
今回はvagrant公式のCentOS7を使用することにしてみました。
https://app.vagrantup.com/centos/boxes/7
※上記のURLは今回の設定で特に使いません
まずはMacintosh HD/Users/user名/に移動、Vagrantfileを配置するディレクトリ(今回はvagrantup)から作成します。
$ mkdir vagrantup # vagrantupディレクトリ作成
$ cd vagrantup  # vagrantupディレクトリ内に移動
$ vagrant init centos/7 # Vagrantfile作成
そうすると以下の表示が出てきます。
A `Vagrantfile` has been placed in this directory. You are now
ready to `vagrant up` your first virtual environment! Please read
the comments in the Vagrantfile as well as documentation on
`vagrantup.com` for more information on using Vagrant.
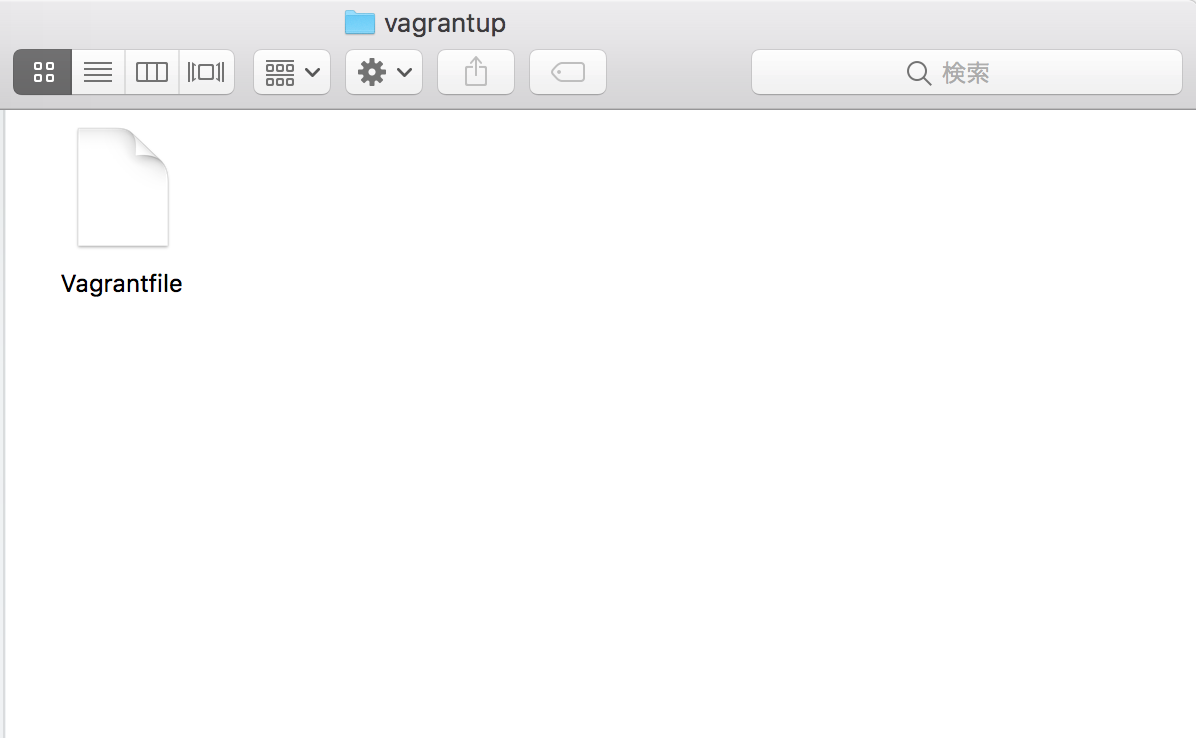
現在いるディレクトリ(Macintosh HD/Users/user名/vagrantup)の直下に、
以下の画像のファイルが作成されます。
中身は説明が英語でごちゃごちゃ書いてありますが、
コメントアウト行の#部分を削除してみると、defaultの設定は以下の3行のみになります。
Vagrant.configure("2") do |config|
  config.vm.box = "centos/7"
end
Vagrantfileに加筆した以下を使用します。
host:自分の端末
guest:Vagrant上の端末
Vagrant.configure("2") do |config|
  config.vm.box = "centos/7"
  # config.vm.network "forwarded_port", guest: 80, host: 8080, host_ip: "127.0.0.1" デフォルトの記述を残している
  # http://localhost:10080 https://localhost:10443
  # 上記のようにアクセスする時(localhost)はforward(転送)するので、
  # "forwarded_port"を指定すると、hostの10080ポートへのアクセスがguestの80ポートへ転送される。
  config.vm.network "forwarded_port", guest: 80, host: 10080, auto_correct: true  # HTTP
  config.vm.network "forwarded_port", guest: 443, host: 10443, auto_correct: true  # HTTPS

  # private_networkを指定するとホストOSからのみアクセス可
  config.vm.network :private_network, ip: "192.168.33.10"
  # rsync(ディレクトリの同期)を後述で追記

  config.vm.provider "virtualbox" do |vb|
    vb.memory = "2048"
    vb.cpus = 2
  end

  # シェルを使用するときのテンプレート
  # config.vm.provision "shell", inline: <<-SHELL
  #   sudo yum -y update
  # SHELL
end
2.プラグインの導入
hosts設定を変更できるvagrantのpluginを入れておきます。
このプラグインでhostsをが都度、仮加工されるようになります。
$ vagrant plugin install vagrant-hostmanager
次にvagrant up時に自動的に新しいバージョンのGuest Additionsに更新してくれる、pluginも入れておきます。
ホスト(VirtualBox)とゲスト(Guest Additions)でバージョン不一致があると共有フォルダのマウントに失敗する場合があるとか。。。。
$ vagrant plugin install vagrant-vbguest
ここまでで起動準備完了です。
3.Vagrant起動
Vagrantfileがあるディレクトリ(Macintosh HD/Users/user名/vagrantup)にて以下を実行します。
$ vagrant up # vagrant起動
〜いろいろ動いている文字が出る〜
以下のコマンドで状態を確認して見ましょう。
$ vagrant status # 確認
default                   running (virtualbox)
$ vagrant box list
centos/7 (virtualbox, 1809.01)
エラー無く無事成功!!!
ex.インストール状態まで戻す時
以下でVirtualBoxとVagrantがインストールされたところまで戻せます。
$ vagrant halt  # vagrantの停止
$ vagrant destroy  # Virturlbox上にあるVMを削除
$ killall ssh-agent
$ vagrant box remove CentOS7  # Vagrantのbox削除
$ rm -rf Vagrantfile  # Vagrantfileの削除
$ vagrant box listが空になっていることを確認する。
サーバー構築(Nginxのインストールから立ち上げまで)
1.CentOS7に入る
vagrant upしている状態のときに以下のコマンドを入力。
$ vagrant ssh
入れるとCLIの表示が以下の様に変わり、CentOS7に入れたことが分かります。
[vagrant@localhost ~]$
2.CentOS7にNginxをインストール (Nginxオフィシャルより)
※sudoがないと'nginx.repo'が保存できない様になっています。
[vagrant@localhost ~]$ sudo vi /etc/yum.repos.d/nginx.repo
上記viコマンドからviエディタ画面へ切り替わります。
viエディタの使い方(コマンド)は以下の通りです。
aキーまたはiキーで,[-- INSERT --](編集)モードになり,文字の挿入,削除が可能になります。
左上のescキーで,編集モードを終了します。
以下は編集モードになっていない状態で使用します。
:wで変更したファイルを保存します。
:qでviを終了します。
:wqで変更したファイルを保存して終了します。(一番使う気がする)
:q!で変更を無視してviを終了します。
編集モードで以下をコピペ。
[nginx]
name=nginx repo
baseurl=http://nginx.org/packages/centos/7/$basearch/
gpgcheck=0
enabled=1
保存して編集モードを抜けます。この状態になる→[vagrant@localhost ~]$
上記まででリポジトリを作成後、Nginxをインストール。
[vagrant@localhost ~]$ sudo yum install -y nginx
上記のように'yum'を実行すると以下のエラーが出る事があります。
Failed to set locale, defaulting to C
そのときは以下のコマンドで起動時に読み込まれるファイルを開いて、記述しておくと便利です。
[vagrant@localhost ~]$ sudo vi ~/.bash_profile
# .bash_profile

# Get the aliases and functions
if [ -f ~/.bashrc ]; then
        . ~/.bashrc
fi

# User specific environment and startup programs

PATH=$PATH:$HOME/.local/bin:$HOME/bin

export PATH

export LC_ALL=C #⬅︎ここに追記してみた
エラー対応後は[vagrant@localhost ~]$ source /.bash_profileで**.bash_profile**を読み込み直してください。
sudo yum install -y nginxが完了したら、以下のコマンドでインストールされてる事を確認します。
[vagrant@localhost ~]$ nginx -v
nginx version: nginx/1.16.0
3.Nginxのfirewallの設定
CentOS7でfirewalldでポートが閉じているのでポートの設定を行うため、Nginx側からfirewalldを起動します。
聞かれるpasswordは全てvagrantです。
[vagrant@localhost ~]$ systemctl start firewalld
[vagrant@localhost ~]$ systemctl enable firewalld  # 自動起動設定
以下のコマンドでfirewalldのステータスがActive: active (running)になっていれば起動している状態。
[vagrant@localhost ~]$ systemctl status firewalld
起動している状態で、firewalldのhttpとsshの許可設定、ポートの解放を行います。
[vagrant@localhost ~]$ sudo firewall-cmd --add-service=http --permanent
success  #うまくいくと表示される
[vagrant@localhost ~]$ sudo firewall-cmd --add-service=ssh --permanent
success
[vagrant@localhost ~]$ sudo firewall-cmd --zone=public --add-port=80/tcp --permanent
success
[vagrant@localhost ~]$ sudo firewall-cmd --zone=public --add-port=443/tcp --permanent
success
[vagrant@localhost ~]$ sudo firewall-cmd --reload  # 設定を適用するため再起動
success
[vagrant@localhost ~]$ sudo firewall-cmd --list-all  # 設定が適用されているか確認
public (active)
  target: default
  icmp-block-inversion: no
  interfaces: eth0
  sources:
  services: ssh dhcpv6-client http
  ports: 443/tcp 80/tcp
  protocols:
  masquerade: no
  forward-ports:
  source-ports:
  icmp-blocks:
  rich rules:
4.CentOS7でのNginxの操作
まず、Nginxを起動させます。
[vagrant@localhost ~]$ systemctl start nginx
[vagrant@localhost ~]$ systemctl enable nginx # 自動起動on
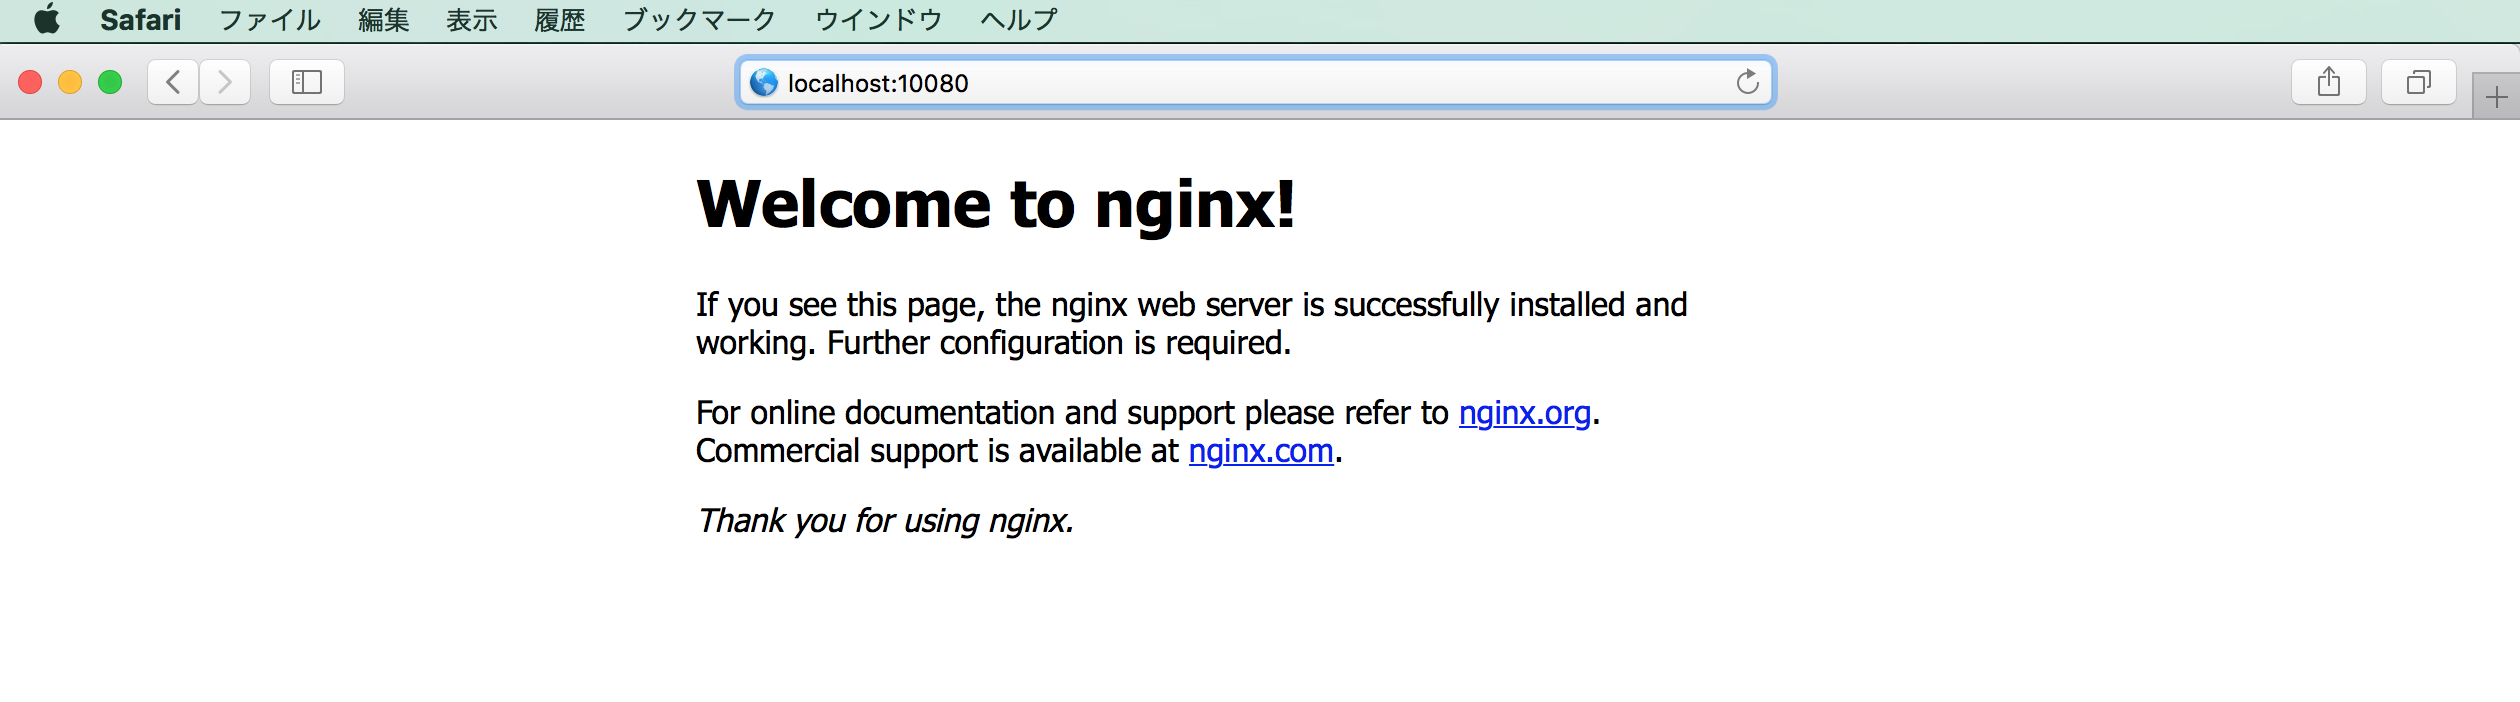
5.デフォルトページの確認
http://localhost:10080/
ここで上記にアクセスするとWelcome to nginx!と表示されます。
さて、ここで上記のdefaultページがどこにあるのかを把握する必要があります。
Nginxの設定ファイルは/etc/nginx/nginx.confと/etc/nginx/conf.d/default.confがあり、そこにdefaultページのファイルの場所が記載されています。
user  nginx;
worker_processes  1;

error_log  /var/log/nginx/error.log warn;
pid        /var/run/nginx.pid;


events {
    worker_connections  1024;
}


http {
    include       /etc/nginx/mime.types;
    default_type  application/octet-stream;

    log_format  main  '$remote_addr - $remote_user [$time_local] "$request" '
                      '$status $body_bytes_sent "$http_referer" '
                      '"$http_user_agent" "$http_x_forwarded_for"';

    access_log  /var/log/nginx/access.log  main;

    sendfile        on;
    #tcp_nopush     on;

    keepalive_timeout  65;

    #gzip  on;

    include /etc/nginx/conf.d/*.conf;  #⬅︎ここです
}
上記の部分で /etc/nginx/conf.d/のパスに*.confでワイルドカード指定されていますが、
/etc/nginx/conf.d/配下を確認すると以下のdefault.confしかありません。
server {
    listen       80;
    server_name  localhost;

    #charset koi8-r;
    #access_log  /var/log/nginx/host.access.log  main;

    location / {
        root   /usr/share/nginx/html;
        index  index.html index.htm;
    }

    #error_page  404              /404.html;

    # redirect server error pages to the static page /50x.html
    #
    error_page   500 502 503 504  /50x.html;
    location = /50x.html {
        root   /usr/share/nginx/html;
    }

    # proxy the PHP scripts to Apache listening on 127.0.0.1:80
    #
    #location ~ \.php$ {
    #    proxy_pass   http://127.0.0.1;
    #}

    # pass the PHP scripts to FastCGI server listening on 127.0.0.1:9000
    #
    #location ~ \.php$ {
    #    root           html;
    #    fastcgi_pass   127.0.0.1:9000;
    #    fastcgi_index  index.php;
    #    fastcgi_param  SCRIPT_FILENAME  /scripts$fastcgi_script_name;
    #    include        fastcgi_params;
    #}

    # deny access to .htaccess files, if Apache's document root
    # concurs with nginx's one
    #
    #location ~ /\.ht {
    #    deny  all;
    #}
}
ほとんど#でコメントアウトされてます。必要なのは以下の部分。(コメントアウトは取りました。)
server {
    listen       80;
    server_name  localhost;

    location / {
        root   /usr/share/nginx/html;
        index  index.html index.htm;
    }

    error_page   500 502 503 504  /50x.html;
    location = /50x.html {
        root   /usr/share/nginx/html;
    }
}
location内のrootがディレクトリでindexがファイルを指しています。
つまりNginx内の絶対パスで、以下のファイルが表示されていると言う事です。
/usr/share/nginx/html/index.html
余談ですが、このconf.dディレクトリに仮想サーバ毎の設定ファイルを置くことにより、その設定ファイルが読み込まれます。
nginx.orgのパッケージで提供されているサンプルファイルとしては、default.confとexample_ssl.confの2つがありました。
サーバー設定(サンプルHTMLをlocalhost:10080に表示させる)
1.nginx.confの設定変更
sudo vi /etc/nginx/nginx.confでプロセス数をautoに編集すると便利らしい。
user  nginx;
worker_processes  auto;  #⬅︎ここ

error_log  /var/log/nginx/error.log warn;
pid        /var/run/nginx.pid;


events {
    worker_connections  1024;
}


http {
    include       /etc/nginx/mime.types;
    default_type  application/octet-stream;

    log_format  main  '$remote_addr - $remote_user [$time_local] "$request" '
                      '$status $body_bytes_sent "$http_referer" '
                      '"$http_user_agent" "$http_x_forwarded_for"';

    access_log  /var/log/nginx/access.log  main;

    sendfile        on;
    #tcp_nopush     on;

    keepalive_timeout  65;

    #gzip  on;

    include /etc/nginx/conf.d/*.conf;
}
2.Vagrantfileの再設定
Nginxがインストールされ、ディレクトリが作成されたので、
Vagrantfileの# rsync(ディレクトリの同期)を後述で追記部分を以下に記述を置き換えて保存します。
  # ディレクトリを同期させる
  config.vm.synced_folder "../web", "/usr/share/nginx/html",
    type: "rsync",
    owner: "vagrant",
    group: "vagrant",
    mount_options: ['dmode=777','fmode=777'],
    rsync__exclude: [".git/", "vendor/"]
3.ホスト側にindex.htmlの配置
上記のファイルでホスト側の同期先に../web/と指定しているので、
ローカルにwebディレクトリを作成する。
$ mkdir ~/web
現状ディレクトリ構成はこんな感じ。
Macintosh HD>Users>[user名]>vagrantup(Vagrantfileがある)
Macintosh HD>Users>[user名]>web(HTMLファイルなどを置く場所にする)
ホスト側のwebディレクトリ配下に以下のindex.html(サンプル)を配置します。
<!DOCTYPE html>
<html lang="ja">
<head>
<meta charset="UTF-8">
<title>Title</title>
</head>
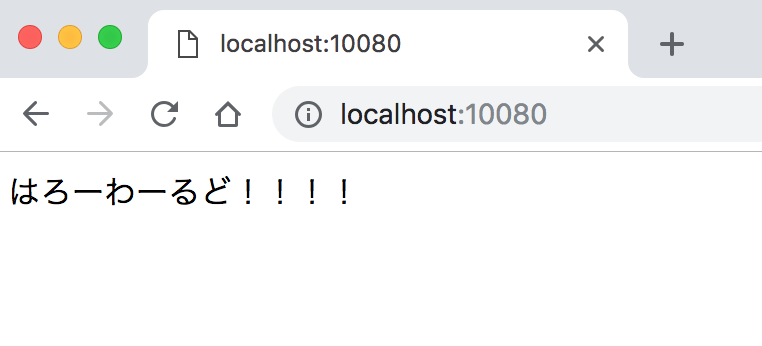
<body>
はろーわーるど!!!!
</body>
</html>
上記まで完了したら一旦サーバーをexitで抜け、$ vagrant reloadでvagrantを再起動します。
ここまできたら下記へアクセスすると、サンプルページが表示されます!
http://localhost:10080/
最後にvagrant up中に以下のコマンドを実行すると、ホスト側のファイルに変更があった都度、ゲスト側に同期されるようになり、ブラウザ更新で表示が変わります!!
$ vagrant rsync-auto
実行状態のままになるので、抜ける時はcontrol + cで抜けられます。
以上です。お疲れ様でした。
おまけ.403 Forbidden対策
おまけですが403 Forbiddenと表示されてしまった時の対策です。
まず、同期されたファイルとディレクトリに実行権限を与える必要があります。
$ vagrant sshでサーバー内に入り、以下のコマンドを実行します。
    [vagrant@localhost ~]$ sudo chmod 777 /usr/share/nginx/html
    [vagrant@localhost ~]$ sudo chmod 777 /usr/share/nginx/html/index.html
    [vagrant@localhost ~]$ ls -l /usr/share/nginx/html
    -rwxrwxrwx. 1 vagrant vagrant 2737 Nov 14 08:24 index.html  ⬅︎-rwxrwxrwx.となってればOK
次にSELinuxを無効に設定する。
    [vagrant@localhost ~]$ getenforce
    Enforcing  ⬅︎この状態が有効な状態
    [vagrant@localhost ~]$ sudo vi /etc/selinux/config
    SELINUX=disabled  ⬅︎enforcing から disabled に変更
設定後はサーバーをexitで抜けて、vagrant reloadで再起動する。(再起動しないと設定が反映されない)
再起動後はvagrant sshでサーバーに入り状態を確認。
    [vagrant@localhost ~]$ getenforce
    Disabled  ⬅︎この状態が無効な状態
Nginxコマンド備忘録
自動起動off
[vagrant@localhost ~]$ systemctl disable nginx
停止
[vagrant@localhost ~]$ systemctl stop nginx
再起動
[vagrant@localhost ~]$ systemctl reload nginx
設定ファイルの場所を確認
[vagrant@localhost ~]$ sudo nginx -t
メイン設定ファイル
[vagrant@localhost ~]$ cd /etc/nginx/
参考
MacにVagrantでCentOS7環境を作成
https://qiita.com/sudachi808/items/3614fd90f9025973de4b
Vagrantでpingが通らない!ゆえにVagrantネットワークを学び直したよ
http://www.kaasan.info/archives/3665
yum実行時に「Failed to set locale, defaulting to C」が表示される。
http://tihiro.hatenablog.com/entry/2017/10/12/075555
Nginxコマンド早見表
https://qiita.com/katzueno/items/44e02db2f1bfa0de5860
Nginx公式リポジトリの追加方法
https://www.nginx.com/resources/wiki/start/topics/tutorials/install/#official-red-hat-2fcentos-packages
EPEL(Extra Packages for Enterprise Linux)リポジトリの追加
https://qiita.com/azushink/items/752d80c77484b7699521
CentOSのポート開放のやり方
https://eng-entrance.com/linux-centos-port
CentOS 7 の systemctl について
https://labs.precs.co.jp/2014/12/16/75/
CentOS7にnginx導入
https://qiita.com/MuuKojima/items/afc0ad8309ba9c5ed5ee
Vagrantの設定
https://qiita.com/murachi1208/items/00c3c2fe51763a6535f8
ポートフォワードにより仮想マシン内のサーバにアクセスする
http://maku77.github.io/vagrant/port-forward.html
OSXでvagrant upでエラー
https://qiita.com/kazusanto/items/8ad89fb3fe8ae1bd5d81
nginxでホームディレクトリを公開ディレクトリに設定
https://qiita.com/kieaiaarh/items/3455040597ee34c8c49e
virtualboxのIPアドレスを変更する
https://qiita.com/K-N/items/a597b684562e5b1da6a5
Vagrantの/etc/hosts系プラグインを比べてみた
https://qiita.com/tag1216/items/0d10f67cb55651740df4
Nginxで403 Forbiddenが表示された時のチェックポイント5選
https://engineers.weddingpark.co.jp/?p=1765