リポジトリの設定
リポジトリを追加するので nginx.repo のファイルを作成
$ sudo vi /etc/yum.repos.d/nginx.repo
nginx.repo
[nginx]
name=nginx repo
baseurl=http://nginx.org/packages/mainline/centos/7/$basearch/
gpgcheck=0
enabled=1
インストールと起動
nginxをインストール
$ sudo yum install nginx
バージョンの確認
$ nginx -v
自動起動設定
$ sudo systemctl enable nginx
起動
$ sudo systemctl start nginx
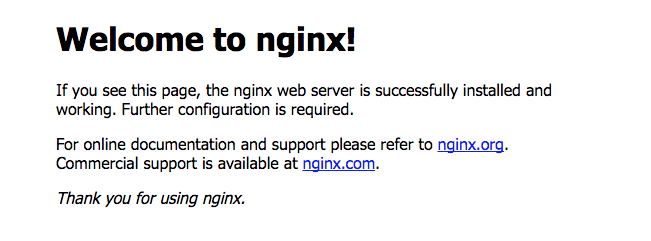
デフォルトページの確認
表示の確認をする。 http://サーバーのアドレス/

上記の index.html のデフォルトのパス
/usr/share/nginx/html/index.html
nginx の設定ファイルのパス
/etc/nginx/conf.d/default.conf
簡単なリバースプロキシ
/etc/nginx/conf.d 以下に XXX.confという命名でファイルを作成する
ココでは server.conf とし、80 番で受けたリクエストを 8000 番に転送する
$ sudo vi /etc/nginx/conf.d/server.conf
server {
	 listen 80;
	 # アクセス可能なIPアドレス、もしくはドメイン
	 server_name hogehoge.com;
	 proxy_set_header X-Real-IP $remote_addr;
	 proxy_set_header X-Forwarded-For $proxy_add_x_forwarded_for;
	 proxy_set_header Host $http_host;
	 proxy_redirect off;
	 proxy_max_temp_file_size 0;
	 location / {
	 	proxy_pass http://localhost:8000;
	 }
}
nginx基本コマンド
起動
$ sudo systemctl start nginx
停止
$ sudo systemctl stop nginx
再起動
$ sudo systemctl restart nginx
再起動しても設定ファイルが反映されない場合など
$ sudo nginx -s reload
状態の確認
$ sudo systemctl status nginx