前回まで
今回はNoodlを使ったIoT
Noodlは通信方式としてMQTT形式を採用してるっぽい。
MQTTはM2M(machine-to-machine)用の通信プロトコルで軽量なのが特徴。
今回はMQTTサーバーを用意し、そこを通してNoodlからLチカさせる。
用意したボード
※ サーバー経由するのでWi-Fi付き
MQTTサーバー
※ 無料で使えるMQTTサーバー
shiftrとArduinoを接続する
サンプルコードをすこしイジってMQTTサーバーにArduinoから3秒おきに送受信する。
受信したタイミングでLEDが光るように。
shiftrへ接続するMQTT-Arduinoのサンプルコード
https://github.com/256dpi/arduino-mqtt#example
サンプルがESP8266用なので、ESP32ボードだと読み込むライブラリを少し変えないとコンパイルエラー出た。
WiFi101.h → WiFi.h
MQTT.h → MQTTClient.h
変更後コード
// This example uses an Adafruit Huzzah ESP8266
// to connect to shiftr.io.
//
// You can check on your device after a successful
// connection here: https://shiftr.io/try.
//
// by Joël Gähwiler
// https://github.com/256dpi/arduino-mqtt

# include <WiFi.h>
# include <MQTTClient.h>

// Wi-Fi名とパスワード
const char ssid[] = "xxxxxxxxx";
const char pass[] = "xxxxxxxx";

WiFiClient net;
MQTTClient client;

unsigned long lastMillis = 0;

void connect() {
  Serial.print("checking wifi...");
  while (WiFi.status() != WL_CONNECTED) {
    Serial.print(".");
    delay(1000);
  }

  // shiftrのkeyとSecretを入力
  Serial.print("\nconnecting...");
  while (!client.connect("arduino", "xxxxx", "xxxxxxx")) {
    Serial.print(".");
    delay(1000);
  }

  Serial.println("\nconnected!");

  client.subscribe("/hello");
  // client.unsubscribe("/hello");
}

void messageReceived(String &topic, String &payload) {
  Serial.println("incoming: " + topic + " - " + payload);

  // trun on LED
  digitalWrite(LED_BUILTIN, HIGH);
  delay(10);
  digitalWrite(LED_BUILTIN, LOW);
}

void setup() {
  // LED settings
  pinMode(LED_BUILTIN, OUTPUT);

  Serial.begin(115200);
  WiFi.begin(ssid, pass);

  // Note: Local domain names (e.g. "Computer.local" on OSX) are not supported by Arduino.
  // You need to set the IP address directly.
  client.begin("broker.shiftr.io", net);
  client.onMessage(messageReceived);

  connect();
}

void loop() {
  client.loop();
  delay(10);  // <- fixes some issues with WiFi stability

  if (!client.connected()) {
    connect();
  }

  // publish a message roughly every second.
  if (millis() - lastMillis > 3000) {
    lastMillis = millis();
    client.publish("/hello", "world");
  }
}
参考: ESP8266 Tutorial : Connect to Shiftr.io - YouTube
Noodlからshiftrへ送信
次にNoodlとshiftrの接続
Ceeate New Project
まずは普通にProjectつくる
Project SettingからMQTT情報追加
Projectの設定画面にMQTTのプロパティがあるのでそこにshiftrでつくったURL追加
-
Broker URL: mqtt://xxxxxx:yyyyyyy@broker.shitr.io
Send Messageノード追加
- topic :
/hello - payload:
data01
stringノード追加しSend Messageノードに紐付ける
-
Stringノード
- value:
world
- value:
-
connect
- source:
Saved Value - payload:
data01
- source:
ボタンRectangleからSend Messageノードへコネクト
- Touch:
Tap - Other:
Send
ボタンタップ
shiftrに送られていることを確認

Arduinoを再び接続してNoodからshitrにメッセージおくってLチカ
Arduinoの送信部分をコメントアウト
void loop() {
  client.loop();
  delay(10);  // <- fixes some issues with WiFi stability

  if (!client.connected()) {
    connect();
  }

  // publish a message roughly every second.
  /** ← ここからコメントアウト
  if (millis() - lastMillis > 3000) {
    lastMillis = millis();
    client.publish("/hello", "world");
  }
  **/
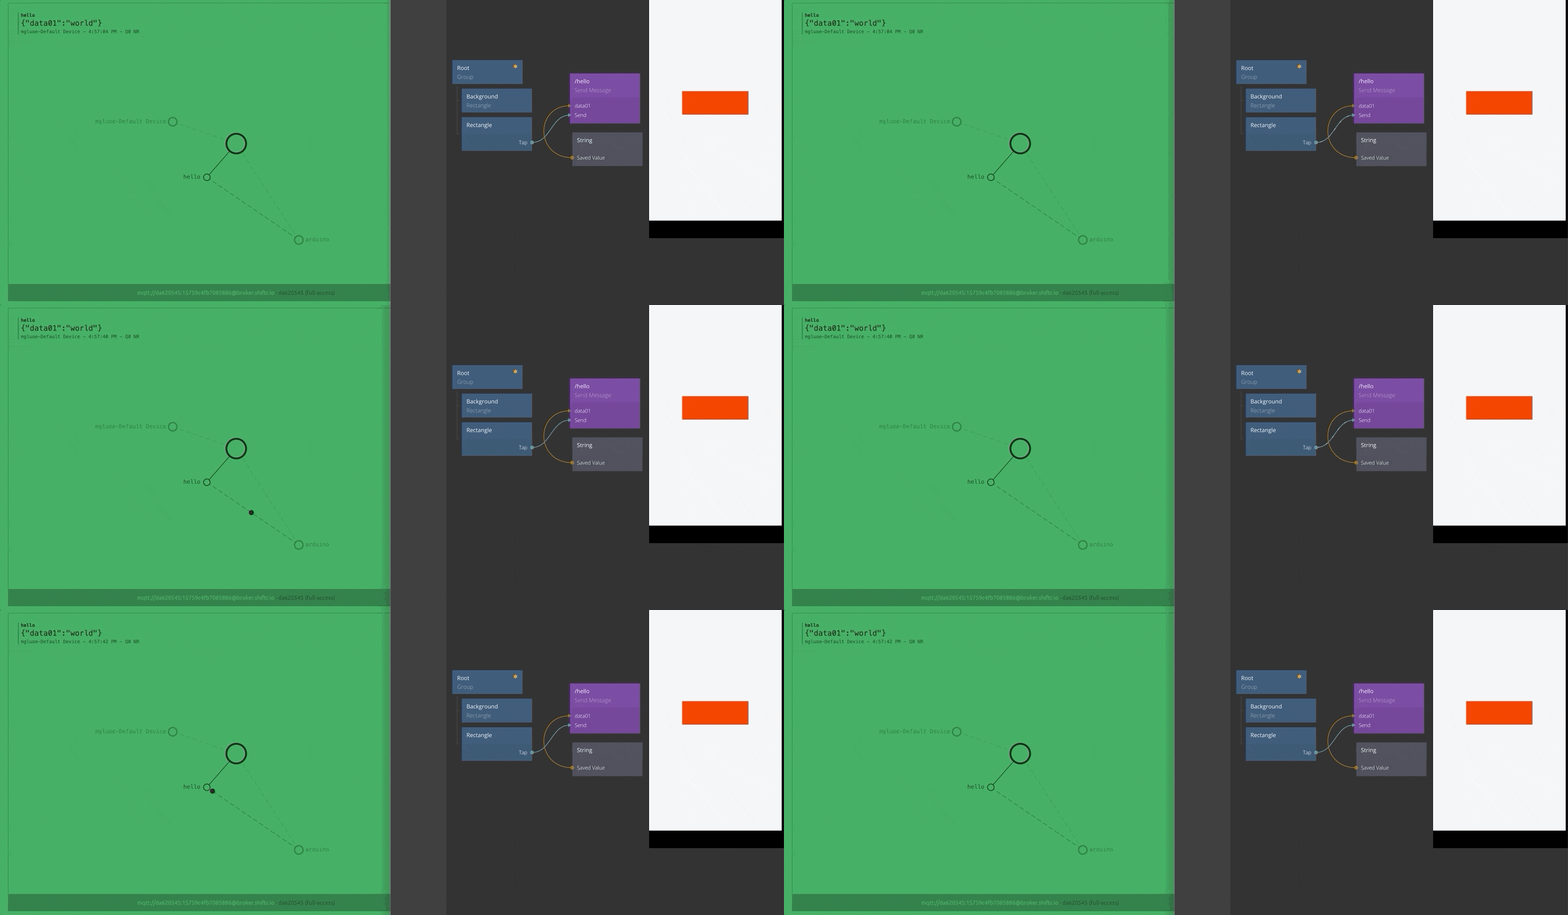
NoodlのボタンRectangleタップでArduino Lチカ
こんな感じ。
shiftrのダッシュボード見るとNoodからshiftrのhelloというトピックを経由してArduinoに届いてることがわかる。
