【本コラムは、5分で読めて、15分くらいでお試しいただけます】
piacereです、ご覧いただいてありがとございます ![]()
前回までは、シンプルなPhoenixのサーバサイドレンダリング(SSR)により、Web上にDBデータや外部APIデータを表示してきました
今回からは、Vue.jsを使ったフロントサイドと、Phoenixによる内部APIを組み合わせを用いて、よりElixir/Phoenixらしさを実感できるWeb開発へとステージアップします
■「ExcelからElixirマスター」シリーズの目次
①データ並替え/絞り込み
|> ②データ列抽出、Web表示
|> ③WebにDBデータ表示
|> ④Webに外部APIデータ表示
|> ⑤Webにグラフ表示
|> ⑥Vue.js+内部API(表示編)
|> ⑦Vue.js+内部API(更新編)
|> ⑧Gigalixirに本番リリース
|> ⑨Elixir/PhoenixのCRUD Webアプリをリリース
|> ⑩「LiveView」ElixirサーバサイドのみでReact的SPA/リアルタイムUIが作れる
|> ⑪LiveView製Qiita検索SPAをフォームsubmitスタイルに換装
|> ⑫LiveViewのコード内HTMLをテンプレートファイルに分離
|> ⑬ElixirサーバサイドSPAをスマホで見るためにGigalixirリリース
|> ⑭Gigalixir上のLiveViewアプリに独自ドメイン名を付与して正式なアプリ公開
![]()
![]()
![]() お知らせ:Elixir MeetUpを来週末10/26(金)に開催します(リモート視聴も)
お知らせ:Elixir MeetUpを来週末10/26(金)に開催します(リモート視聴も) ![]()
![]()
![]()
「fukuoka.ex#16:蔵出し始めました!Elixir実践テクニック公開します① 」を10/26(金)19時に開催します
今回のMeetUpから、「座談会+モブプログラミング」という形で、fukuoka.exアドバイザーズ/キャストが、過去会で登壇したり、日頃研鑽している数々のElixir実践テクニックをダイレクトに伝えていきます
今回は、「Elixir+Vue.jsで2倍速開発」と「ElixirでElixirコンパイラ開発」の2トラックにて、集まった皆さまと一緒にElixir実践テクニックをシェアしたいと思います
https://fukuokaex.connpass.com/event/105154

一応、リモート視聴にも対応していますが、福岡近辺にお住まいの方であれば、遊びに来ていただいて、参加型コンテンツを120%楽しんでいただくのが絶対オススメです
DBのインストール
フロントサイドで表示したり、投入するデータをDBに入れるため、まずDBサーバをインストールします
ここでは、DBサーバとして、「PostgreSQL」か「MySQL」のいずれかをインストールすることとします
パスワードは、PostgreSQLは「postgres」、MySQLは未設定(空文字列)で設定しておくと、Phoenix PJ作成後に設定変更が不要になります
※下記リンク先コラムの中には、「パスワードの weak 評価はダメ」といった記載ありますが、本番環境の構築をしている訳では無いので構いません
①PostgreSQLのインストール

下記OS毎のインストール手順を実施してください
Windows:https://eng-entrance.com/postgresql-download-install
macOS:https://qiita.com/okame_qiita/items/ac7b6a7d96d07ecbc50b
Ubuntu:https://qiita.com/eighty8/items/82063beab09ab9e41692
CentOS 7:https://weblabo.oscasierra.net/postgresql10-centos7-install/
CentOS 6:https://weblabo.oscasierra.net/postgresql-installing-postgresql9-centos6-1/
なおUbuntuの場合、インストール直後のpostgresユーザのパスワードを下記SQLで設定し、PostgreSQLを再起動する必要があります
ALTER USER postgres WITH PASSWORD 'postgres';
②MySQLのインストール

下記OS毎のインストール手順を実施してください
Windows:https://qiita.com/KeisyaRinco/items/c3074d8450cad96f7e4f
macOS:https://qiita.com/griffin3104/items/c7908359a3e3e18cd269
Ubuntu:https://www.server-world.info/query?os=Ubuntu_16.04&p=mysql
CentOS 7:https://enomotodev.hatenablog.com/entry/2016/09/01/225200
CentOS 6:https://qiita.com/UmedaTakefumi/items/924cdce7cfff083bf492
Vue.js向け内部API用Phoenix PJを作成
Phoenix PJを作成します
mix phx.new vue_sample
Fetch and install dependencies? [Yn] (←y、Enterを入力)
…
cd vue_sample
あと、PostgreSQLの場合は、DB指定不要ですが、MySQLの場合は、DB指定が必要です
mix phx.new vue_sample --database=mysql
Fetch and install dependencies? [Yn] (←n、Enterを入力)
…
パスワードを、以下以外で設定している場合は、config/dev.exsの「password」項目の修正が必要です
- PostgreSQL:postgres
- MySQL:未設定(空文字列)
…
# Configure your database
config :vue_sample, VueSample.Repo,
  username: "root",
  password: "",
  hostname: "localhost",
  database: "vue_sample_dev",
  show_sensitive_data_on_connection_error: true,
  pool_size: 10
…
ちなみにPostgreSQLだと、以下に相当します
…
# Configure your database
config :vue_sample, VueSample.Repo,
  username: "postgres",
  password: "postgres",
  hostname: "localhost",
  database: "vue_sample_dev",
  show_sensitive_data_on_connection_error: true,
  pool_size: 10
…
DBを作成します
mix ecto.create
Phoenixサーバーを起動します
iex -S mix phx.server
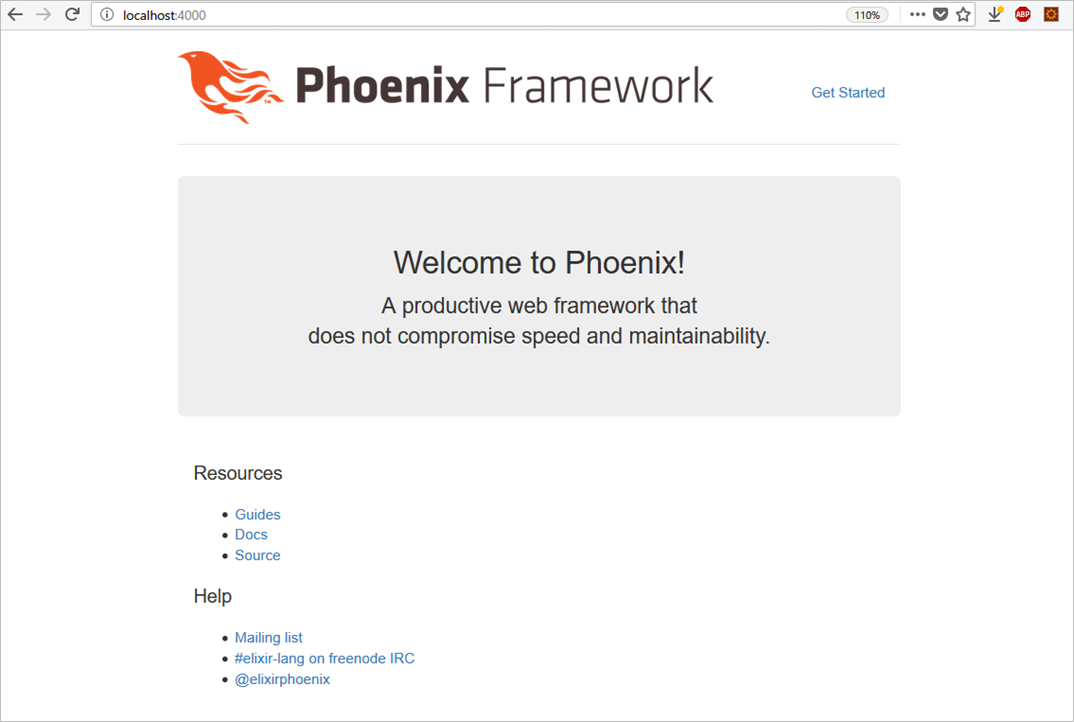
ブラウザで「http://localhost:4000」にアクセスすると、Phoenixで作られたWebページが見れます
PhoenixでAPIを作る
PhoenixでAPIを作るには、mixコマンドで、以下のように行います
Ctrl+cを2回押して、一度、Phoenixを停止してから、コマンドを入力します
mix phx.gen.json Api Post posts title:string body:text
以下ログと、実行後の作業指示が示されます
* creating lib/vue_sample_web/controllers/post_controller.ex
* creating lib/vue_sample_web/views/post_view.ex
* creating test/vue_sample_web/controllers/post_controller_test.exs
* creating lib/vue_sample_web/views/changeset_view.ex
* creating lib/vue_sample_web/controllers/fallback_controller.ex
* creating lib/vue_sample/api/post.ex
* creating priv/repo/migrations/20220201143346_create_posts.exs
* creating lib/vue_sample/api.ex
* injecting lib/vue_sample/api.ex
* creating test/vue_sample/api_test.exs
* injecting test/vue_sample/api_test.exs
* creating test/support/fixtures/api_fixtures.ex
* injecting test/support/fixtures/api_fixtures.ex

Add the resource to your :api scope in lib/vue_sample_web/router.ex:

    resources "/posts", PostController, except: [:new, :edit]


Remember to update your repository by running migrations:

    $ mix ecto.migrate
まず、ルーティングにAPI用エントリーとして、上記「resources "/posts", ~」を、「get "/", ~」直下に追記します
defmodule VueSampleWeb.Router do
  use VueSampleWeb, :router
  …
  scope "/", VueSampleWeb do
    pipe_through :browser

    get "/", PageController, :index
    resources "/posts", PostController, except: [:new, :edit]
  end
  …
マイグレートします
mix ecto.migrate
以下ログのように、テーブルが作成されます
01:51:55.226 [debug] Selecting all records by match specification `[{{:schema_migrations, :"$1", :"$2"}, [], [[:"$1"]]}]` with limit nil

01:51:55.282 [info]  == Running VueSample.Repo.Migrations.CreatePosts.change/0 forward

01:51:55.282 [info]  create table posts

01:51:55.310 [info]  == Migrated in 0.0s
Phoenixを起動してください
iex -S mix phx.server
APIでデータを参照する
先ほど作成したAPIで、データを参照してみましょう(と言っても、未だデータ投入していないので、空が返ってくるだけですが…)
APIを叩くために、REST APIクライアントが必要ですが、Firefoxの「RESTClient」、Chromeの「Postman」が便利です
Firefox「RESTClient」
https://addons.mozilla.org/ja/firefox/addon/restclient/
Chrome「Postman」
https://chrome.google.com/webstore/detail/postman/fhbjgbiflinjbdggehcddcbncdddomop
ここでは、FirefoxのRESTClientをインストールして、使ってみます
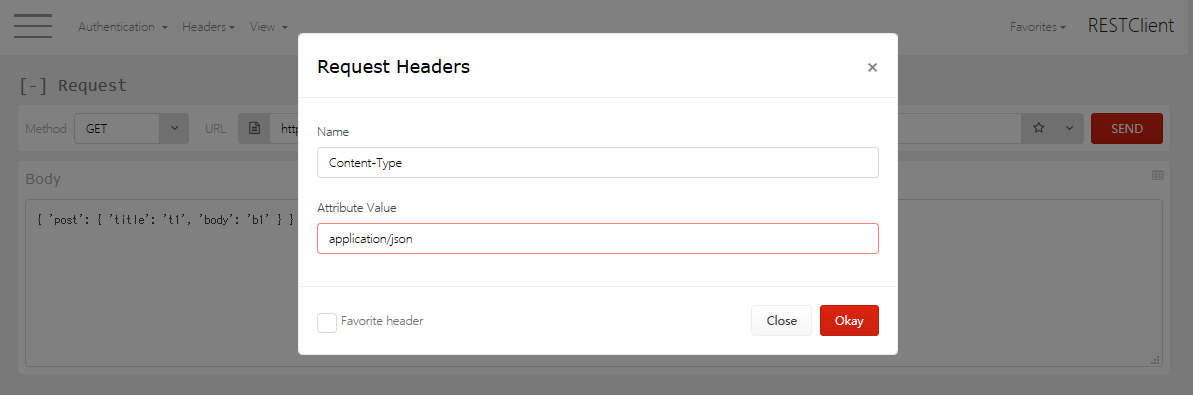
まず、RESTClientの「Headers」メニューで、「Custom Header」を選択して、REST API用のヘッダー設定をします
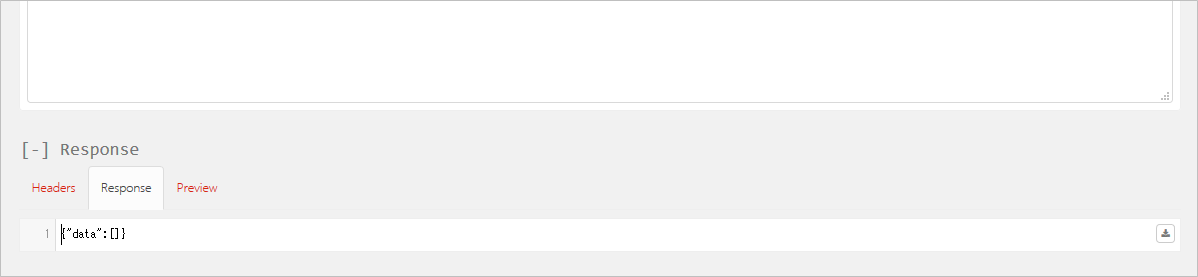
次に、URLに「http://localhost:4000/posts」を入れ、「SEND」ボタンをクリックすると、以下のような画面になります

「Headers」タブから、「Response」タブに切り替えると、中身が空のデータが返っていることが確認できます
APIでデータを投入する
では、APIでデータ投入してみましょう
「Method」を「POST」に変更し、「Body」に以下を入力します
{ "post": { "title": "t1", "body": "b1" } }
「SEND」ボタンをクリックすると、以下の通り、エラーになります
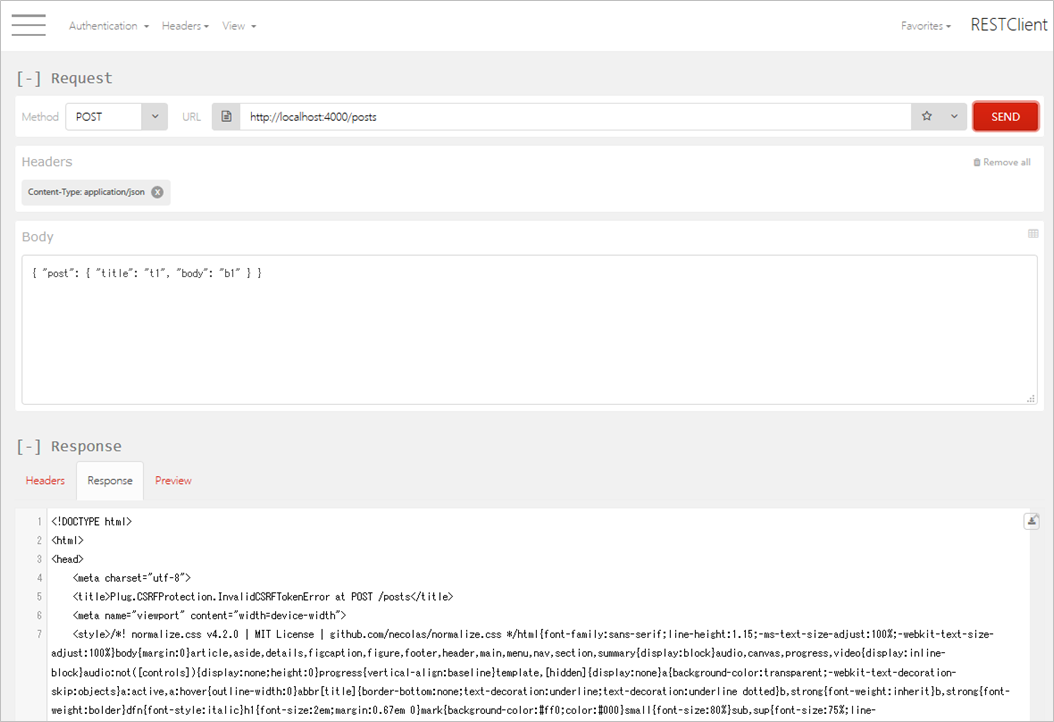
「Response」の中身を見てみると、CSRFトークンエラーが出ています
これは、リクエストにCSRFトークンが付与されていないことが原因ですが、ステートレスなAPIでCSRF対応は、このコラムの本筋から大きく外れるので、いったんシンプルにrouter.exに設定されているCSRF対策を解除します
defmodule VueSampleWeb.Router do
  use VueSampleWeb, :router

  pipeline :browser do
    plug :accepts, ["html"]
    plug :fetch_session
    plug :fetch_flash
#   plug :protect_from_forgery
    plug :put_secure_browser_headers
  end
  …
コンパイルします
iex> recompile
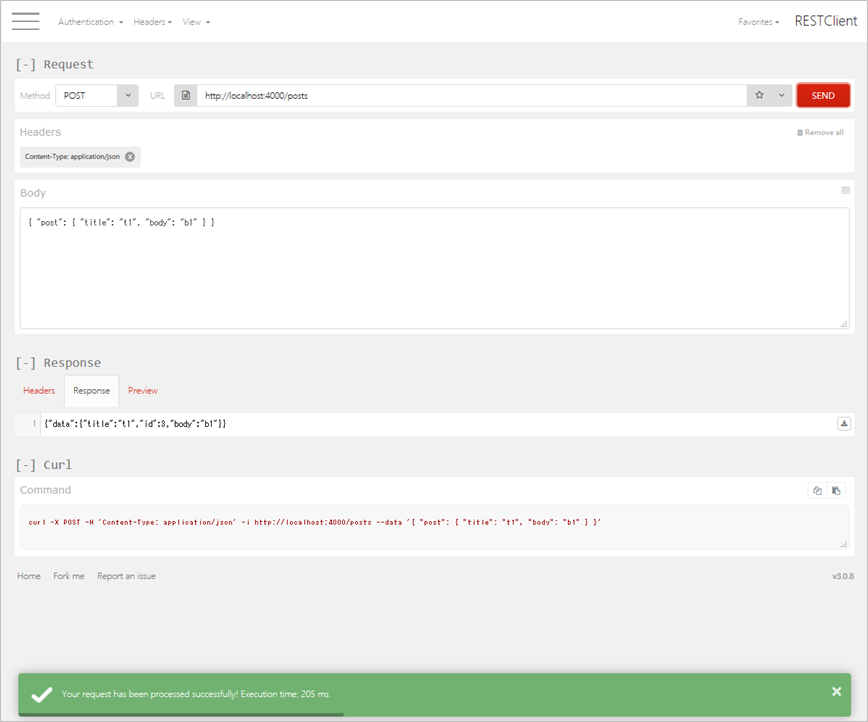
再度、「SEND」ボタンをクリックすると、今度は成功します
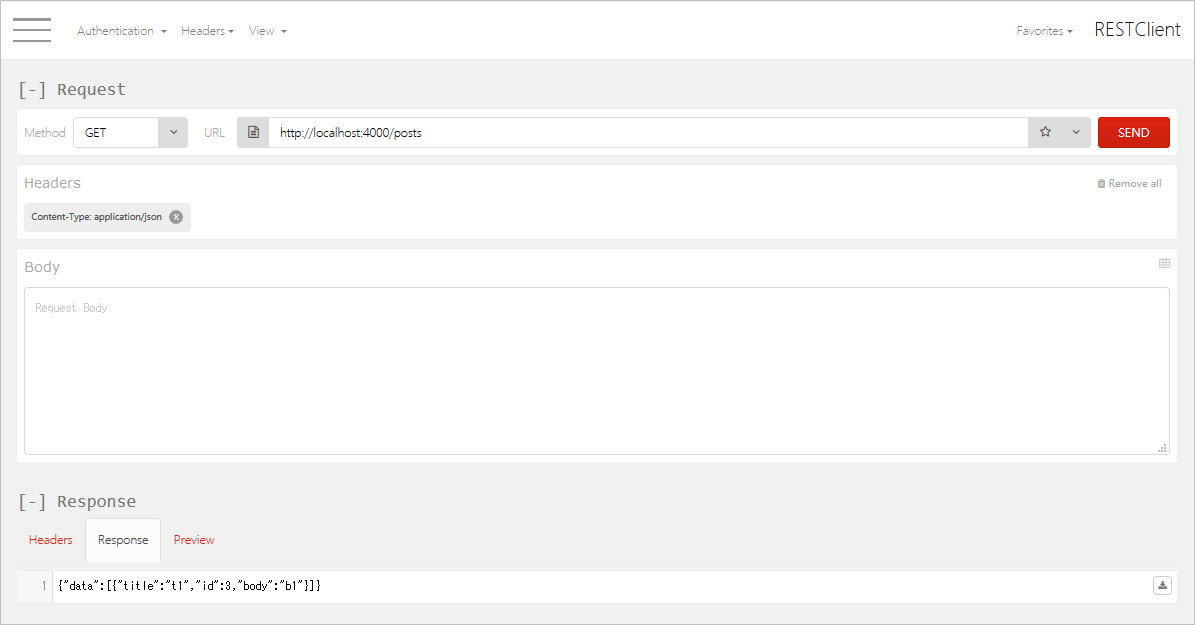
「Method」を「GET」に切り替え、「SEND」ボタンをクリックすると、投入したデータが返っていることが確認できます
もう1件、データ投入しておきましょう
「Method」を「POST」に変更し、「Body」に以下を入力し、「SEND」ボタンをクリックします
{ "post": { "title": "t2", "body": "b2" } }
Vue.jsでデータ表示する(axiosでAPI呼出)
Vue.jsとaxiosを使って、上記で作成したAPIの呼び出しを行い、テーブル表示してみます
Vue.jsとaxiosは、「<script src=~」でCDN(Content Delivery Network)を指定することでロードします
「var app = new Vue」で始まるブロックが、Vue.jsのメイン処理です
メイン処理の「el」で指定したものと同じidを、上方のdivタグで指定していますが、Vue.jsはこの中で有効です
trタグに指定した「v-for」では、メイン処理の「data」で定義しているresults配列を1件ずつ取り出し、resultに代入しており、各フィールドを「{{ result.【フィールド名】 }}」という記述で取得できます
なお、results配列は、初期表示時に実行される「mounted」ハンドラ内の、axiosによるAPI呼出で更新されます
<section class="phx-hero">
  <h1><%= gettext "Welcome to %{name}!", name: "Phoenix" %></h1>
  <p>Peace of mind from prototype to production</p>
</section>

<script src="https://cdnjs.cloudflare.com/ajax/libs/vue/2.5.17/vue.min.js"></script>
<script src="https://cdnjs.cloudflare.com/ajax/libs/axios/0.18.0/axios.min.js"></script>

<div id="app">

<h1>Posts</h1>
<table border="1">
<tr v-for="result in results">
	<td style="padding: 10px;">{{ result.title }}</td>
	<td style="padding: 10px;">{{ result.body }}</td>
</tr>
</table>

</div>

<script>
	var app = new Vue
	( {
		el: '#app',
		data:
		{
			results: [],
		},
		mounted()
		{
			axios.get( '/posts' )
			.then( response => { this.results = response.data.data } )
		},
	} )
</script>
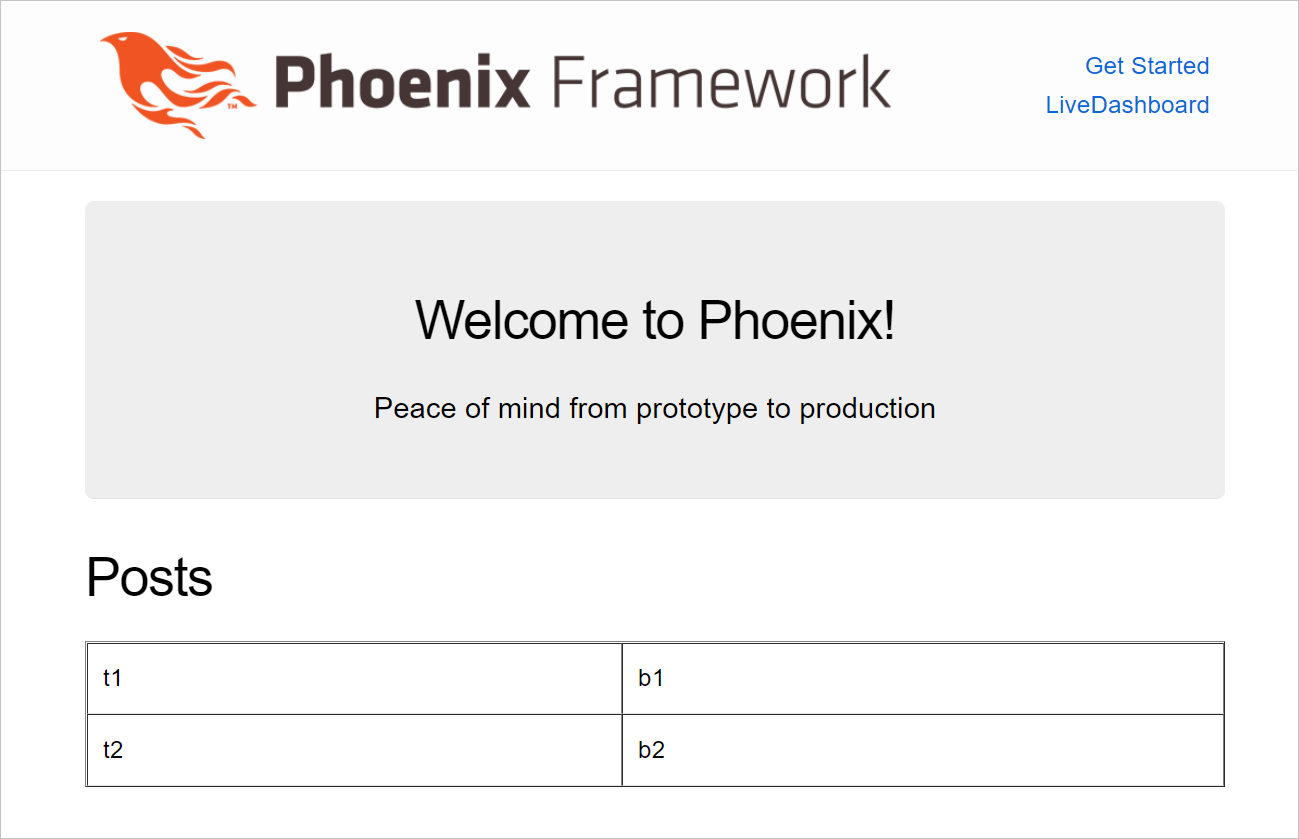
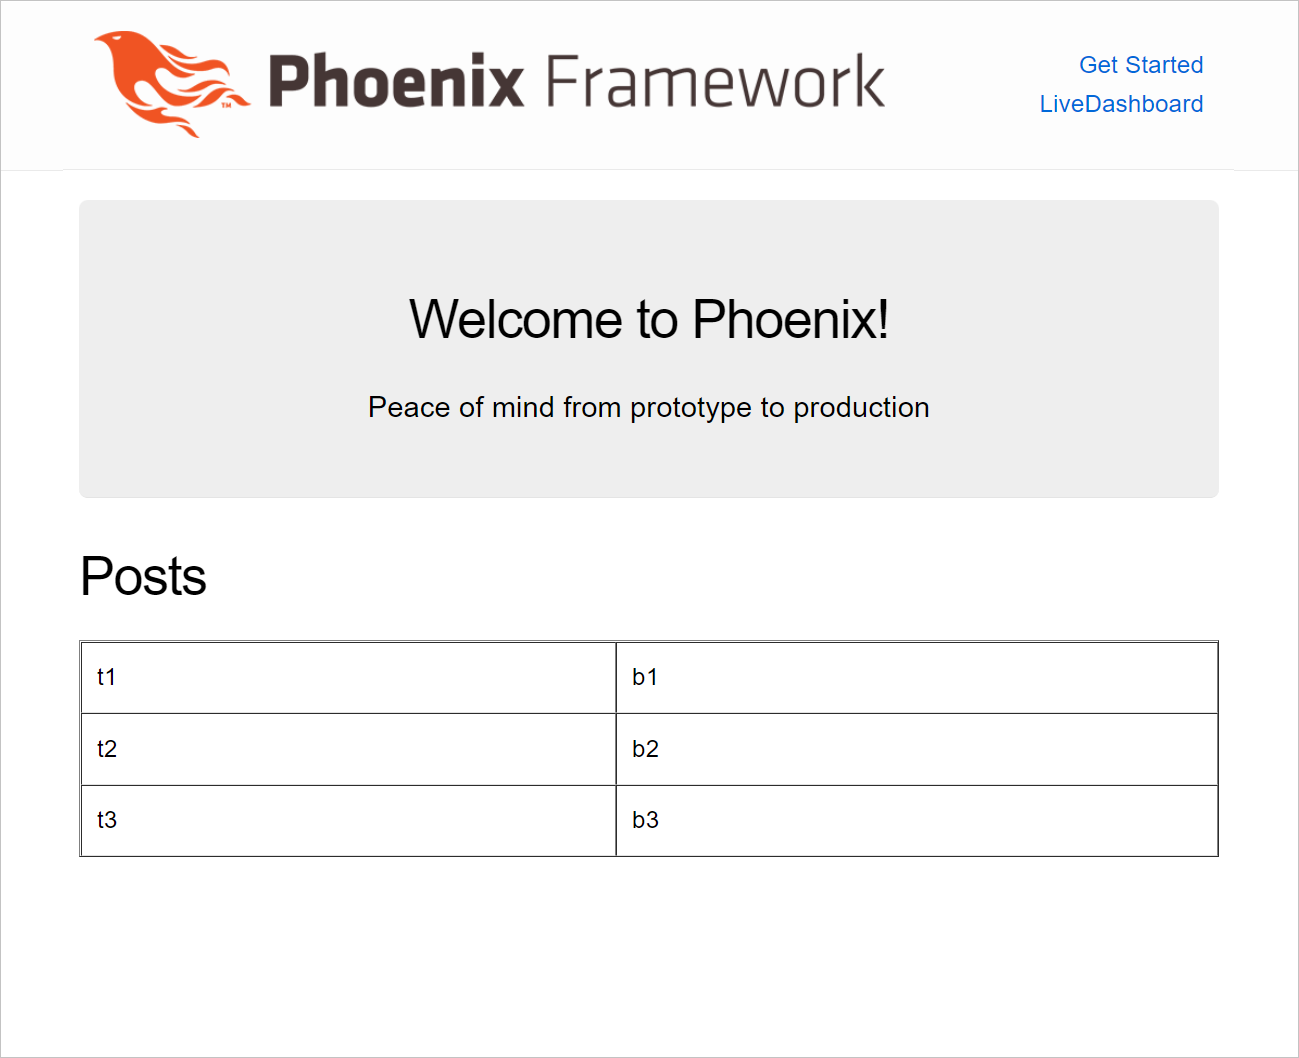
APIで取得できるデータがテーブル表示されます
RESTClientから、もう1件、データ投入します
{ "post": { "title": "t3", "body": "b3" } }
ブラウザをリロードすると、増やしたデータが表示されます
終わり
今回は、Vue.jsを使ったフロントサイドと、Phoenixによる内部APIを組み合わせを用いて、APIにより取得したデータを画面表示してみました