はじめに、仮想環境を構築します。


```ruby:create_env
$ conda create -n envname python=3
envnameには、仮想環境の名前を入れます。
conda info -eで自分の作った仮想環境の一覧を見ることが出来ます。
$ conda info -e
$ source activate name_of_my_env
qiskitをインストールします。
$ pip install qiskit
import numpy as np
from qiskit import *
%matplotlib inline
量子回路を作成するにはQiskit内のQuantumCircuitというモジュールを使います。()の中は使用するqubitの数です。
circ = QuantumCircuit(3)
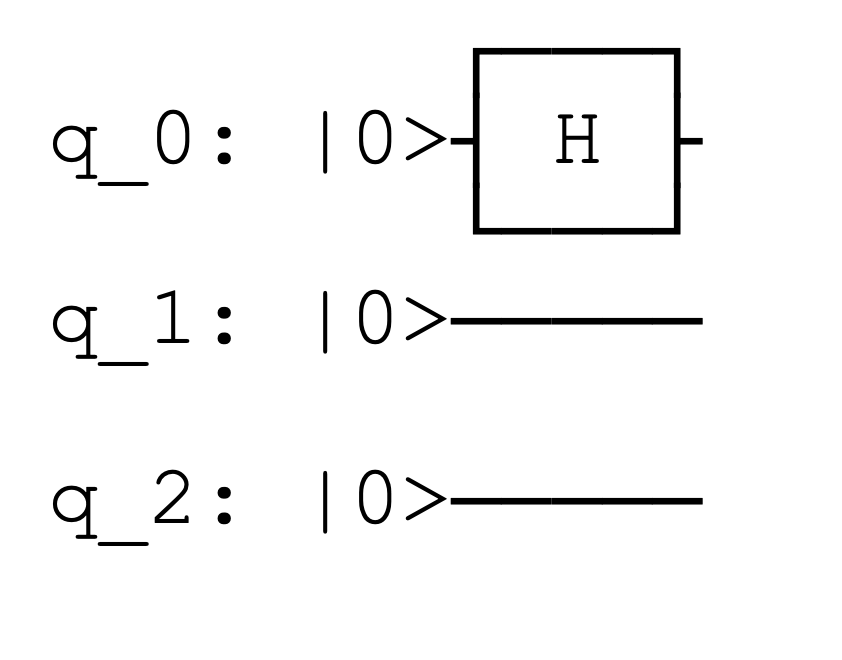
続いてアダマールゲートの実装の仕方です。hがアダマールゲートを指し、()内の数字は何qubit目の量子ゲートを使用するかを表しています。
circ.h(0)
結果はこのようになります。

こうしてアダマールゲートをqiskit上で実装することが出来ました。
Qiskitのインストール
https://qiskit.org/documentation/locale/ja/install.html
Qiskitでアダマールゲートを実装する
https://github.com/Qiskit/qiskit-iqx-tutorials/blob/master/qiskit/fundamentals/1_getting_started_with_qiskit.ipynb
SQL小技集
https://qiita.com/ool/items/75da830e7373138c8125
UTCとJST
https://qiita.com/ool/items/6be9cc290c8ad9e0f5bc
今流行りの量子コンピューター
[量子コンピューター]Qisikitでアダマールゲートを実装する
https://qiita.com/ool/items/1a5041edddc11b14efc0
[Qiskitのアカウント認証の仕方]Qiskit IBMQ プロバイダー
https://qiita.com/ool/items/e80c1266cda68984a103
Qiskitの使い方
https://qiita.com/ool/items/2227d2d515caa5087752
[量子コンピューター]Qiskit Tutorials
https://qiita.com/ool/items/2a5038df1471635d442c