はじめに
GarminのWatchFaceを開発する際にサンプルとして開発したときの手順をまとめます。
今回は以前の記事「GarminのWatchFaceアプリでHello,world!」を使った内容になります。
前提条件
- 「GarminのWatchFaceアプリでHello,world!」の動作確認までできる状態であること
手順
表示させたい機能の画像を用意する
Bluetoothでスマホと接続されたときにBTマークを表示してみたいと思います。
高さ22px ✕ 横15px の画像を用意しました。

画像を設定
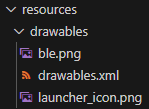
下記ディレクトリに配置します。
[resources]>[drawables]
やっていることはGarminのWatchFaceアプリで背景デザインを変更!>背景画像を設定 と同じです。
続いてdrawables.xmlにBTマーク画像を表示させる行を追加します。
drawables.xml
<drawables>
    <bitmap id="LauncherIcon" filename="launcher_icon.png" />
+   <bitmap id="bmBluetoothIcon" filename="ble.png" />
</drawables>
続いてBTマークを表示させる条件を〇〇View.mcファイルに記述します。(〇〇部分はファイル生成時の名前)
関連するコードの前後を抜粋して記載します。
sampleFace04View.mc
class sampleFace04View extends WatchUi.WatchFace {

+   // bluetooth関連アイコンと位置情報
+   var bmBluetooth;
+   var bmBtPosion;

    function initialize() {
        WatchFace.initialize();
+       //drawables.xmlで設定したidからアイコン情報をロード
+       bmBluetooth = WatchUi.loadResource(Rez.Drawables.bmBluetoothIcon);
    }

    // Load your resources here
    function onLayout(dc as Dc) as Void {
        setLayout(Rez.Layouts.WatchFace(dc));
+       //BTアイコンを位置決め
+       bmBtPosion = [dc.getWidth()/2 + 20, 10];
    }

+   // Bluetooth接続ステータスを取得し表示する。
+   function drawBT(dc) {
+   	var info = System.getDeviceSettings();
+   	if (info.phoneConnected) {
+  		dc.drawBitmap( bmBtPosion[0] ,bmBtPosion[1]  , bmBluetooth);
+        }
+    }

+ // ちょっと省略

 function onUpdate(dc as Dc) as Void {
+       // またまた省略
        // Call the parent onUpdate function to redraw the layout
        View.onUpdate(dc);
+       // function drawBT関数を呼び出し
+       drawBT(dc);
    }
}
これでビルドを実行するとBluetoothアイコンが表示されます!

動作確認
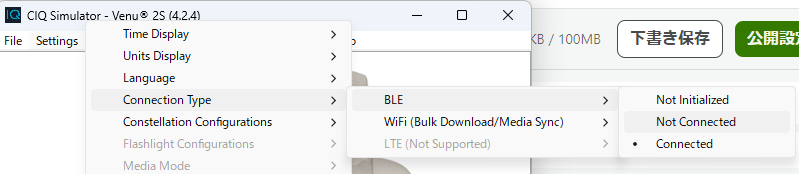
仮想環境内でBluetooth設定をオフにしてみます。
画面上部の[Settings]>[Connection Type]>[BLE]>[Not Connected]
でオフにすることができます。
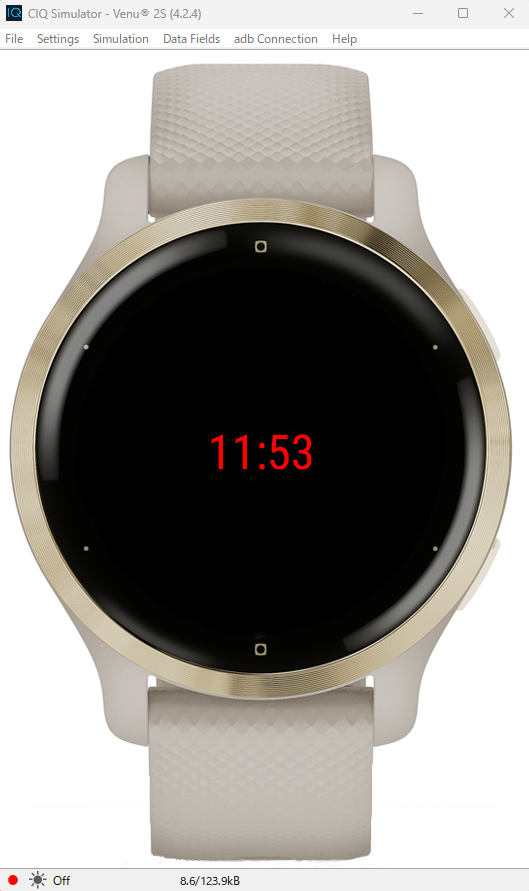
そうすると、Bluetooth接続が切れたことになるため、アイコンが非表示になりました![]()
終わりに
今回はここまでにします。
次回はなにか思いついたら作ります。
参考リンク