はじめに
GarminのWatchFaceを開発する際にサンプルとして開発したときの手順をまとめます。
また、前回の記事「GarminのWatchFaceアプリの開発環境を構築する」の続きとなります。
前提条件
- GarminのWatchFaceアプリの開発環境を構築する での設定が完了していること
手順
VSCでの注意事項
Project作成時に保存するフォルダを選択後、自動的に対象フォルダが開かれるため、該当フォルダを開いておく必要は有りません。
Project 作成
Ctrl + Shift + P ( Mac の場合はCommand + Shift + P )を使用してコマンド パレットを呼び出し、「Monkey C: New Project」と入力しEnterを押下します。

次にプロジェクト名を決めます。
下記はサンプル名となりますが、決まり次第Enterを押下します。

次に何を作るか聞かれます。
今回の場合、「Watch Face」を選択します。

次にどんな画面にしたいか聞かれます。
今回は下記「Simple with Settings」を選択します。

シンプル 画面中央にデジタル形式で時刻を表示するシンプルなウォッチフェイス。
設定付きシンプル 画面中央にデジタル形式で時刻を表示するシンプルなウォッチフェイス。背景色、前景色、ミリタリー形式で24時間表示するかどうかの設定もあります。
次はどのレベルのAPIをサポートするか聞かれます。
自身の作りたい時計のターゲットバージョンがどこかですが、後からでも変えられるため試しに3.0.0を選びます。

次はどの時計画面を作るのか聞かれるため、私は「Venu 2S」を選択します。

選択後は右上の「OK」ボタンを押下してください。
次はどこのディレクトリにプロジェクトを作るか聞かれるため、保存したいフォルダを選択してください。

フォルダの選択後、自動的に作られたプロジェクトが開きます。
動作確認(シミュレーター起動)
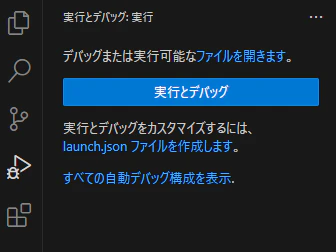
画面左のアイコンから下記「実行とデバッグ」をクリックしてください。

するとボタン右側に下記画面が表示されるため、「実行とデバッグ」をクリックしてください。
「デバッカーの選択」が表示されるため「Monkey C」を選択してください。
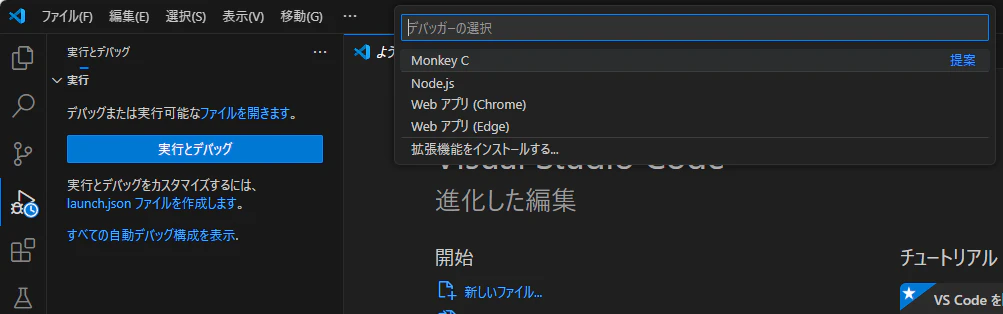
ビルドが成功するとシミュレーターが起動します。

イェイ!
Hello,world!(シミュレーター内にて)
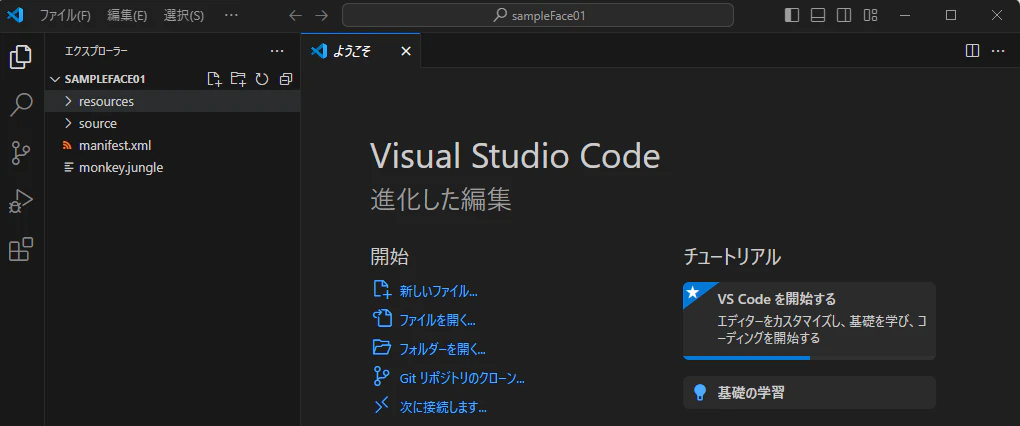
現在のファイル構成は以下の通りです。

今回は簡単に文字盤にテキストを追加するのみのため、下記ファイルに手を加えます。
- resources > layout.xml
- source > sampleFace01View.mc
まずはlayout.xmlへ描画するエリアを追加します。
<layout id="WatchFace">
    <drawable class="Background" />
    <label id="TimeLabel" x="center" y="center" font="Graphics.FONT_LARGE" justification="Graphics.TEXT_JUSTIFY_CENTER" color="Graphics.COLOR_BLUE" />
+   <label id="Hello" x="50%" y="60%" font="Graphics.FONT_LARGE" justification="Graphics.TEXT_JUSTIFY_CENTER" color="Graphics.COLOR_BLUE" />
</layout>
idで一意のワード指定、
x="50%" y="60%"で描画位置の指定しています。
※その他項目は既存labelと同じ内容にしています。
続いてsampleFace01View.mcの下記項目へ追記します。
    // Update the view
    function onUpdate(dc as Dc) as Void {
        // Get the current time and format it correctly
        var timeFormat = "$1$:$2$";
        var clockTime = System.getClockTime();
        var hours = clockTime.hour;
        if (!System.getDeviceSettings().is24Hour) {
            if (hours > 12) {
                hours = hours - 12;
            }
        } else {
            if (getApp().getProperty("UseMilitaryFormat")) {
                timeFormat = "$1$$2$";
                hours = hours.format("%02d");
            }
        }
        var timeString = Lang.format(timeFormat, [hours, clockTime.min.format("%02d")]);

        // Update the view
        var view = View.findDrawableById("TimeLabel") as Text;
        view.setColor(getApp().getProperty("ForegroundColor") as Number);
        view.setText(timeString);

+       var textView = View.findDrawableById("Hello") as Text;
+       textView.setText("Hello World!");

        // Call the parent onUpdate function to redraw the layout
        View.onUpdate(dc);
    }
View.findDrawableByIdでlayout.xmlの追加したlabelにある一意のidと同じ単語を入力しています。
続いて.setText("Hello World!");の部分で表示したい言葉を入力します。
ここまでできたらそれぞれの画面を保存し、再度ビルドを実行してください。
シュミレータが立ち上がり画面に表示されます。
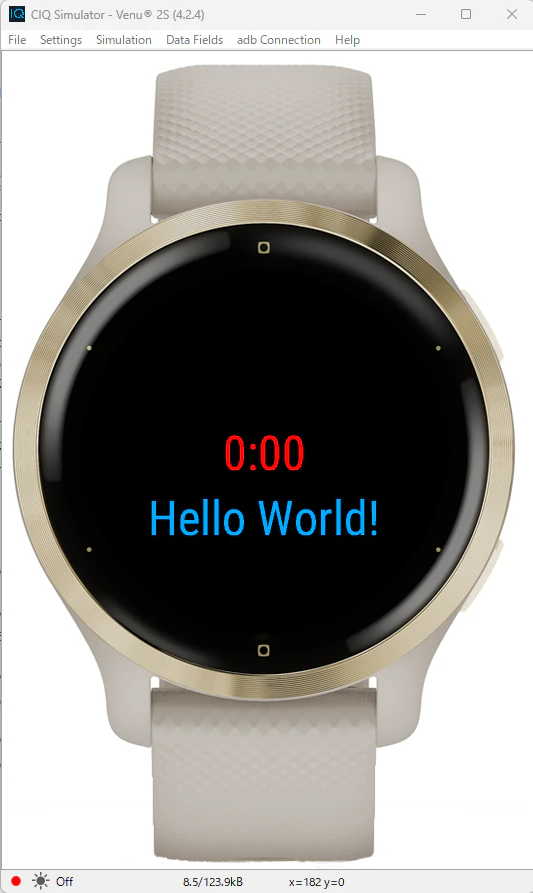
イェーイ!
終わりに
今回はここまでにします。
次回は表示内容をもう少し変更させたり、実機で動かすのを目標にしたいと思います。
参考リンク