はじめに
ESXi7でハイパーバイザ型仮想化も使えるようになったし
vCenter Server 7.0を触ってみるか。。。
の結果、公式インストーラでVCSAのインストールを試みるも、
トラブってうまくインストールできなかった人向けの記事です
ESXiのインストールは以下を参照
- 【2023年7月版】VMWare ESXi のインストール【Intel Ethernet Controller版】
- 【2023年7月版】VMWare ESXi のインストール【Realetk Ethernet Controller, No Network Adapters版】
※ 2023年9月現在、試用版として vCenter Server 7.0 は提供されなくなっています。8.0 が60日試用できます。
vCenter Server 8.0 のインストールは以下を参照
インストーラーの用意
VCSAインストール用のisoファイルを入手しましょう。
前提条件
Windowsからインストーラーを起動(Eドライブ)
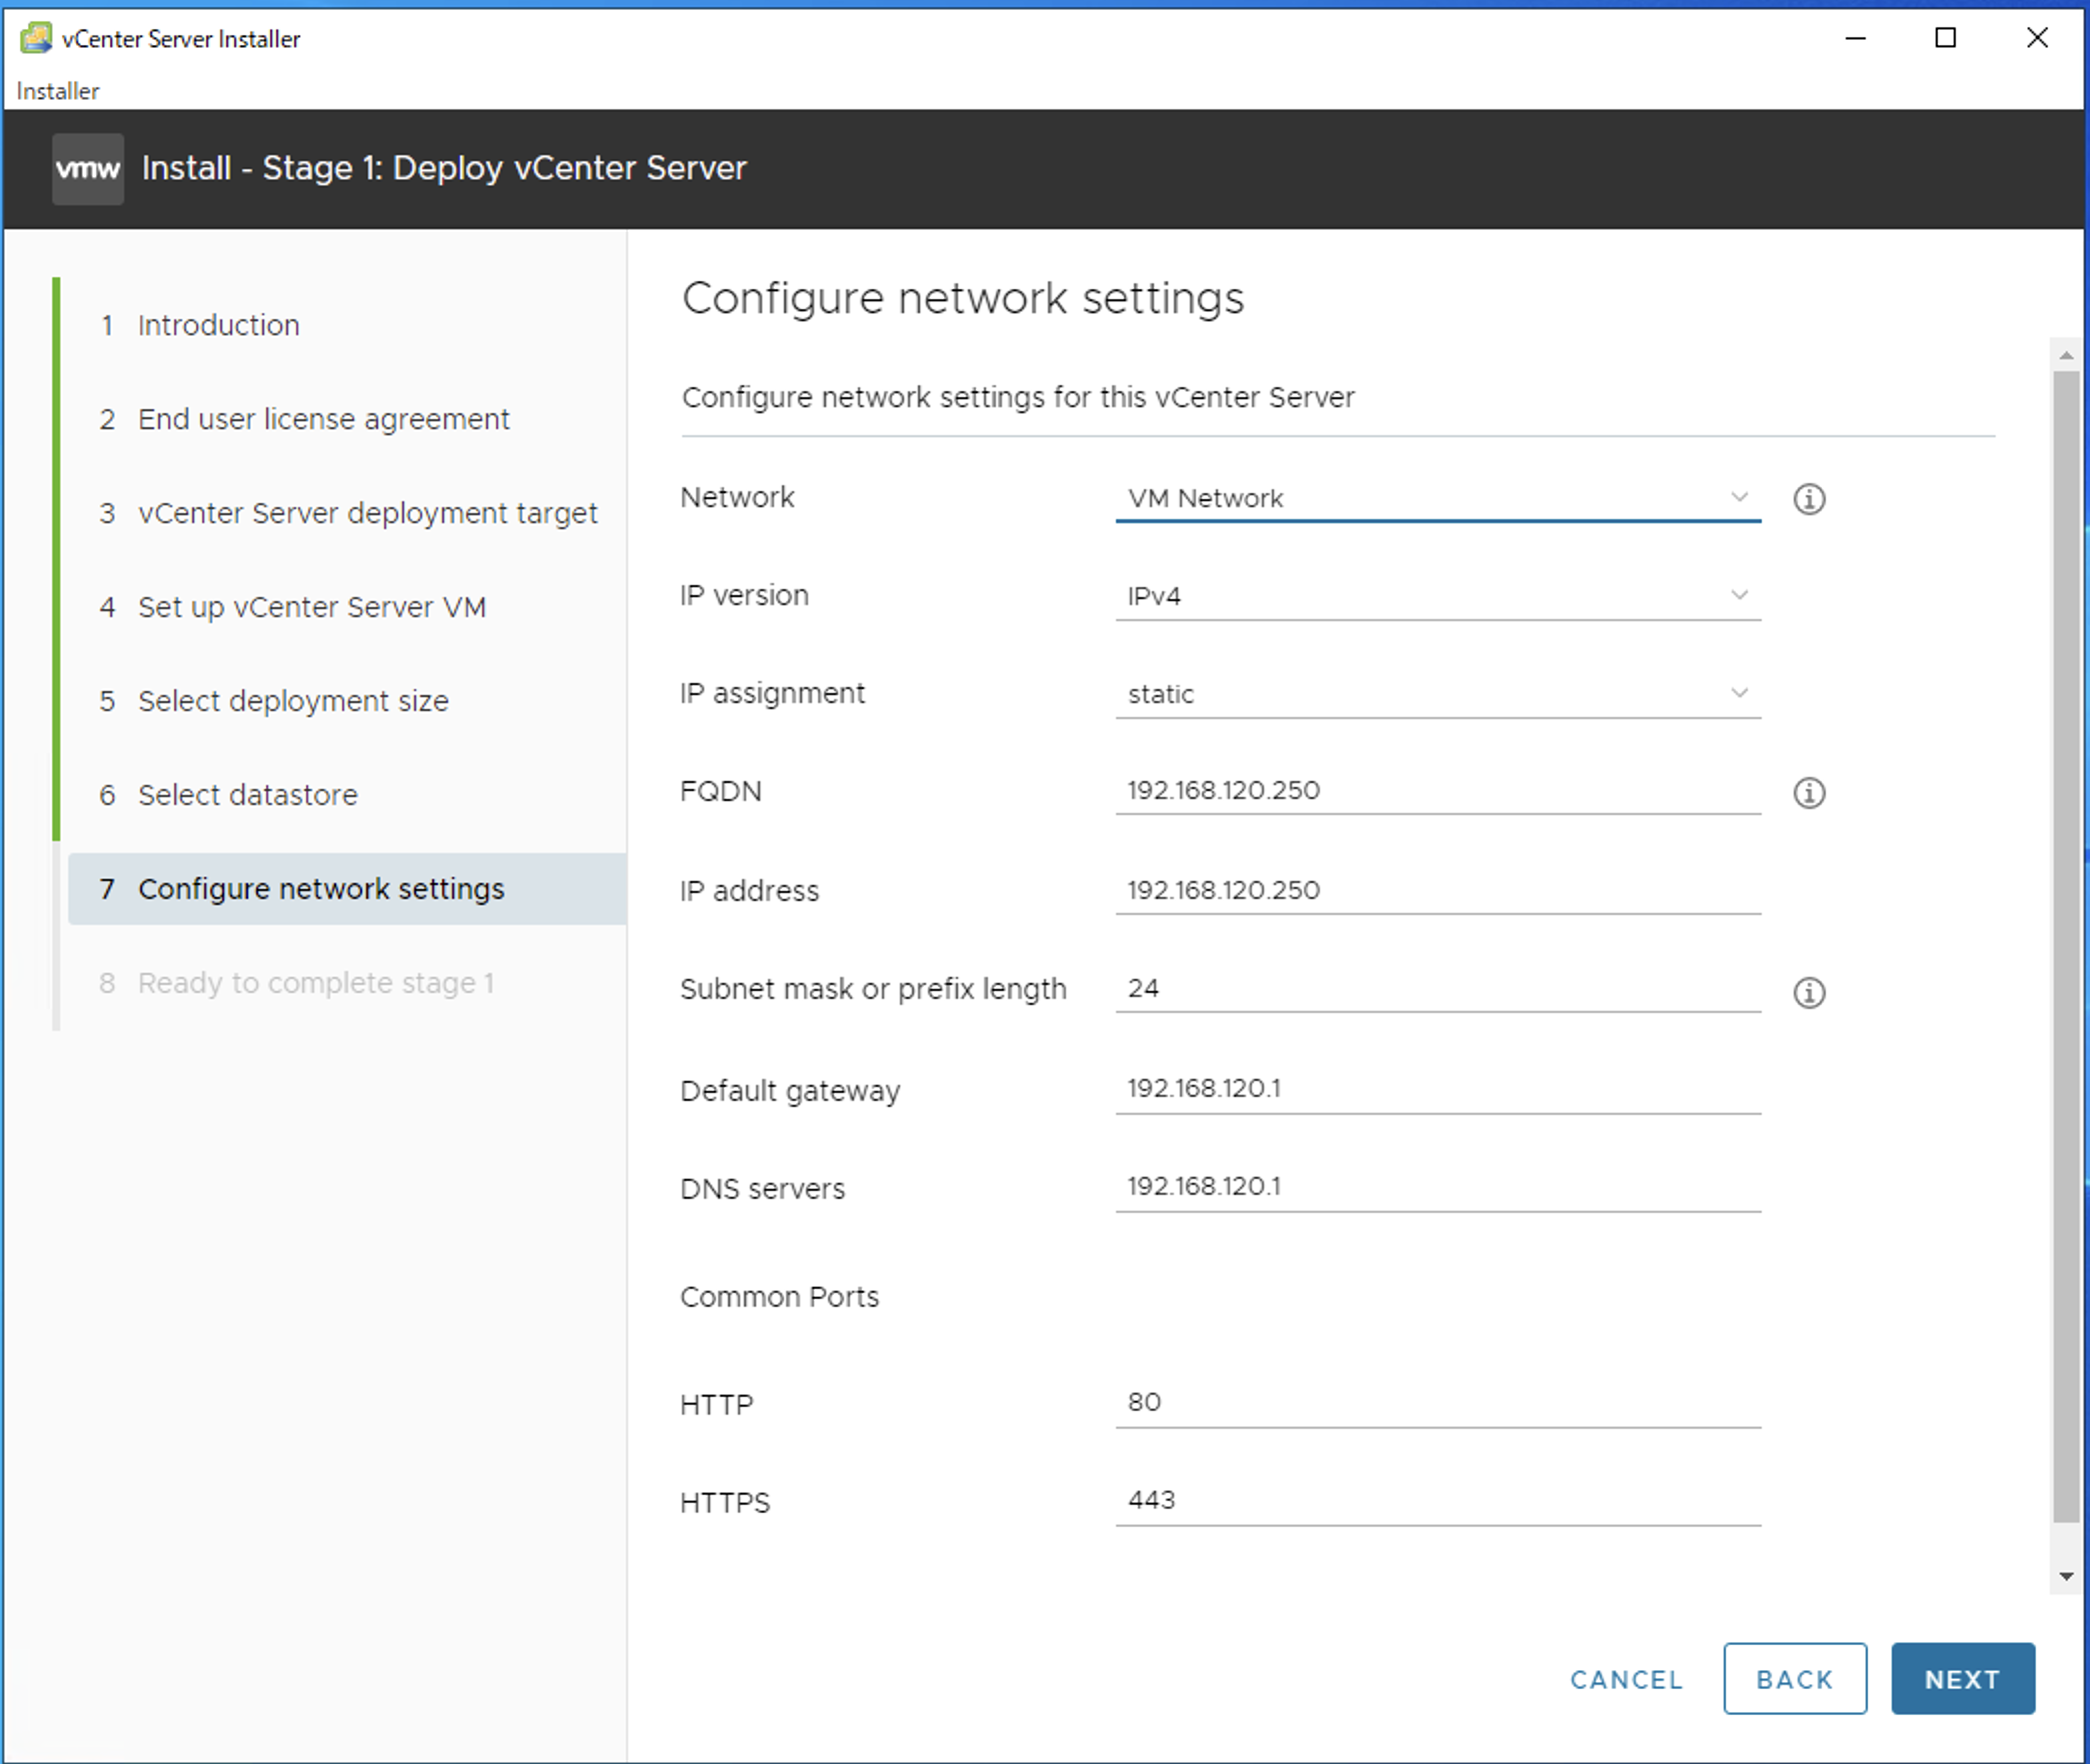
DNSは インターネットゲートウェイ用のルーターのDNSを利用、別途で準備しない
vCenter Server に設定するIPは 192.168.120.250
インストール先の ESXi は 192.168.120.226
推奨ブラウザのChromeを使う
DHCPでアドレスが振られる環境
手順
インストール Step 1
- isoの
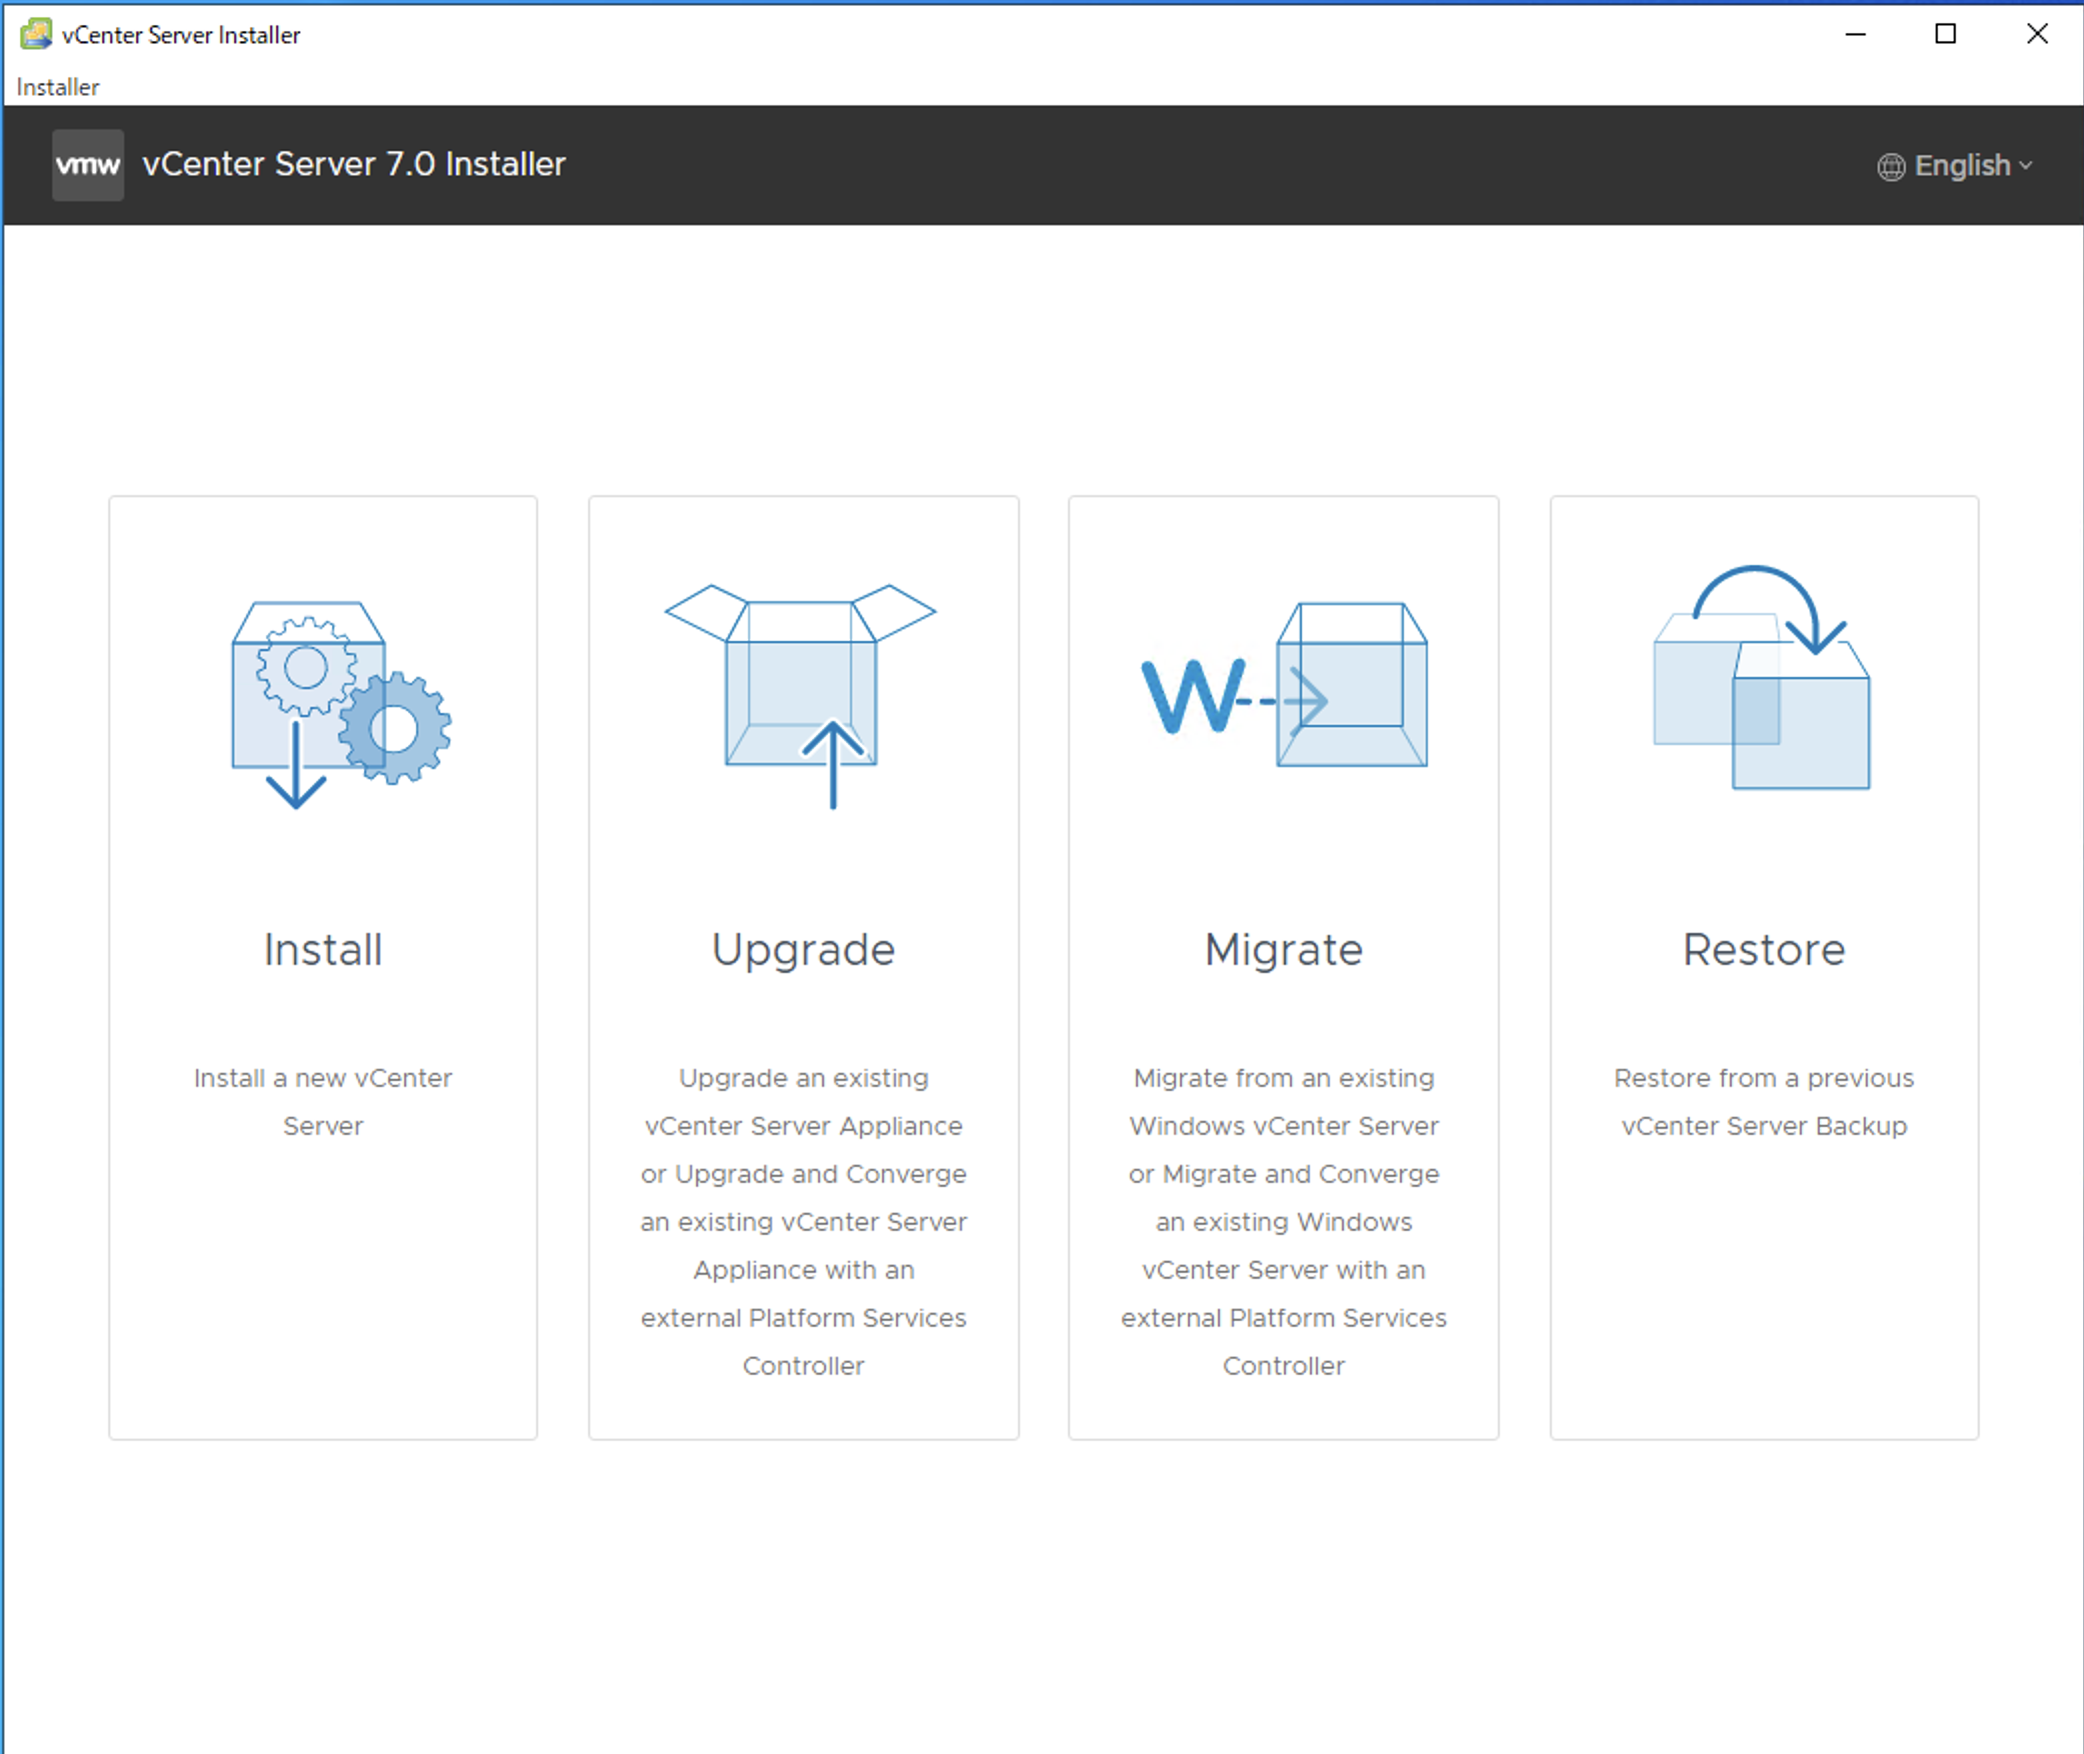
E:\vcsa-ui-installer\win32\installer.exeを起動 -
Installを押下
-
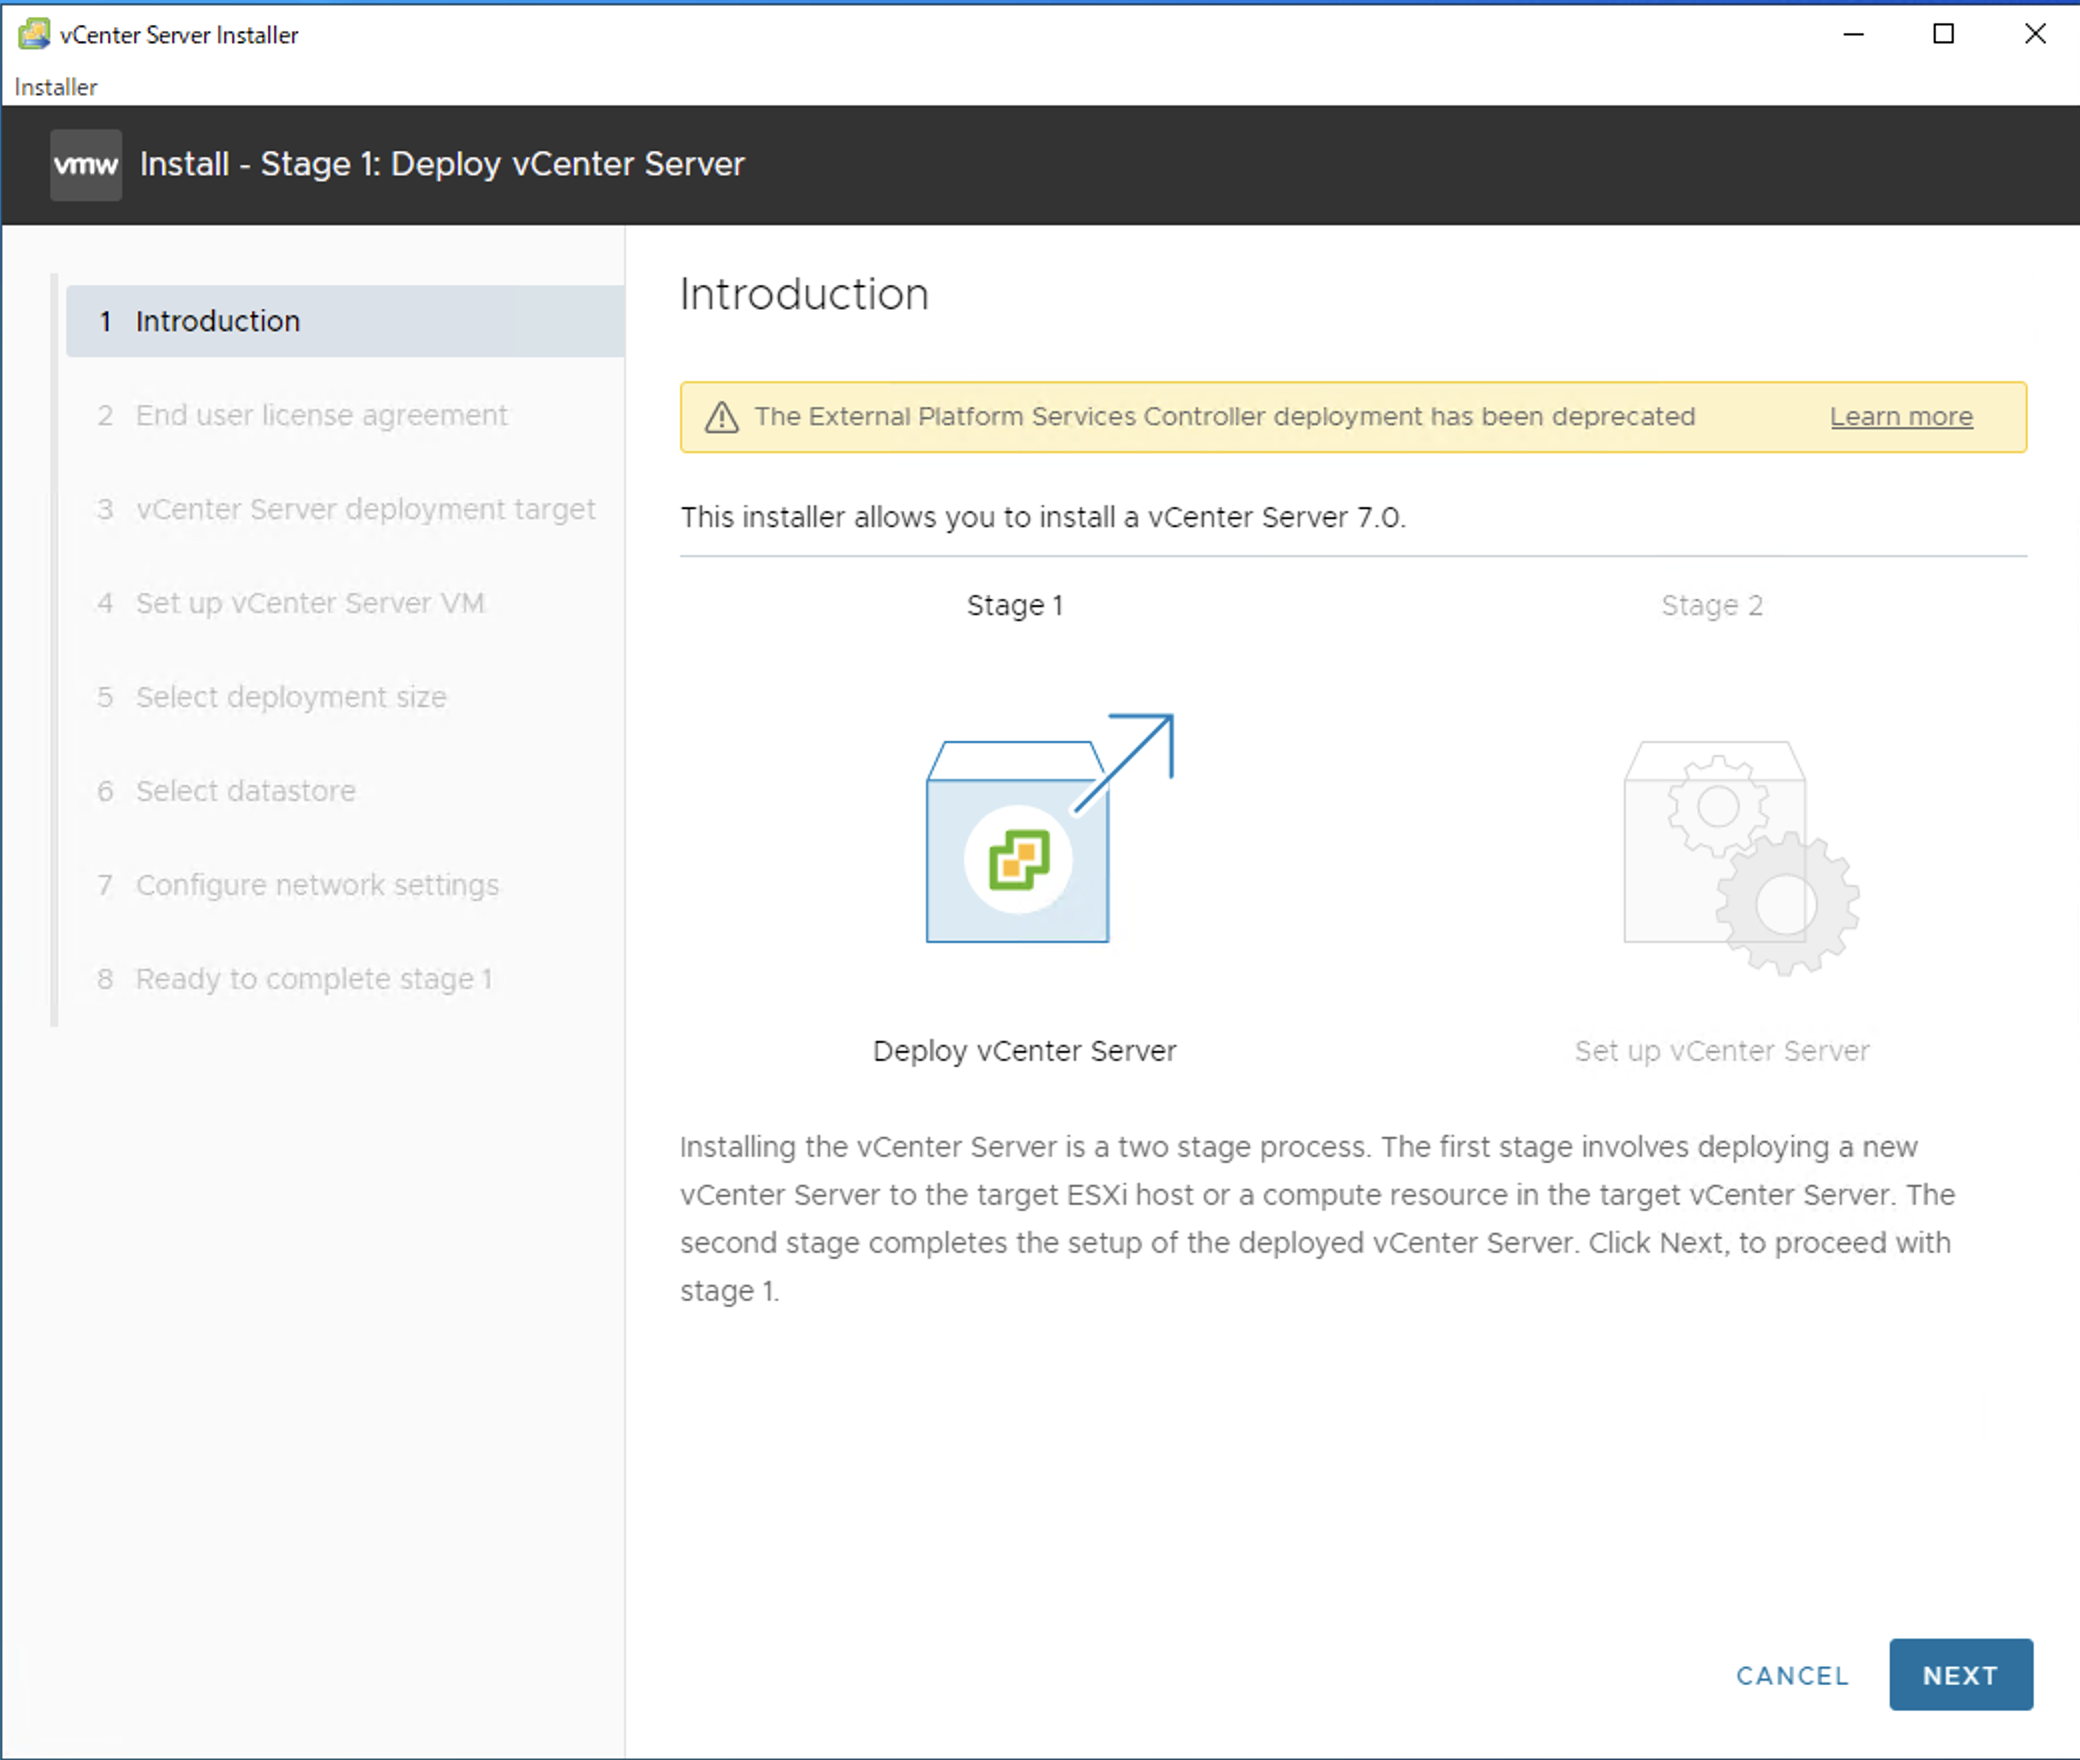
Nextを押下
-
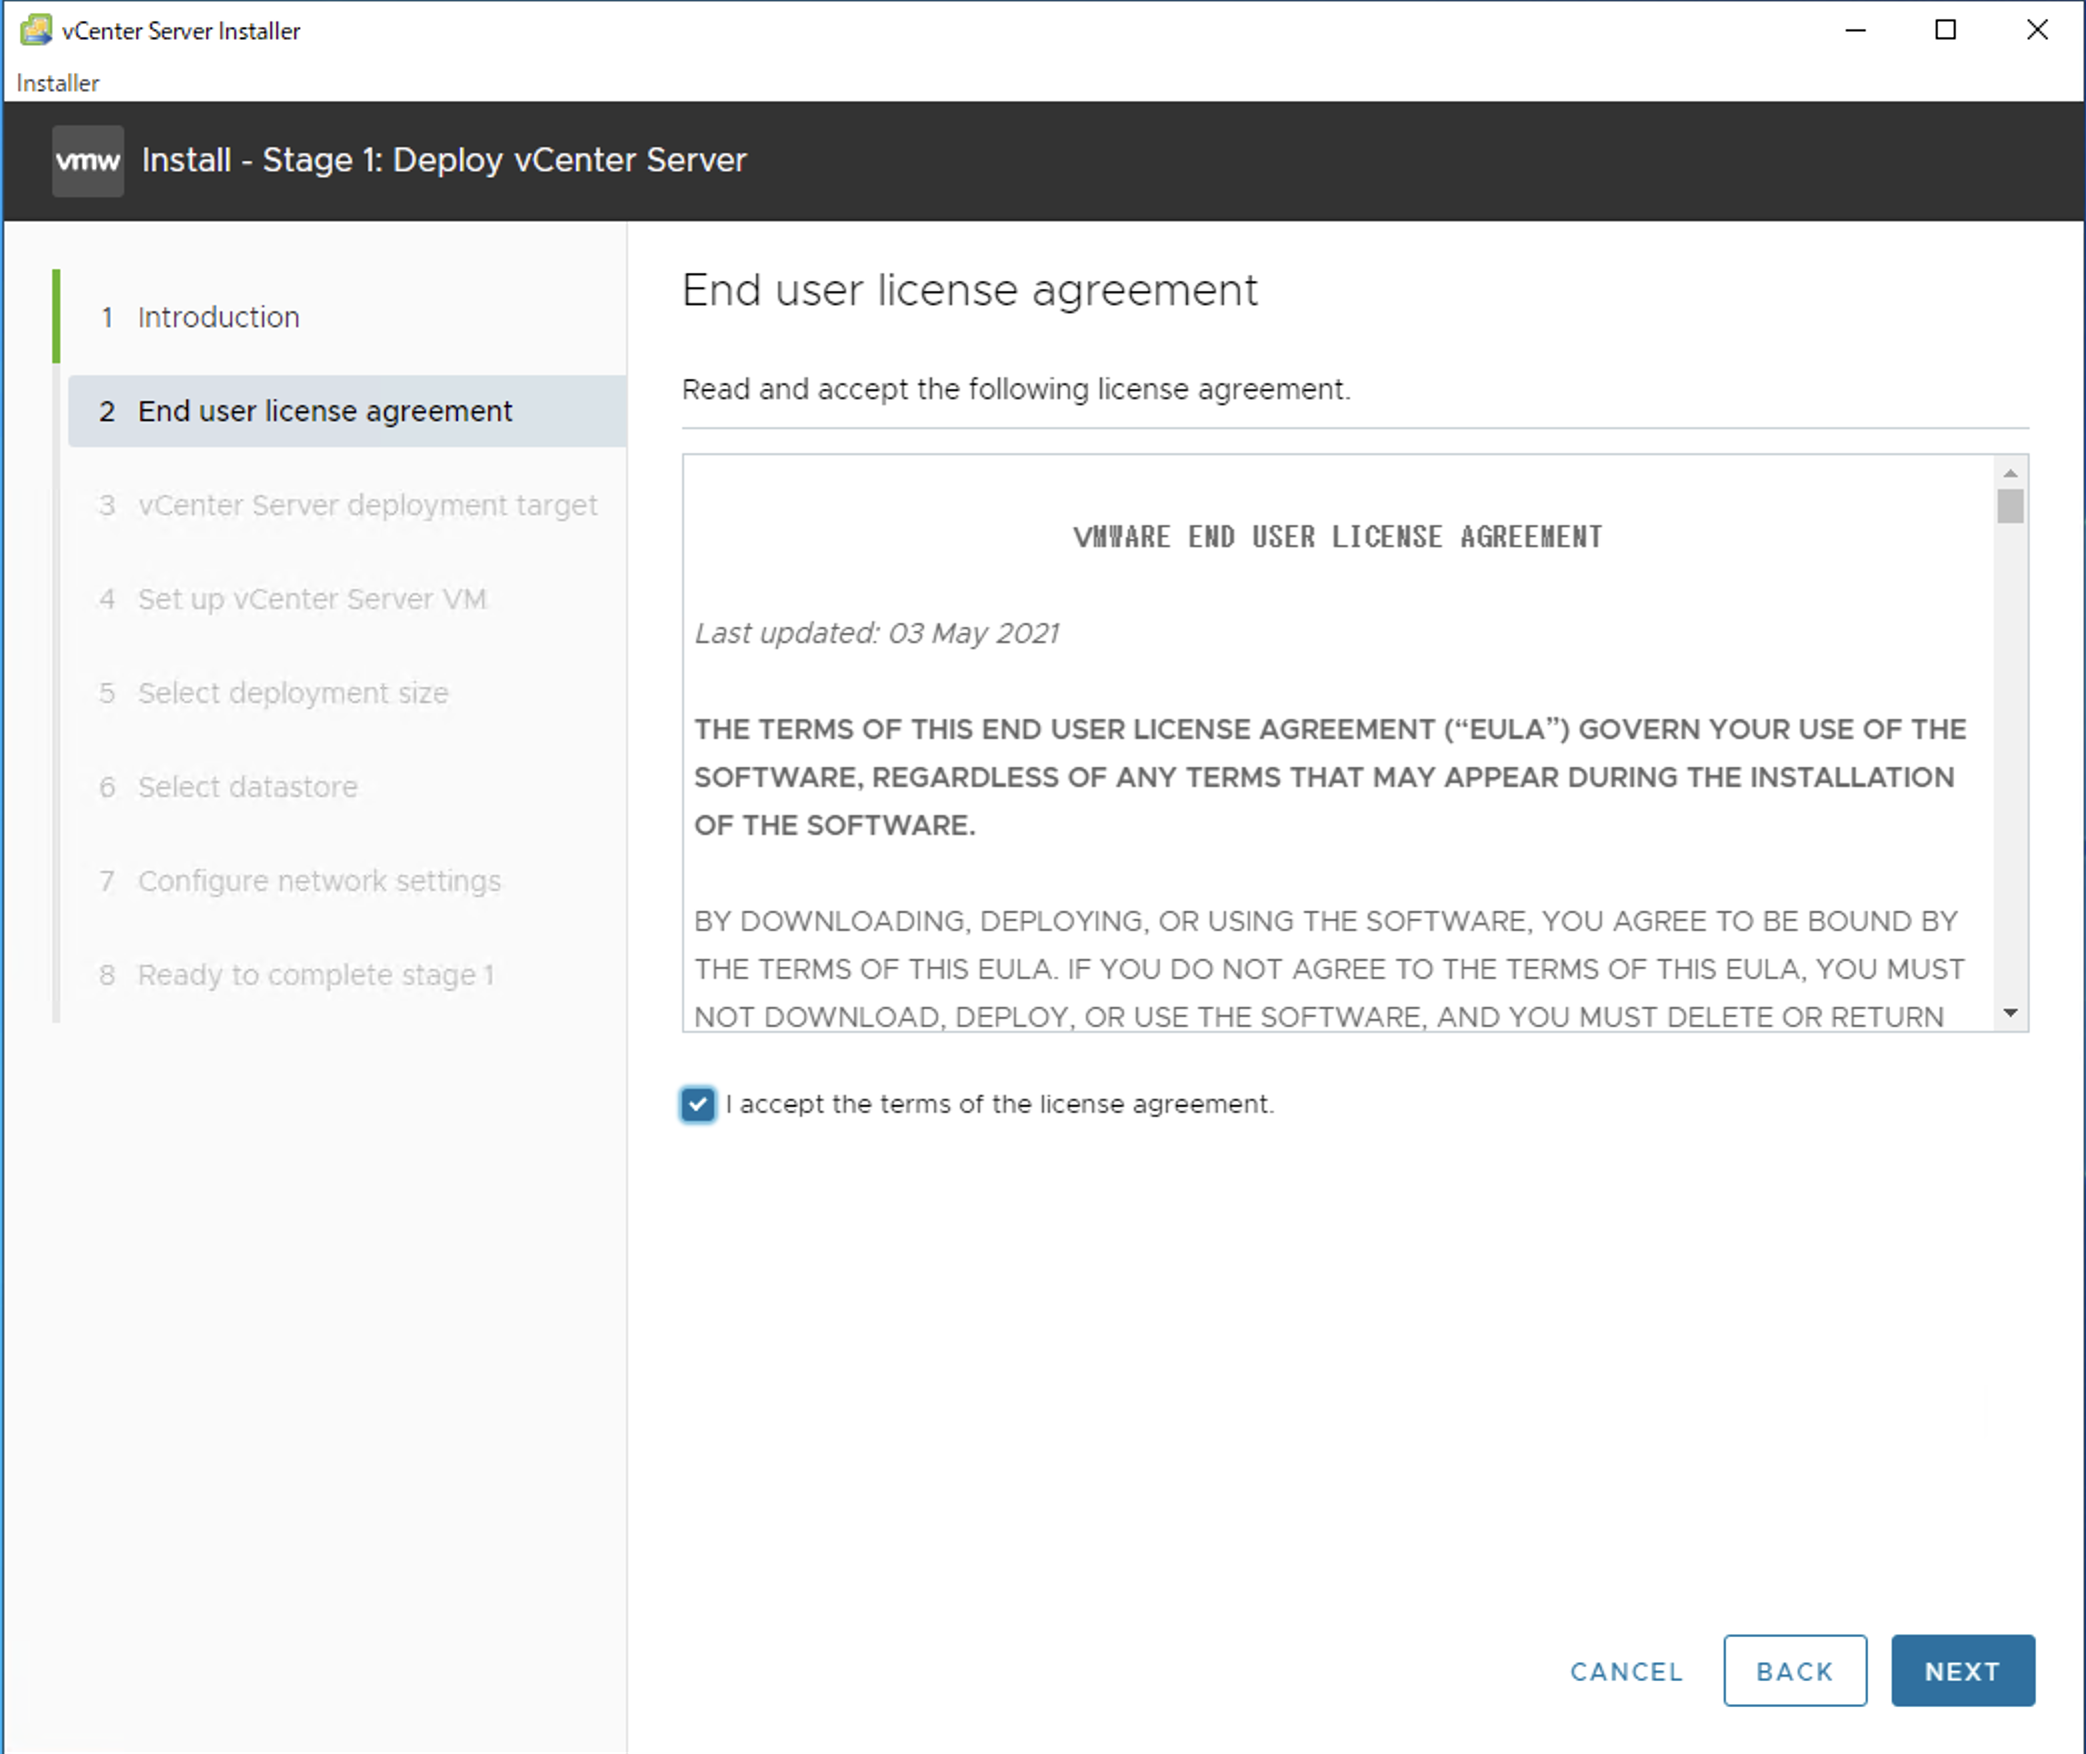
I accept the terms of the license agreementにチェックをつけて、Nextを押下
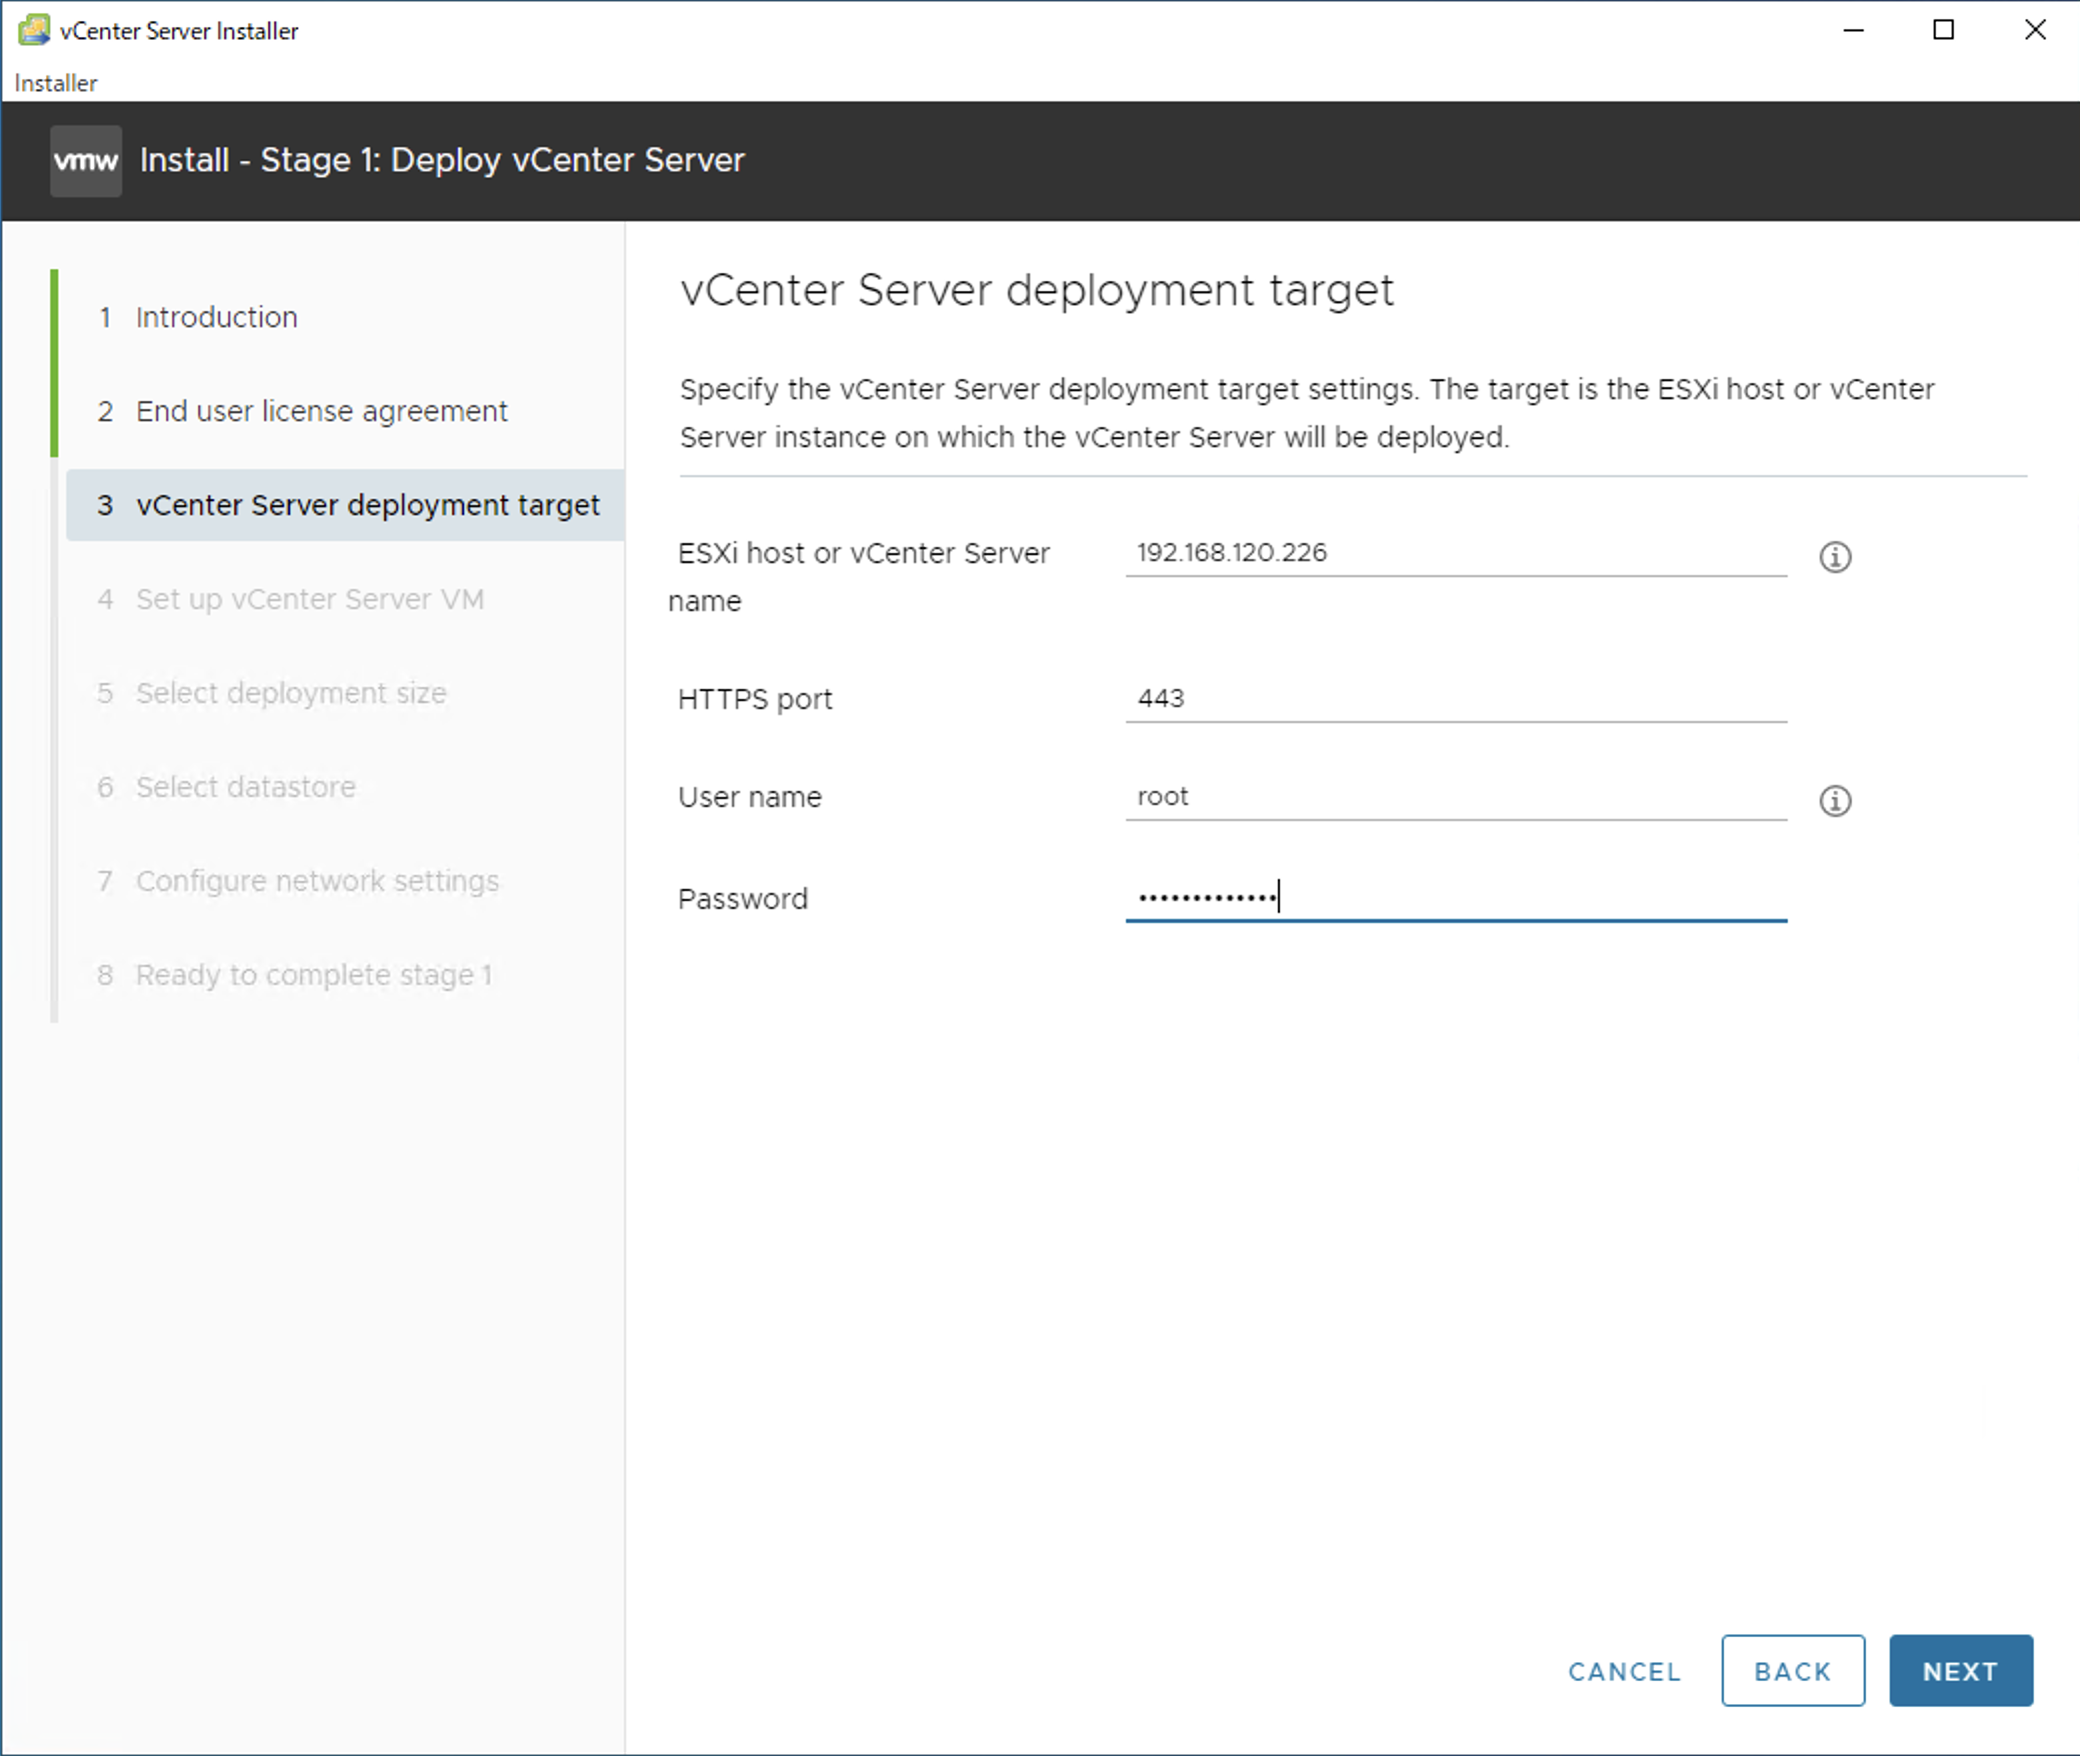
- インストール先の ESXi の情報を入力して
NEXTを押下
- Certificate Warning が表示されるが無視して、
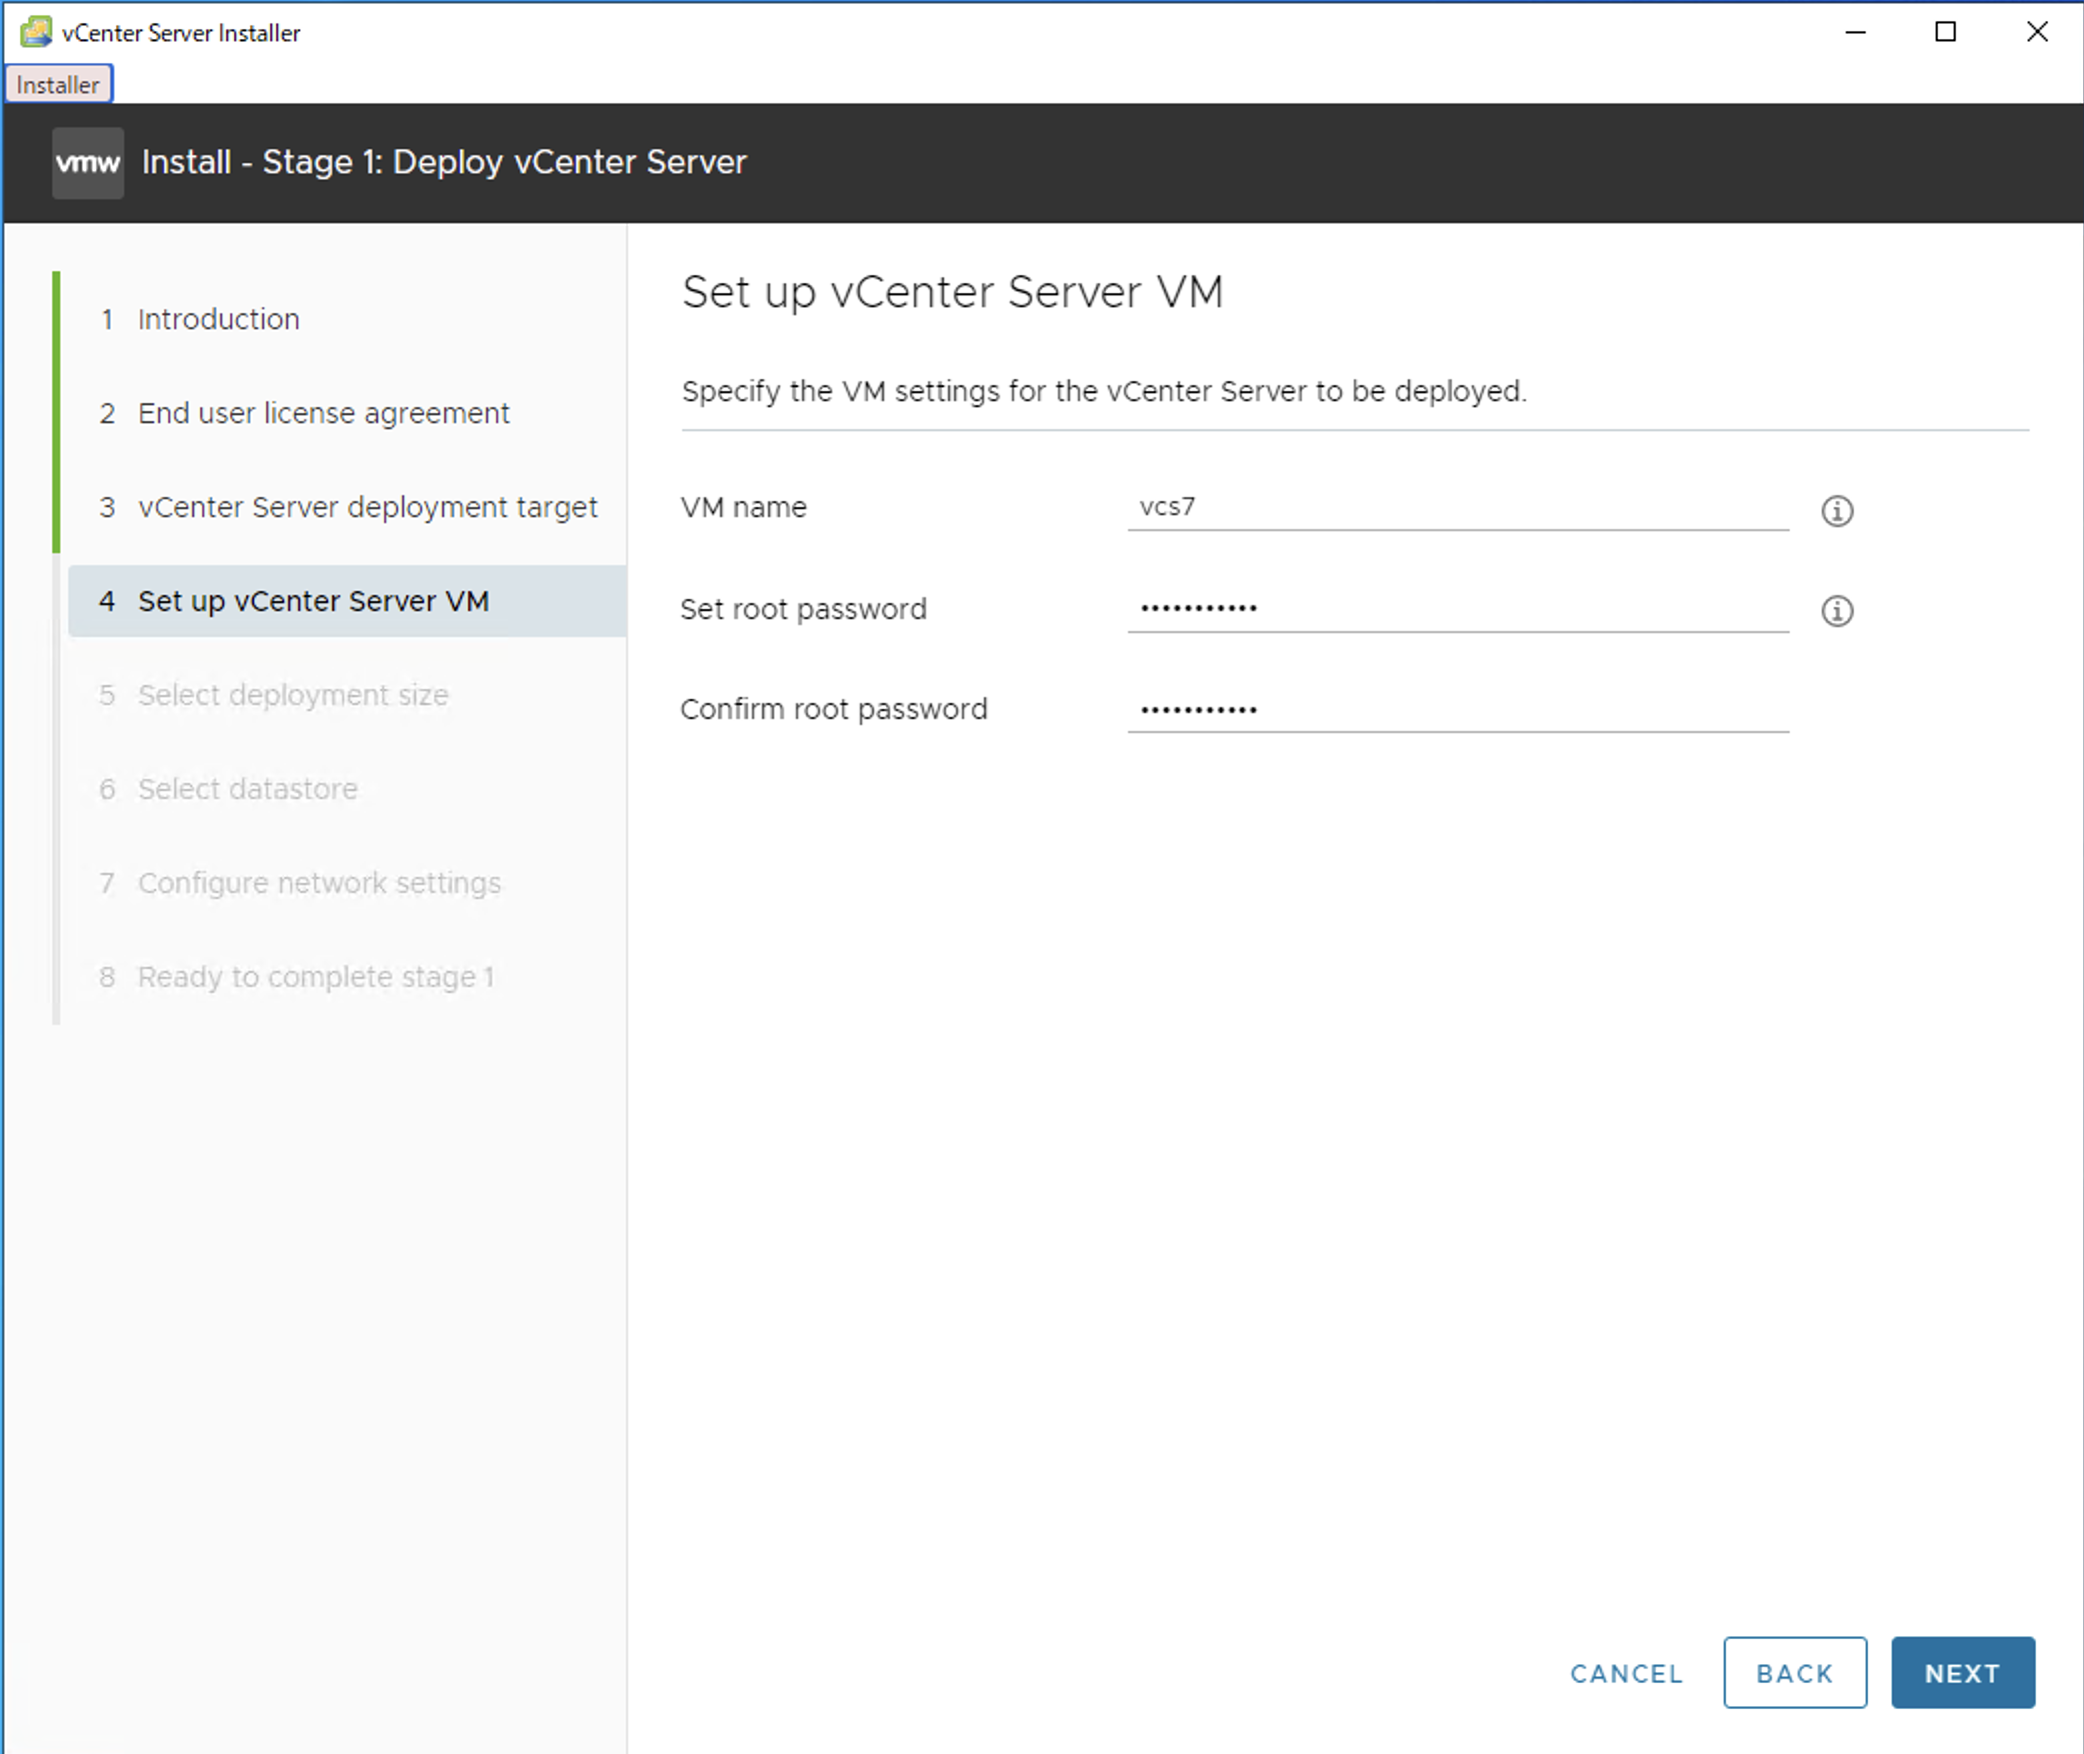
Yesを押下 - vSpehre Center Server の名前とrootのパスワードを入力して
NEXTを押下
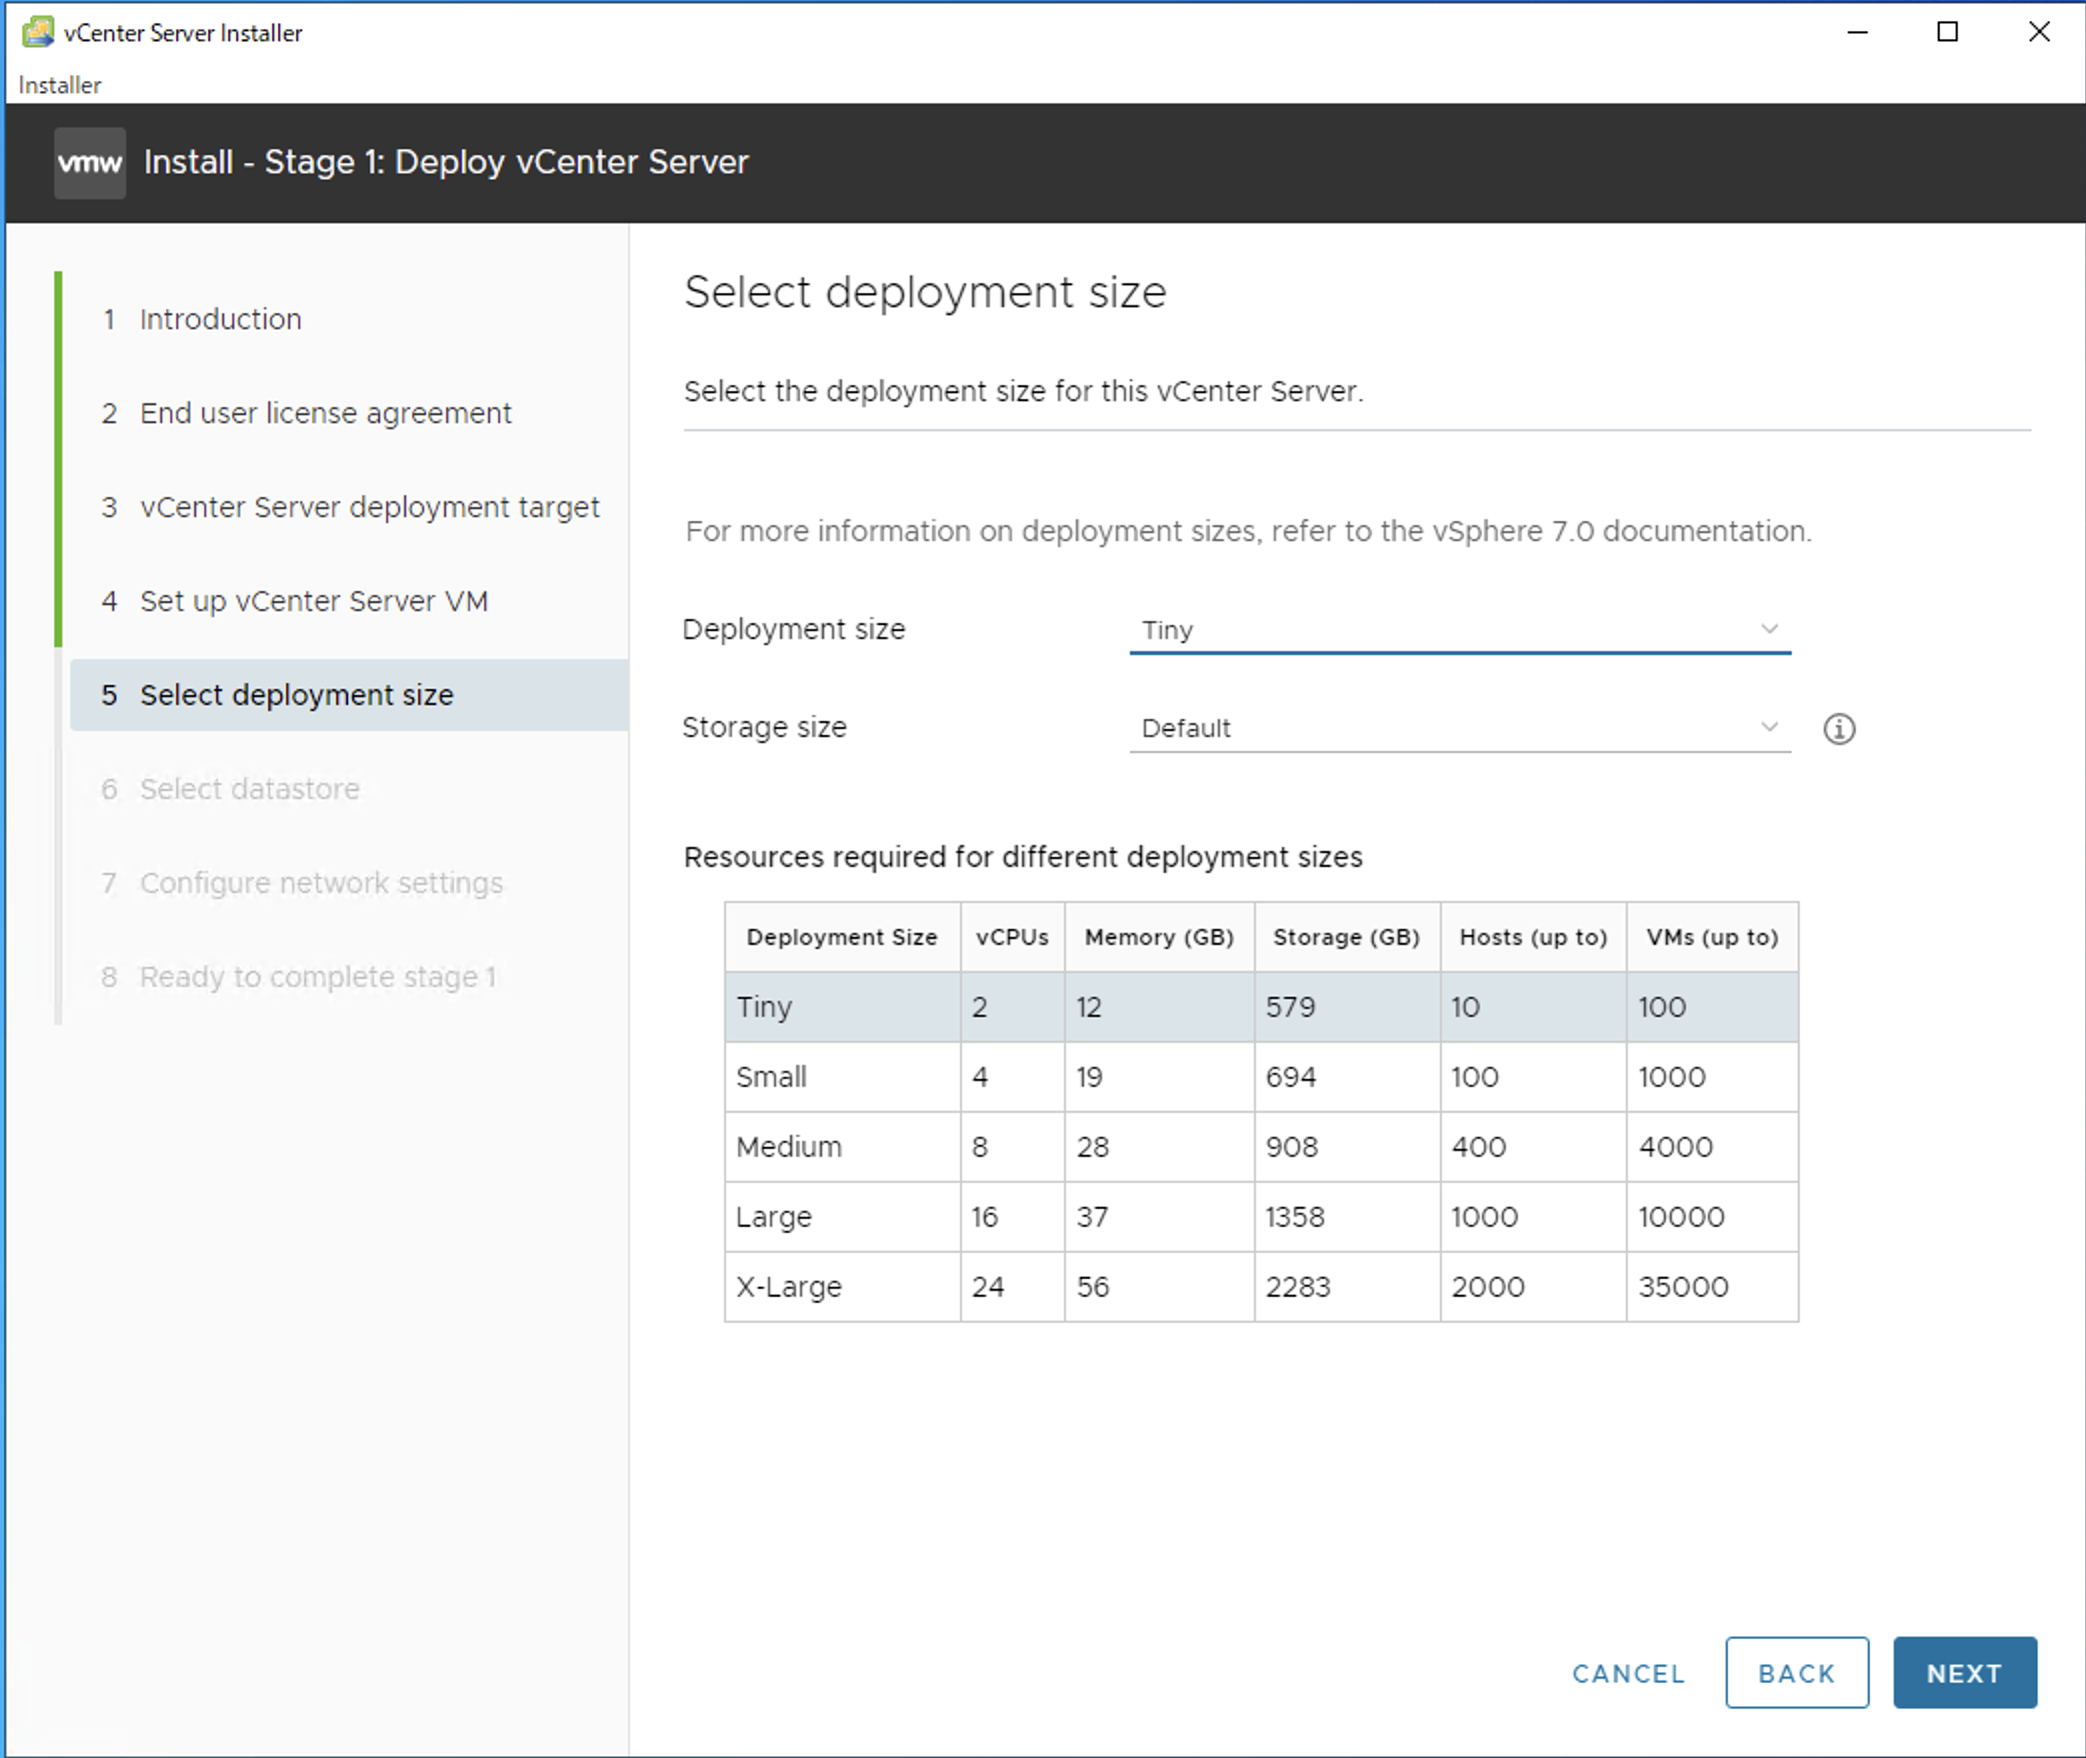
- 構築サイズに合わせて選択して
NEXTを押下、とりあえずなら、Tinyで
-
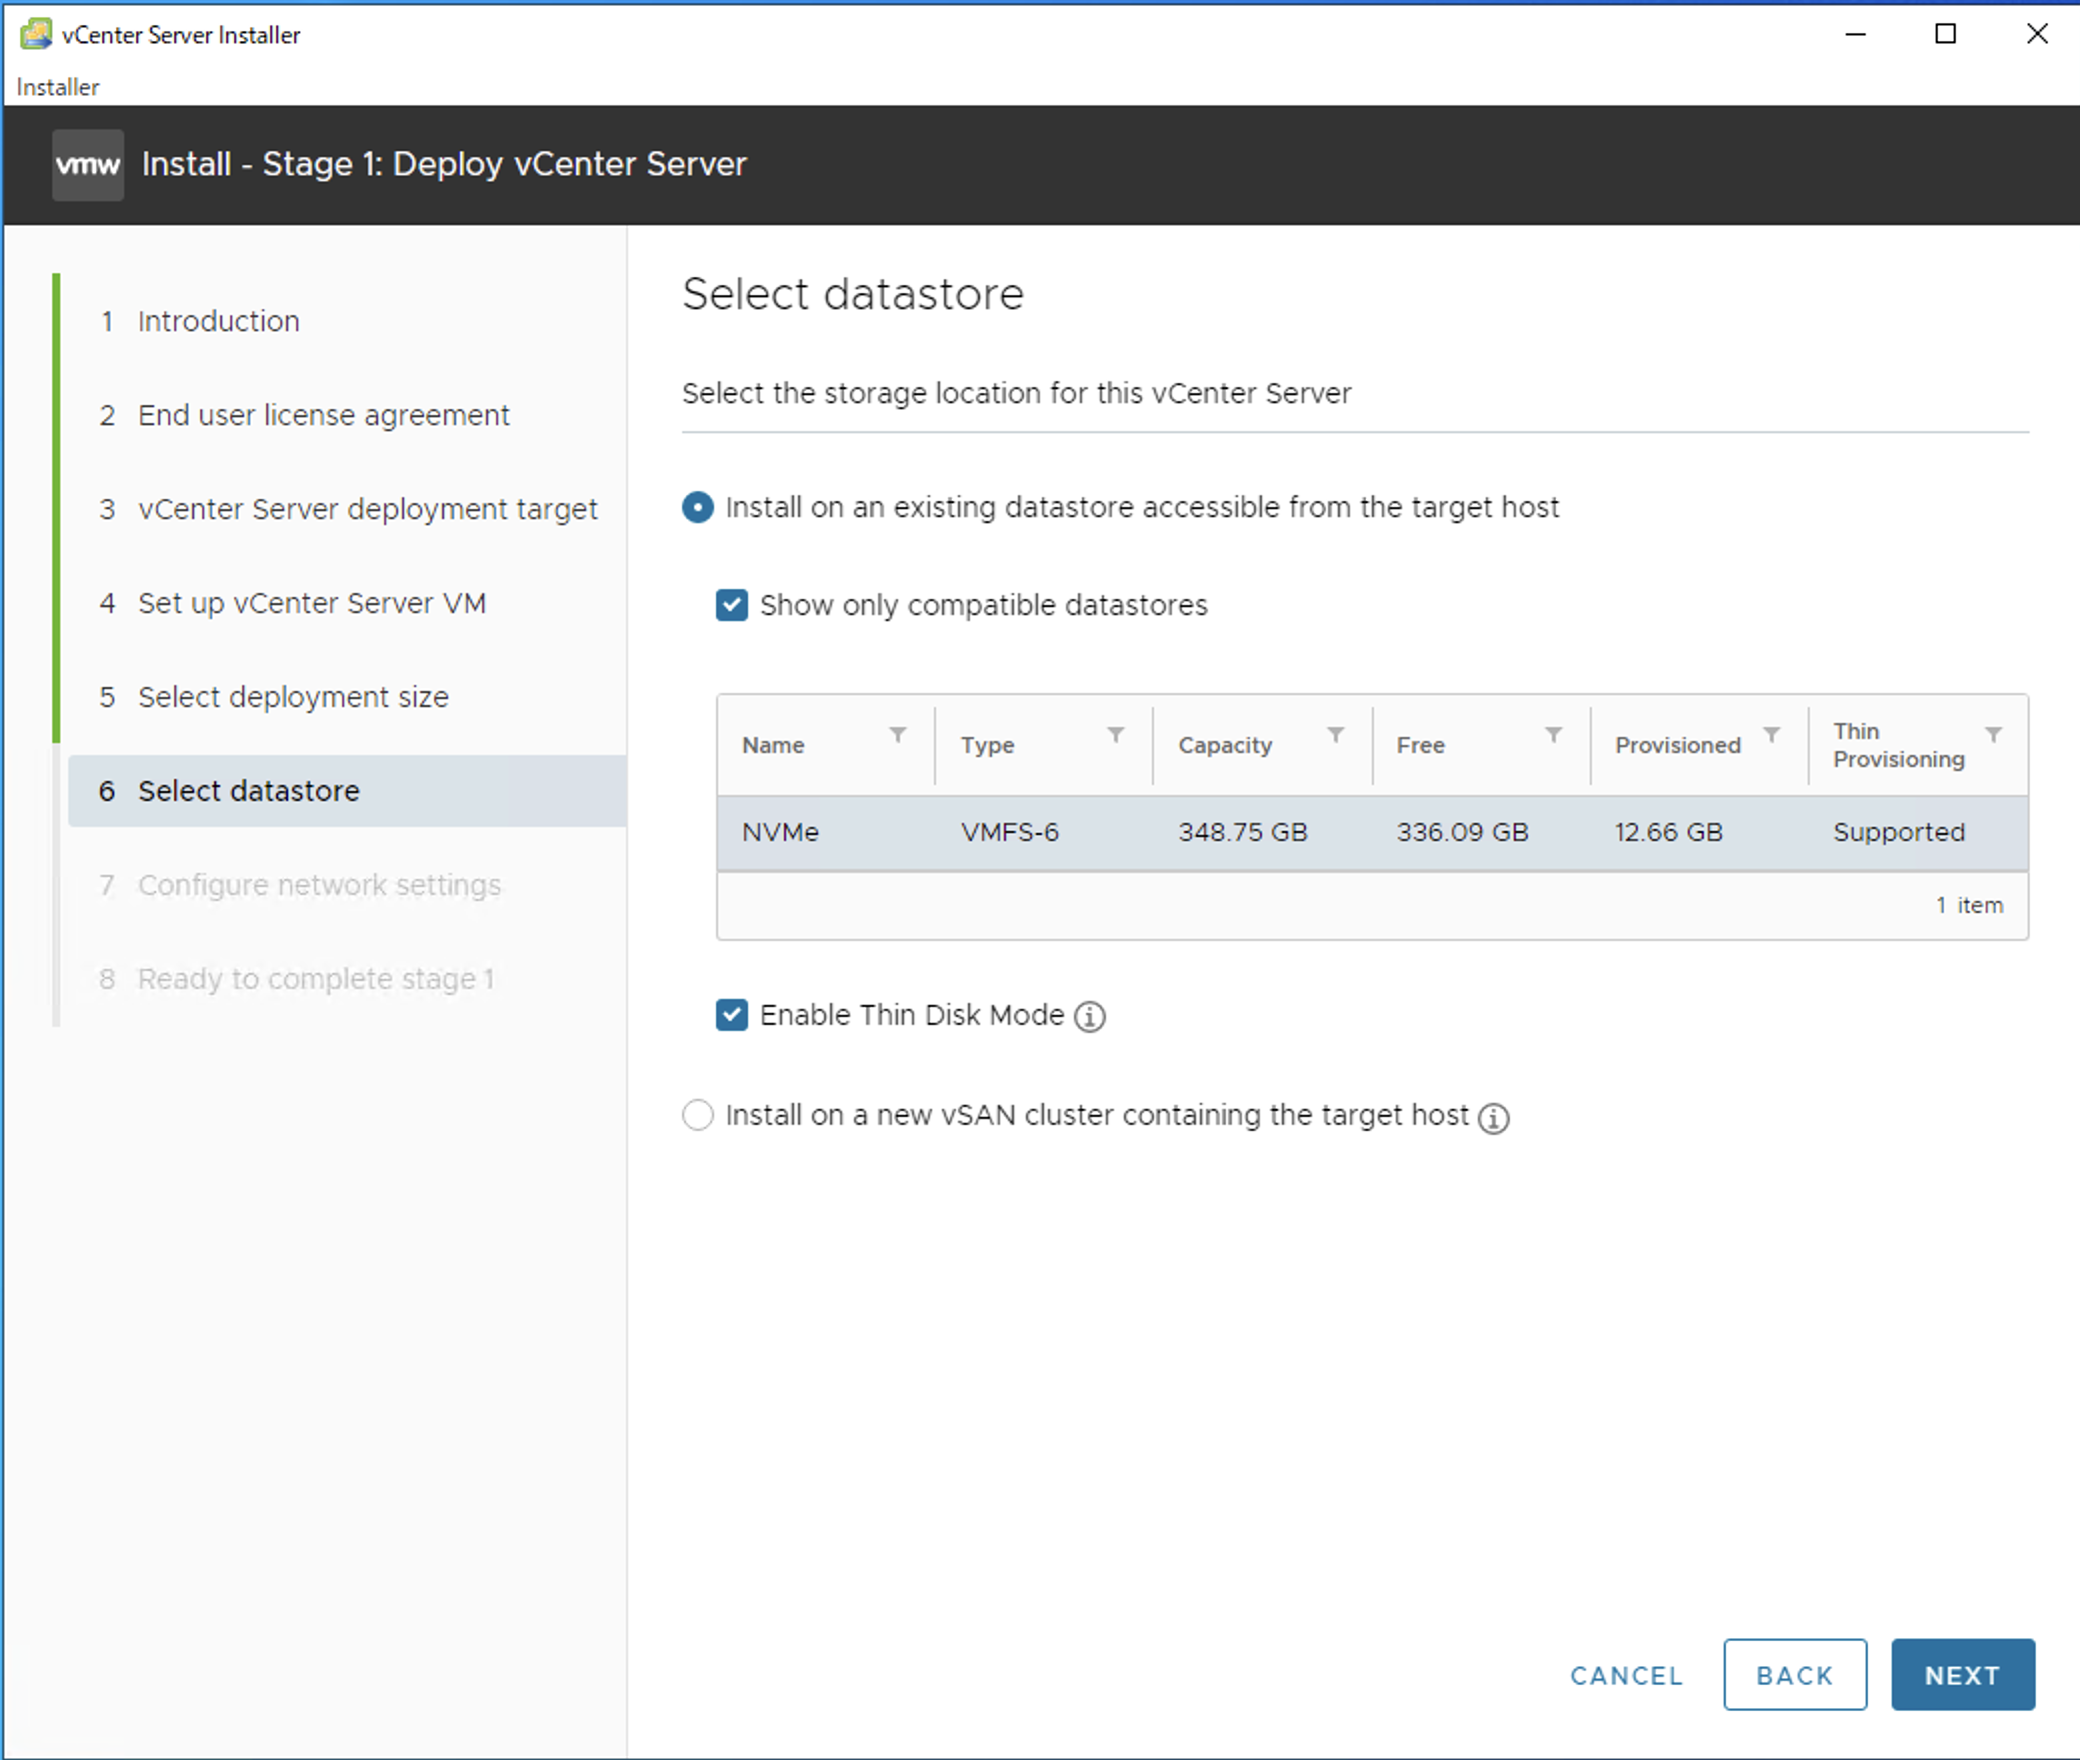
Install on an existing datastore accessible from the target hostを選択 -
Show only compatible datastoresをチェック - インストール先の datasotre を選択
- ディスク容量節約のために、
Enable Thin Disk Modeをチェック -
NEXTを押下
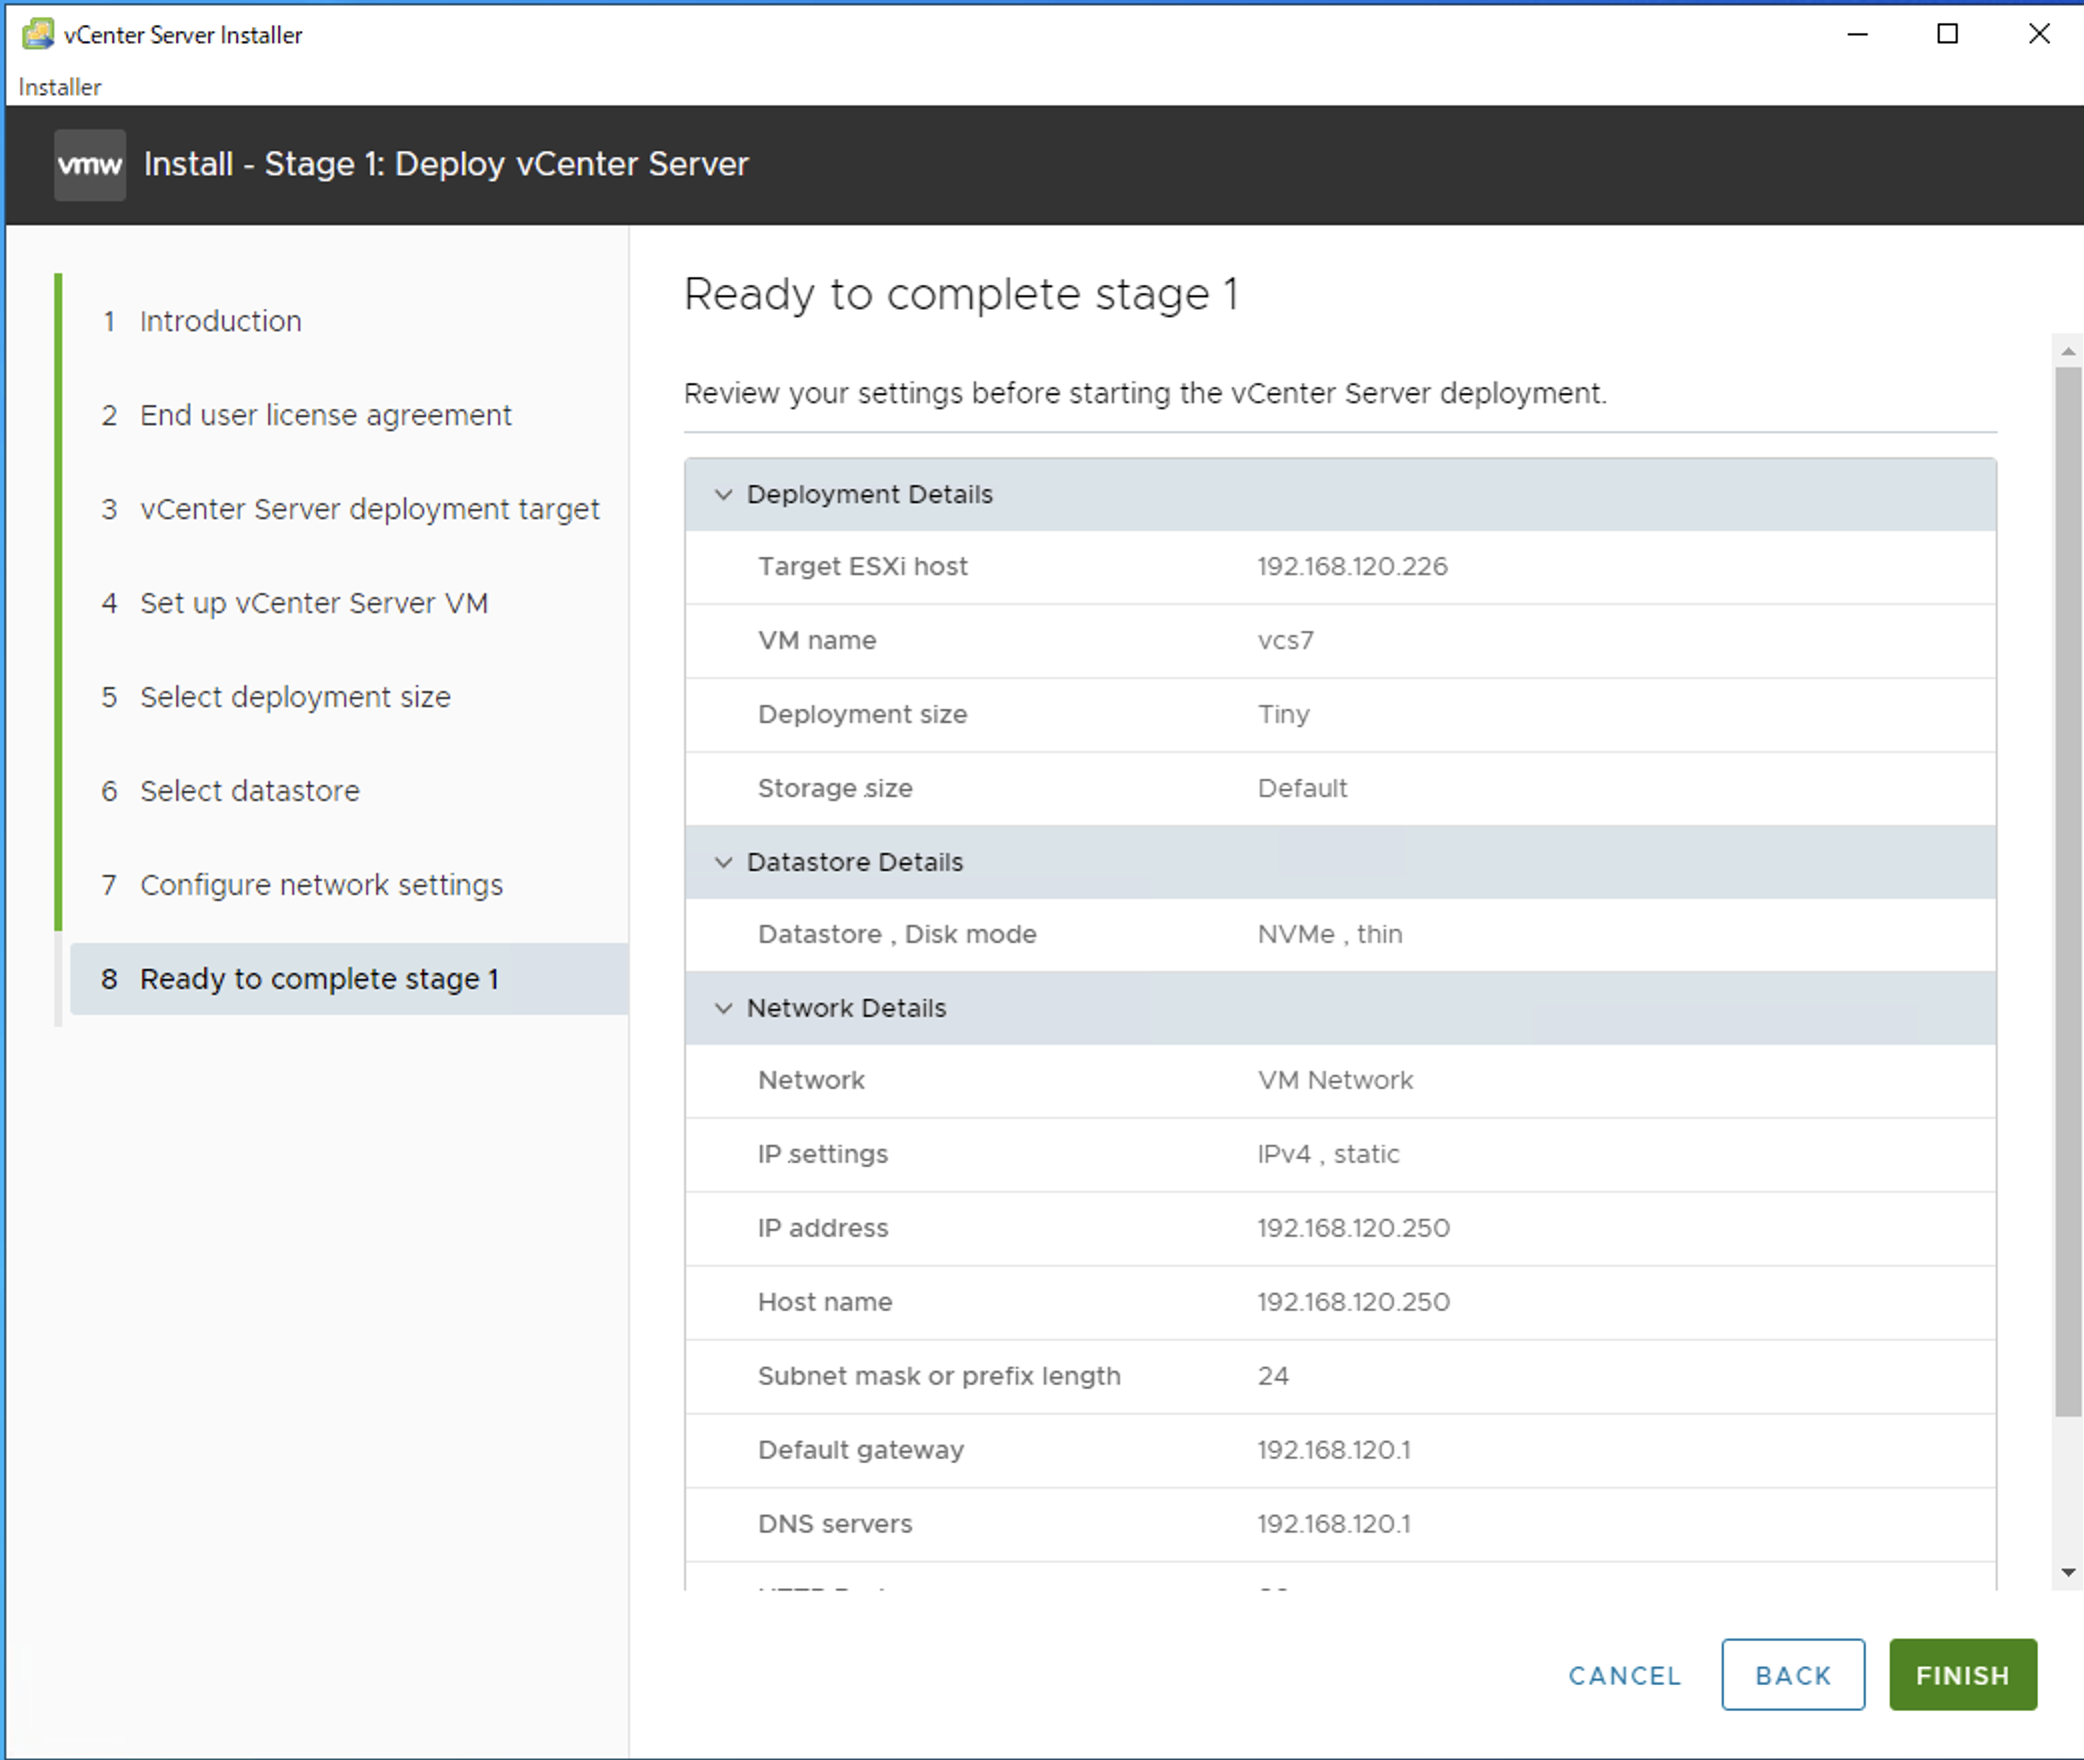
- 内容を確認して、
NEXTを押下
-
FINISHを押下
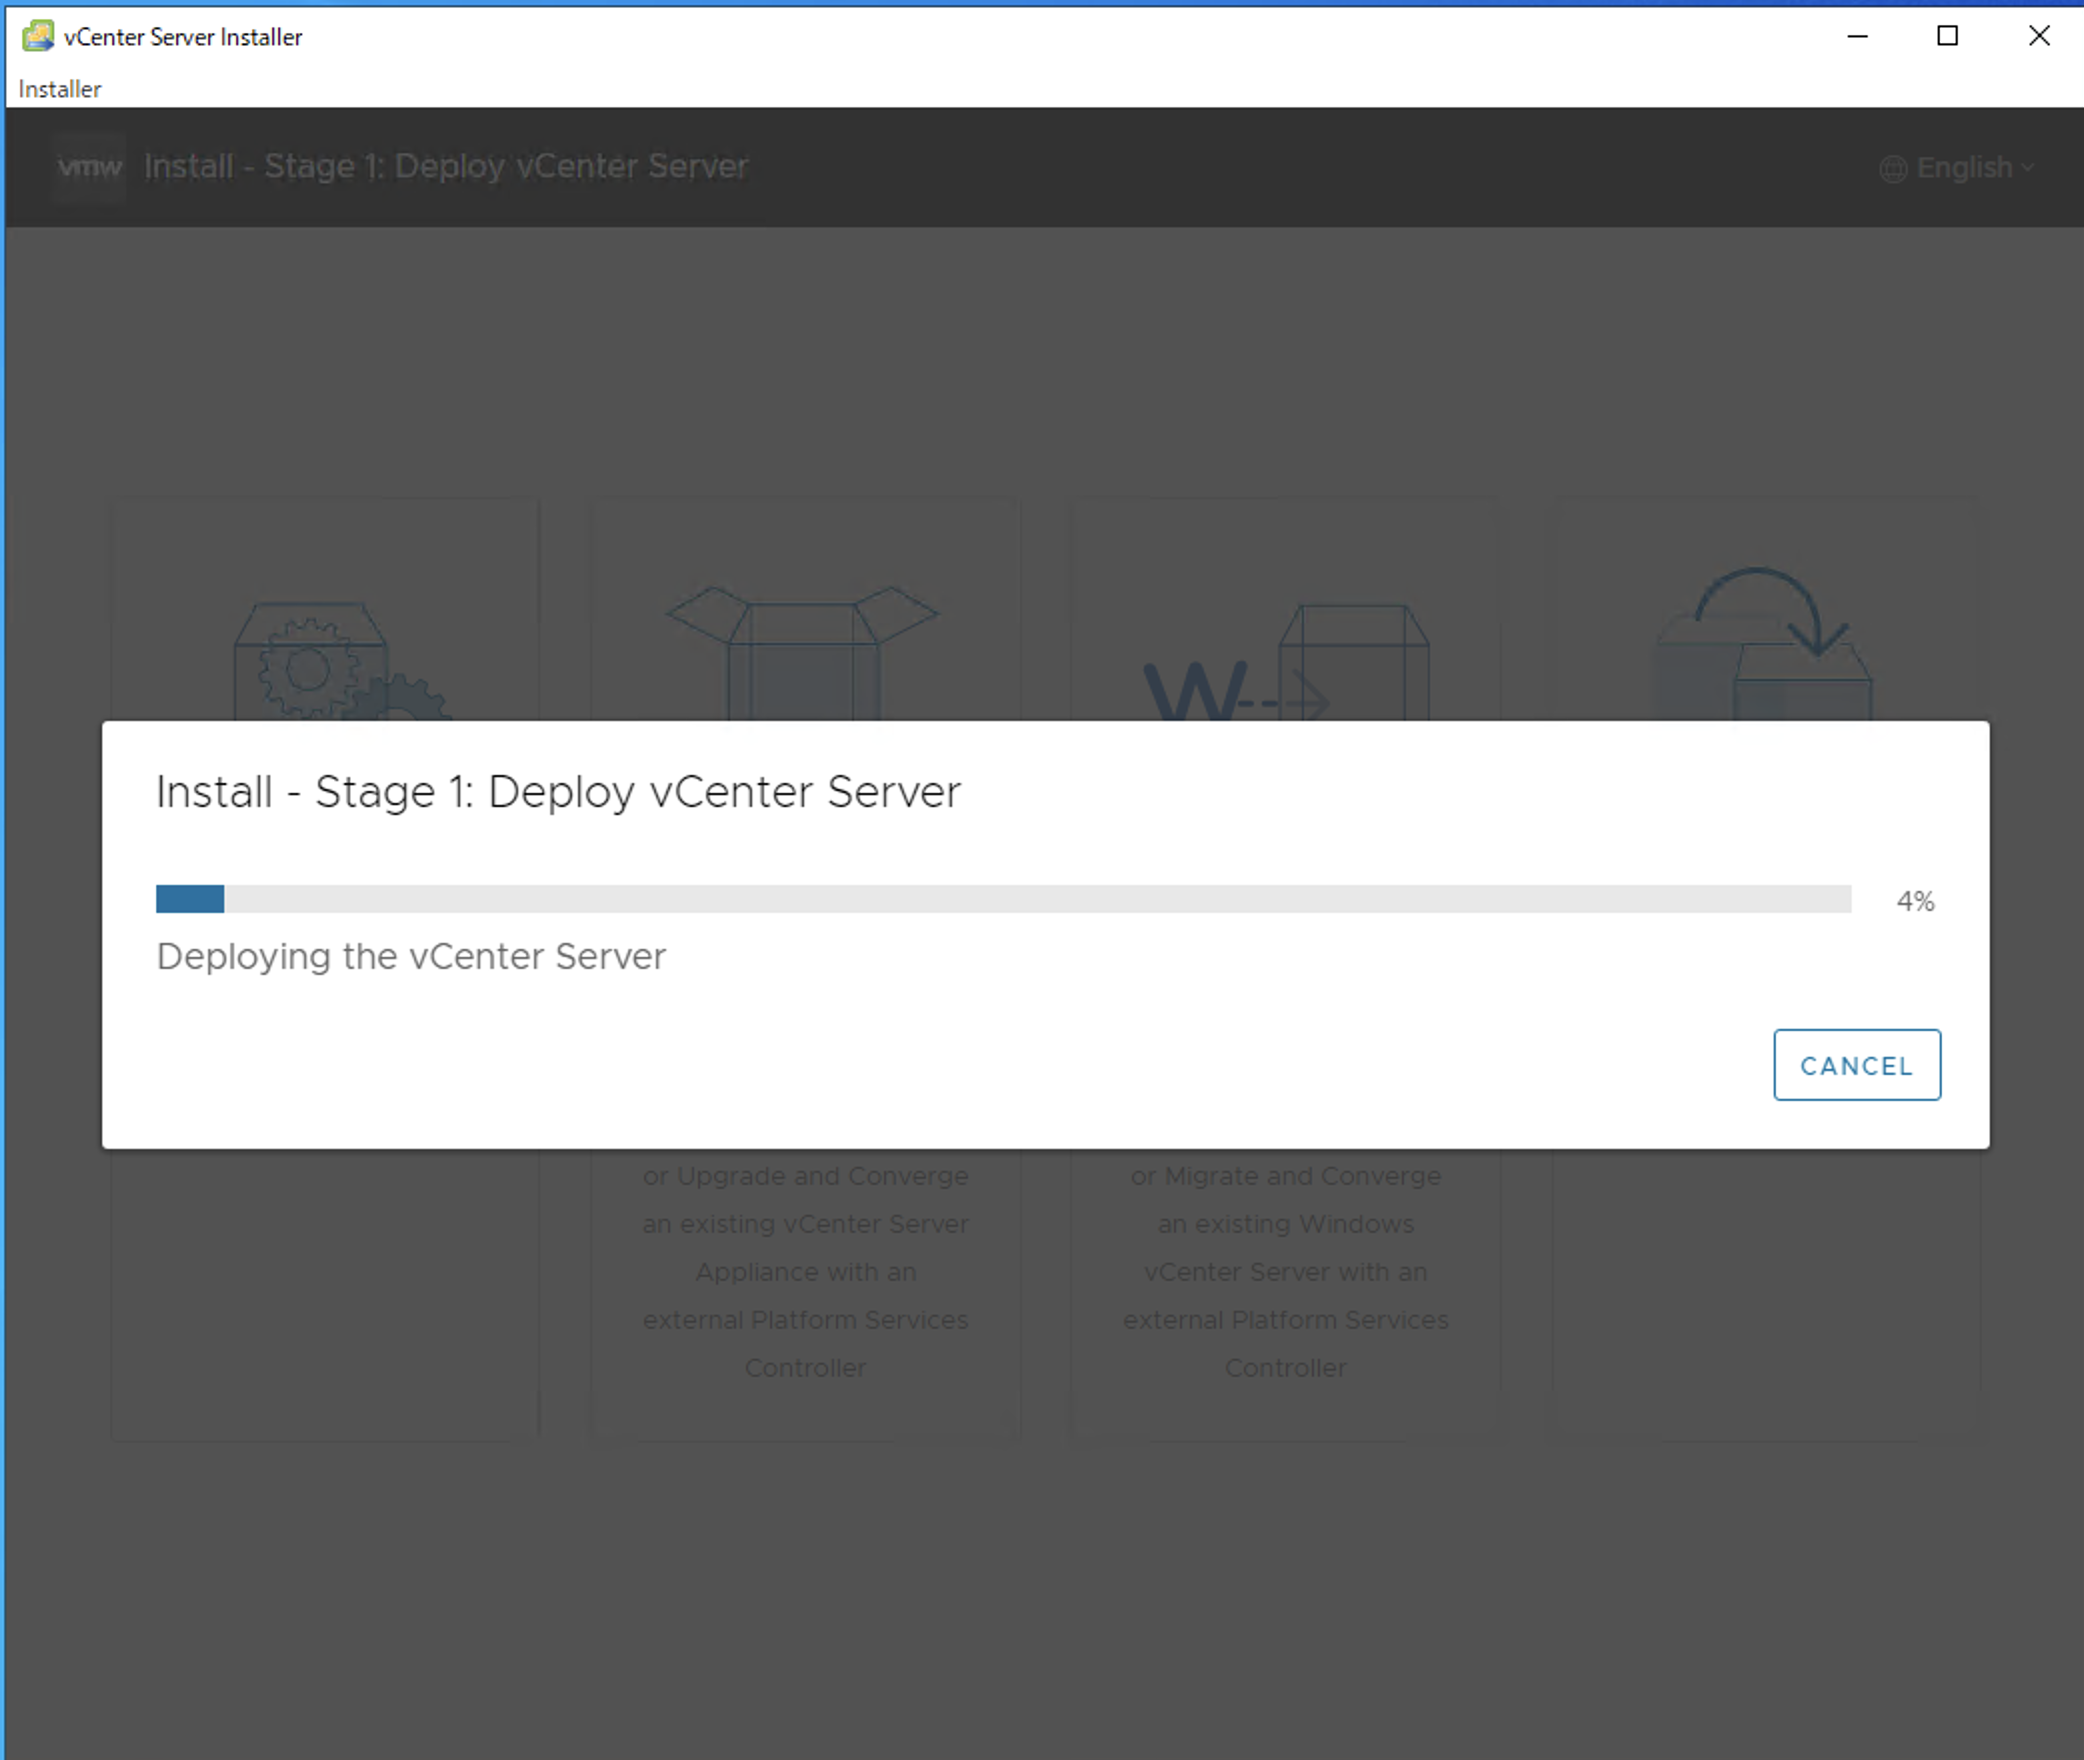
- 長いけど待つ
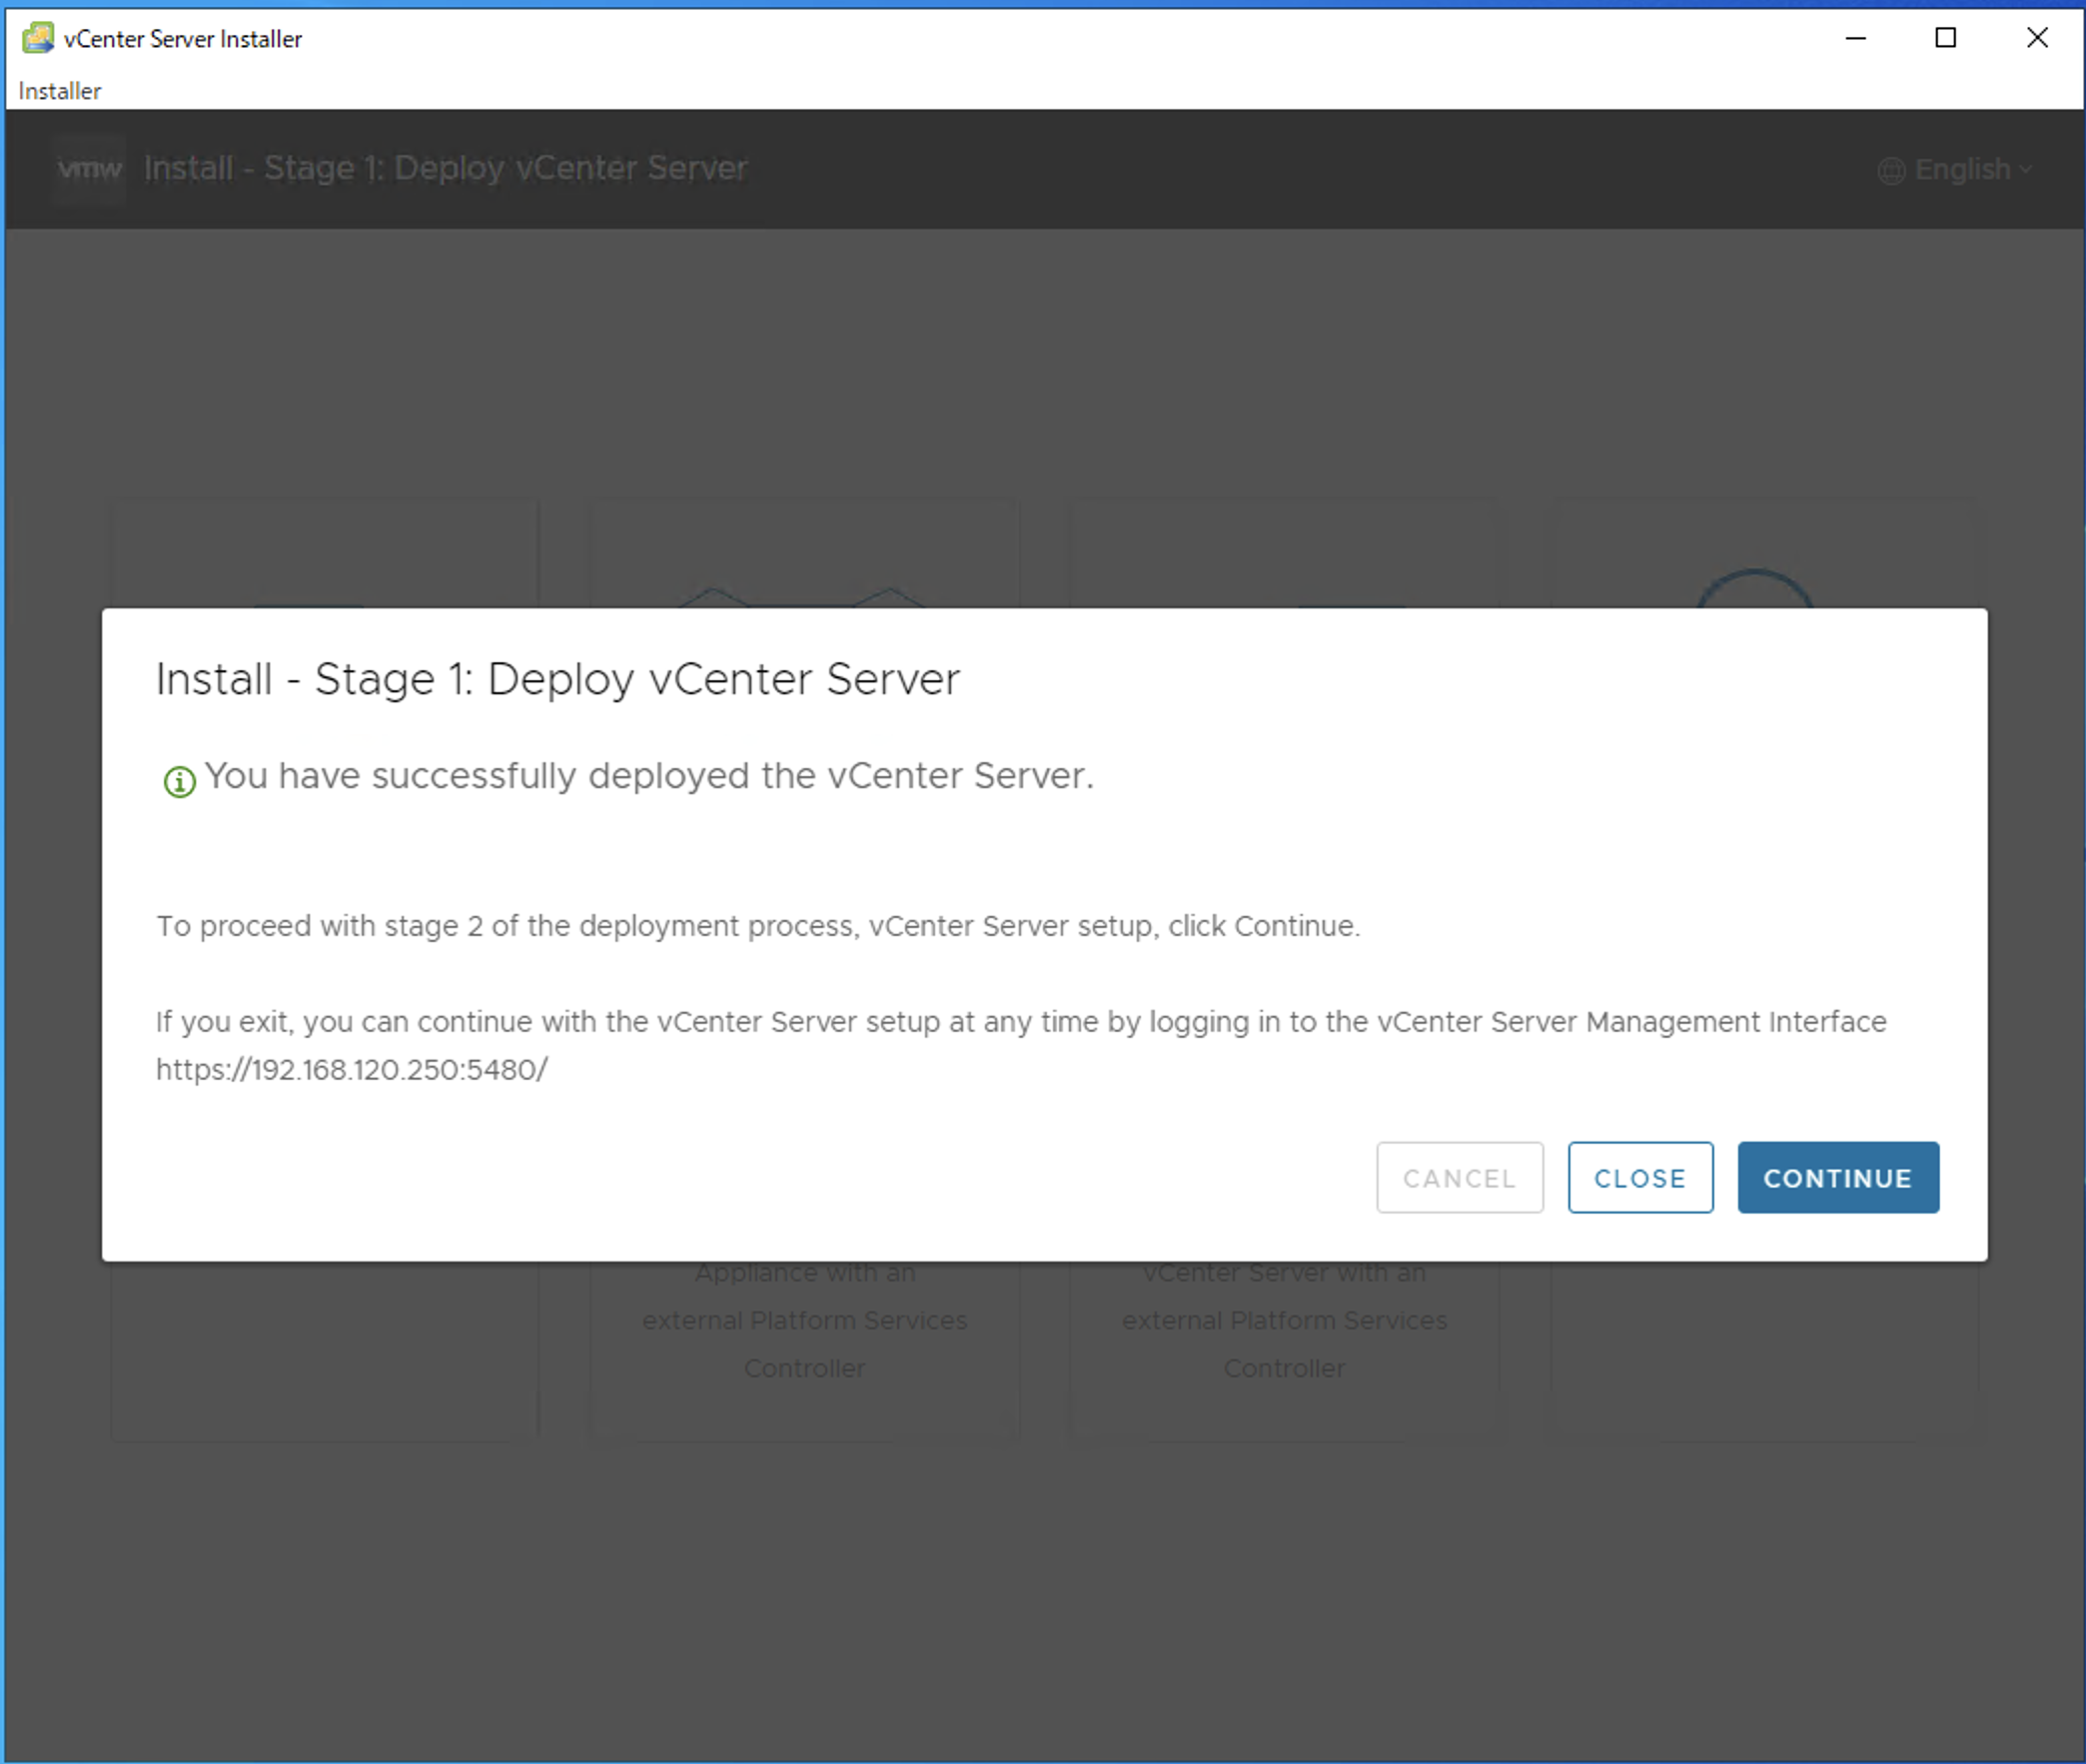
- 完了したら、
CONTINUEを押下
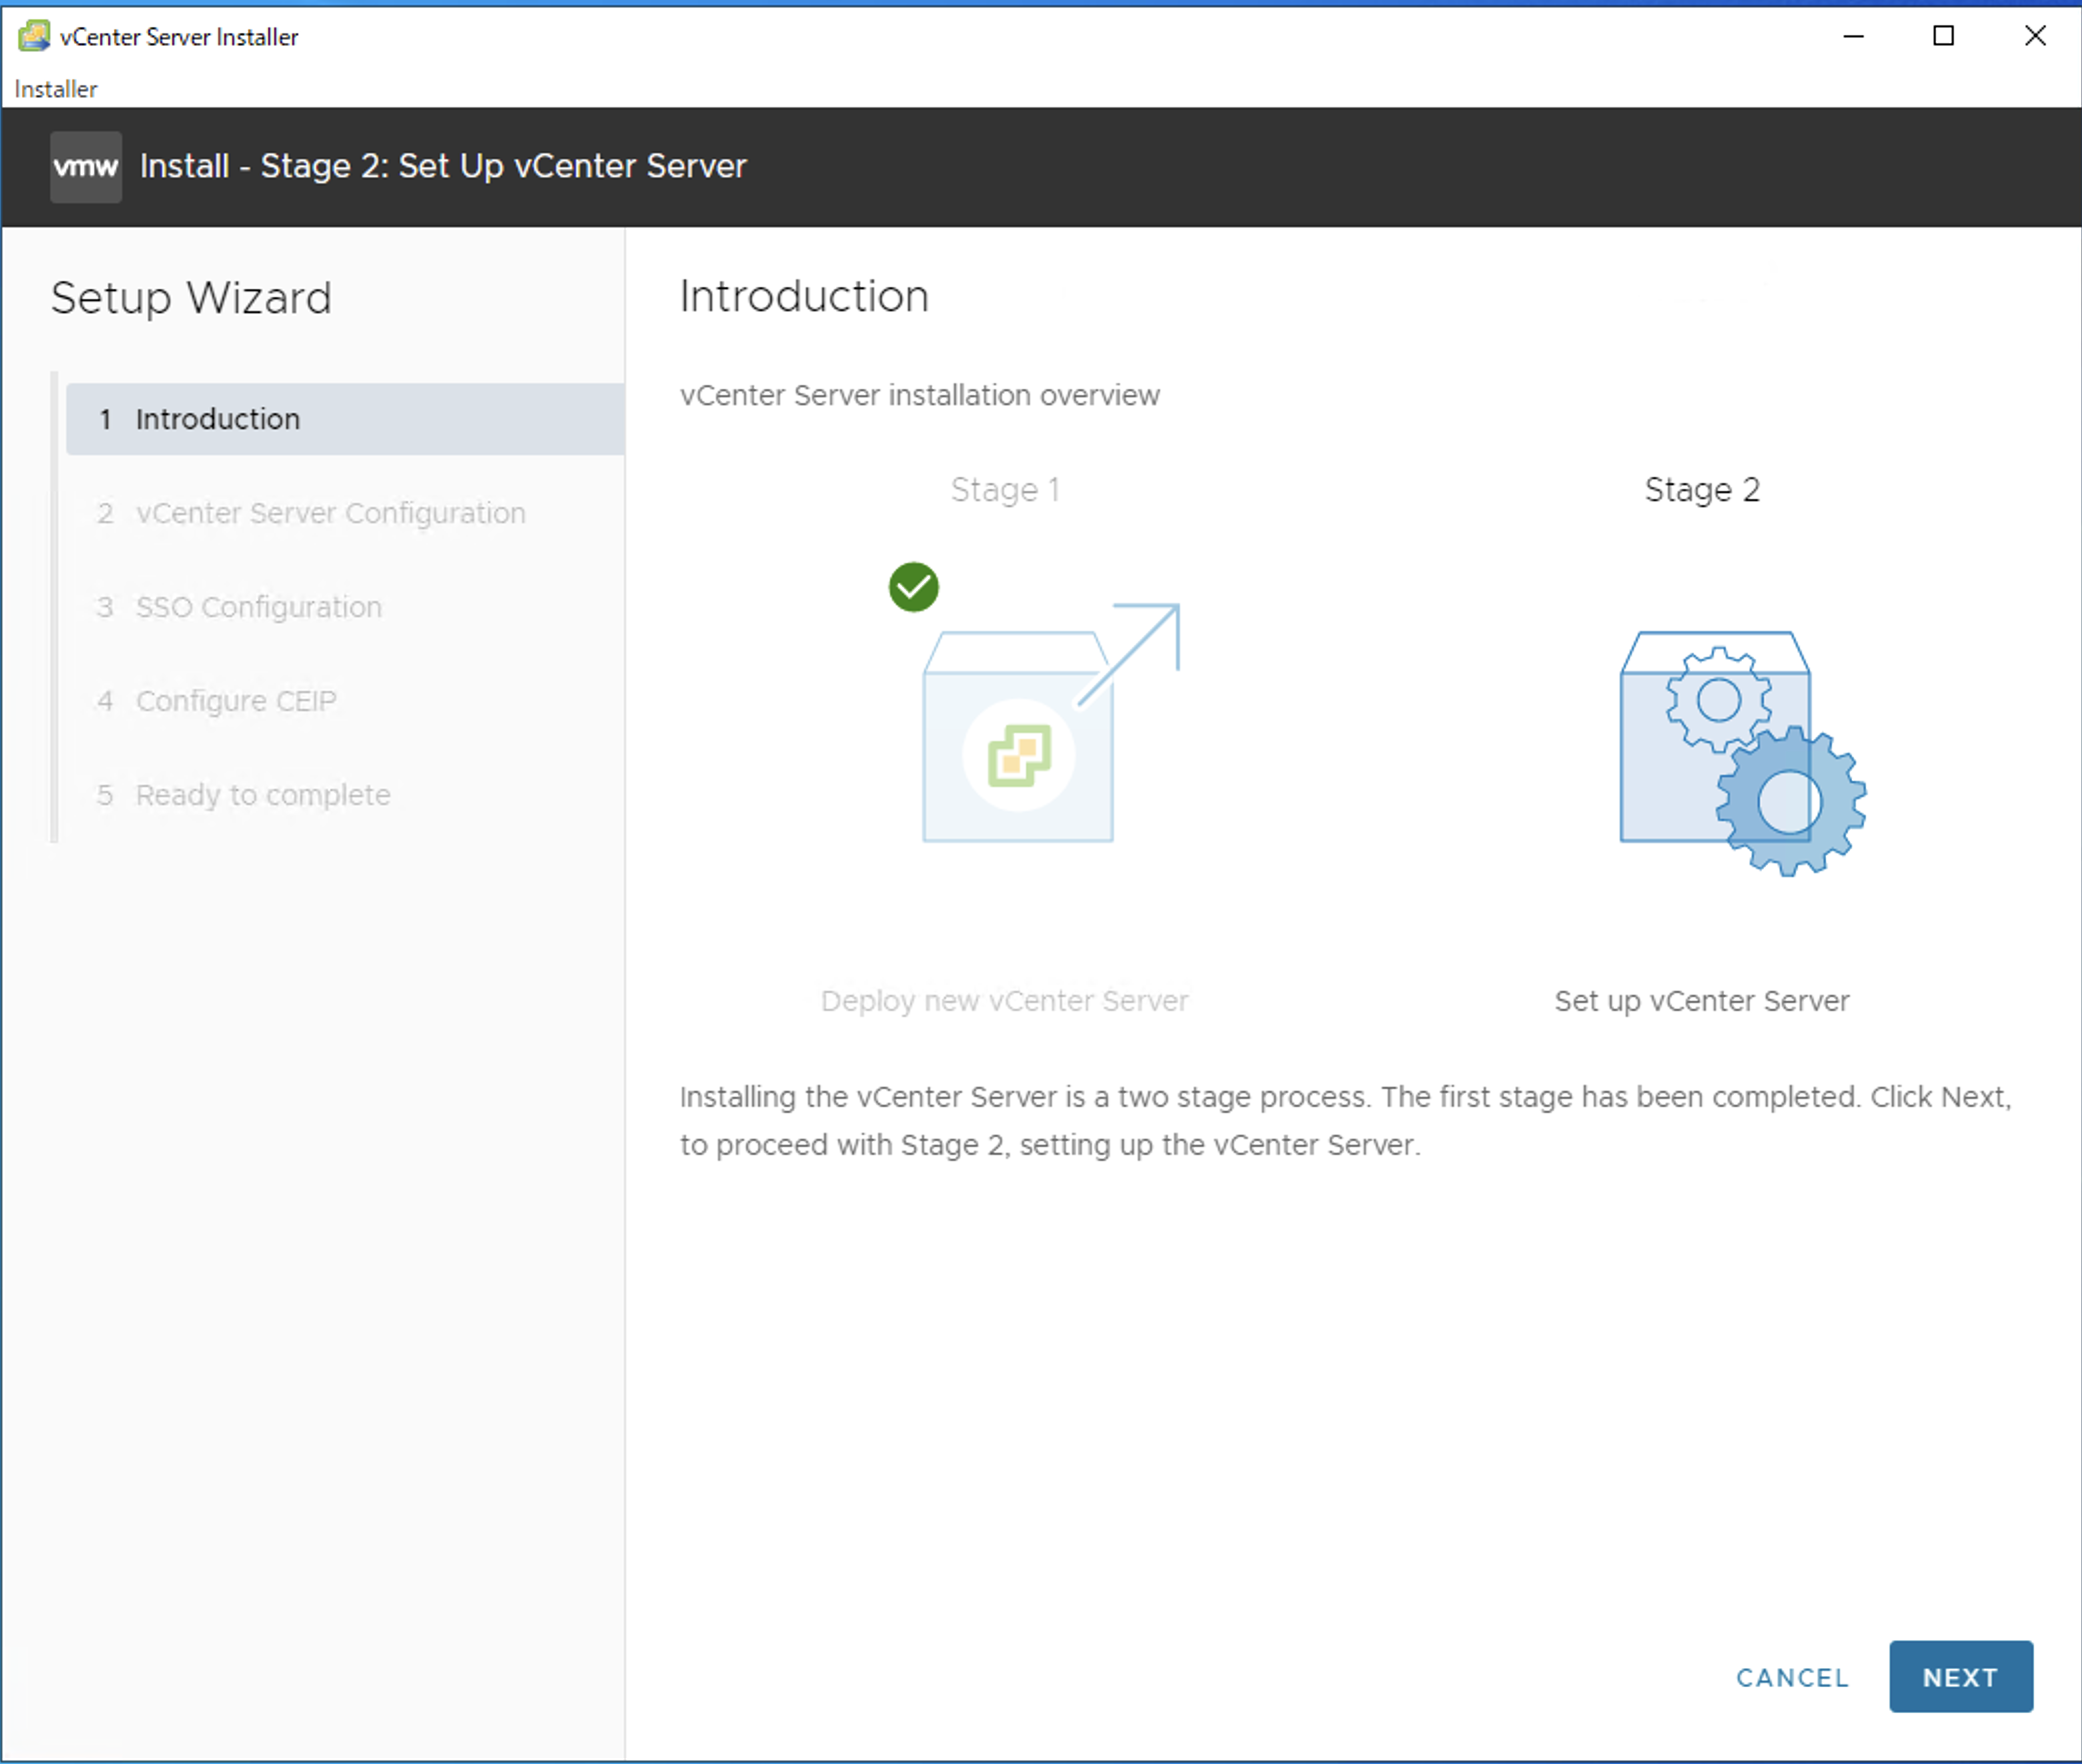
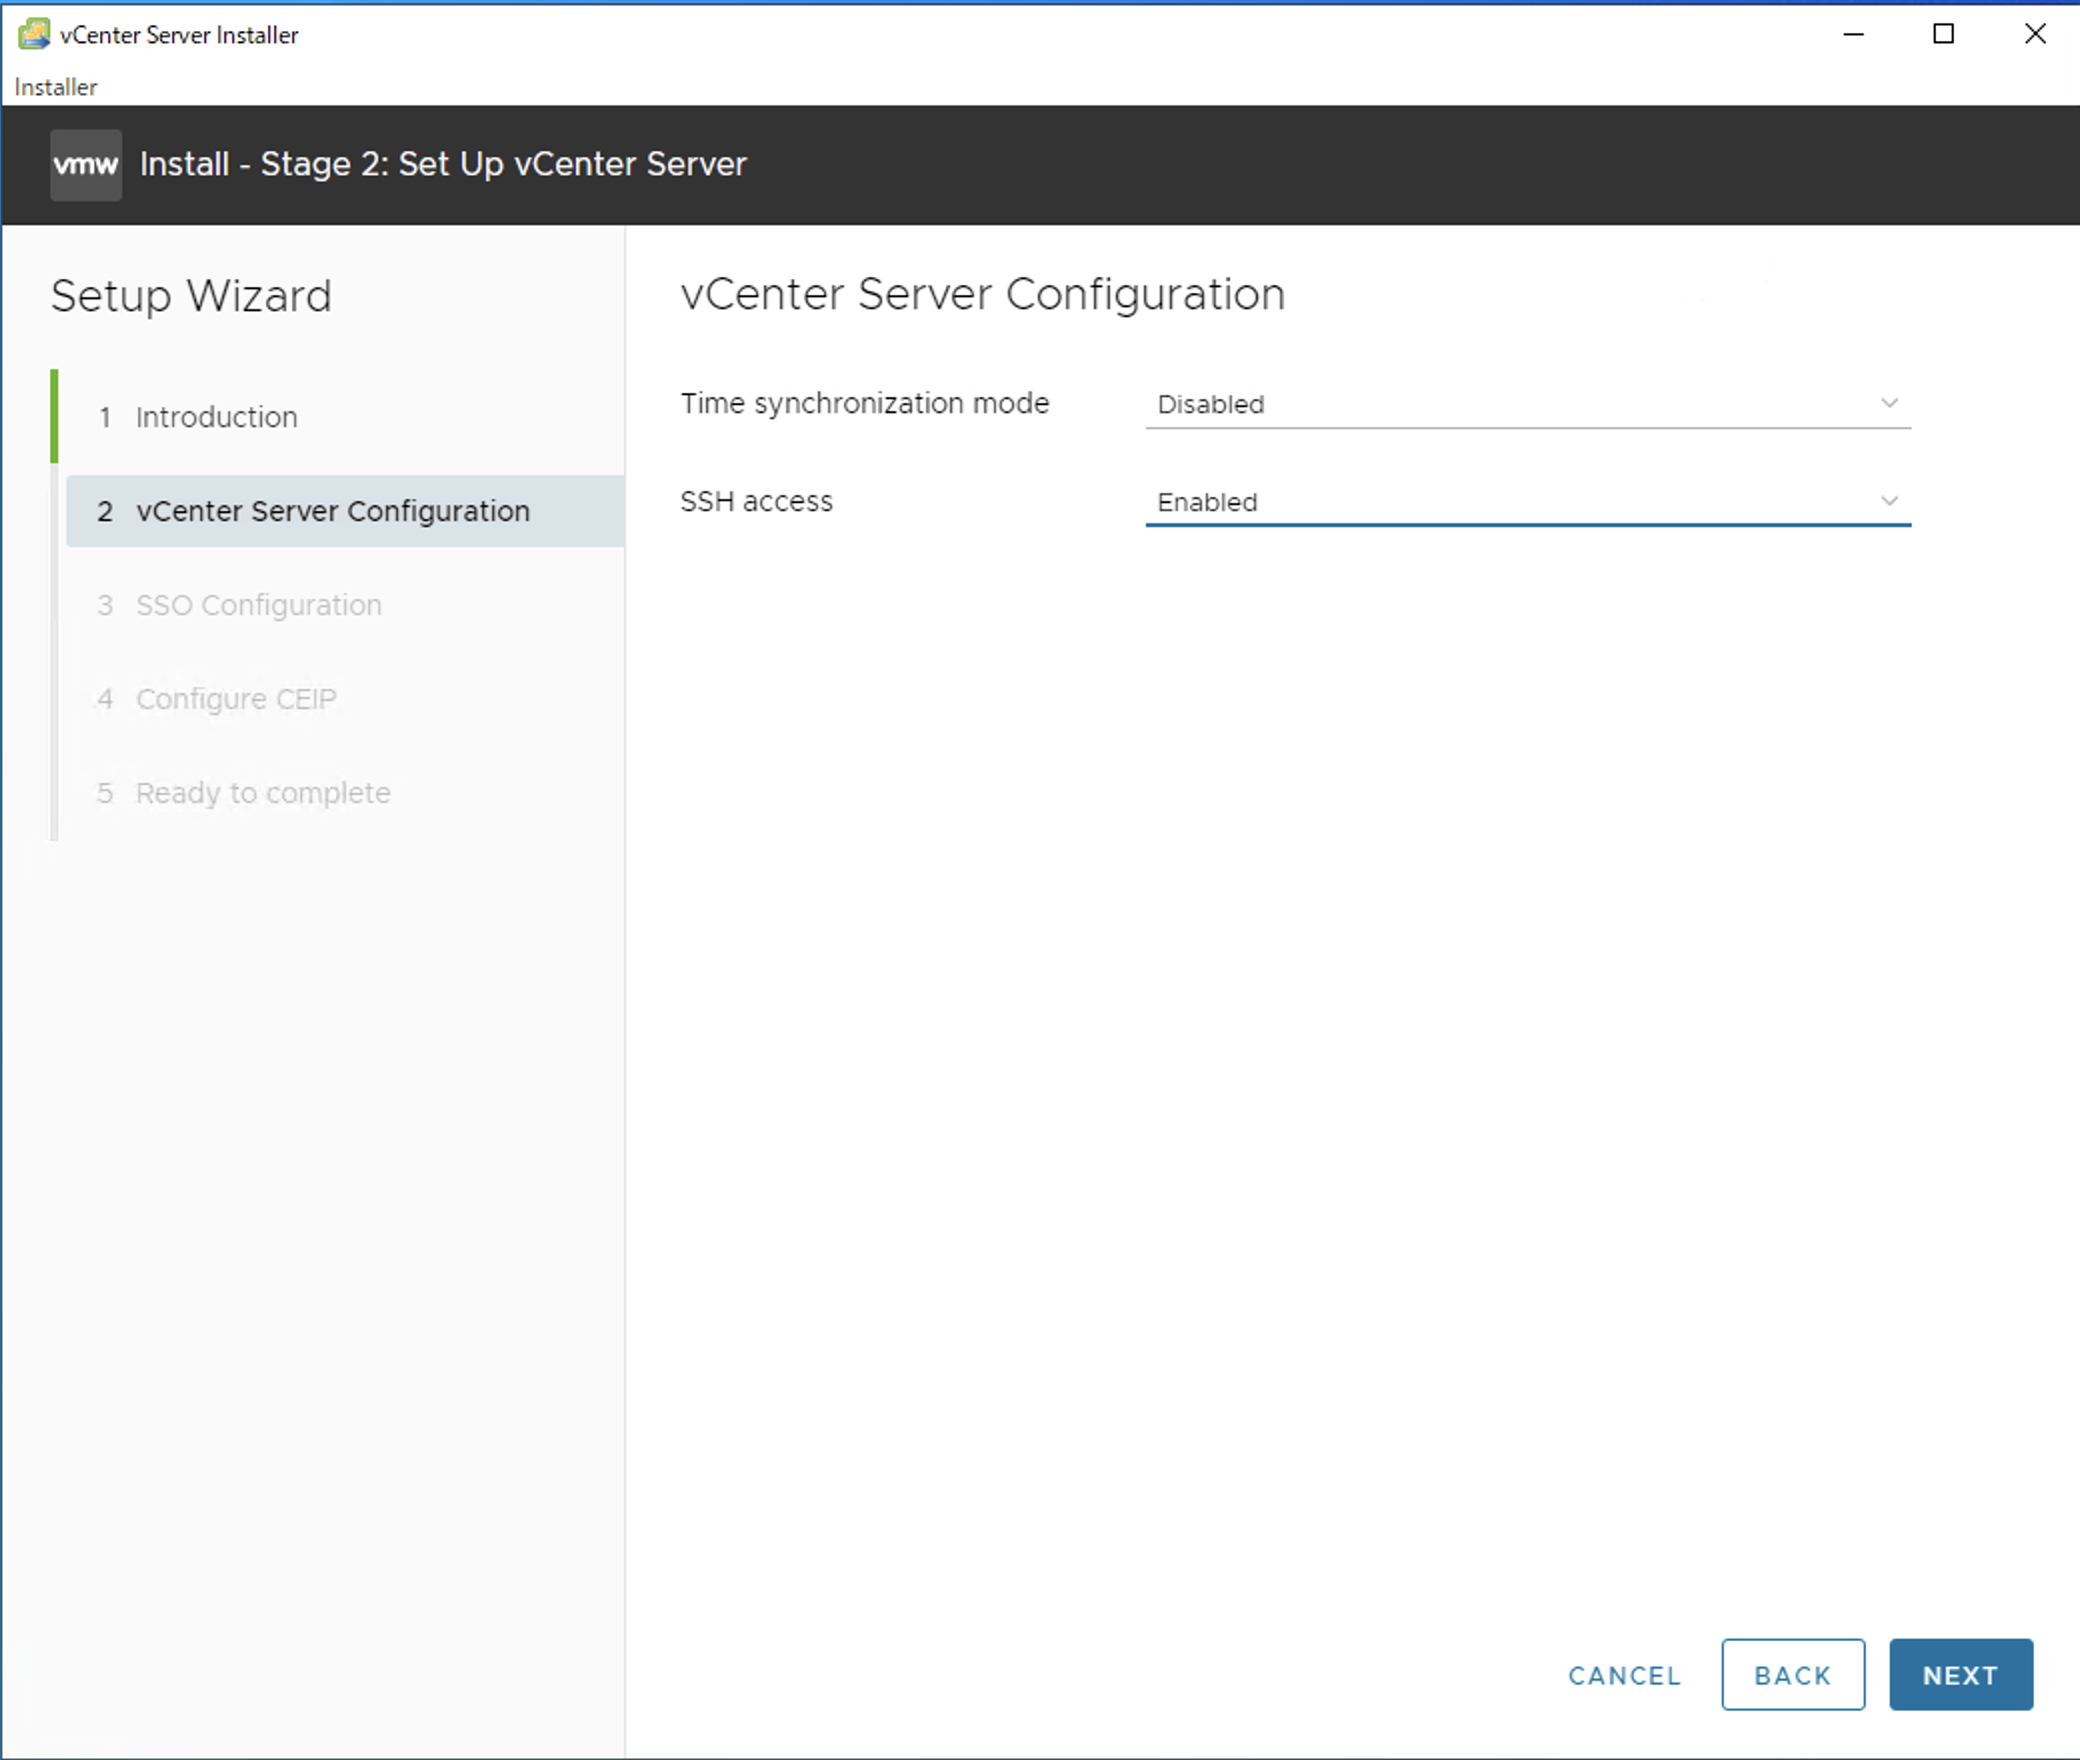
インストール Step 2
-
NEXTを押下
- SSH access を
Enabledにする -
NEXTを押下
- ここまできたら、一旦、SSHでの作業に移る
- SSHで、vSphere Center Server にアクセスする (例として、ここでは、Windowsのコマンドプロンプトでの作業)
C:\>ssh root@192.168.120.250

VMware vCenter Server Appliance 7.0.3.00700

Password:
Connected to service

    * List APIs: "help api list"
    * List Plugins: "help pi list"
    * Launch BASH: "shell"

Command> shell
Shell access is granted to root
-
/etc/hostsへ、最後の行を追加する
root@localhost [ ~ ]# vim /etc/hosts
/etc/hosts
# Begin /etc/hosts (network card version)

127.0.0.1   localhost.localdomain
127.0.0.1   localhost
192.168.120.250 localhost localhost.localdomain
-
/etc/dnsmasq.confのno-hostsをコメントアウトして、最後に2行を追加
root@localhost [ ~ ]# vim /etc/hosts
/etc/dnsmasq.conf
listen-address=127.0.0.1
bind-interfaces
user=dnsmasq
group=dnsmasq

no-negcache
#no-hosts
log-queries
log-facility=/var/log/vmware/dnsmasq.log
domain-needed
dns-forward-max=150
cache-size=8192
neg-ttl=3600

no-resolv
bogus-priv
-
dnsmasqサービスを再起動
root@localhost [ ~ ]# systemctl restart dnsmasq.service
-
nslookupで設定を確認
root@localhost [ ~ ]# nslookup 192.168.120.250
250.120.168.192.in-addr.arpa    name = localhost.
root@localhost [ ~ ]# nslookup localhost
Server:         127.0.0.1
Address:        127.0.0.1#53

Name:   localhost
Address: 192.168.120.250
Name:   localhost
Address: 127.0.0.1
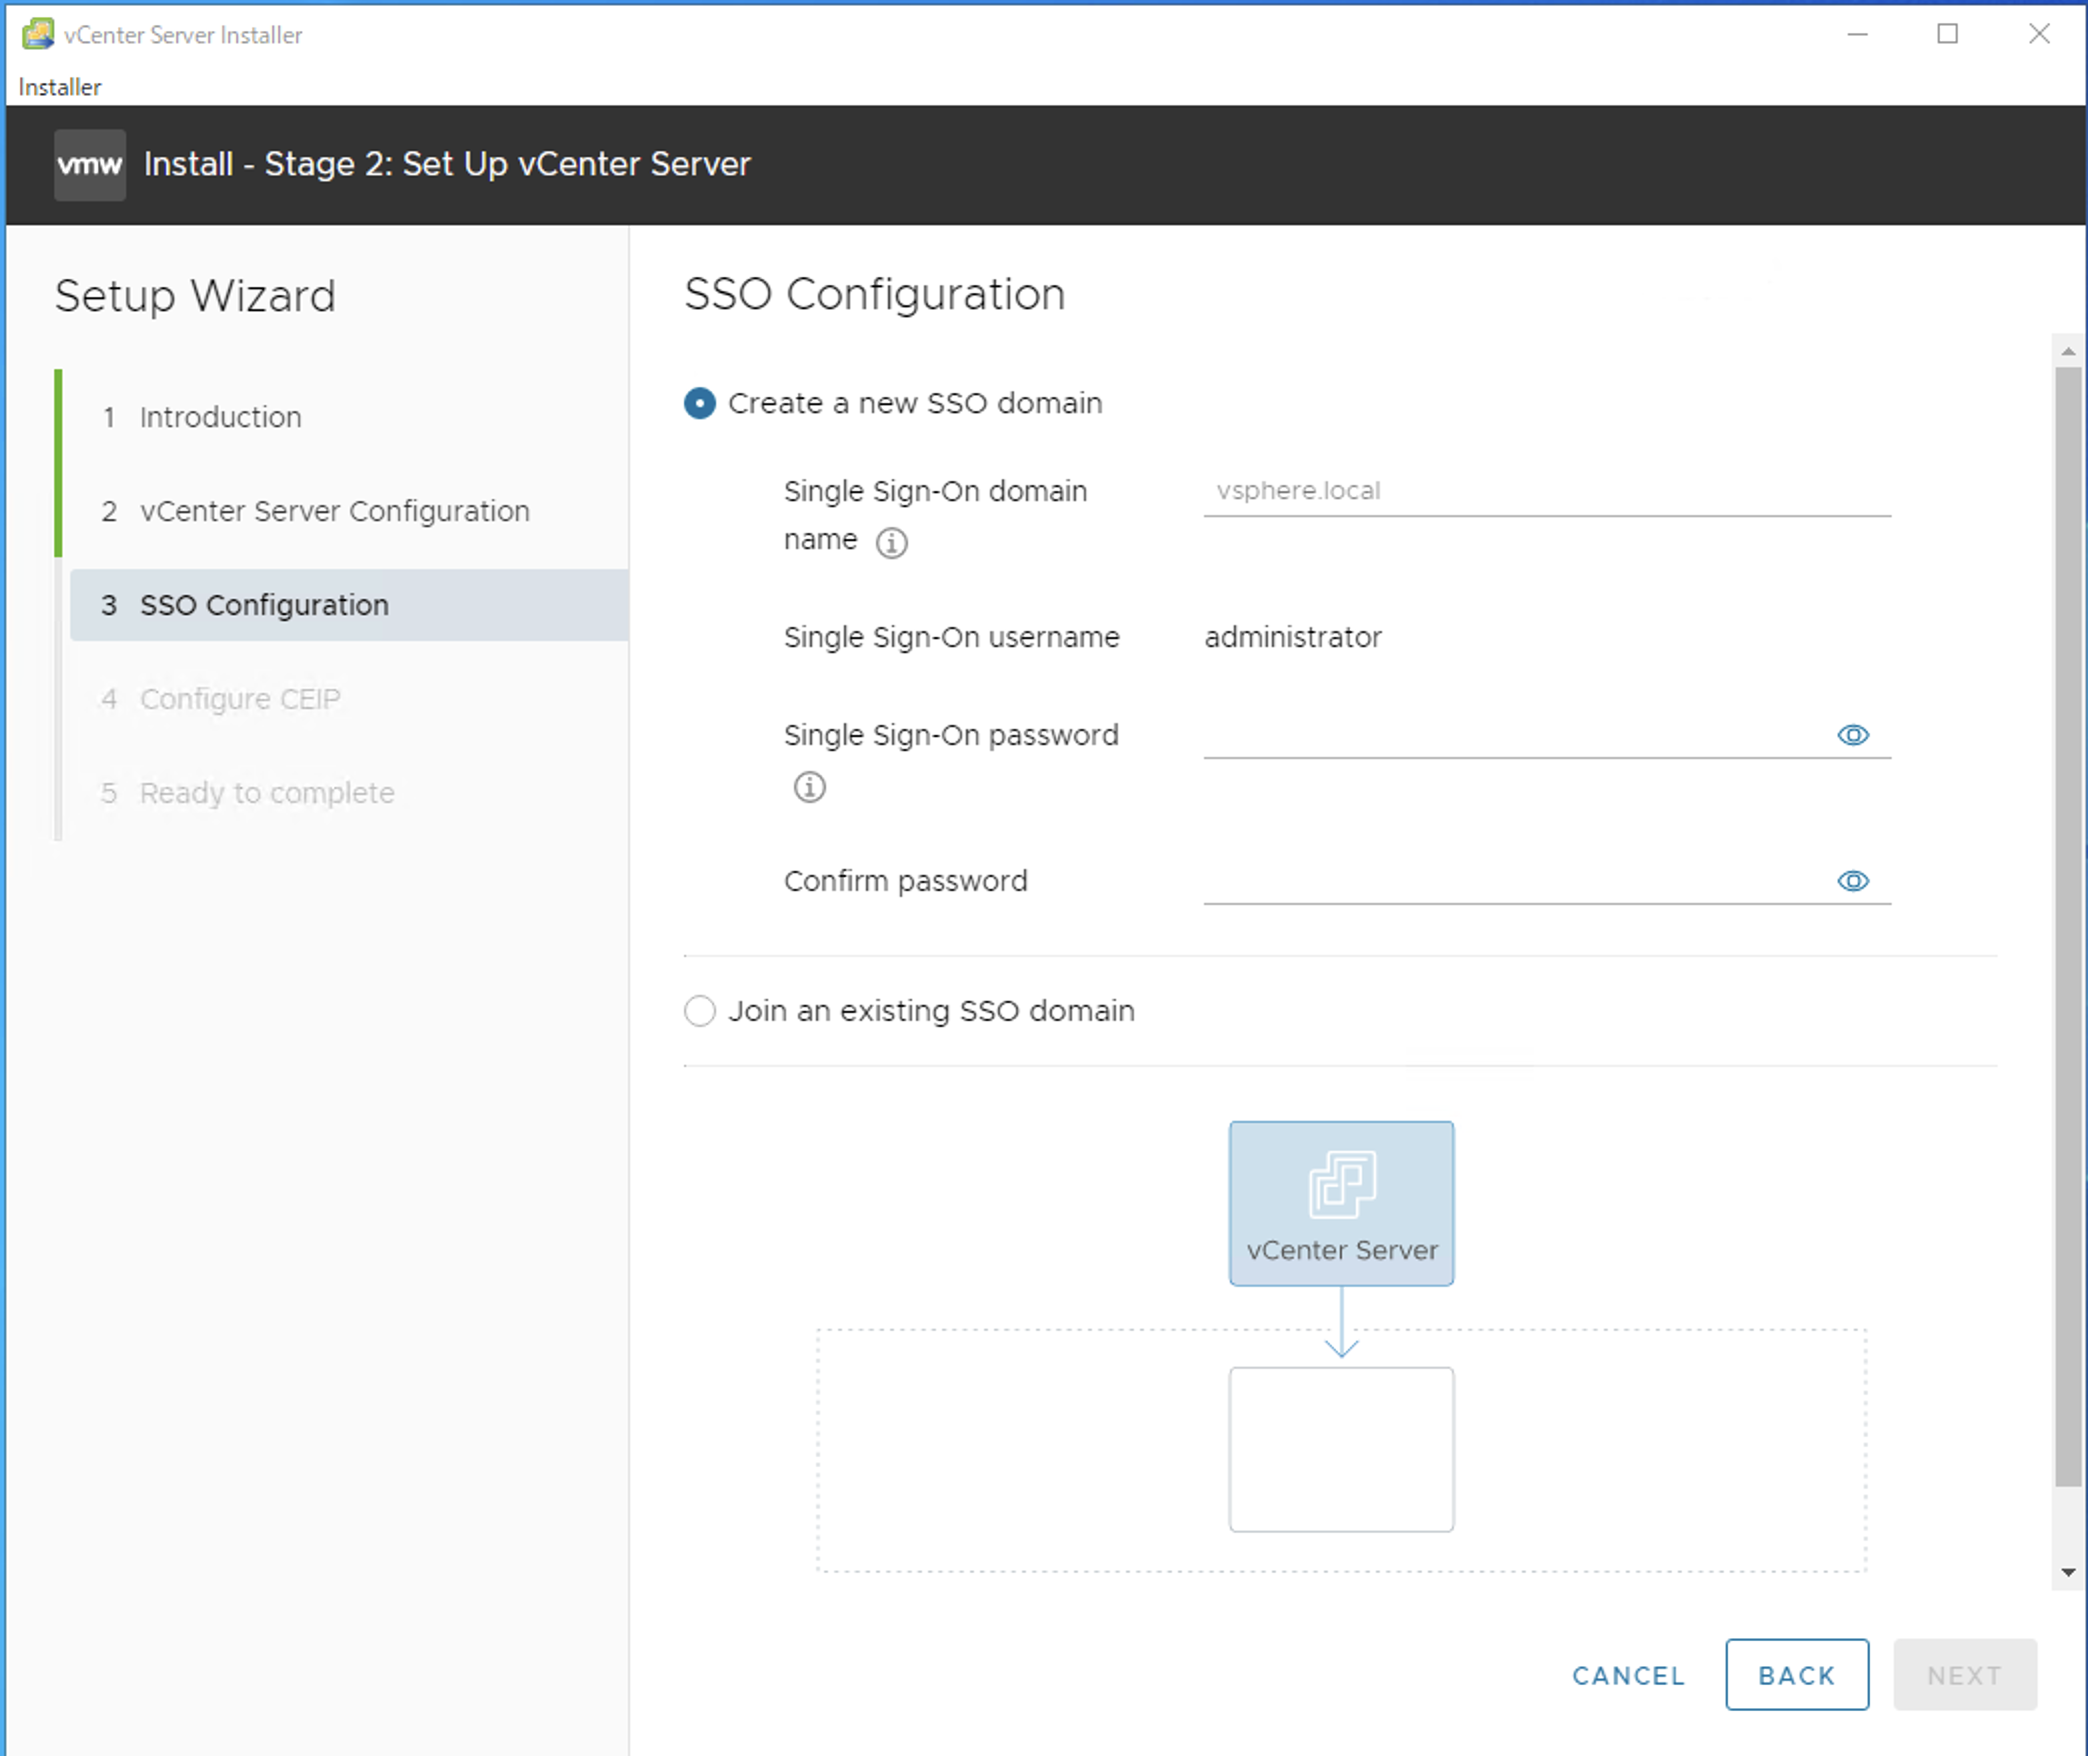
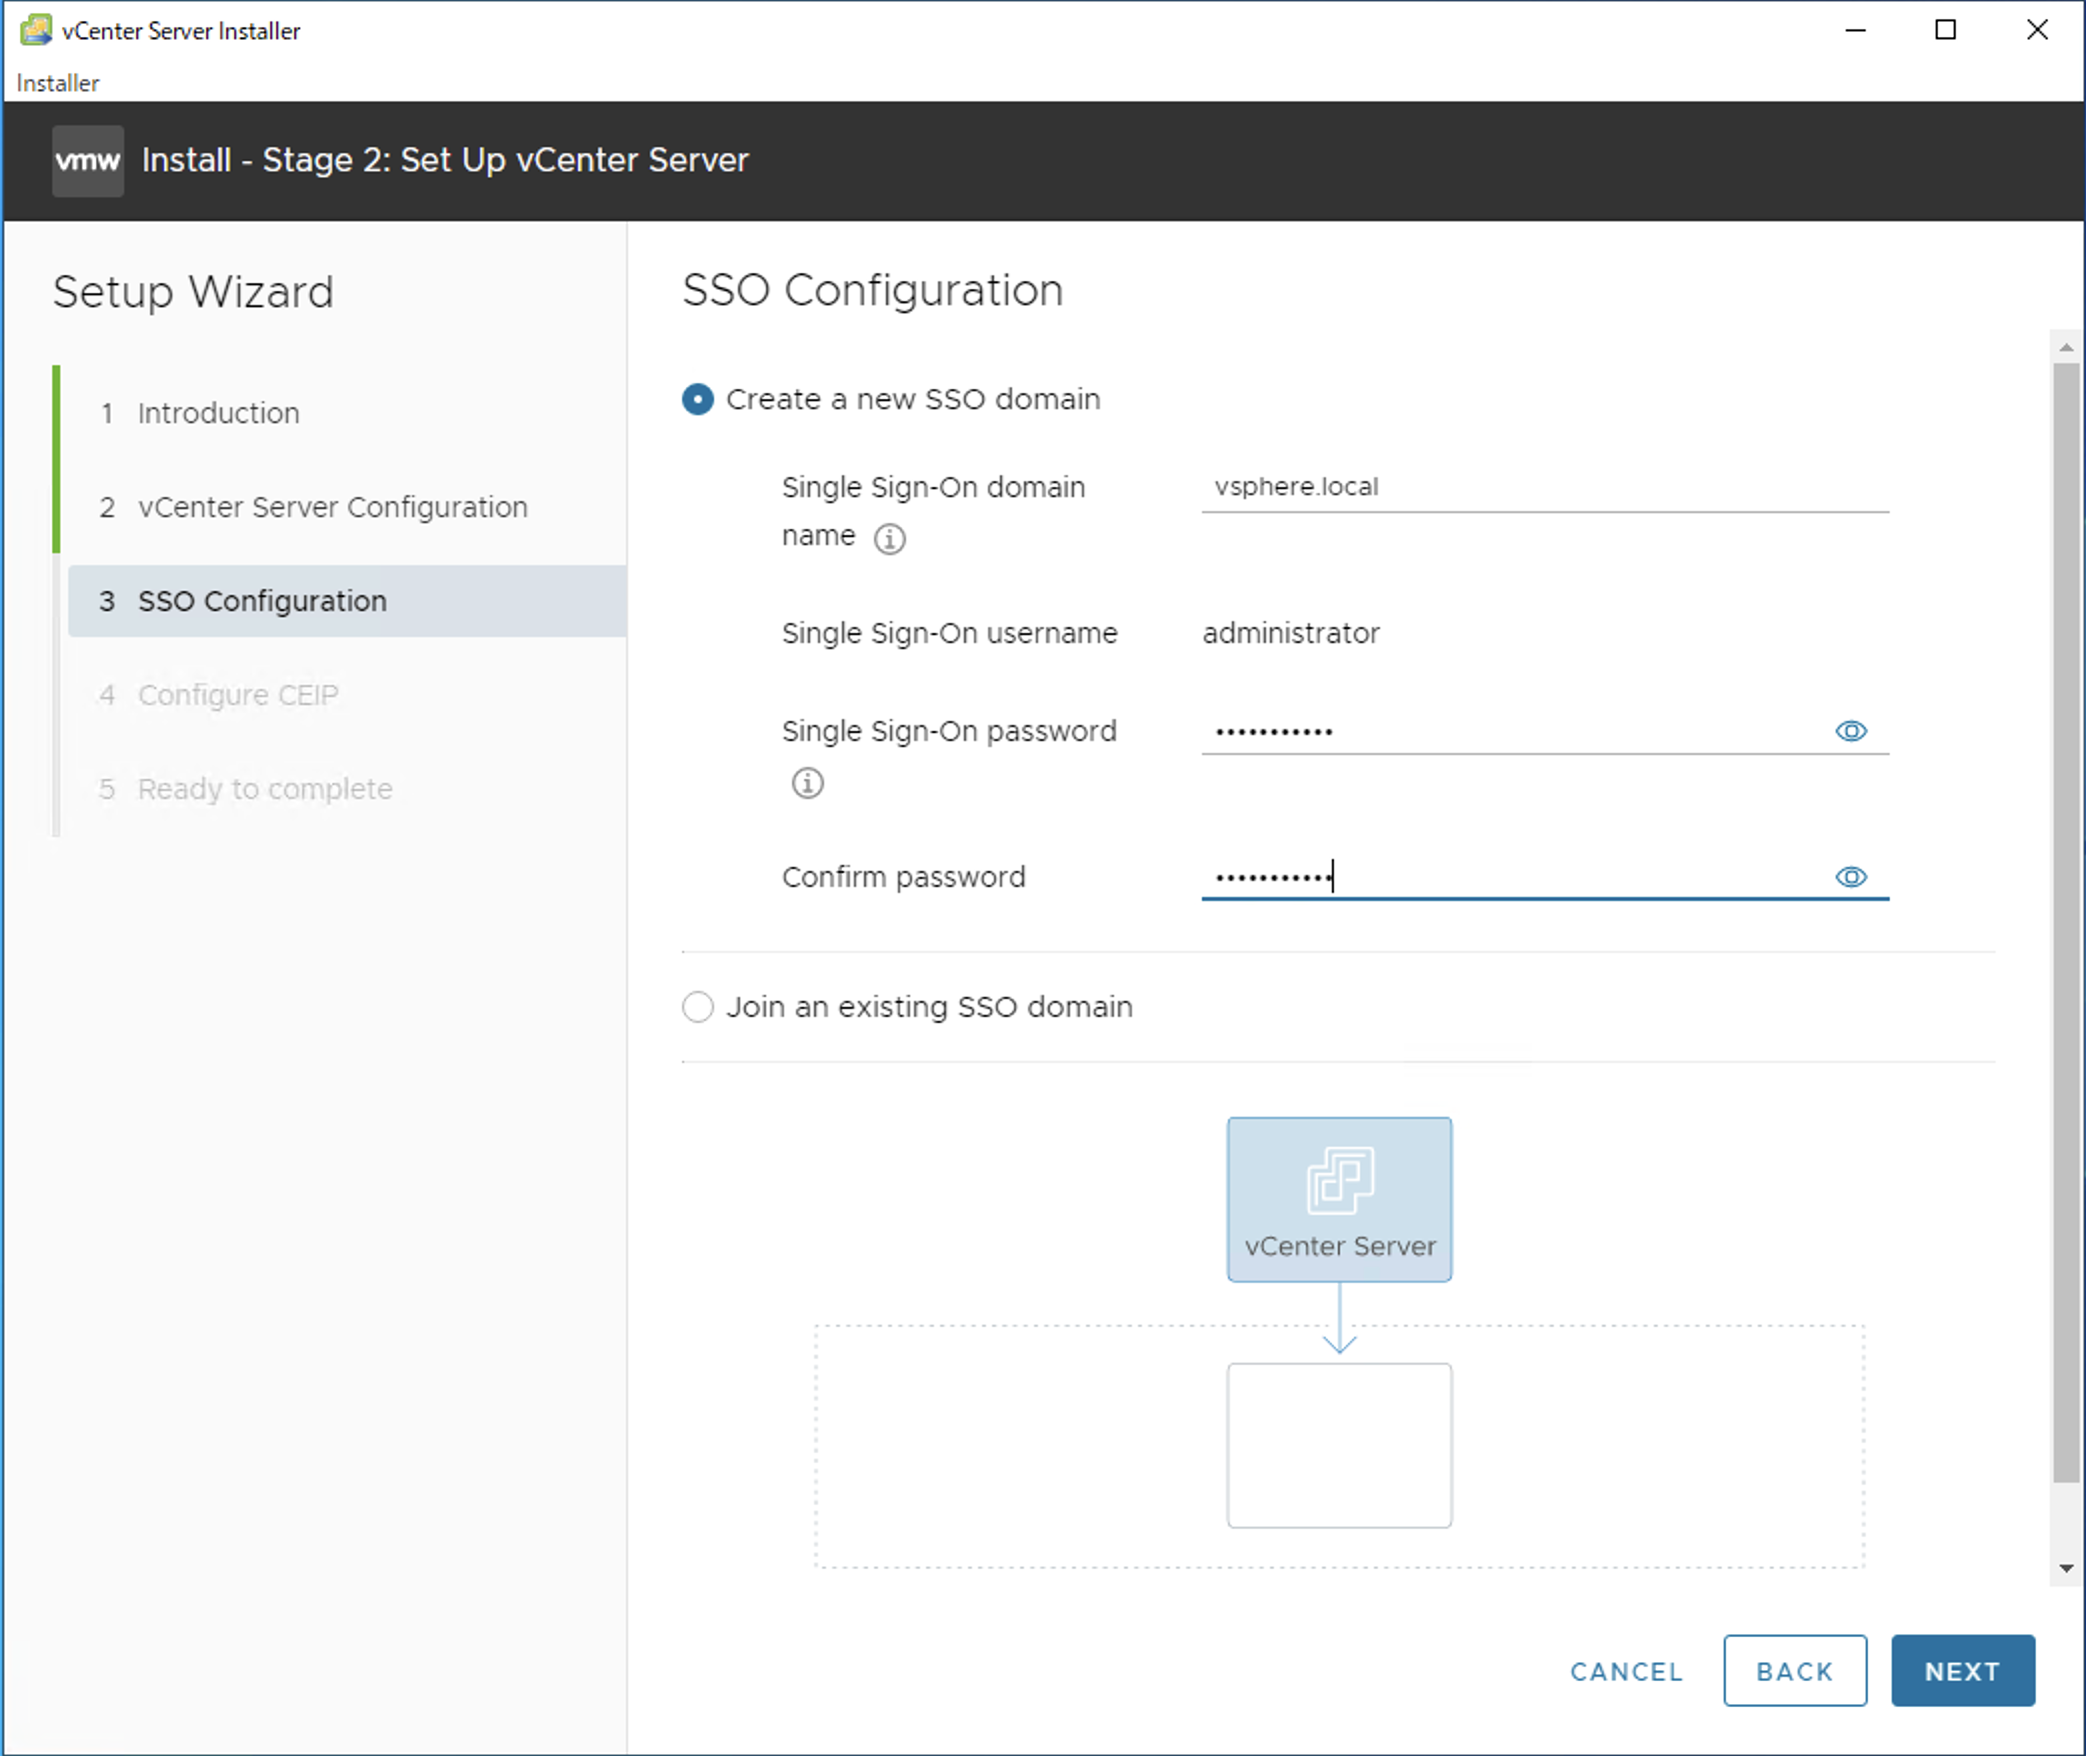
- セットアップに戻り、
domain name、passwordを入力してNEXTを押下
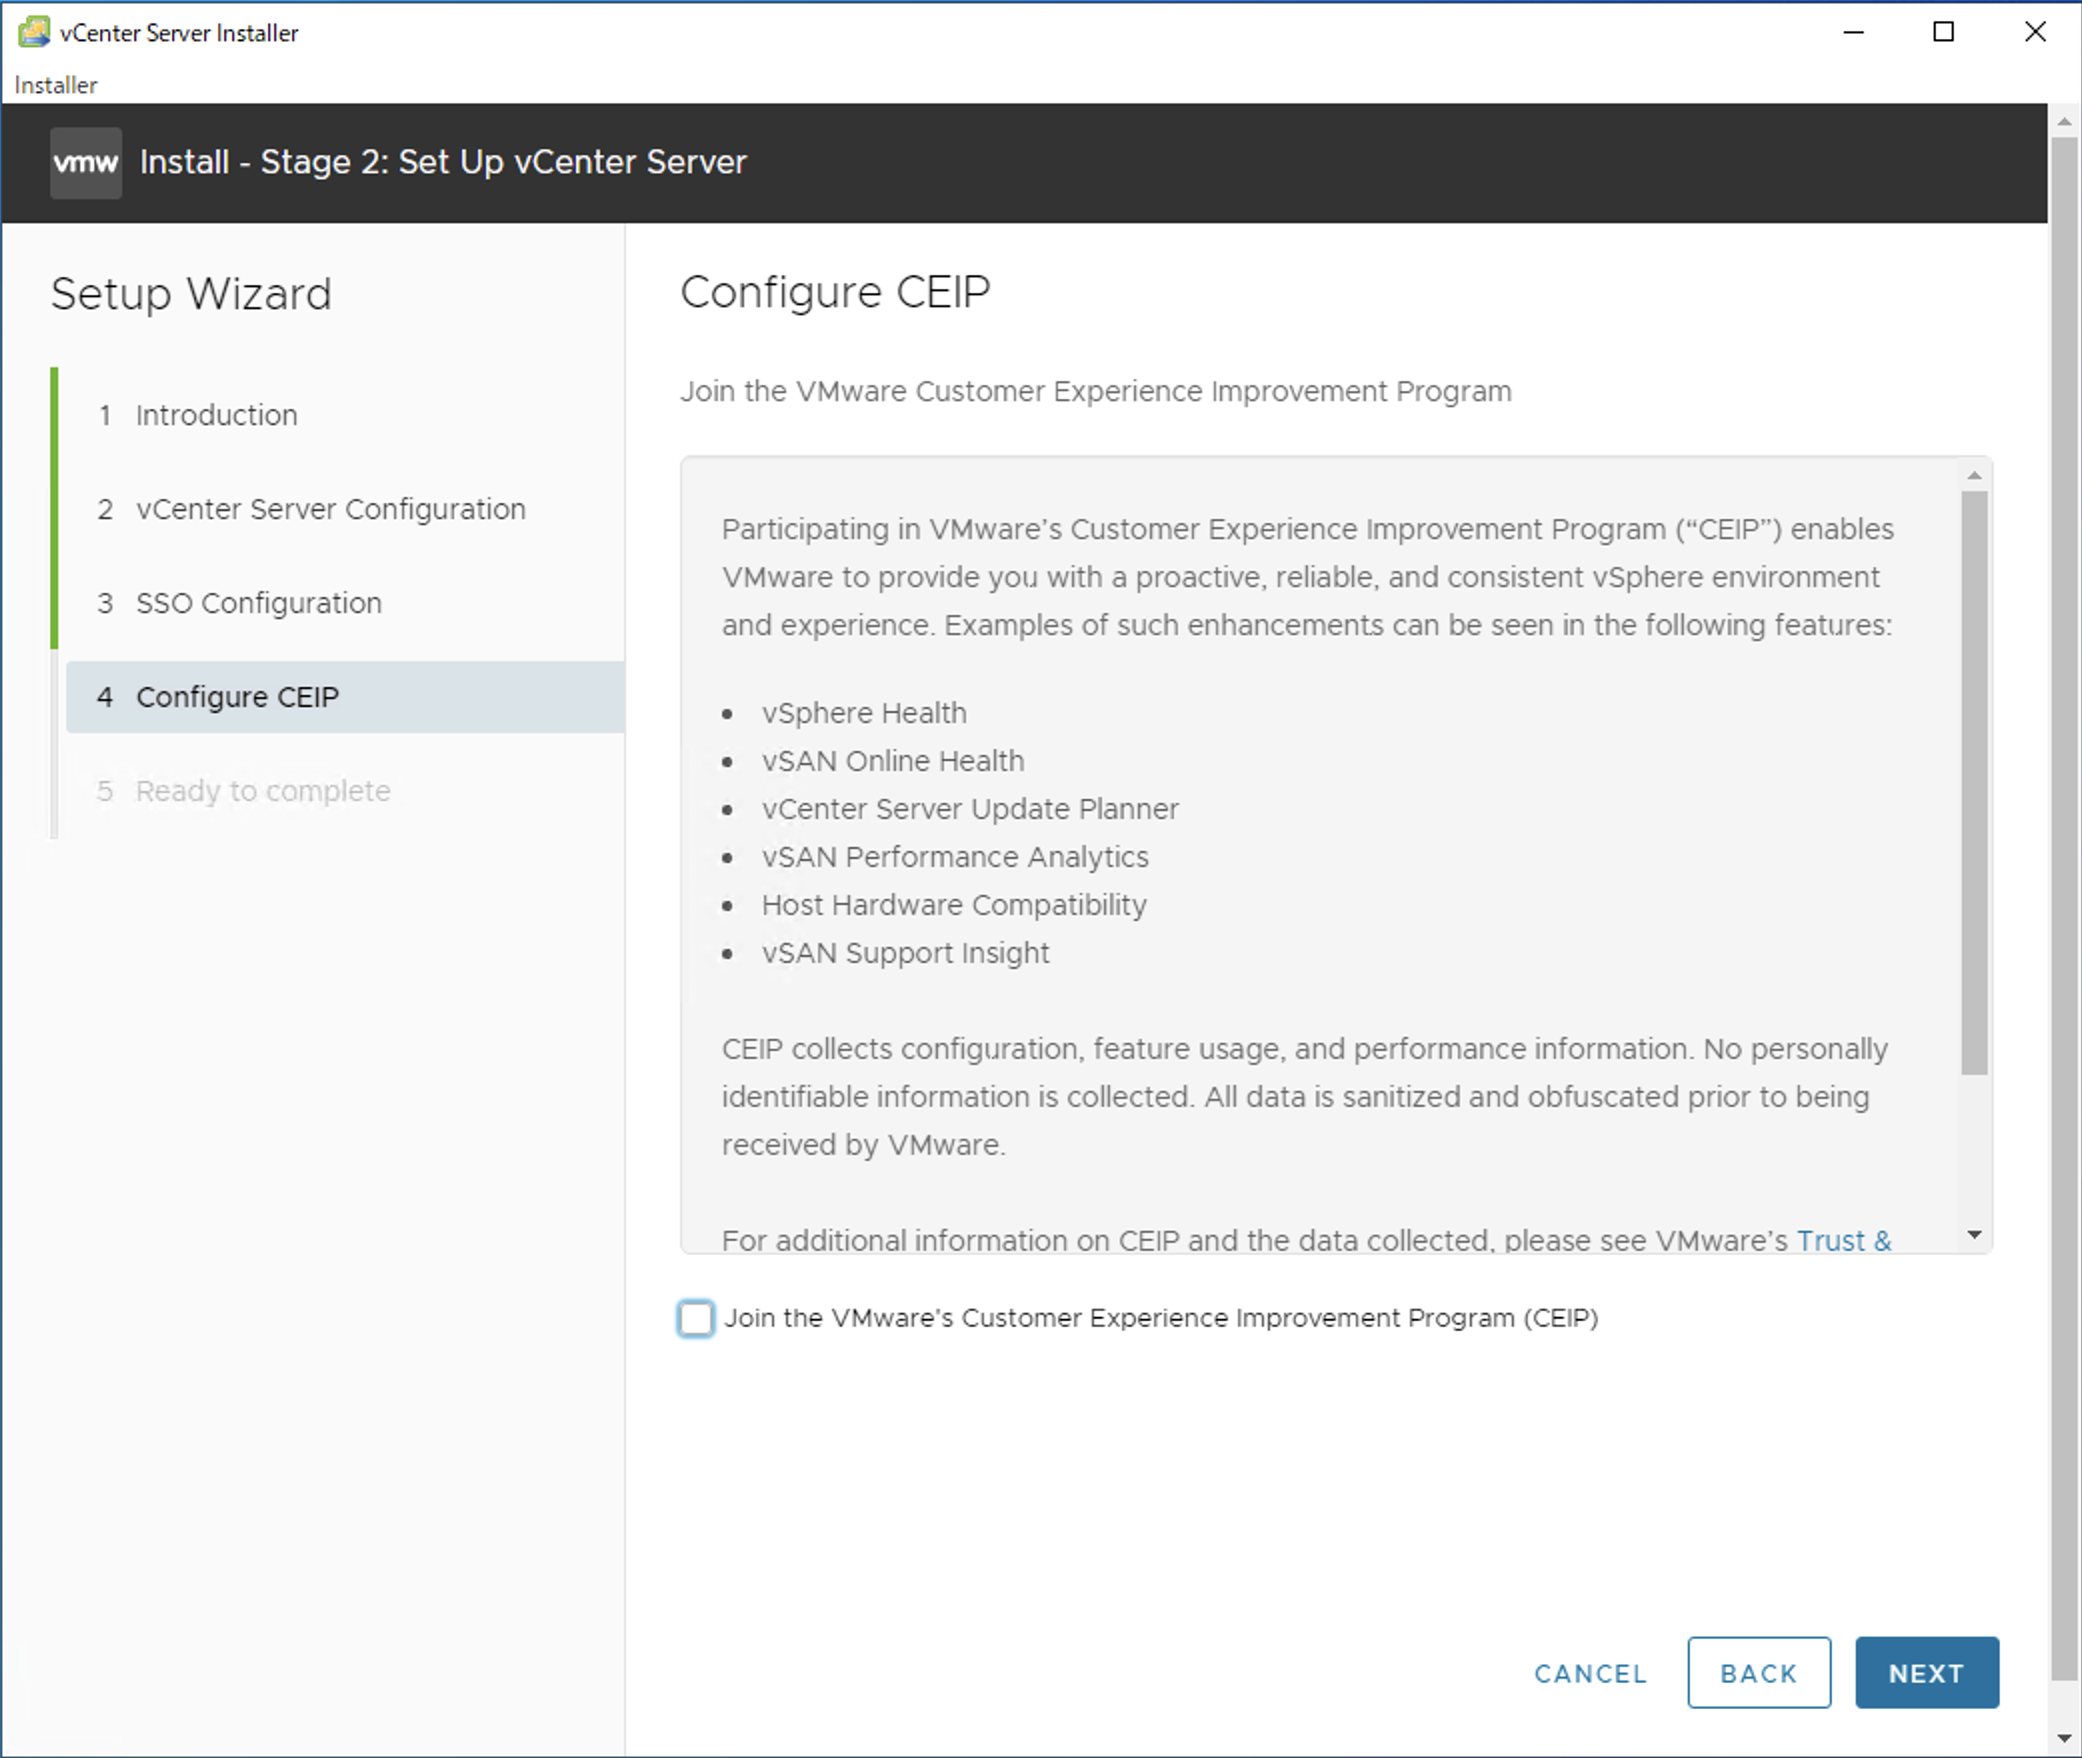
-
Join the VMware's Customer Experience Improvement Program CEIP)のチェックを外して、NEXTを押下。CEIPに参加するならチェックしててもよい。
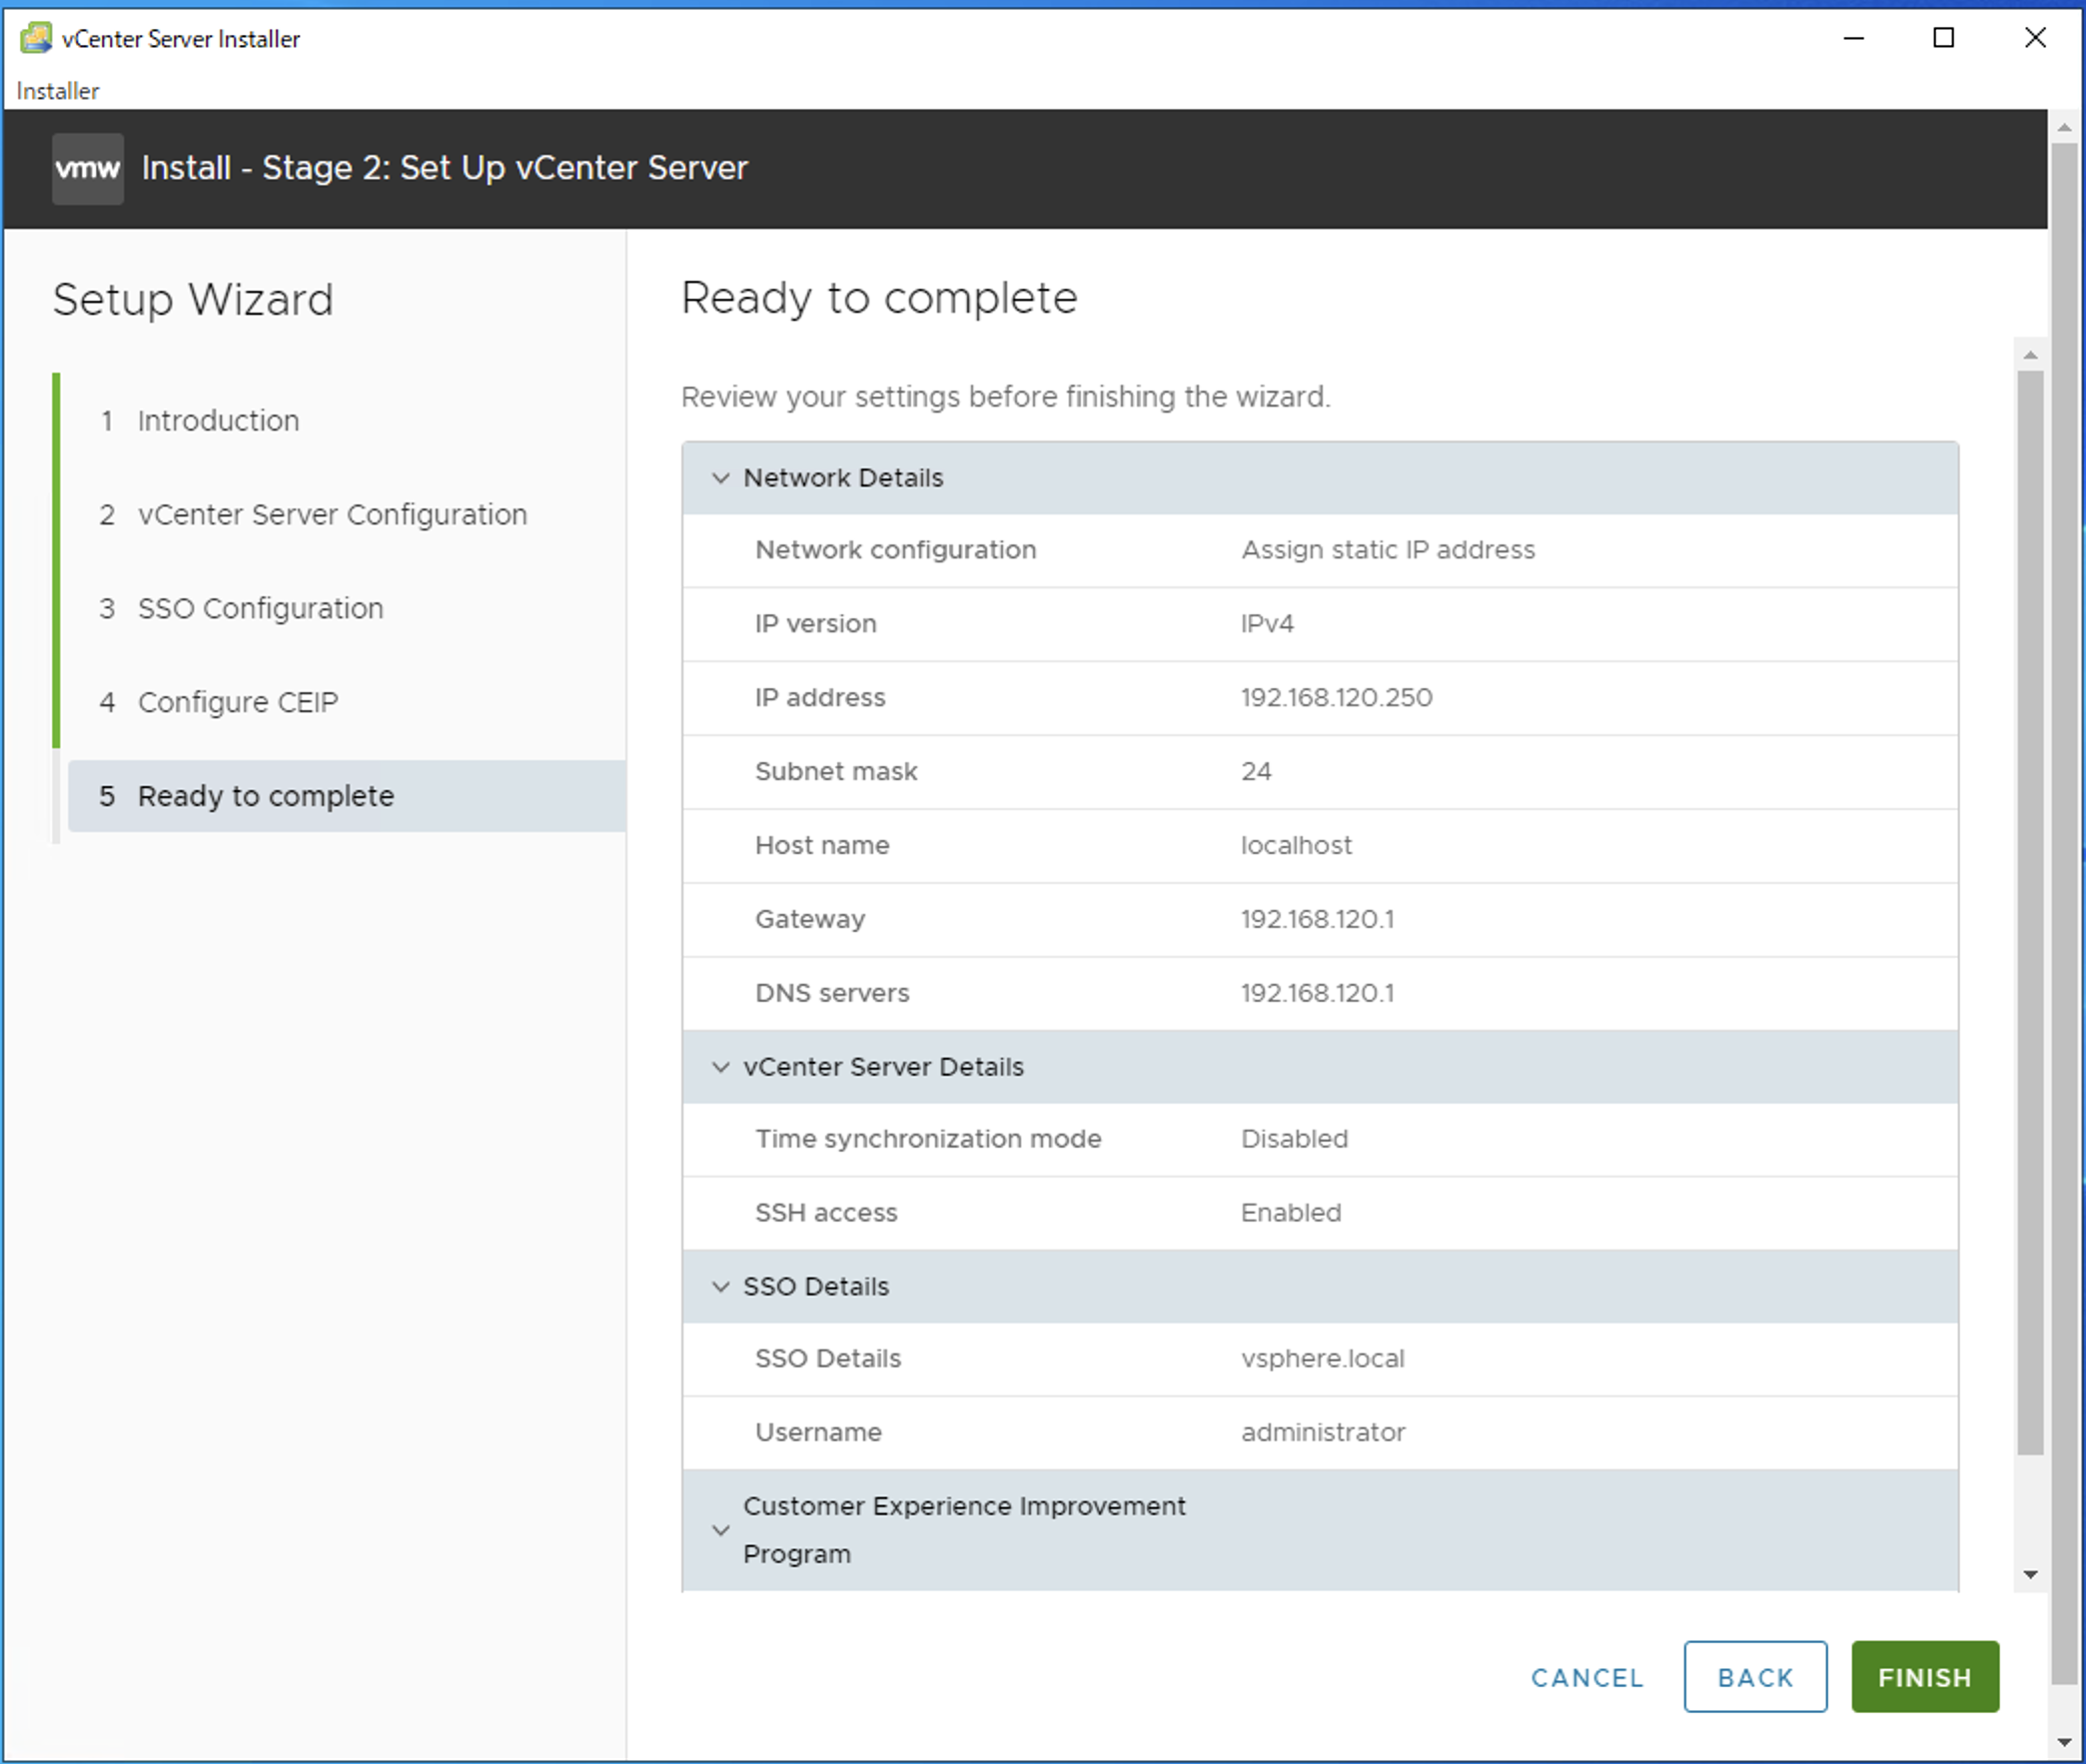
- 入力内容を確認して、
FINISHを押下
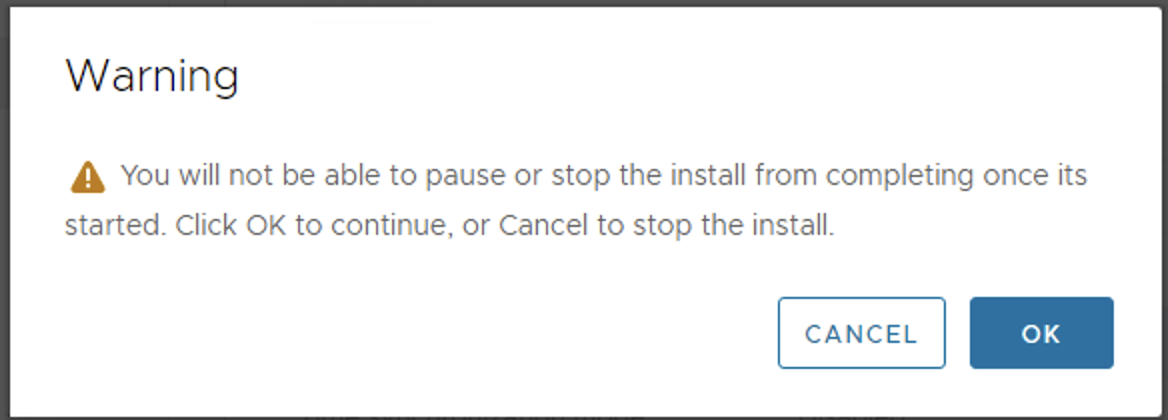
-
OKを押下
- 完了するまで、待つ
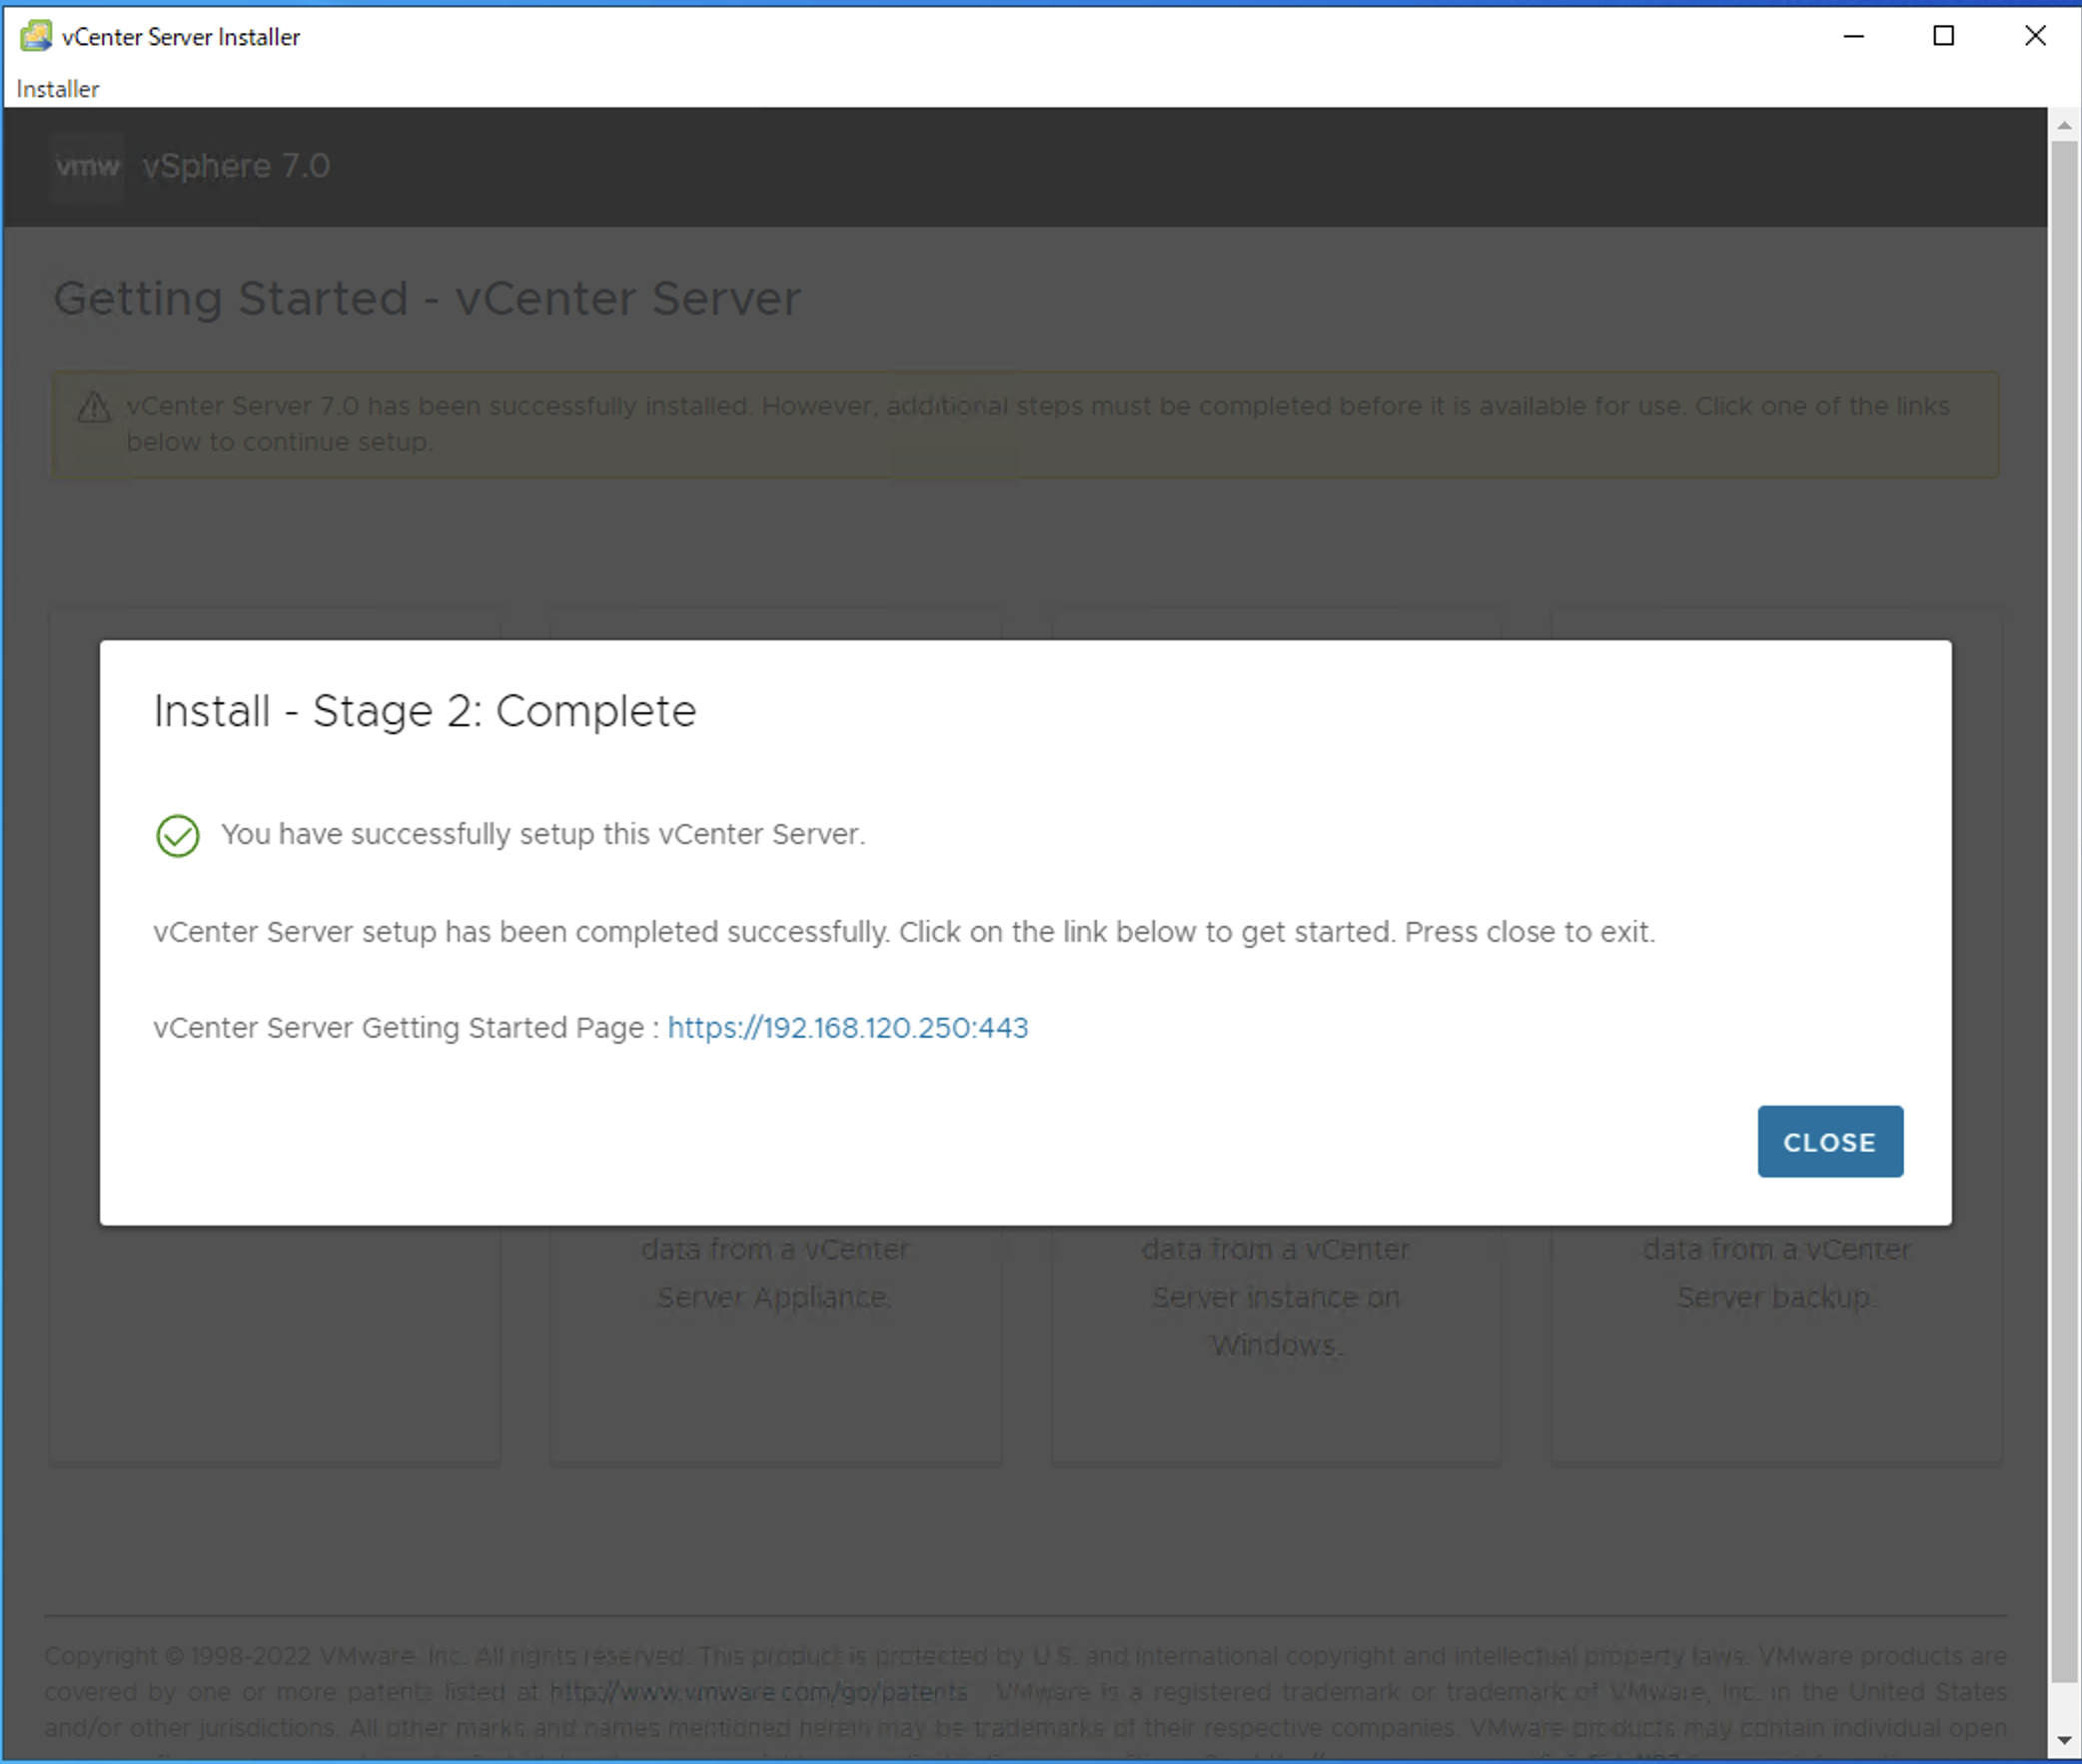
-
CLOSEを押下
vCenter Server へのアクセス
- 先の、
Stage 2: Completeで、vCenter Server のGetting Started Pageが指定した URL でアクセスする
さいごに
簡単でしたね