はじめに
ハイパーバイザ型の仮想化の勉強しよう
そうだ、ESXiしよう
のメモ
※ 準備したPCのネットワークカードが Realtek製だった = インストーラが認識しない
ESXi8.0 で、ドライバが準備されていて正しく認識する記事は↓
【2023年7月版】VMWare ESXi8.0 のインストール【Intel Ethernet Controller版】
互換性は↓で確認できる
VMware Compatibility Guide
コミュニティネットワーキングドライバーは↓
Community Networking Driver for ESXi
USB Network Native Driver for ESXi
環境
- UEFIでインストールUSBを使ってインストーラを起動
- USB作成環境はmacOS16(MacbookPro M1)
- インストール先のPCは、ミニPCにUSBイーサネットアダプタをつけたもの1
- ミニPC本体のRealtekは
No Network Adaptersとなり、動作しないため、RealtekのUSBイーサネットアダプタを利用
- ミニPC本体のRealtekは
- ESXi7.0 も ESXi8.0 も同一手順
手順
- ESXiのISOのダウンロード
- インストールUSBの作成
- ミニPCへのインストール
- 最新版へのアップデート
ESXiのISOのダウンロード
- ESXi 7.0
Product Evaluation Center for VMware vSphere Hypervisor 7 - ESXi 8.0
Product Evaluation Center for VMware vSphere Hypervisor 8
インストールUSBの作成
USBメモリのフォーマット
- diskutilでUSBメモリのデバイスパスを見つける
- diskutilでデバイスの消去
- fdiskでフォーマット
diskutilでUSBメモリのデバイスパスを見つける
$ diskutil list
:
:
/dev/disk5 (external, physical):
#: TYPE NAME SIZE IDENTIFIER
0: FDisk_partition_scheme *15.7 GB disk5
1: Windows_NTFS USB_MEMORY 15.7 GB disk5s1
:
:
diskutilでデバイスの消去
$ diskutil eraseDisk MS-DOS "ESXI8" MBR disk5
Started erase on disk5
Unmounting disk
Creating the partition map
Waiting for partitions to activate
Formatting disk5s1 as MS-DOS (FAT) with name ESXI8
512 bytes per physical sector
/dev/rdisk5s1: 30687936 sectors in 1917996 FAT32 clusters (8192 bytes/cluster)
bps=512 spc=16 res=32 nft=2 mid=0xf8 spt=32 hds=255 hid=2048 drv=0x80 bsec=30717952 bspf=14985 rdcl=2 infs=1 bkbs=6
Mounting disk
Finished erase on disk5
fdiskでフォーマット
$ sudo fdisk -e /dev/disk5
Password:
fdisk: could not open MBR file /usr/standalone/i386/boot0: No such file or directory
Enter 'help' for information
fdisk: 1> f 1
Partition 1 marked active.
fdisk:*1> write
Device could not be accessed exclusively.
A reboot will be needed for changes to take effect. OK? [n] y
Writing MBR at offset 0.
fdisk: 1> quit
ISOのマウント
- FinderでダウンロードしたISOをダブルクリックする
ISOからUSBへファイルをコピー
- ISOがマウントされたドライブからすべてのファイルをUSBメモリにコピー
USBメモリのファイル名の変更と編集
- USBメモリ上のISOLINUX.CFG を SYSLINUX.CFG へファイル名変更
- SYSLINUX.CFG を編集
$ diff SYSLINUX.CFG SYSLINUX.CFG.BACKUP
8c8
<   APPEND -c boot.cfg -p 1
---
>   APPEND -c boot.cfg
ミニPCへのインストール
メッセージに従いインストール。迷う点は無いと思う。
コンソールは Alt+F1 、DCUIは Alt+F2
最新版へのアップデート
DCUIで SSH を enabled にして、sshでアクセスして作業を行う。
現在は、バージョン = ESXi 7.0 Update 3k 、ビルド番号 = 21313628 が最新なので、
以下のコマンドでアップデートを行う。
# esxcli software profile update -p ESXi-7.0U3k-21313628-standard -d https://hostupdate.vmware.com/software/VUM/PRODUCTION/main/vmw-depot-index.xml
現在は、バージョン = ESXi 7.0 Update 3n 、ビルド番号 = 21930508 が最新なので、
以下のコマンドでアップデートを行う。
# esxcli software profile update -p ESXi-7.0U3n-21930508-standard -d https://hostupdate.vmware.com/software/VUM/PRODUCTION/main/vmw-depot-index.xml
バージョンの確認は以下から確認できる。
VMware ESXi/ESX のビルド番号とバージョン (2143832)
バージョンの確認は以下から確認できる。このページの上位、ESXi Update and Patch Release Notes からみつける。
VMware ESXi 7.0 Update 3n Release Notes
エラーへの対処
マザーボードに備え付けの Realtek のネットワークアダプタは利用できないので、USBの Realtek ネットワークアダプタを使うと、セットアップを継続できる。
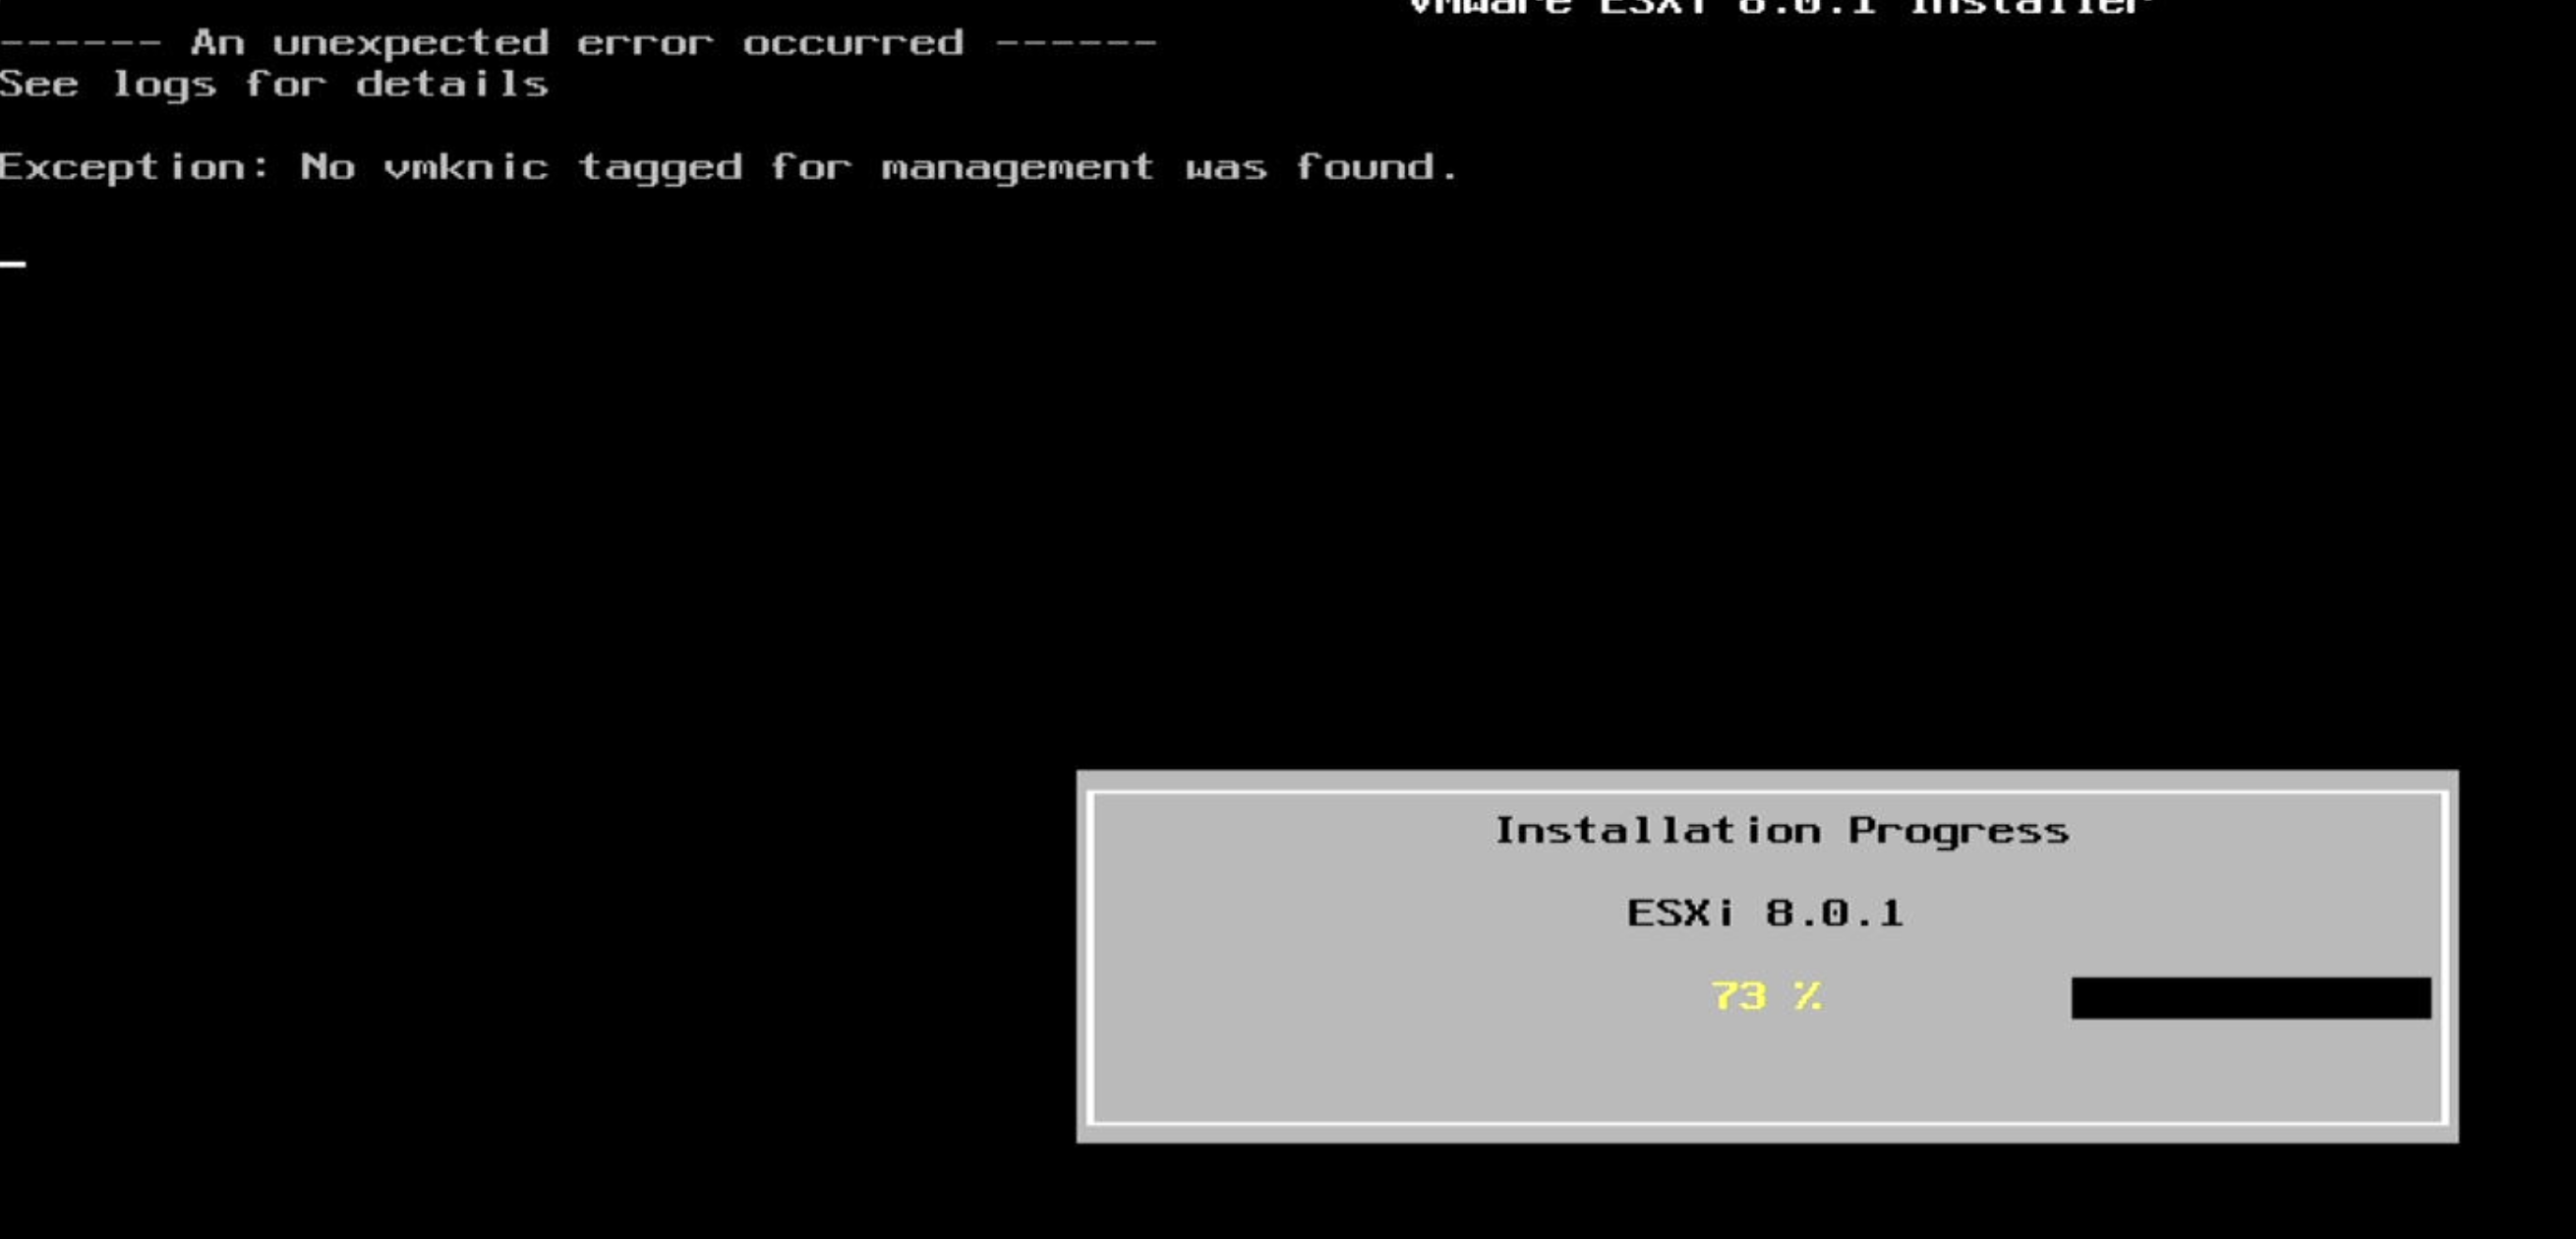
が、Exception: No vmknic tagged for management was found. というエラーがでてインストールがとまることがある。
Enterキーを押すと、インストールの最初に戻るが、ファイルのインストールはできている(入力したパスワードなどは入っていない)ので、再起動したらESXiを利用できる。ESXi7でも、ESXi8でも発生する。
その場合は、rootのパスワードは、空になる。
DCUIでパスワードの変更から行うと良い。
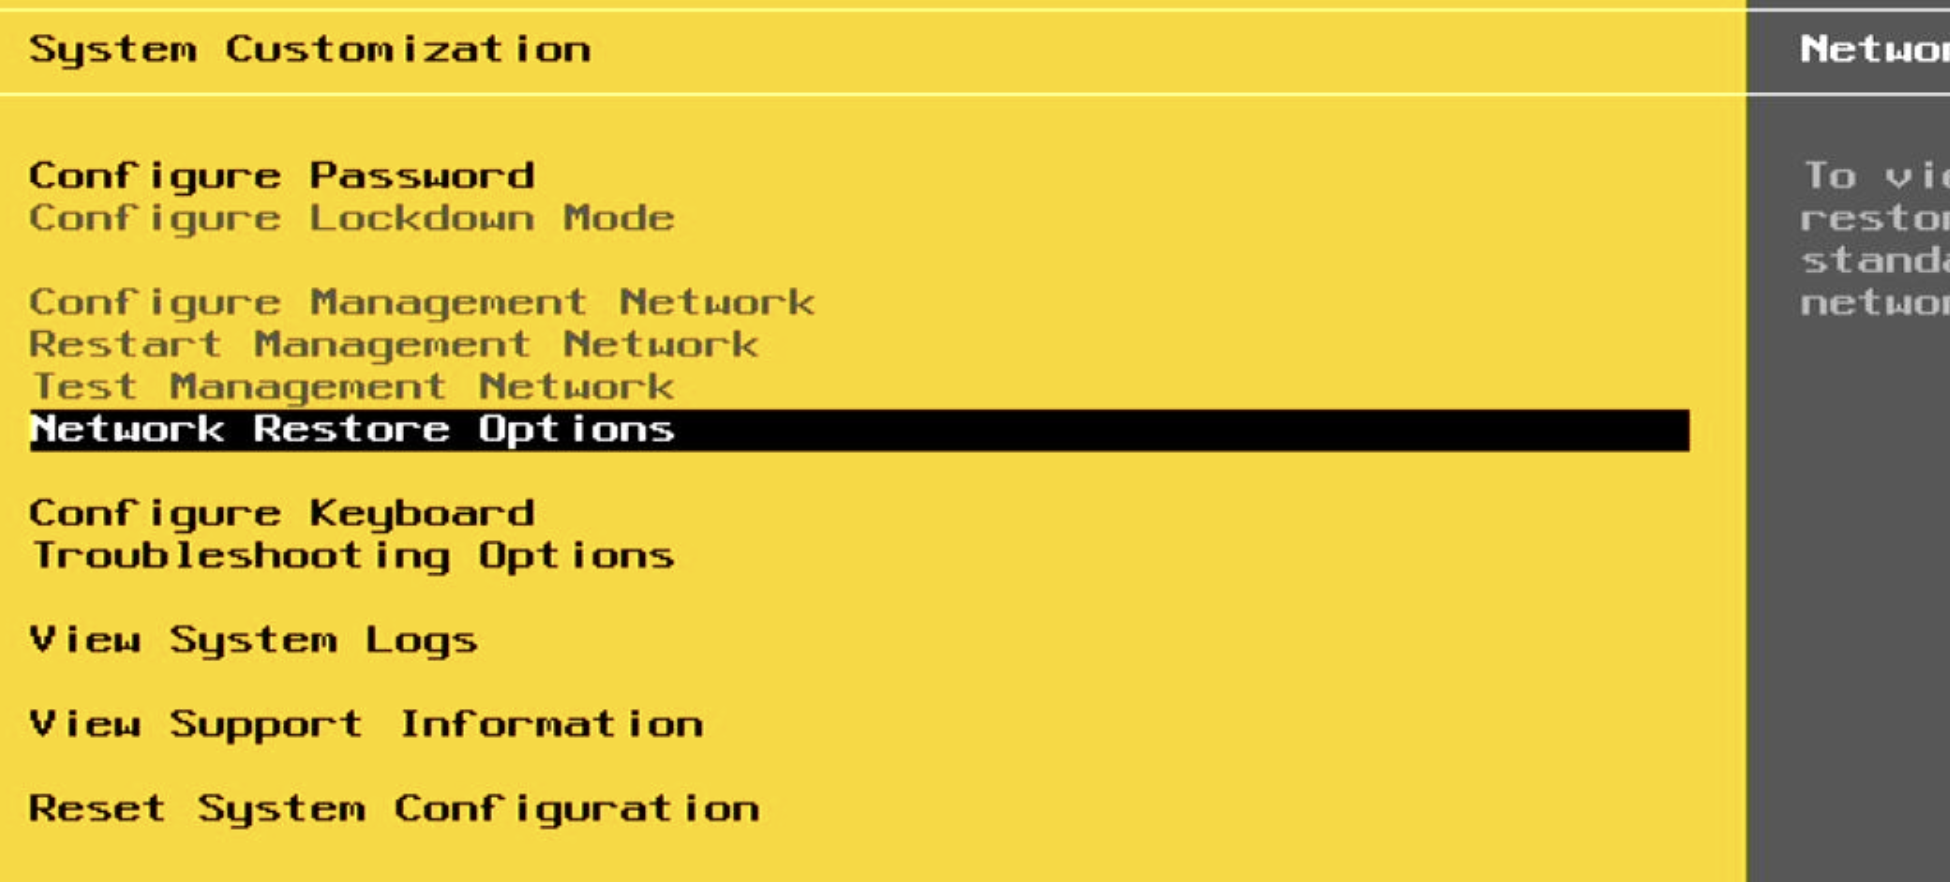
Network Restore Options から Restore Netwrok Settings を行うことで、
ネットワークが利用できるようになる。
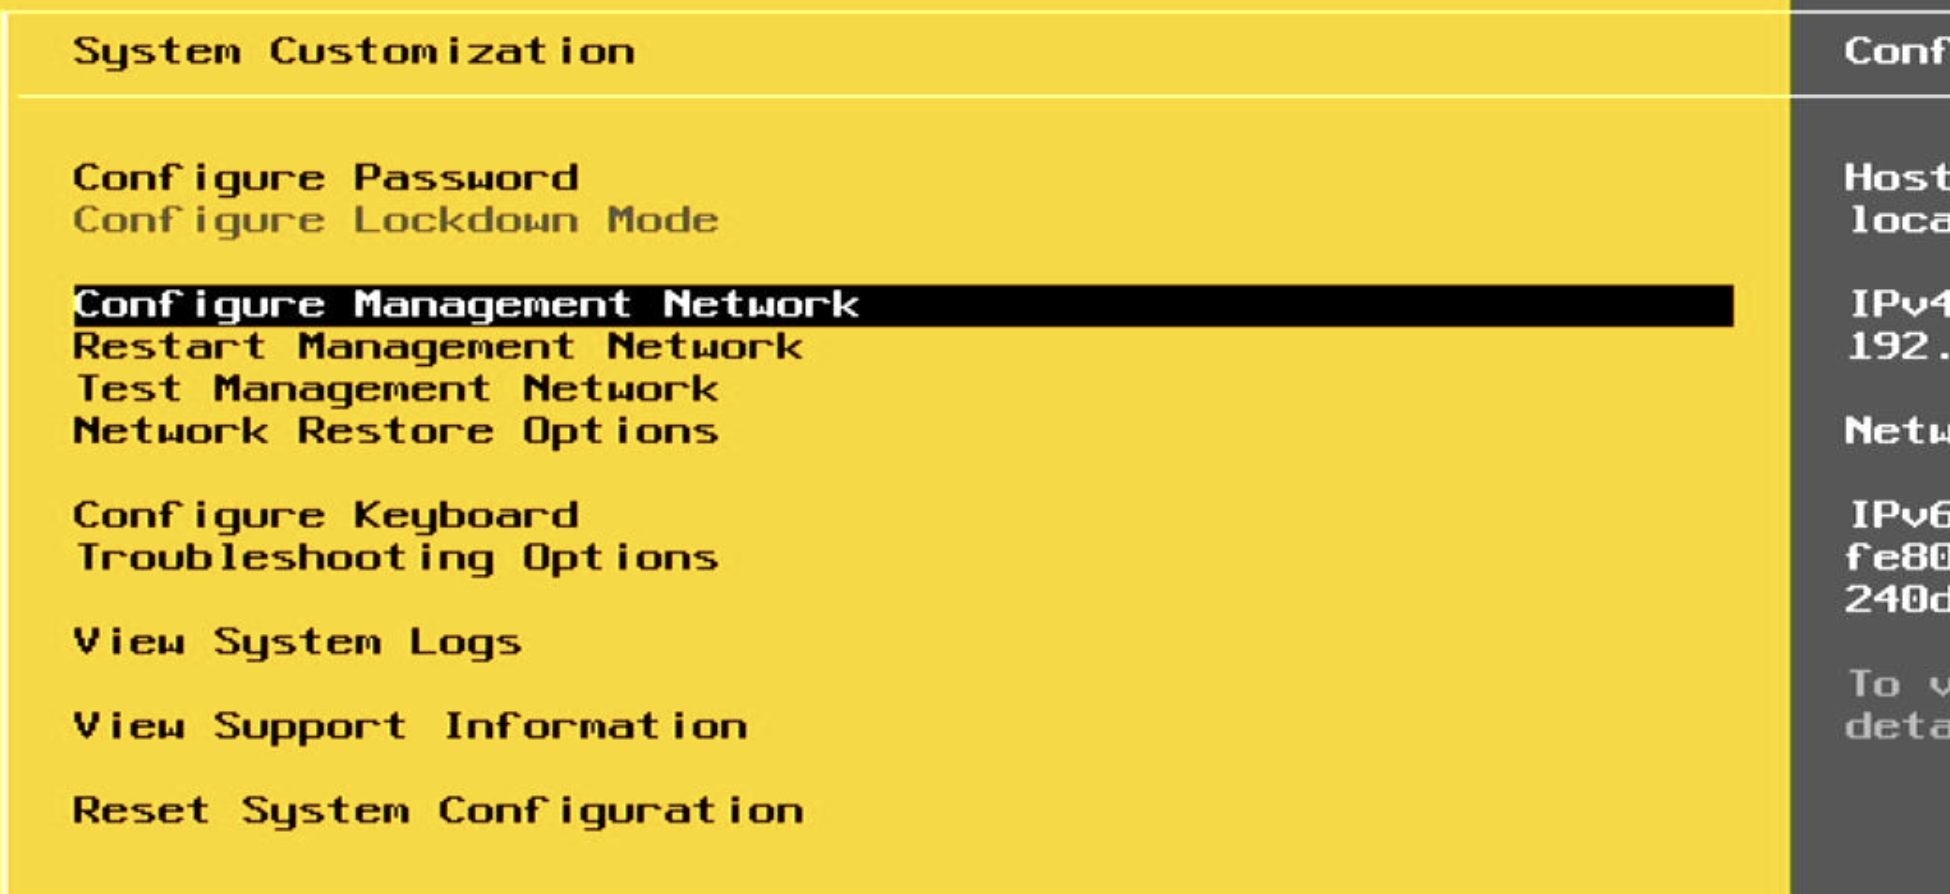
Restoreしたあと、再ログインで設定ができるようになった。
リブートすると、USBネットワークアダプタがタイミング問題なのか、うまく動作しなくなり、
毎回コンソールかDCUIを触ることになるので、自動化する。
/etc/rc.local.d/local.sh を編集して、設定を追加する
#!/bin/sh ++group=host/vim/vmvisor/boot

# local configuration options

# Note: modify at your own risk!  If you do/use anything in this
# script that is not part of a stable API (relying on files to be in
# specific places, specific tools, specific output, etc) there is a
# possibility you will end up with a broken system after patching or
# upgrading.  Changes are not supported unless under direction of
# VMware support.

# Note: This script will not be run when UEFI secure boot is enabled.

esxcfg-vswitch -L vusb0 vSwitch0
esxcfg-vswitch -M vusb0 -p "Management Network" vSwitch0

exit 0
クライアントOSを入れるときのコツ
用意したミニPC1は、NVMeとSSDが利用できるので、空のNVMeとSSDをインストールしてESXiから利用すると捗る
ESXiからパーティション操作で既存のパーティションテーブルをいじったりするとエラーになることが多いので、やらないほうがいい
クライアントOSのインストールは仮想マシン作成時にUSBをアタッチできるので、USBメモリからUEFIブートするのが簡単
インストール後にドライバを入れる方法
sshなりなんなりで、ドライバのzipファイルをコピー
esxcli software vib install でインストールして再起動する
# esxcli software vib install -d {zipファイルのパス}
# reboot
liveでインストールできない等のエラーが発生した場合はメンテナンスモードにしてからインストール
# esxcli system maintenanceMode set --enable true
# esxcli software vib install -d {zipファイルのパス}
# esxcli system maintenanceMode set --enable false
# reboot
例
# esxcli software vib install -d /ESXi80U1-VMKUSB-NIC-FLING-64098092-component-21669994.zip
Installation Result
   Message: The update completed successfully, but the system needs to be rebooted for the changes to be effective.
  :
  :
   Reboot Required: true
   DPU Results:
[root@localhost:~] reboot
さいごに
かんたんでしたね
参考資料
- USB Network Native Driver for ESXi
- Community Networking Driver for ESXi
- V-Front VIBSDepot Wiki - List of currently available ESXi packages2
- ESXiに追加した物理nicが認識されない(Realtekのドライバーをインストールする)
- ESXi7.0ではRealtekのNICドライバが認識できないので注意!ただし、RealtekのUSB NICは認識する
- USBの1000BASE-TのNIC (RTL8153, AX88179) をESXiの物理NICとして認識させる方法
- ESXi7.0でブート時にUSB NICが外れてしまう
- ESXi 7.0のカスタムインストーラーの作り方
- Solution: ESXi Installation with USB NIC only fails at 81%
- VFrontDe-Org / ESXi-Customizer-PS
- ESXi-Customizer-PS
- Power CLI
- Power CLI のインストール
- ESXi Arm Edition
- ESXi Arm Edition v1.2 でどこまでできるか「vSphere沼にハマっておぼれてみた」
- ESXi Arm Edition v1.2 でどこまでできるか「vSphere沼にハマっておぼれてみた」vSAN編
- Raspberry Pi で初めてみない? vSphere 7 USB ブートで始める ARM版 vSphere 7 ESXi
- ARM版 ESXi 7 をインストール
-
Beelink AMD Ryzen7 5800H ProミニPC、(最大4.4GHzまで)、8C/16T、32GB DDR4+500GB SSD mini pc、WiFi 6、Bluetooth 5.2、デュアルHDMI 小型PC、4K@60Hz、USB3.0、WOL、Auto Power On) + USB Cイーサネットアダプター、USB Cイーサネットアダプターギガビットネットワーク1000Mbps LANコンバーターMacBook Pro Air iPad Pro Galaxy S22 S21 Surface Book Chromebook Dell XPSと互換性がある ↩ ↩2
-
ファイルはリンク切れかも ↩


