目的
- AWSのEC2 AmazonLinux2インスタンスのだけでLaravelアプリをデプロイする方法をまとめる。
実施環境
- ハードウェア環境
| 項目 | 情報 |
|---|---|
| OS | macOS Catalina(10.15.5) |
| ハードウェア | MacBook Pro (13-inch, 2020, Four Thunderbolt 3 ports) |
| プロセッサ | 2 GHz クアッドコアIntel Core i5 |
| メモリ | 32 GB 3733 MHz LPDDR4 |
| グラフィックス | Intel Iris Plus Graphics 1536 MB |
前提条件
- 下記、または下記に準ずる方法でAWSのアカウントの登録が完了してログインできる状態になっていること。
前提情報
-
AWS EC2 AmazonLinux2のみで完結するLaravelアプリの作成方法をまとめる。
- 本来DBはRDS、ストレージはS3などサービスを分けるが今回はそれをせずEC2インスタンス内で完結させる。
-
DBはMySQL、WebサーバはApacheを用いてデプロイする方法をまとめる。
-
下記に使用する物のバージョンをまとめる。
項目 情報 備考 MySQL 8.0.20 for Linux on x86_64 コマンド $ mysql --versionで確認Apache 2.4.43 コマンド $ httpd --versionで確認PHP 7.4.5 コマンド $ php --versionで確認 -
本記事の内容は筆者の既存の記事の内容も使用して説明する。
読後感
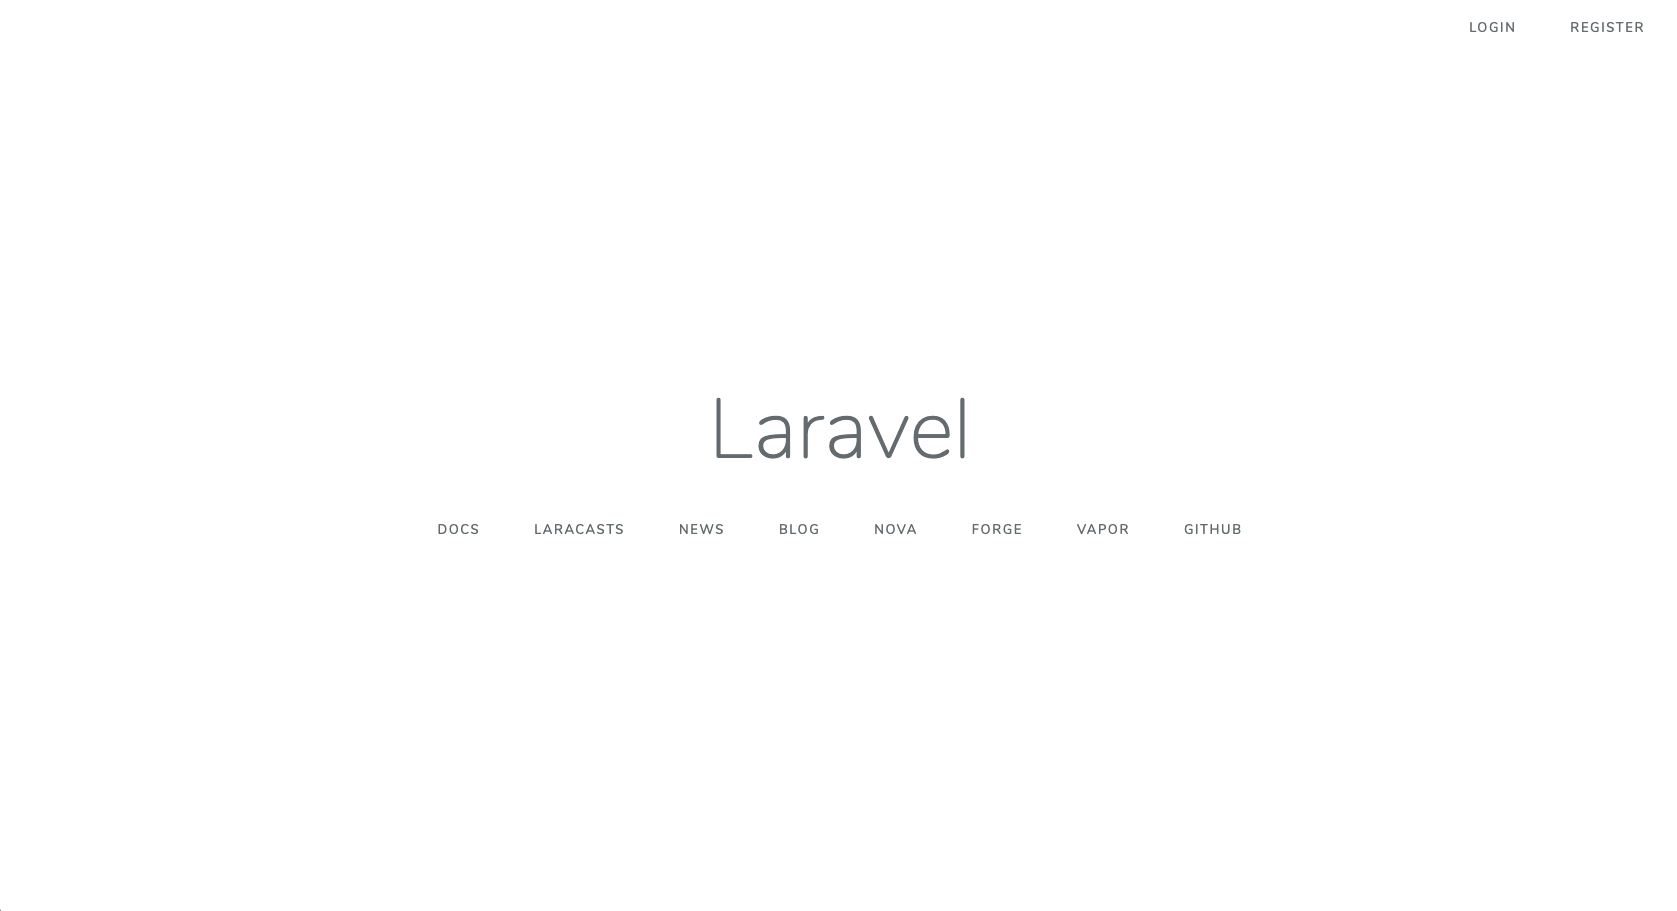
- LaravelアプリがEC2だけでデプロイすることができる。
概要
- EC2のインスタンス作成とApacheのインストール
- MySQLのインストール
- PHPのインストール
- composerのインストール
- Laravelアプリ作成
- 設定
- 確認
詳細
- EC2のインスタンス作成とApacheのインストール
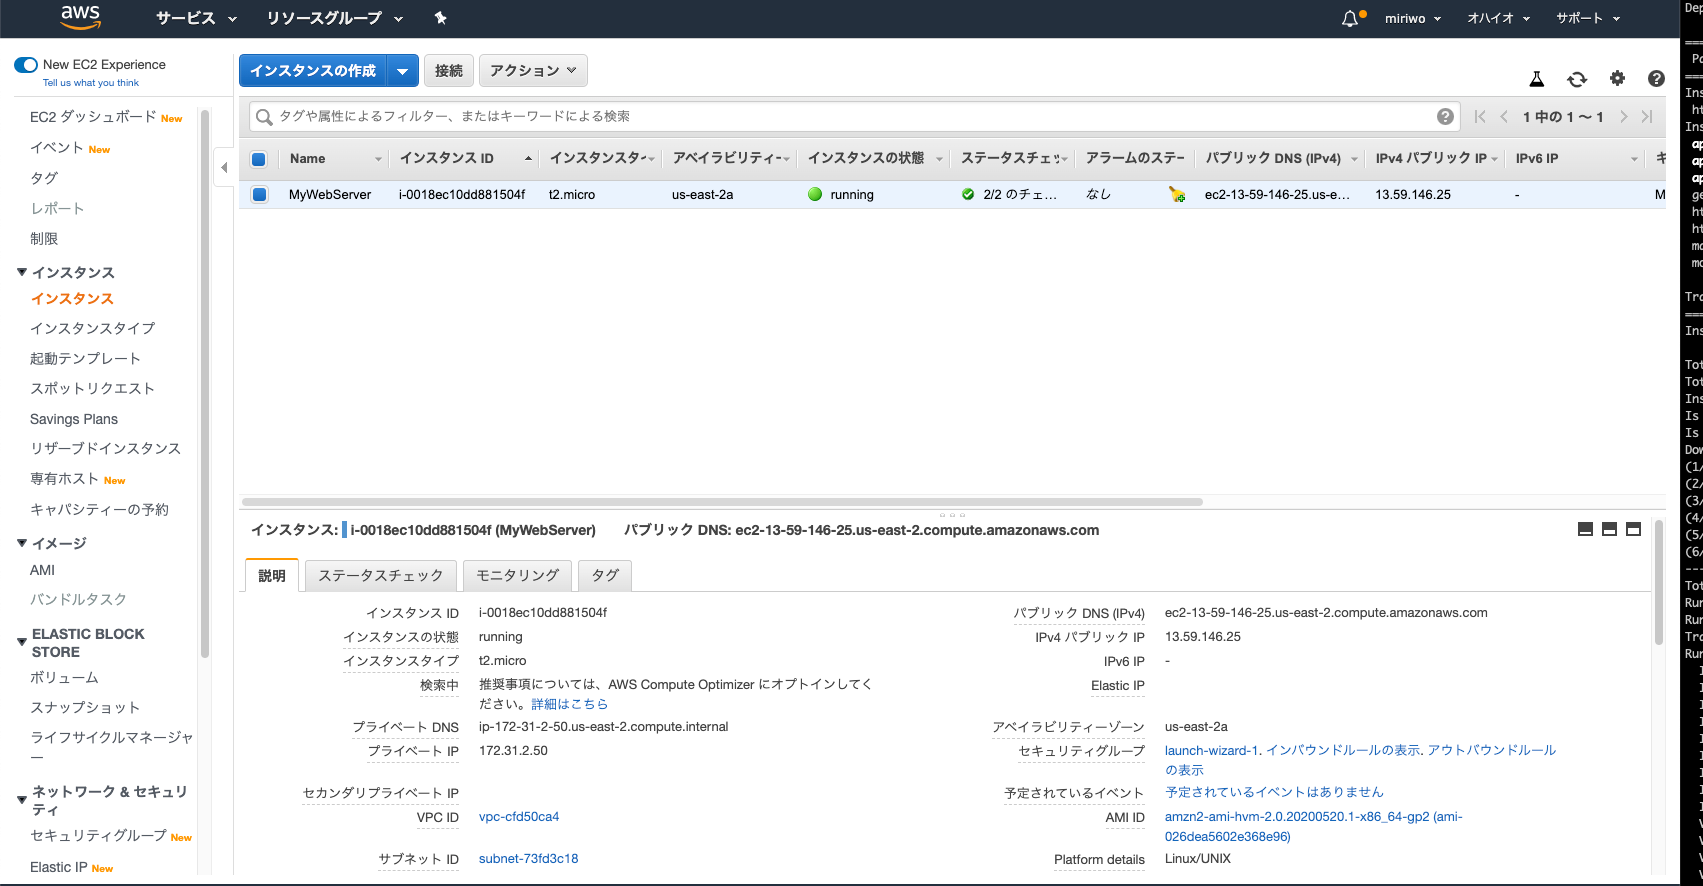
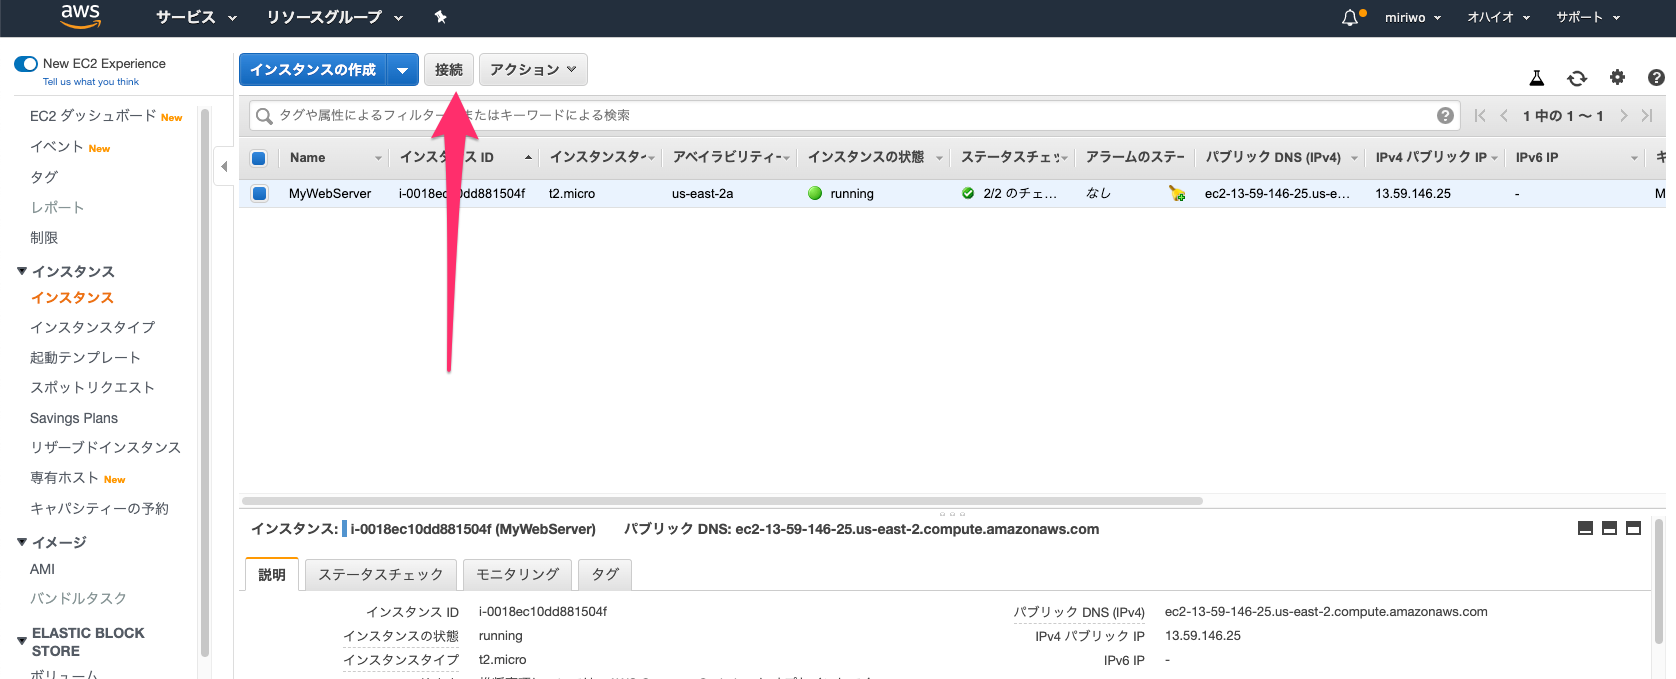
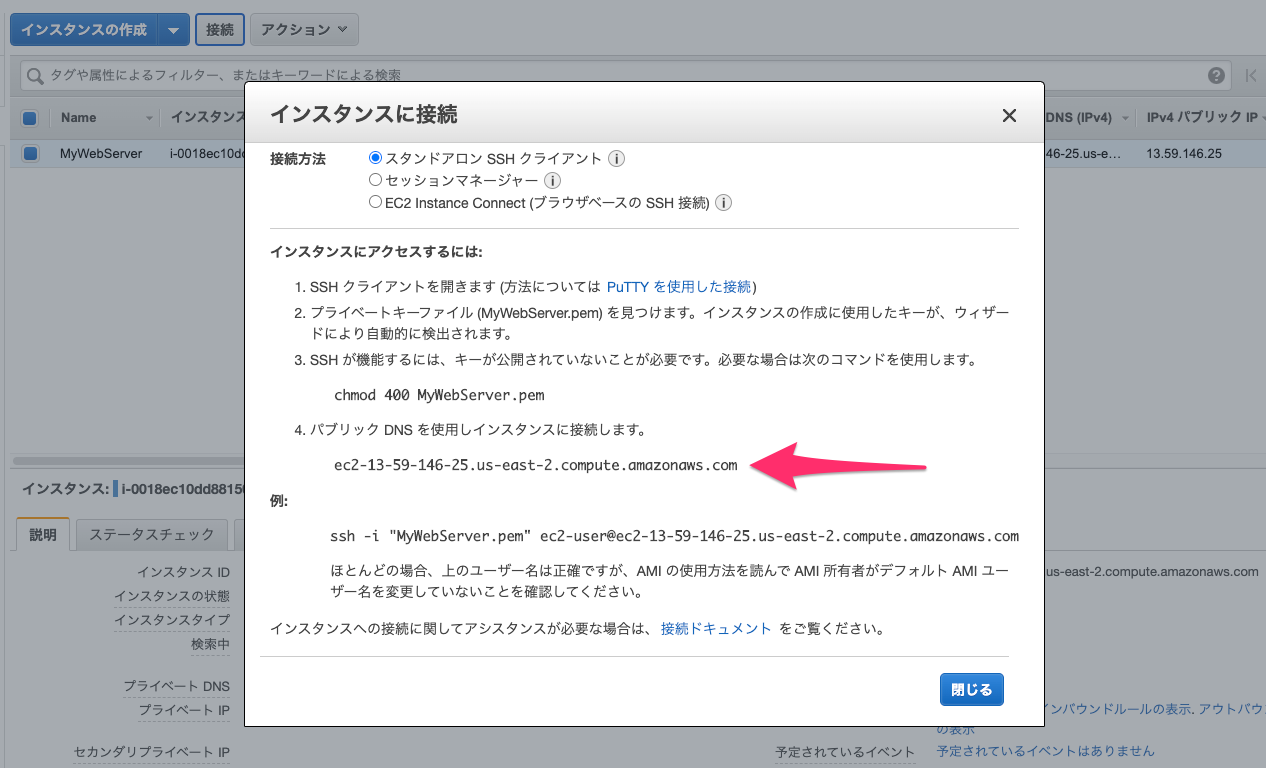
- 下記の記事を参考に手順を実施してインスタンスを作成しApacheをインストールする。
- MySQLのインストール
- 下記の記事を参考に実施を行いDBを作成できる状態にする。
- PHPのインストール
- 下記の記事を参考に実施を行いPHPをインストールする。
- composerのインストール
- 下記の記事を参考に実施を行いcomposerをインストールする。
- Laravelアプリの作成
-
下記コマンドを実行してLaravelをインストールする。(エラー
The following exception is caused by a lack of memory or swap, or not having swap configuredが発生した方はこちら→composerを用いたインストール中にメモリ系のエラーが出た話)composer global require laravel/installer -
下記コマンドを実行して
$ laravelコマンドが正常に実行できるか確認する。(「command not fonud」が出た方はこちらの手順の最後のパスを通す作業を実施する→AWS EC2 AmazonLinux2 composerをインストールする)laravel -
下記コマンドを実行してApacheのドキュメントルートの権限を変更する。
sudo chmod 777 /var/www/html/ -
下記コマンドを実行してApacheのドキュメントルートに移動する。
cd /var/www/html/ -
下記コマンドを実行して「test」というLaravelアプリ(Auth認証機能付き)を新規作成する。
laravel new test --auth
-
- 設定
-
下記コマンドを実行してApacheの設定ファイルを開く。
sudo vi /etc/httpd/conf/httpd.conf -
下記の様にドキュメントルートの記載部分を修正する。(別名のLaravelアプリを作成した場合はパスの
testの部分を皆さんの作成したアプリ名で記載する。)-
修正前
/etc/httpd/conf/httpd.conf# # DocumentRoot: The directory out of which you will serve your # documents. By default, all requests are taken from this directory, but # symbolic links and aliases may be used to point to other locations. # DocumentRoot "/var/www/html" -
修正後
/etc/httpd/conf/httpd.conf# # DocumentRoot: The directory out of which you will serve your # documents. By default, all requests are taken from this directory, but # symbolic links and aliases may be used to point to other locations. # #下記を修正 DocumentRoot "/var/www/html/test/public" #下記を追加 <Directory /var/www/html/test/public> AllowOverride All </Directory> #上記までを追加 -
修正後のファイルの全体を下記に記載する。
/etc/httpd/conf/httpd.conf# # Dynamic Shared Object (DSO) Support # # To be able to use the functionality of a module which was built as a DSO you # have to place corresponding `LoadModule' lines at this location so the # directives contained in it are actually available _before_ they are used. # Statically compiled modules (those listed by `httpd -l') do not need # to be loaded here. # # Example: # LoadModule foo_module modules/mod_foo.so # Include conf.modules.d/*.conf # # If you wish httpd to run as a different user or group, you must run # httpd as root initially and it will switch. # # User/Group: The name (or #number) of the user/group to run httpd as. # It is usually good practice to create a dedicated user and group for # running httpd, as with most system services. # User apache Group apache # 'Main' server configuration # # The directives in this section set up the values used by the 'main' # server, which responds to any requests that aren't handled by a # <VirtualHost> definition. These values also provide defaults for # any <VirtualHost> containers you may define later in the file. # # All of these directives may appear inside <VirtualHost> containers, # in which case these default settings will be overridden for the # virtual host being defined. # # # ServerAdmin: Your address, where problems with the server should be # e-mailed. This address appears on some server-generated pages, such # as error documents. e.g. admin@your-domain.com # ServerAdmin root@localhost # # ServerName gives the name and port that the server uses to identify itself. # This can often be determined automatically, but we recommend you specify # it explicitly to prevent problems during startup. /root Require all denied </Directory> # # Note that from this point forward you must specifically allow # particular features to be enabled - so if something's not working as # you might expect, make sure that you have specifically enabled it # below. # # # DocumentRoot: The directory out of which you will serve your # documents. By default, all requests are taken from this directory, but # symbolic links and aliases may be used to point to other locations. # DocumentRoot "/var/www/html/test/public" <Directory /var/www/html/test/public> AllowOverride All </Directory> # # Relax access to content within /var/www. # <Directory "/var/www"> AllowOverride None # Allow open access: Require all granted </Directory> # Further relax access to the default document root: <Directory "/var/www/html"> # # Possible values for the Options directive are "None", "All", # or any combination of: # Indexes Includes FollowSymLinks SymLinksifOwnerMatch ExecCGI MultiViews # # Note that "MultiViews" must be named *explicitly* --- "Options All" # doesn't give it to you. # # The Options directive is both complicated and important. Please see # http://httpd.apache.org/docs/2.4/mod/core.html#options # for more information. # Options Indexes FollowSymLinks # # AllowOverride controls what directives may be placed in .htaccess files. # It can be "All", "None", or any combination of the keywords: # Options FileInfo AuthConfig Limit # AllowOverride None
-
-
下記コマンドを実行してApacheを再起動する。
sudo service httpd restart -
下記コマンドを実行してアプリ名ディレクトリに移動する。
cd /var/www/html/test -
下記コマンドを実行してキャッシュのクリアを行う。
php artisan config:cache -
下記コマンドを実行してアプリを構成するディレクトリの権限を変更する。
sudo chmod 777 storage -R sudo chmod 777 bootstrap/cache -R -
下記コマンドを実行してアプリの設定ファイルを開く。
vi .env -
設定ファイルを下記のように修正する。(本当はMySQLのrootユーザーを使うことは良くないこと)
-
修正前
/var/www/html/test/.envAPP_NAME=Laravel APP_ENV=local APP_KEY=base64:Tx/K6tIRwmdux4Z3zCV3rmMCxaF0SCJATs7E7sKLLfg= APP_DEBUG=true APP_URL=http://localhost LOG_CHANNEL=stack DB_CONNECTION=mysql DB_HOST=127.0.0.1 DB_PORT=3306 DB_DATABASE=laravel DB_USERNAME=root DB_PASSWORD= BROADCAST_DRIVER=log CACHE_DRIVER=file QUEUE_CONNECTION=sync SESSION_DRIVER=file SESSION_LIFETIME=120 REDIS_HOST=127.0.0.1 REDIS_PASSWORD=null REDIS_PORT=6379 MAIL_MAILER=smtp MAIL_HOST=smtp.mailtrap.io MAIL_PORT=2525 MAIL_USERNAME=null MAIL_PASSWORD=null MAIL_ENCRYPTION=null MAIL_FROM_ADDRESS=null MAIL_FROM_NAME="${APP_NAME}" AWS_ACCESS_KEY_ID= AWS_SECRET_ACCESS_KEY= AWS_DEFAULT_REGION=us-east-1 AWS_BUCKET= PUSHER_APP_ID= PUSHER_APP_KEY= PUSHER_APP_SECRET= PUSHER_APP_CLUSTER=mt1 MIX_PUSHER_APP_KEY="${PUSHER_APP_KEY}" MIX_PUSHER_APP_CLUSTER="${PUSHER_APP_CLUSTER}" -
修正後(「# 下記を修正する」の文字は加筆しない。)
/var/www/html/test/.env# 下記を修正する APP_NAME=test APP_ENV=local APP_KEY=base64:Tx/K6tIRwmdux4Z3zCV3rmMCxaF0SCJATs7E7sKLLfg= APP_DEBUG=true APP_URL=http://localhost LOG_CHANNEL=stack DB_CONNECTION=mysql DB_HOST=127.0.0.1 DB_PORT=3306
-
-
# 下記を修正する
DB_DATABASE=test
DB_USERNAME=root
# 下記を修正する
DB_PASSWORD=MySQLのrootユーザのパスワード
        BROADCAST_DRIVER=log
        CACHE_DRIVER=file
        QUEUE_CONNECTION=sync
        SESSION_DRIVER=file
        SESSION_LIFETIME=120

        REDIS_HOST=127.0.0.1
        REDIS_PASSWORD=null
        REDIS_PORT=6379

        MAIL_MAILER=smtp
        MAIL_HOST=smtp.mailtrap.io
        MAIL_PORT=2525
        MAIL_USERNAME=null
        MAIL_PASSWORD=null
        MAIL_ENCRYPTION=null
        MAIL_FROM_ADDRESS=null
        MAIL_FROM_NAME="${APP_NAME}"

        AWS_ACCESS_KEY_ID=
        AWS_SECRET_ACCESS_KEY=
        AWS_DEFAULT_REGION=us-east-1
        AWS_BUCKET=

        PUSHER_APP_ID=
        PUSHER_APP_KEY=
        PUSHER_APP_SECRET=
        PUSHER_APP_CLUSTER=mt1

        MIX_PUSHER_APP_KEY="${PUSHER_APP_KEY}"
        MIX_PUSHER_APP_CLUSTER="${PUSHER_APP_CLUSTER}"
        ```

1. 下記コマンドを実行してアプリキーを作成する。

    ```terminal
    php artisan key:generate
    ```
1. 下記コマンドを実行してキャッシュクリアを行う。

    ```terminal
    php artisan config:clear
    ```
