
今回は、Firebaseのconsoleから、アプリを登録してPush通知をアプリで受信できるようにするまでの方法を調査しましたので、メモとして残します。
環境
- OS X El Captian 10.11.5
- Xcode7.3.1
- cocoapods-1.0.1
- Swift2.2
- fastlane 1.95.0
組み込み方法
fastlaneのインストール
今回は、Push通知に必要なApple Push Notification service SSL Certificatesをfastlaneで作成していきますので、インストールしていきます。
Github上のドキュメントを参考にインストールしていきます。
sudo gem install fastlane --verbose
System Requirements: fastlane requires Mac OS X or Linux with Ruby 2.0.0 or above
とありますので、ご自身の環境をご確認ください。
インストールすると、諸々のツール群がインストールされ、その中のpemというツールを使って、Apple Push Notification service SSL Certificatesと、Firebaseにアップロードする.p12ファイルを生成します。
App IDの発行
iOS Developer CenterのCertificates, Identifiers & ProfilesでApp IDを発行しておきます。
これを元に、fastlaneがよしなにやってくれます。
Xcodeでプロジェクトを作成
既存のプロジェクトでも構いませんが、FirebaseのNotificatiosを利用するプロジェクトを用意します。
Firebaseのconsoleでアプリを登録する
こちらのURLからGoogleアカウントでログインします。
アカウントが無い場合は、作成してください。
CREATE NEW PROJECTをクリックして、新規アプリを作成します。

Project name、Country/regionを入力し、CREATE PROJECTをクリックします。
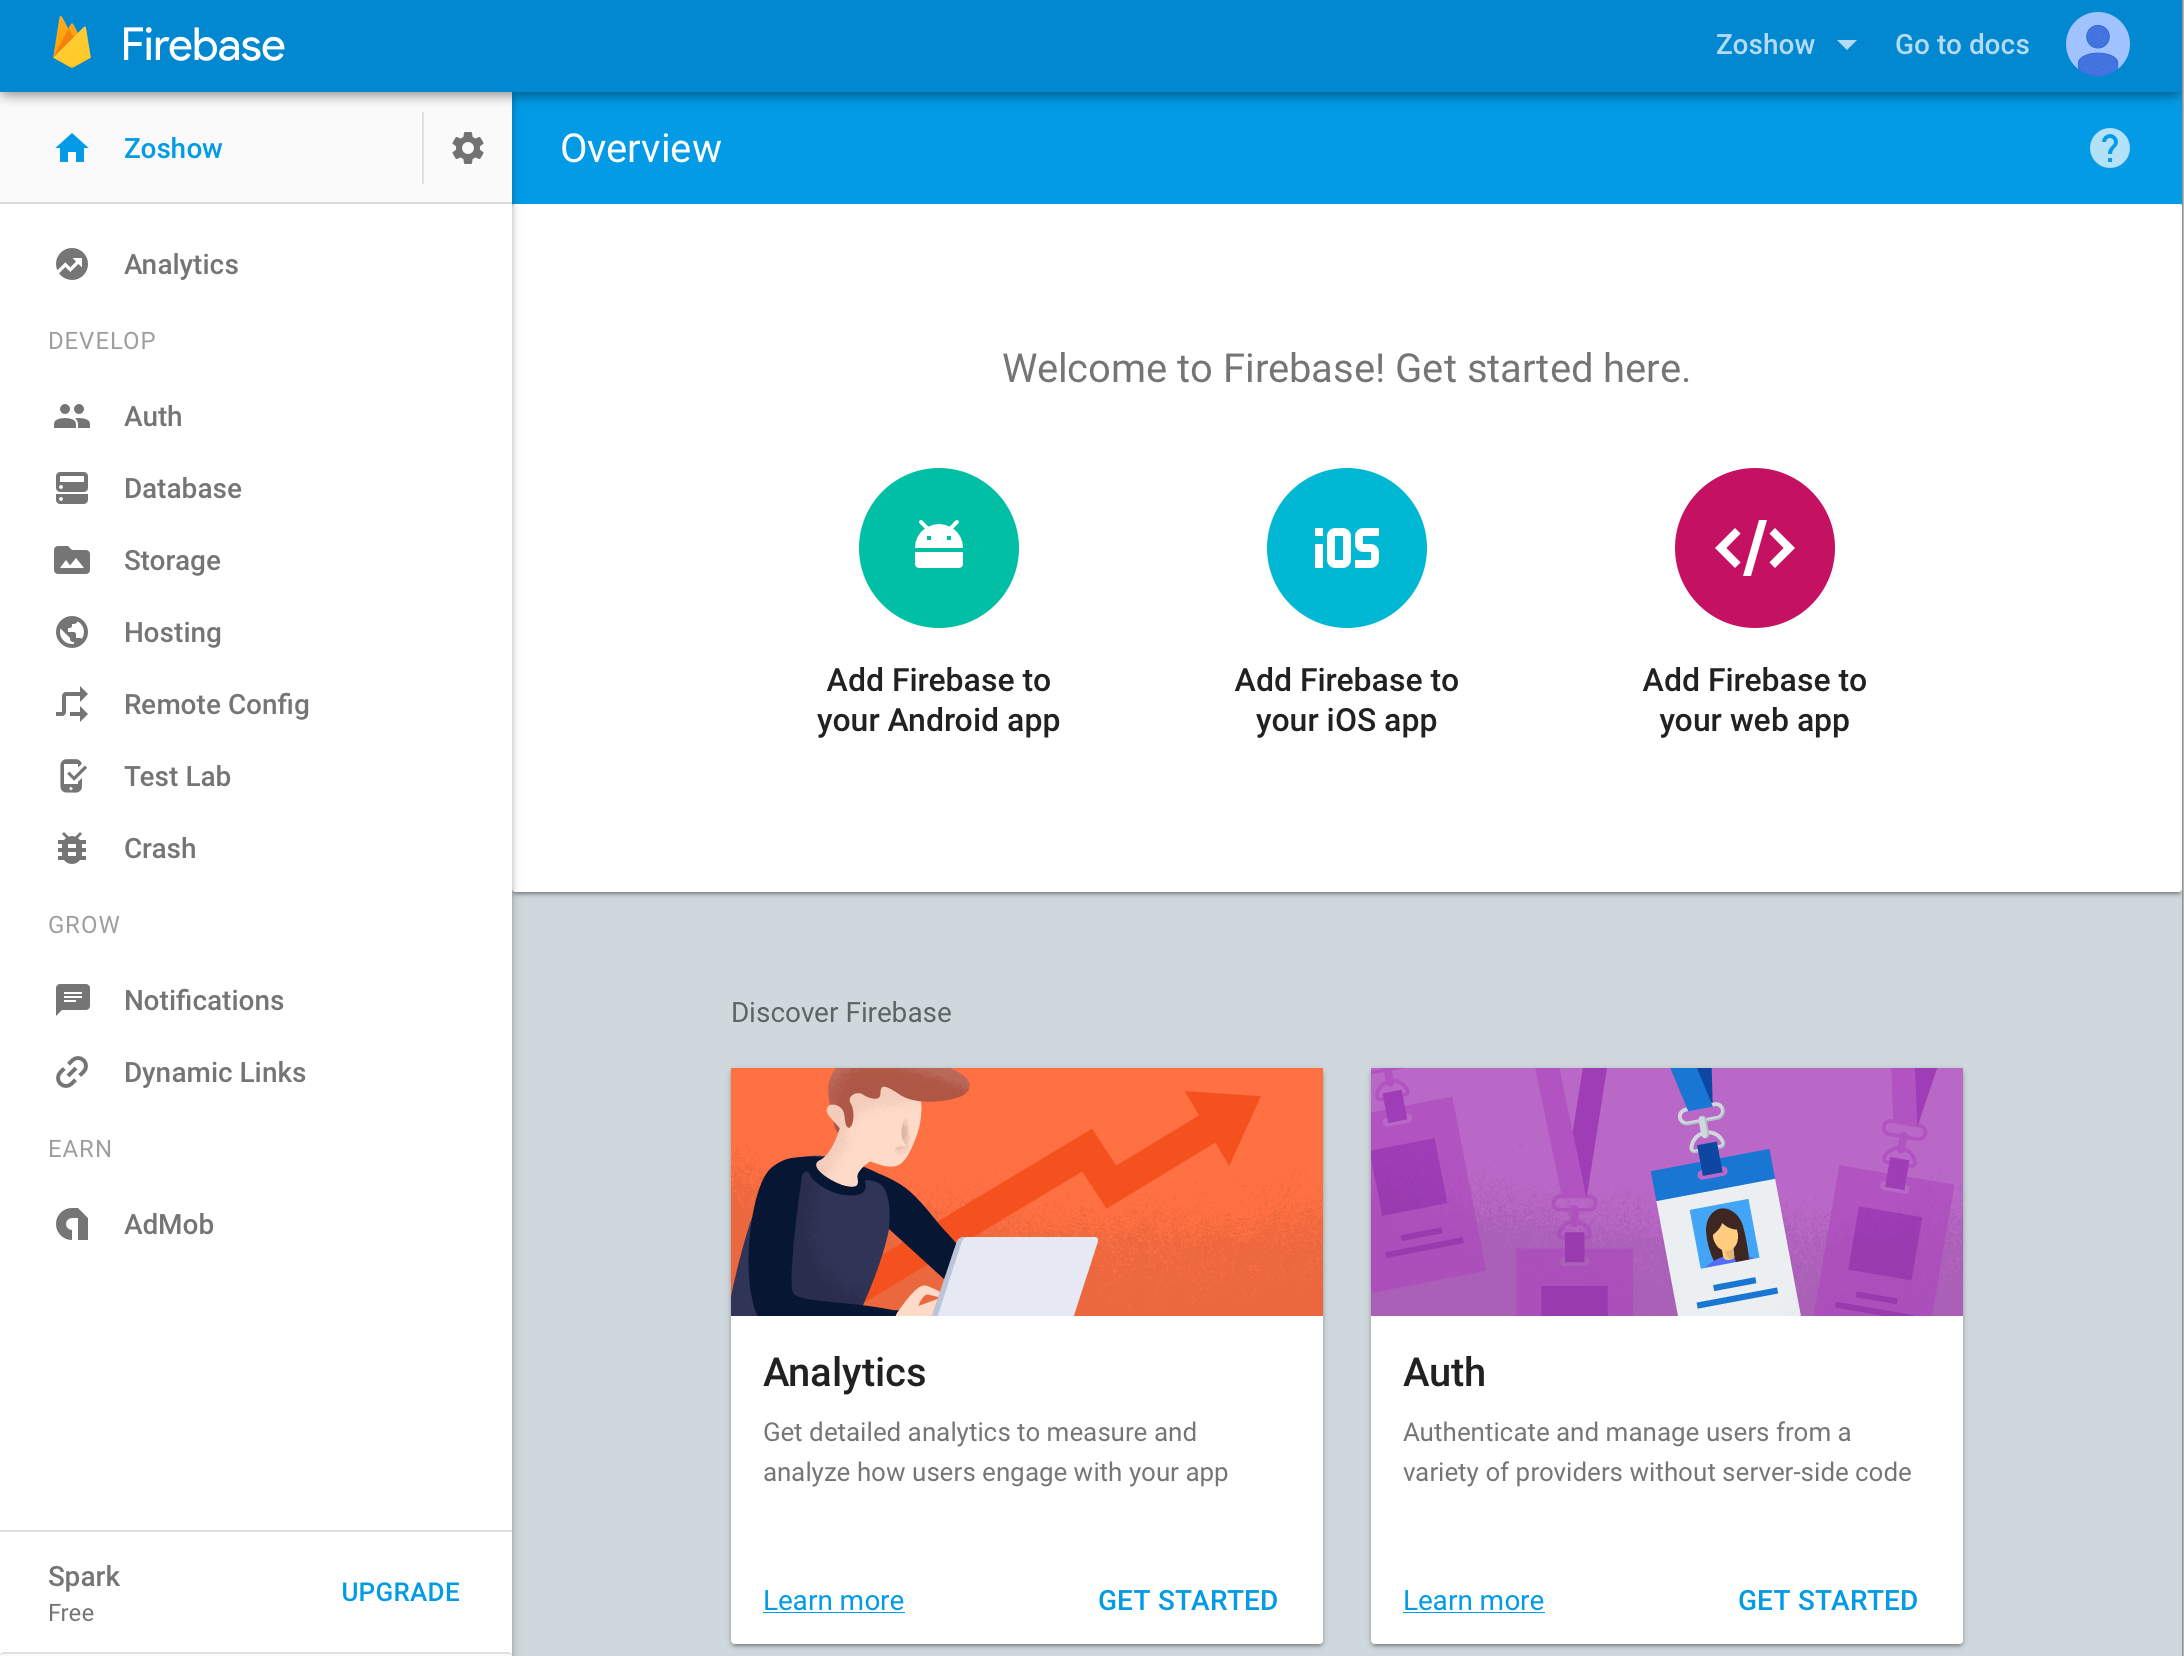
上記のような画面になるので、Notificationsを選択します。(下の方にあります)
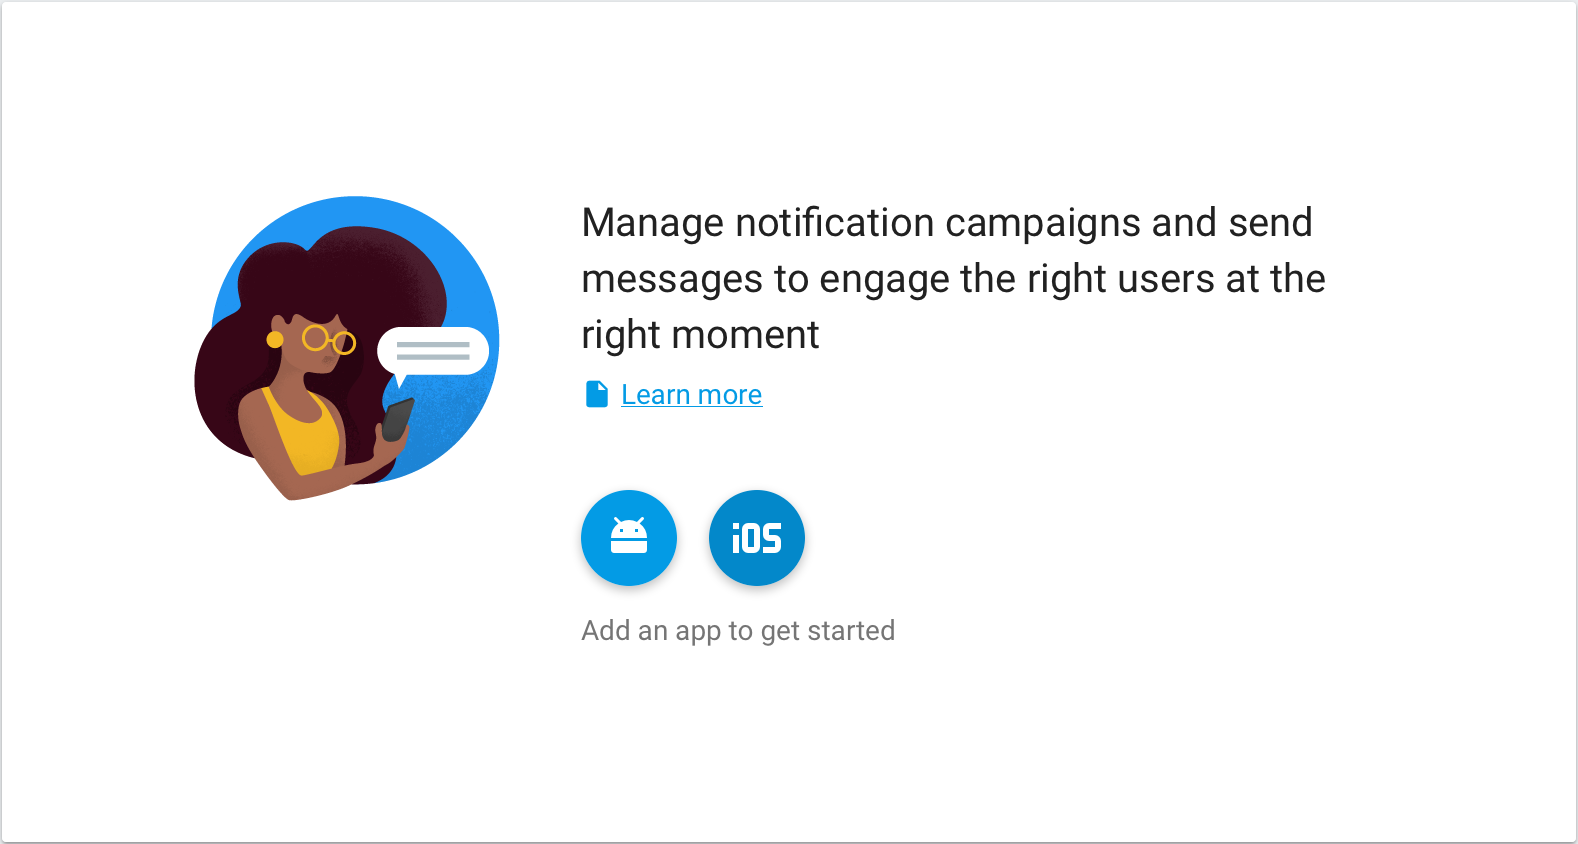
今回は、iOSアプリを作成しますので、iOSを選択します。
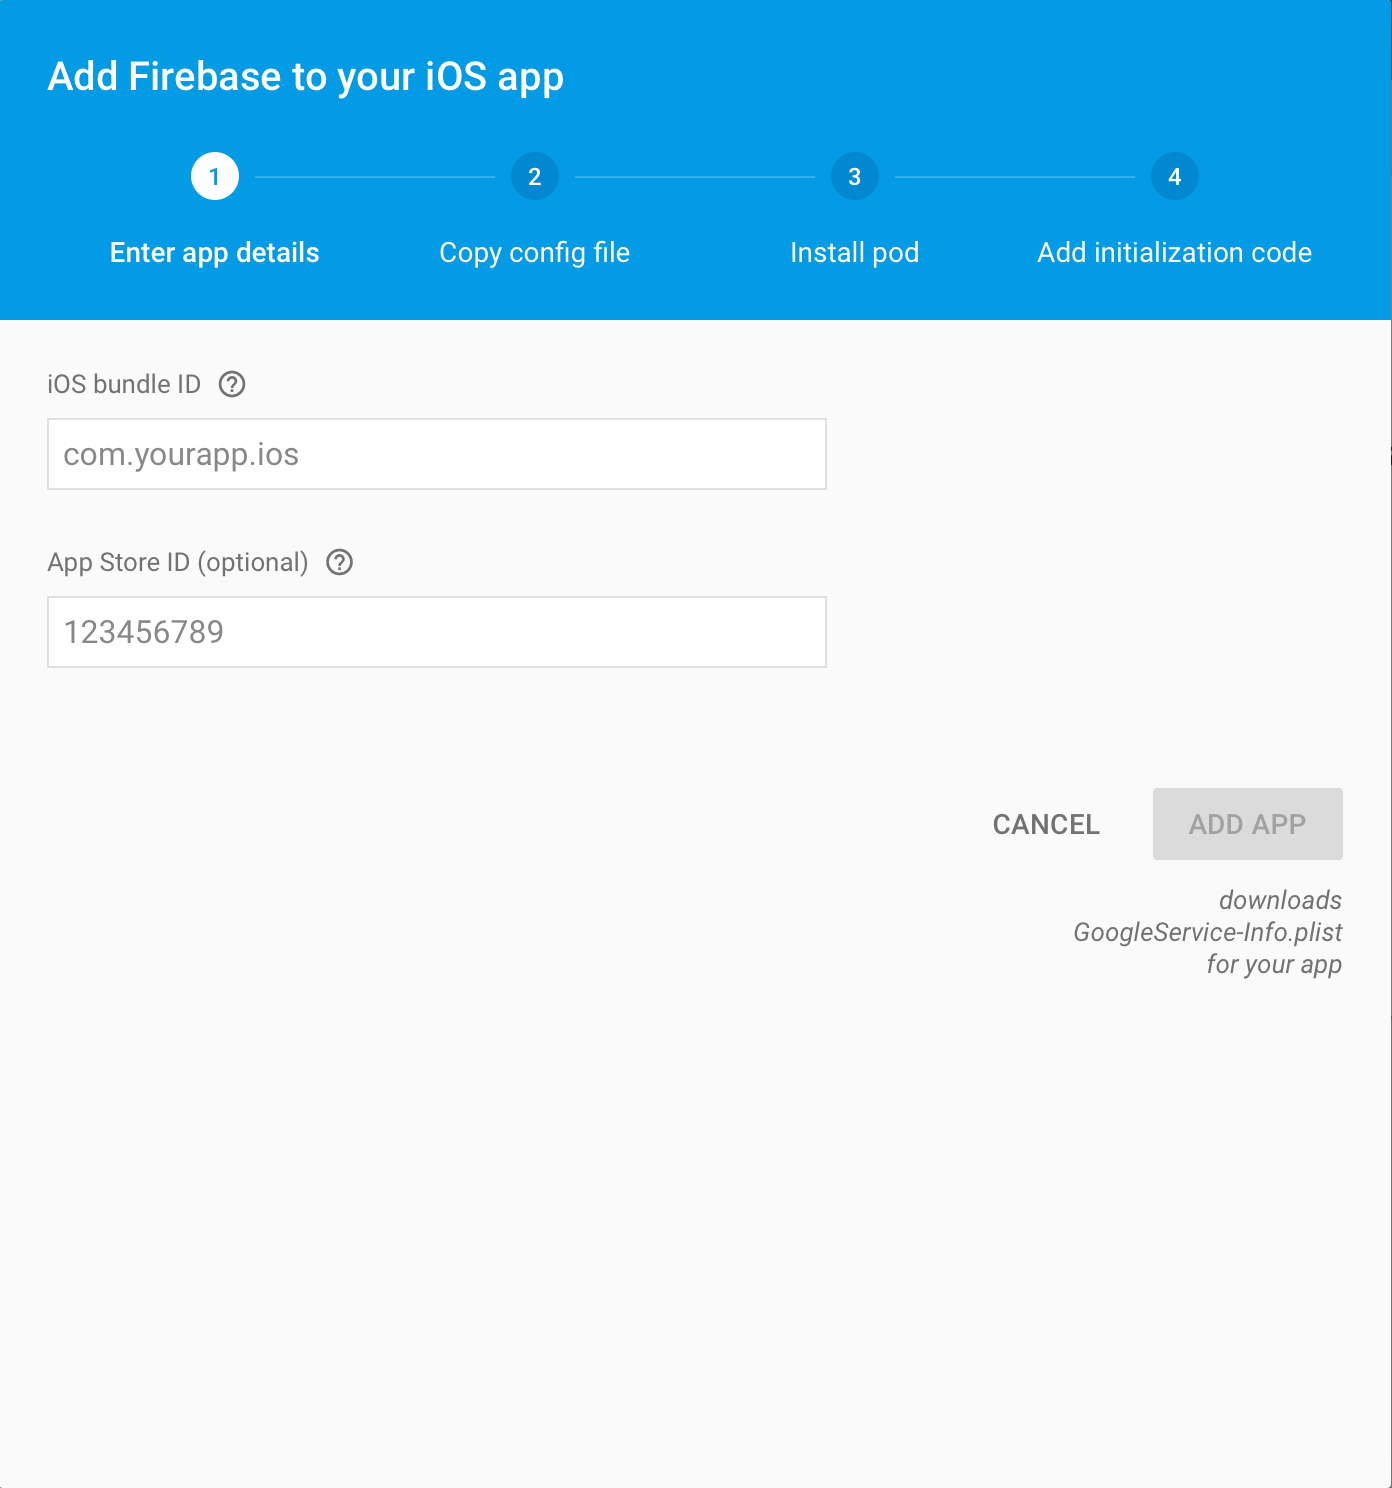
iOS bundle IDを入力(App IDとおなじもの)して、ADD APPを選択します。
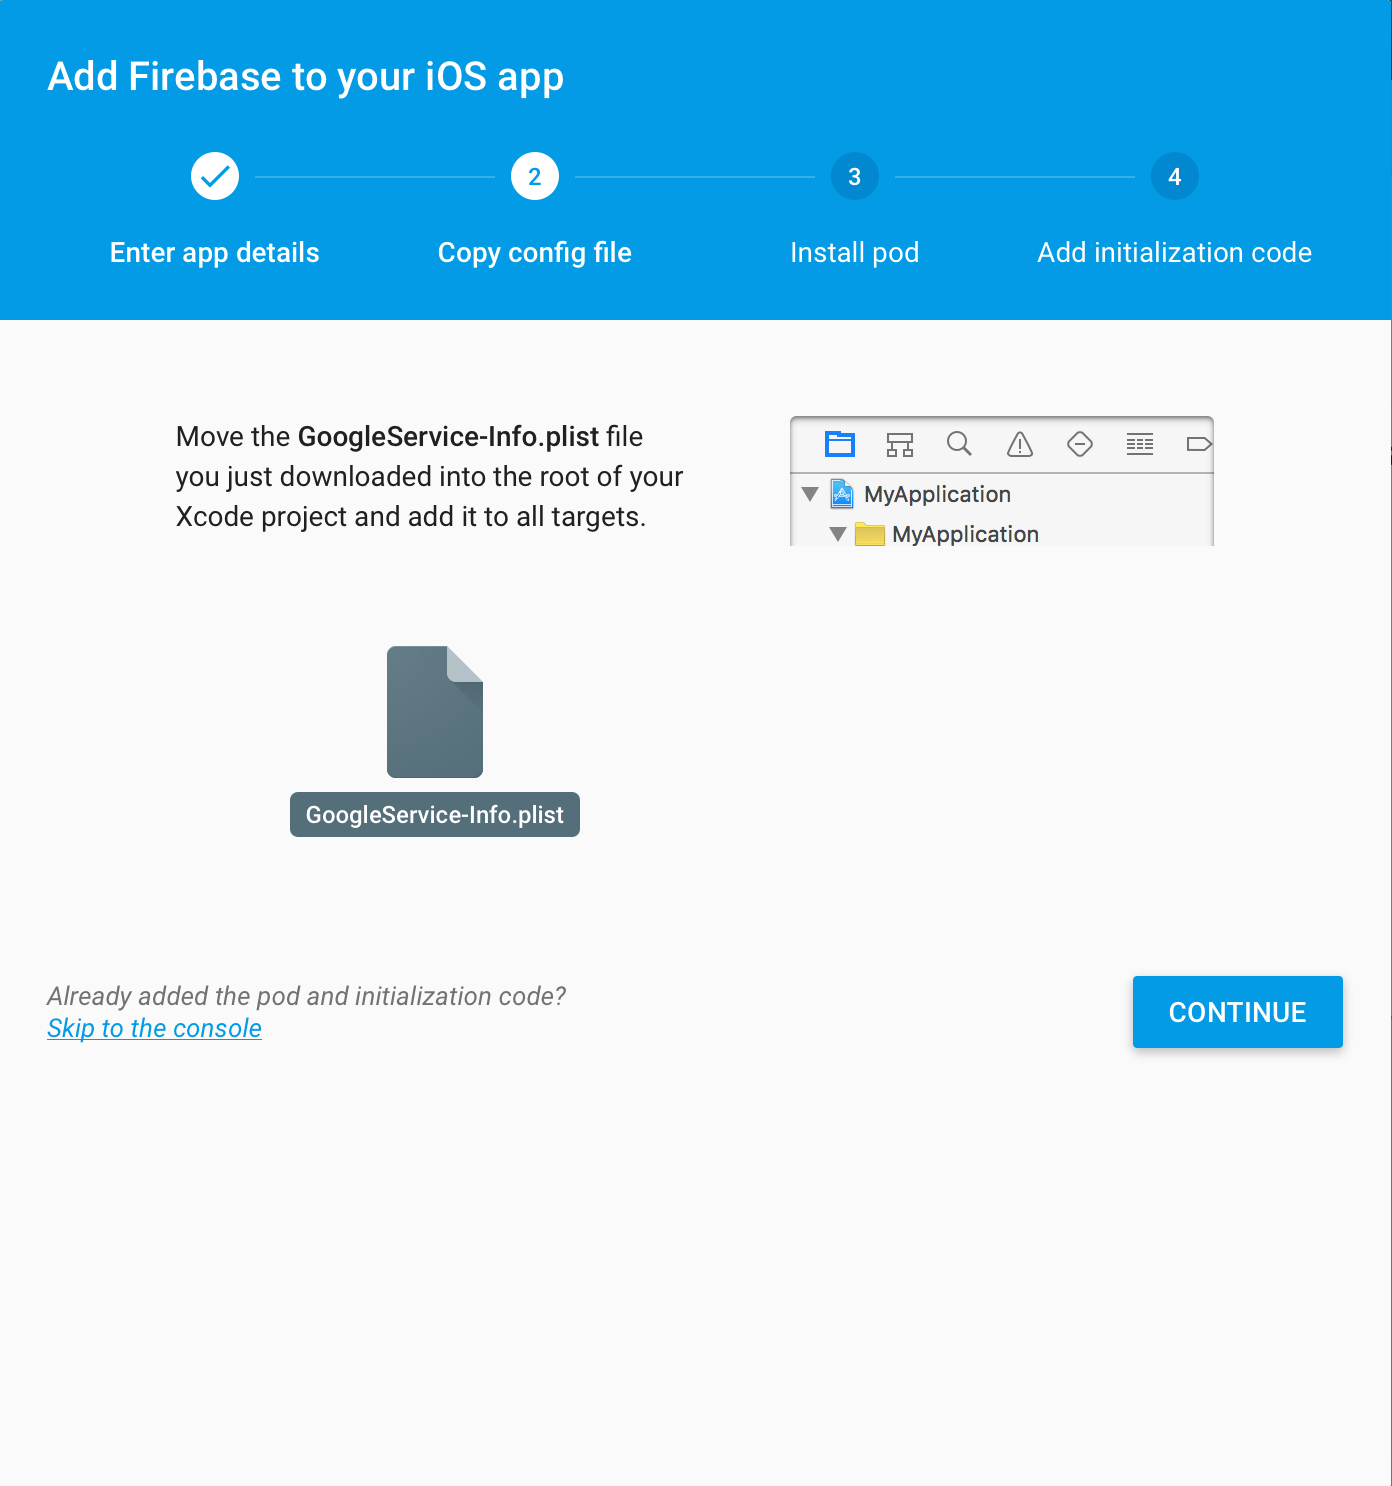
そうすると、plistファイルがダウンロードできるようになるので、後ほどプロジェクトに組み込みます。
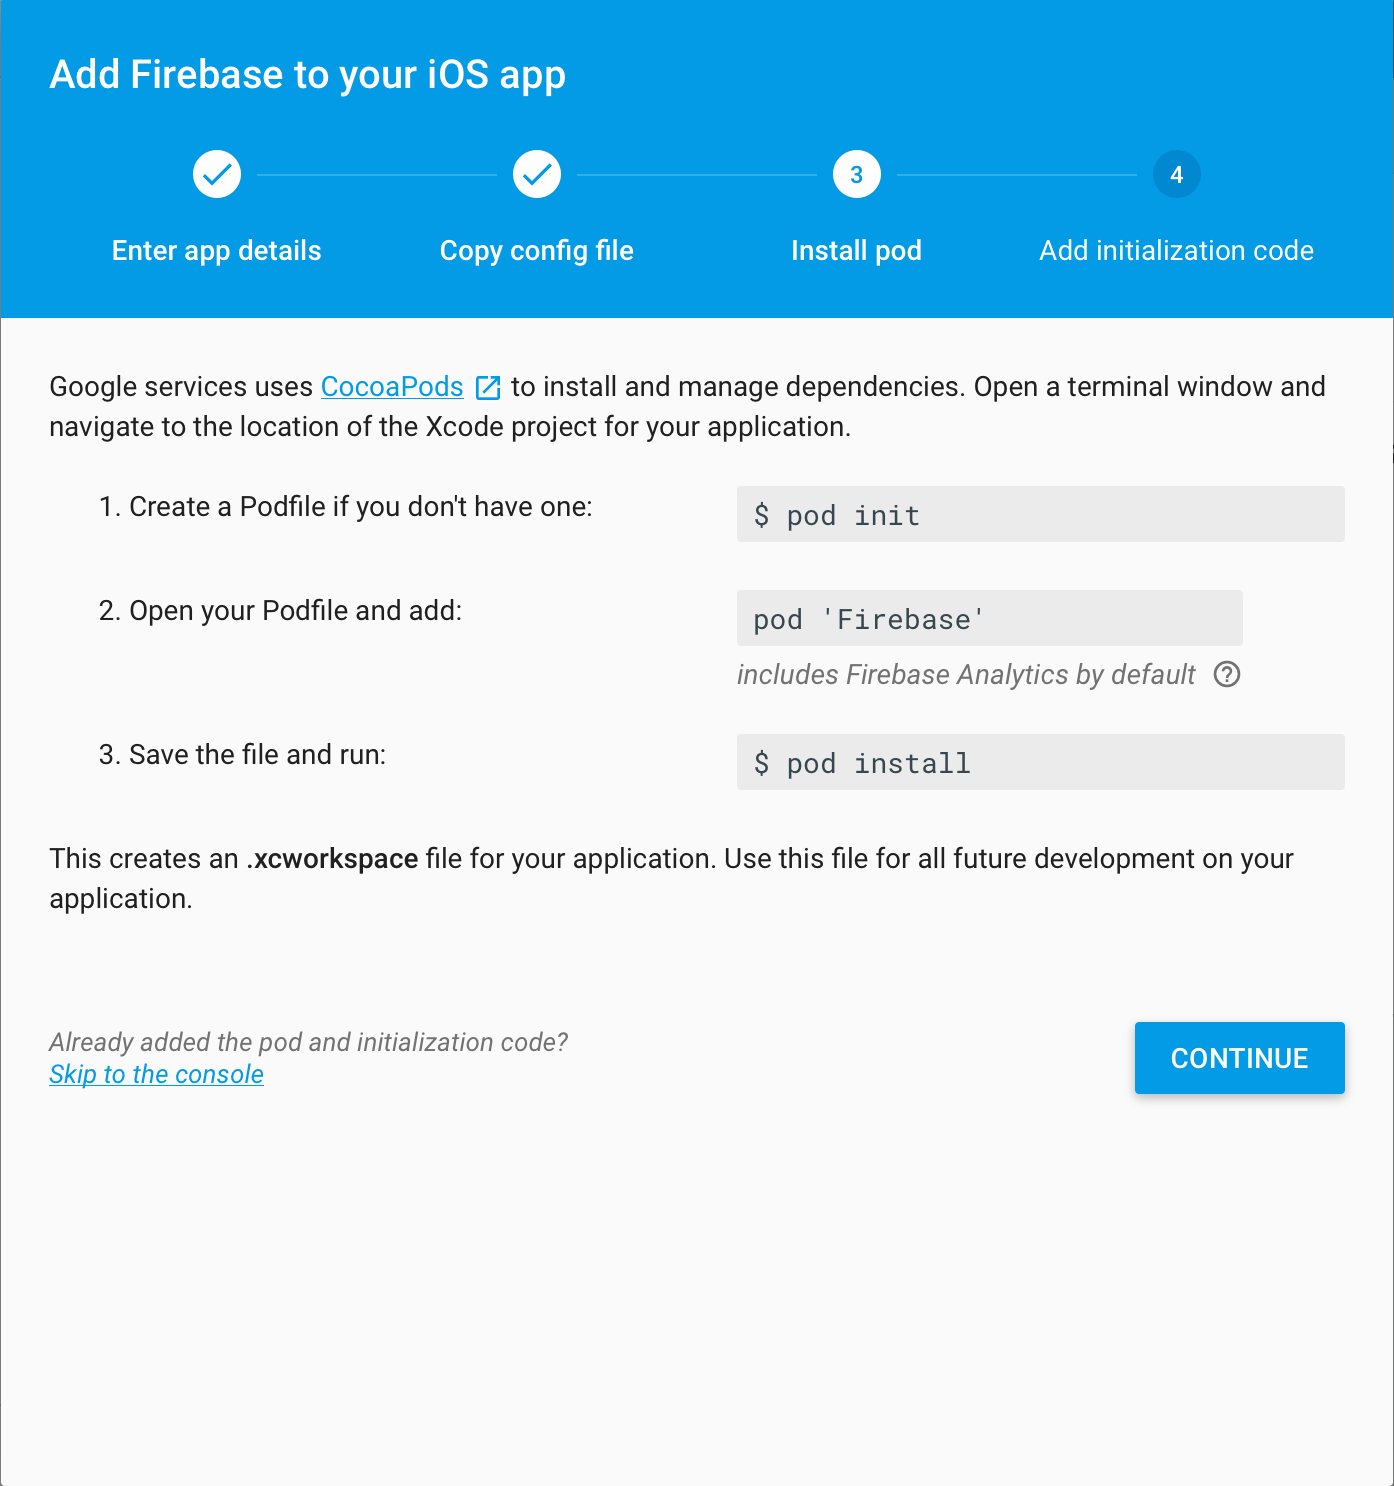
次に、cocoapodsを使用したSDKの組み込み方法と、実装手順が表示されますので、それをもとに実装していきます。
Xcodeでプロジェクトの設定をする
では実際に組み込んで行きましょう。cocoapodsでSDKをインストールするので、次のコマンドでPodfileのテンプレートを作成します。
pod init
次にインストールする、ライブラリを記述していきます。cocoapods-1.0.1を入れている場合は、テンプレートが変更がありますので、よければこちらの記事をご覧下さい。
pod 'Firebase/Core'
pod 'Firebase/Messaging'
⚡ pod install
Updating local specs repositories

CocoaPods 1.0.1 is available.
To update use: `sudo gem install cocoapods`
Until we reach version 1.0 the features of CocoaPods can and will change.
We strongly recommend that you use the latest version at all times.

For more information see http://blog.cocoapods.org
and the CHANGELOG for this version http://git.io/BaH8pQ.

Analyzing dependencies
Downloading dependencies
Installing Firebase (3.2.1)
Installing FirebaseAnalytics (3.2.0)
Installing FirebaseInstanceID (1.0.6)
Installing FirebaseMessaging (1.1.0)
Installing GoogleIPhoneUtilities (1.2.1)
Installing GoogleInterchangeUtilities (1.2.1)
Installing GoogleSymbolUtilities (1.1.1)
Installing GoogleUtilities (1.3.1)
Generating Pods project
Integrating client project
Sending stats
Pod installation complete! There is 1 dependency from the Podfile and 8 total pods installed.
次に、先程ダウンロードしたplistをプロジェクトに組み込みます。
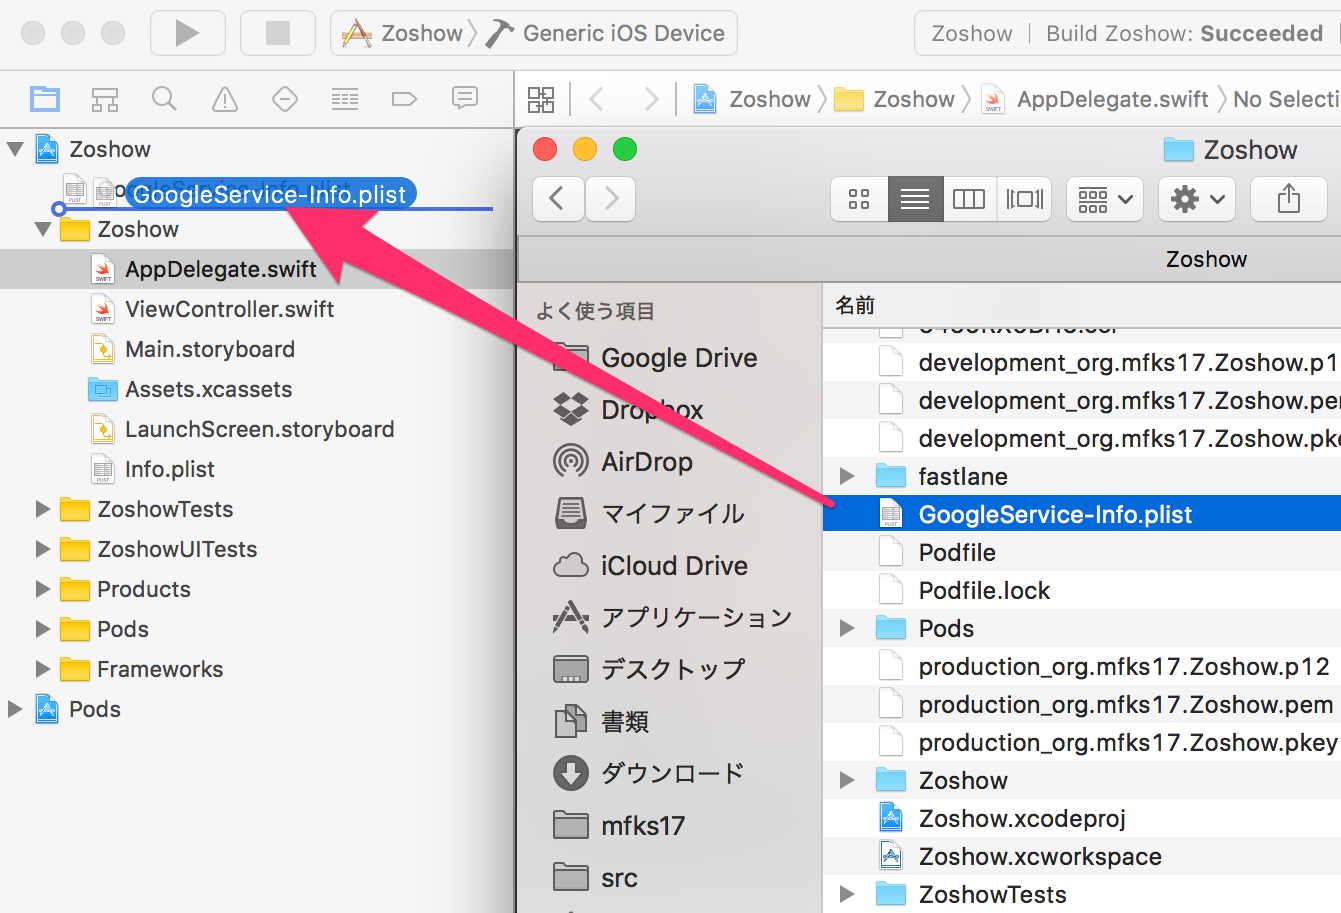
ドラッグ&ドロップするのみで、Google SignInで実装したような事は必要ありません。
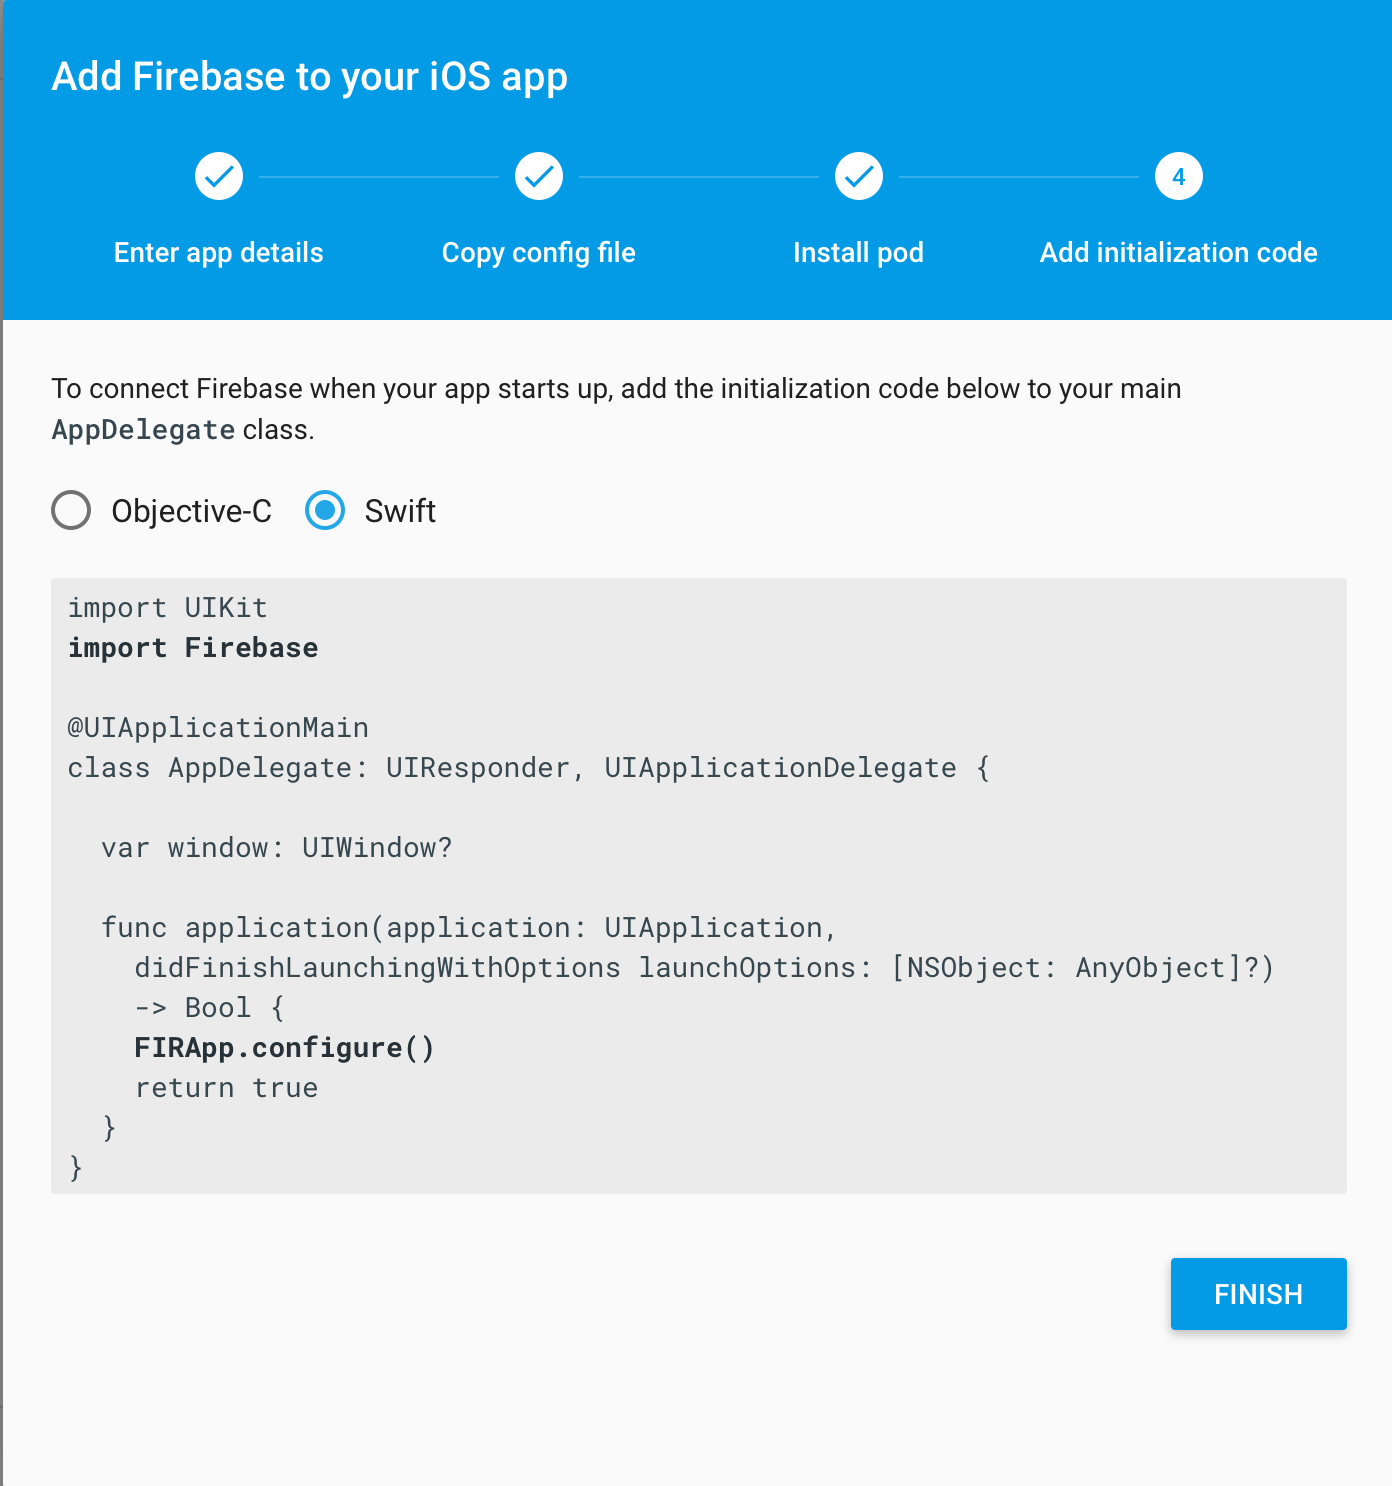
次に必要最低限のコードを追加していきます。
func application(application: UIApplication, didFinishLaunchingWithOptions launchOptions: [NSObject: AnyObject]?) -> Bool {
    FIRApp.configure()

    let types: UIUserNotificationType = [UIUserNotificationType.Badge, UIUserNotificationType.Alert, UIUserNotificationType.Sound]
    let settings: UIUserNotificationSettings = UIUserNotificationSettings( forTypes: types, categories: nil )

    application.registerUserNotificationSettings( settings )
    application.registerForRemoteNotifications()
    return true
}

func registerForPushNotifications(application: UIApplication) {
    let settings: UIUserNotificationSettings =
            UIUserNotificationSettings(forTypes: [.Alert, .Badge, .Sound], categories: nil)
    application.registerUserNotificationSettings(settings)
    application.registerForRemoteNotifications()
}

func tokenRefreshNotificaiton(notification: NSNotification) {
    let refreshedToken = FIRInstanceID.instanceID().token()!

}
Apple Push Notification service SSL Certificatesをpemで作成し、Firebaseのconsoleに.p12ファイルをアップロードする
Push通知用の証明書ファイルをcertコマンドで作る
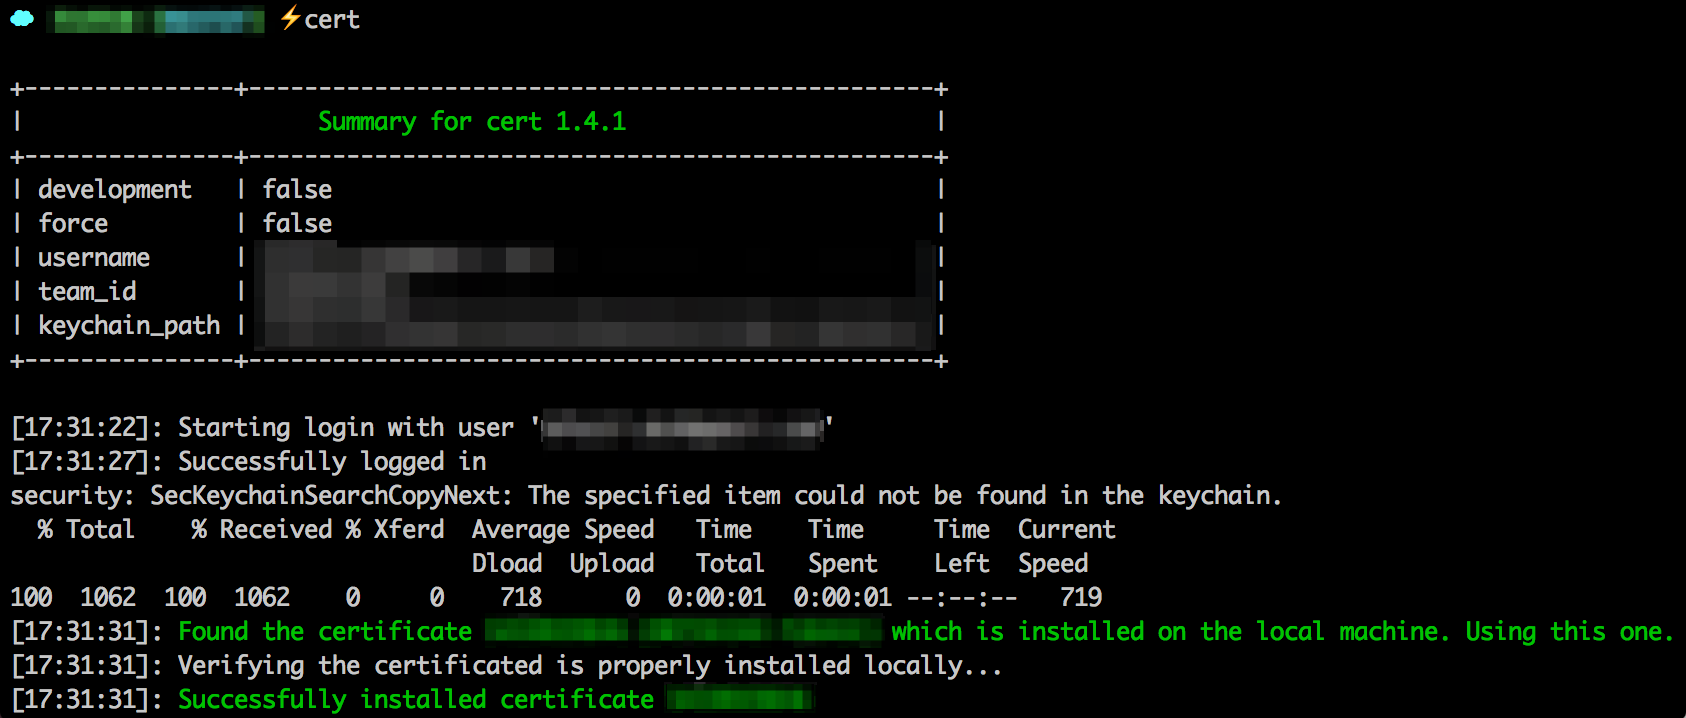
因みに開発用は
cert --development
で生成されます
Push通知用のpemファイルをpem で作ります
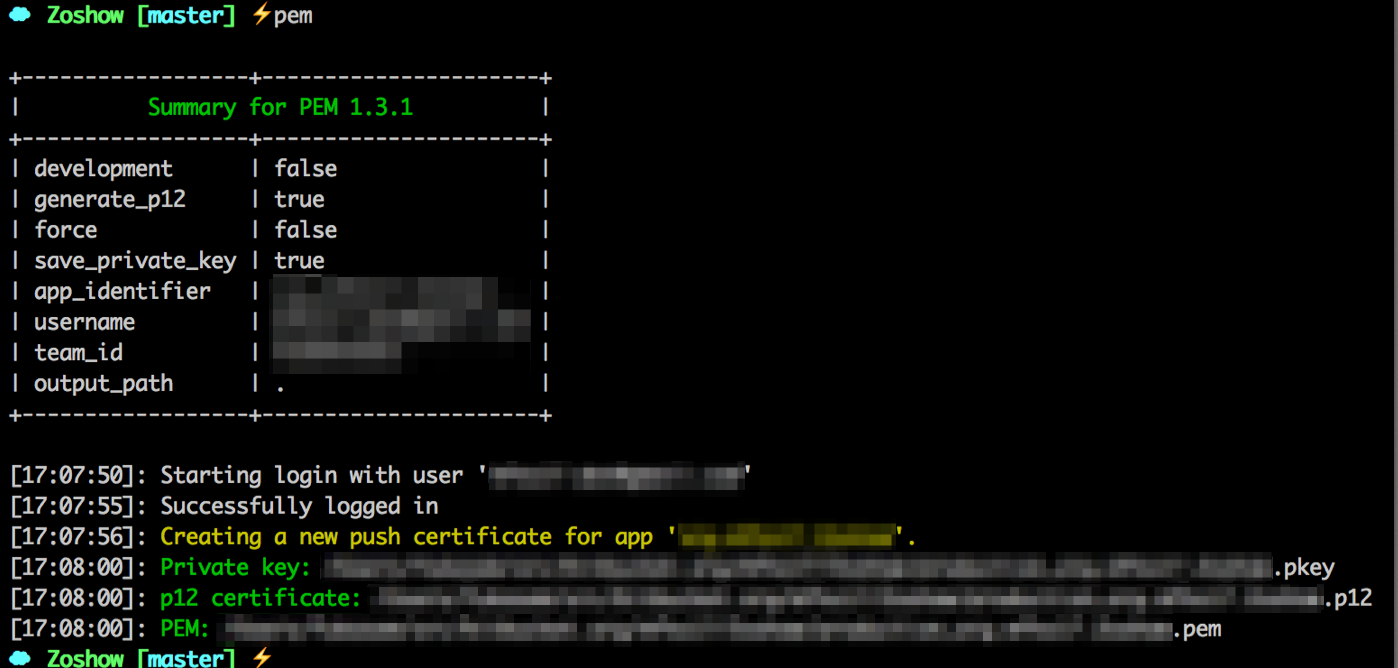
因みに開発用は
pem --development
で生成されます
これにより、iOS Developer Centerに、Push通知の証明書がアップロードされていますので、Firebaseのコンソールより、p12ファイルをアップロードすれば、準備はほぼ完了です。
Firebase consoleでの設定
https://console.firebase.google.com/にアクセスして、該当のプロジェクトの設定画面へ進みます。
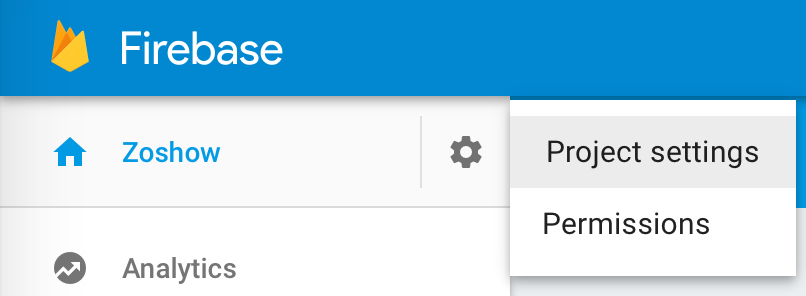
プロジェクト名の右にある、設定からProject settingsをクリックします。

Settingsから、CLOUD MESSAGINGタブを選択しあます。
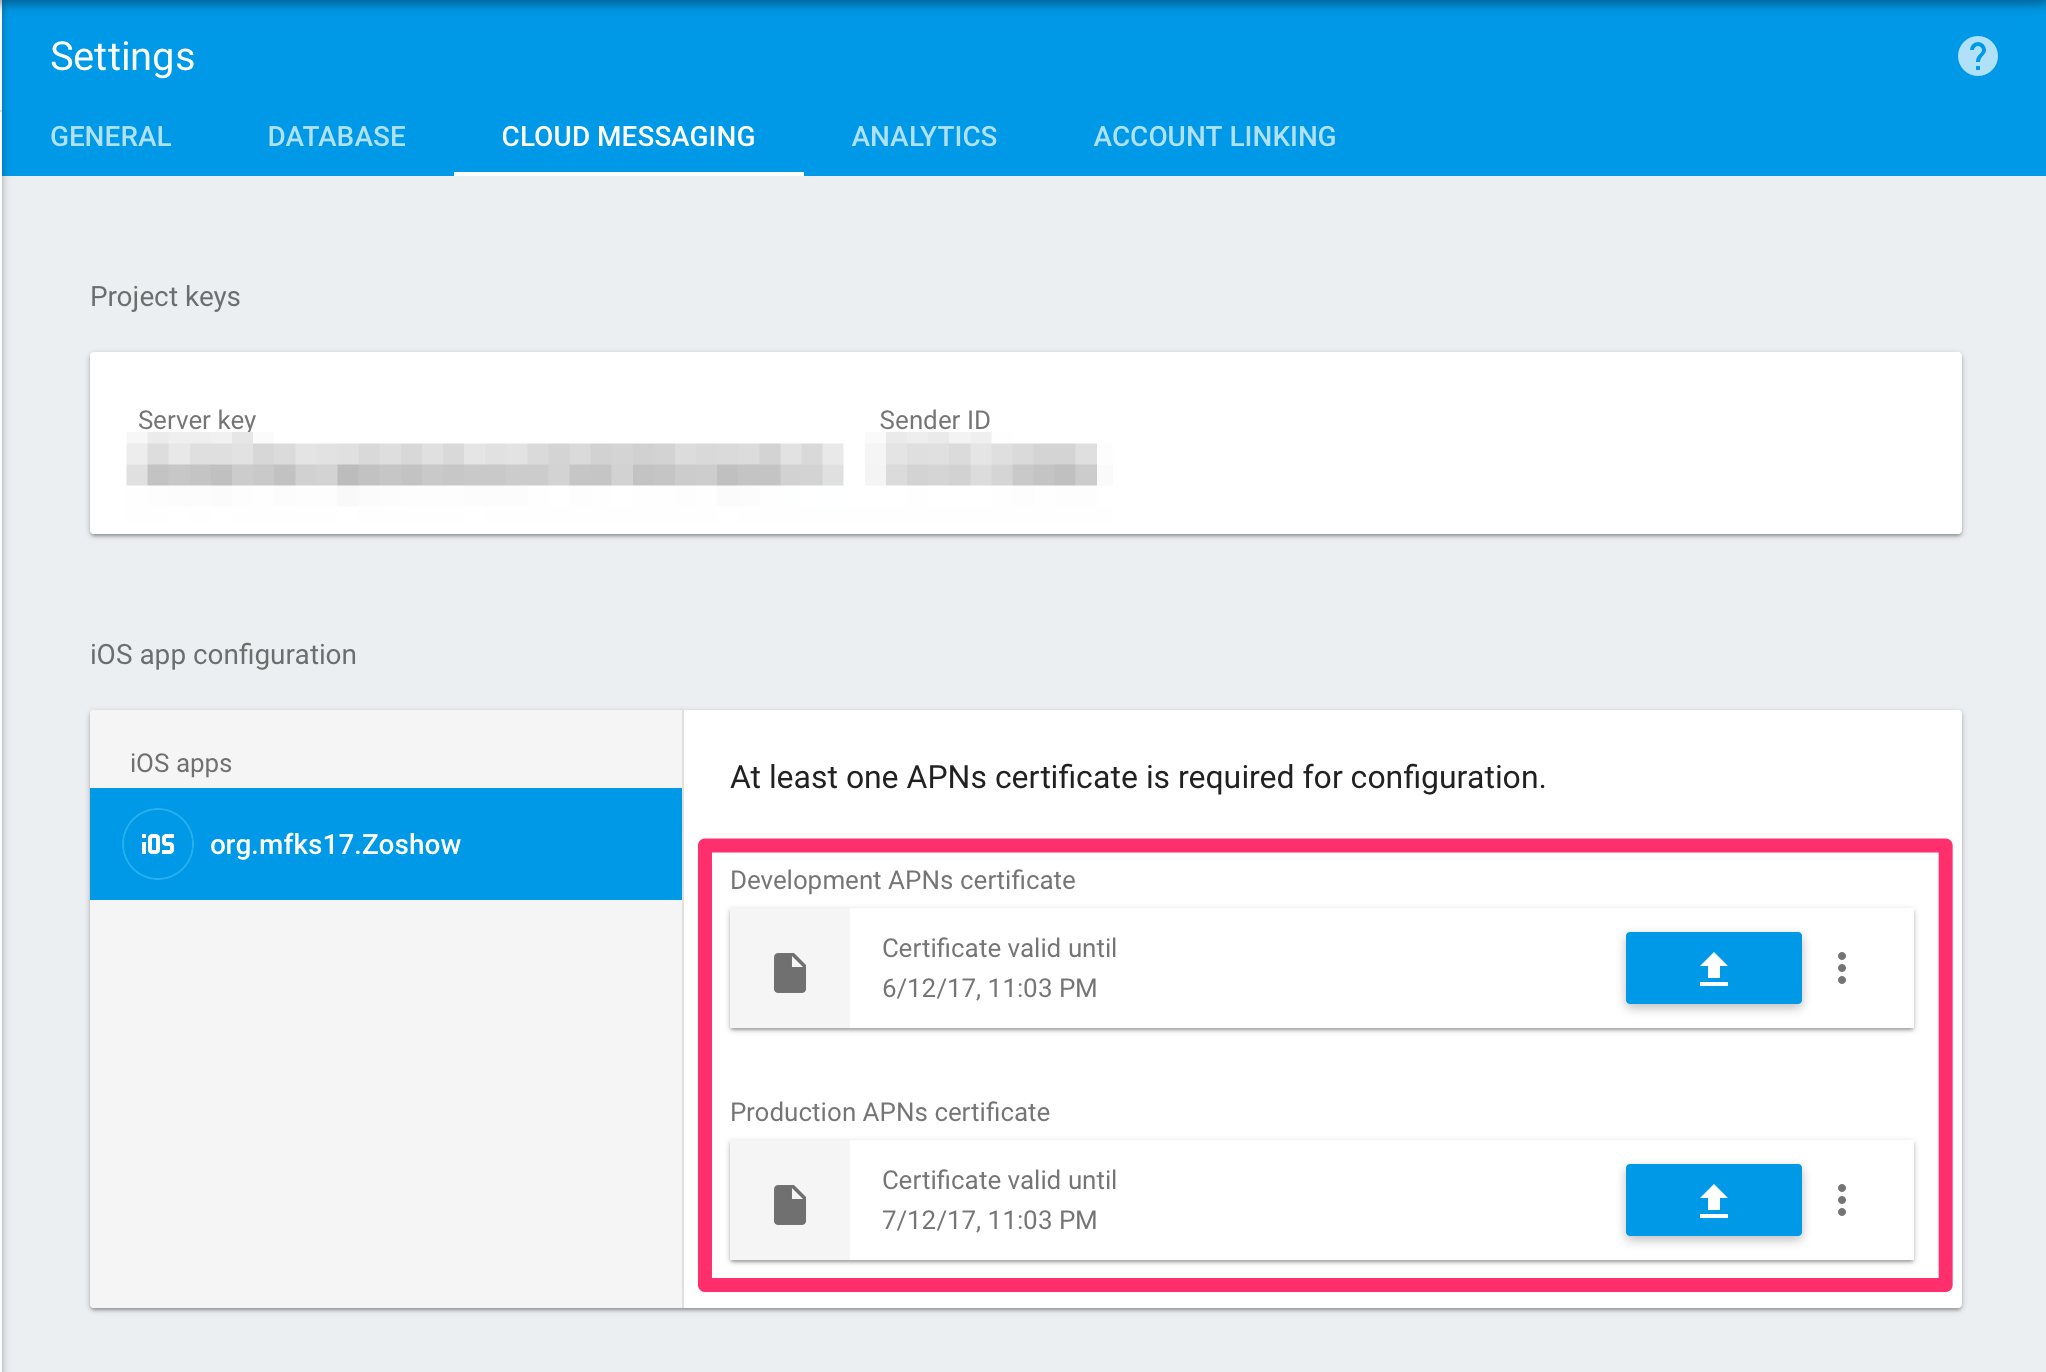
先程作成した、p12ファイルを開発用、本番用をアップロードします。
Firebase consoleからメッセージを送る
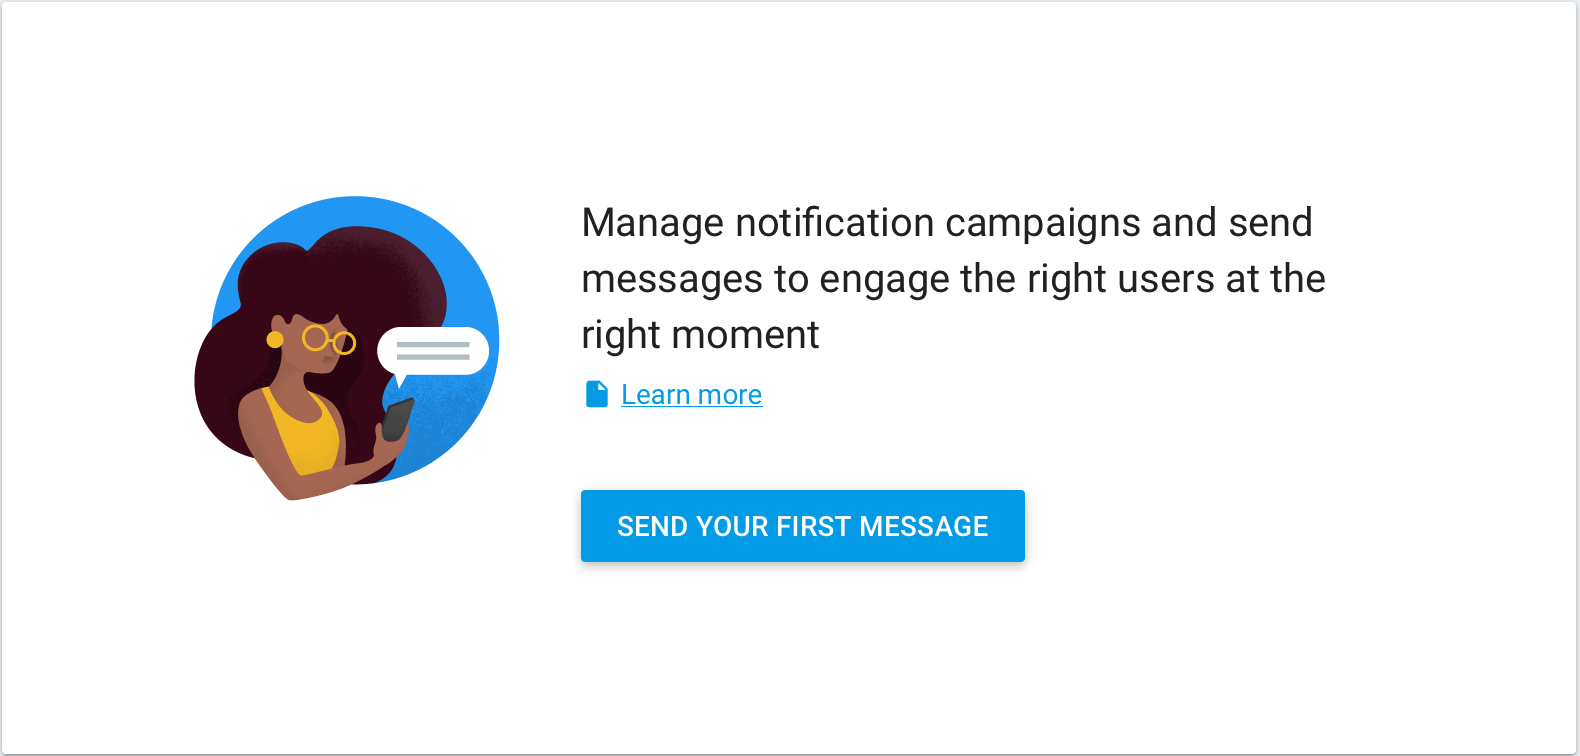
SEND YOUR FIRST MESSAGEから、メッセージの管理画面に遷移する。
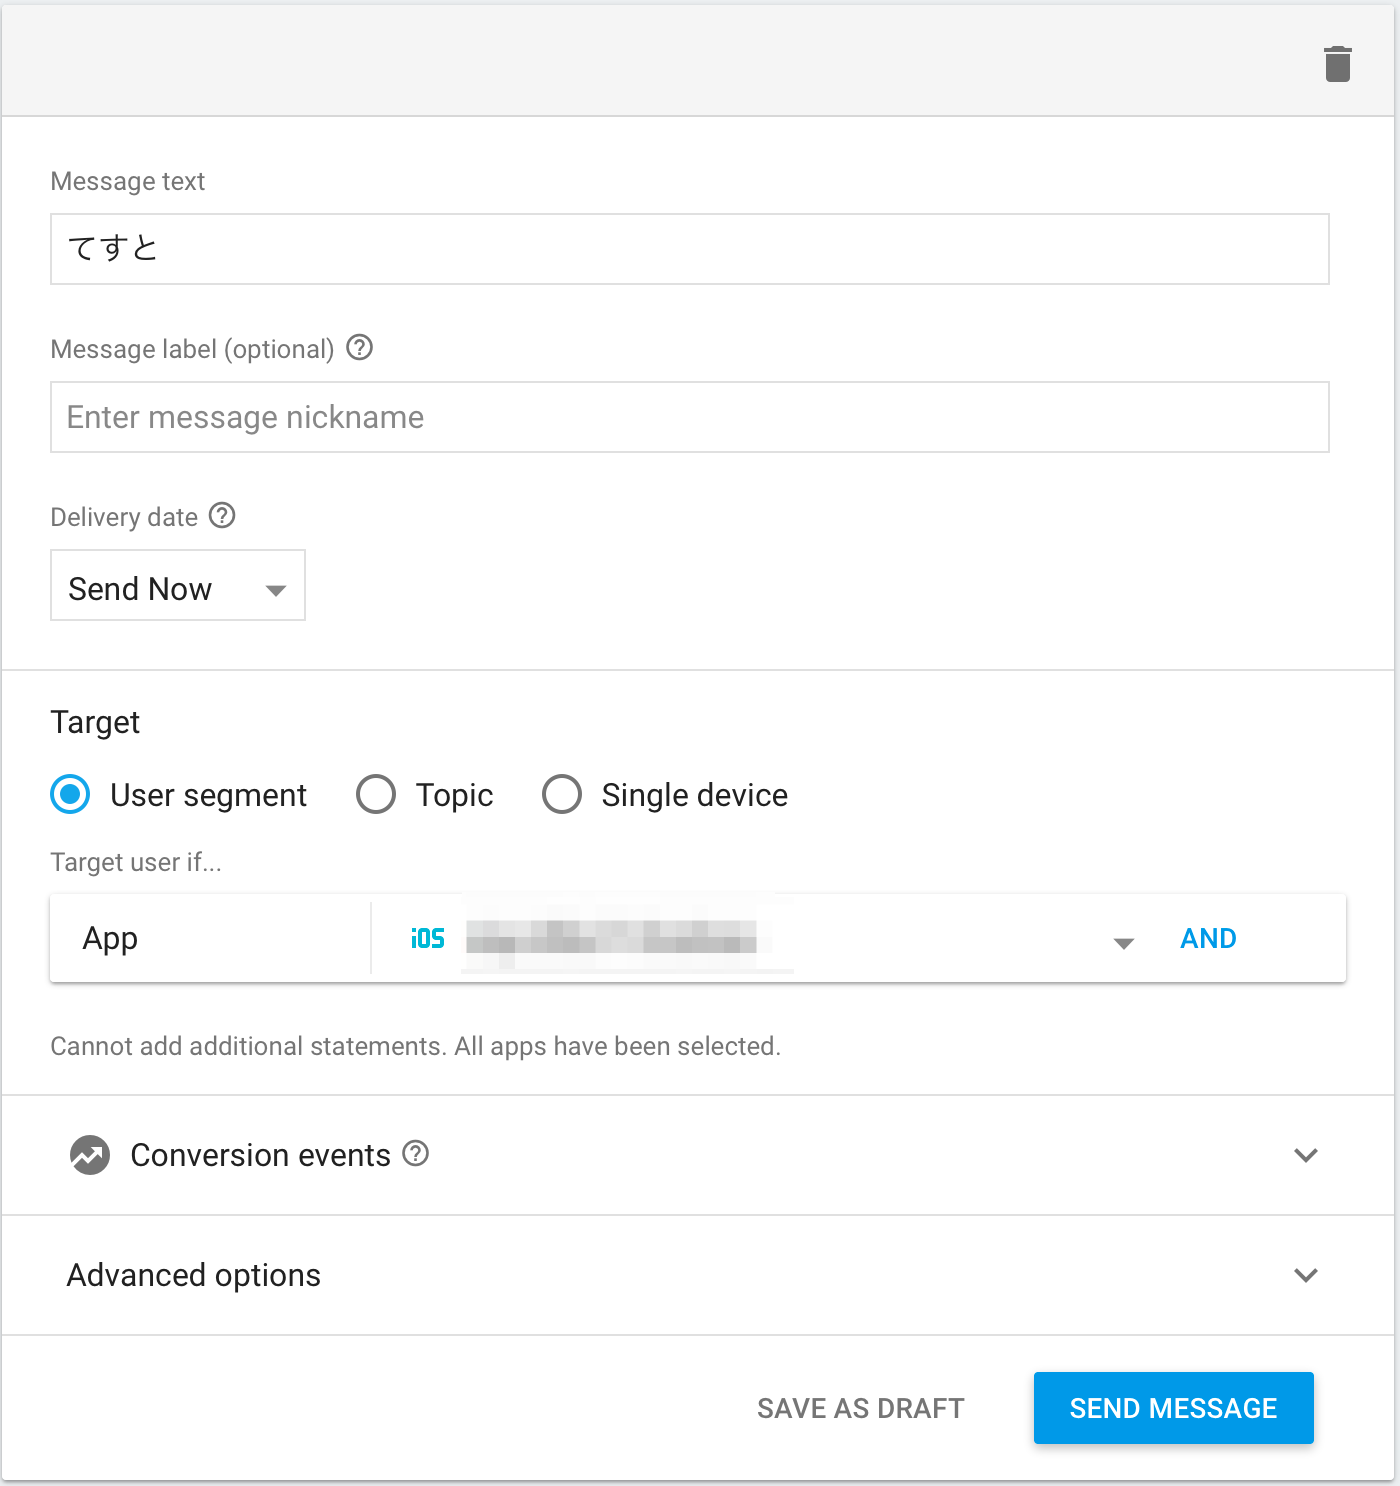
Message textに通知するメッセージを入力します。Message labelは任意で入力して、Delivery date今送るか、時間指定で送るかを選択できます。

時間していは、タイムゾーンなども細かく指定する事ができます。
今回は、アプリ単位で全ユーザにPush通知をおくるので、TargetはUser segmentにして、Appを該当のものを選択します。
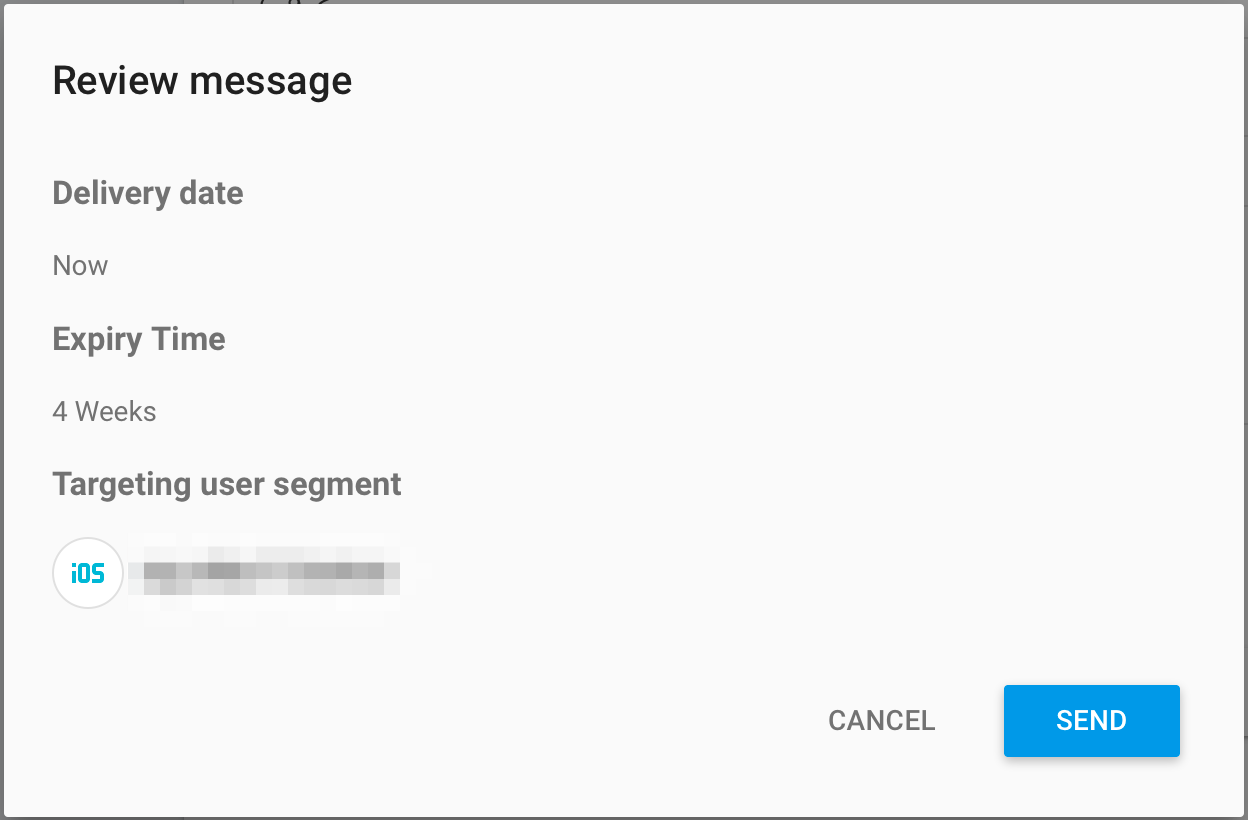
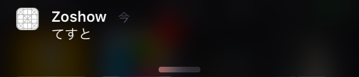
あとは確認して、Pushを送るのみです。
お疲れさまでした。
終わりに
コンソールがわかりにくい部分もありましたが、Push通知の実装をする事ができましまた。まだ、Topic、Single device向けのPushの実装は試すことができていないので、次の機会に試したいと思います。