これは何
Firebase の Notifications でプッシュ通知を送った時のメモです。必要最低限のことしか書いていません。
実行環境
- Xcode 7.3.1
- Swift 2.2
- CocoaPods 1.0.0
- Firebase/Messaging 3.2.0
準備しておくもの
- Googleアカウント(アカウントがあればすぐにFirebaseを使えます)
- iOS実機(シミュレーター不可)
- APNS証明書をp12形式で書き出したファイル
証明書の作り方は下記ドキュメントを参照して下さい。
Provisioning APNs SSL Certificates | Firebase
新規プロジェクトの作成
※ここで言うプロジェクトとはXcodeのプロジェクトではなく、Firebase上のプロジェクトを指します。
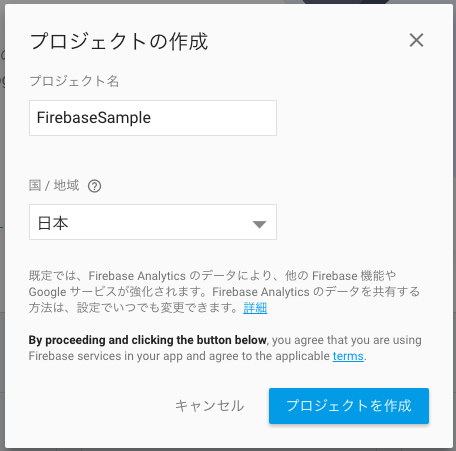
Firebase のコンソールを開いて、「新規プロジェクトを作成」をクリックします。

プロジェクト名などを入力して「プロジェクトを作成」をクリックします。
アプリの詳細を入力
プロジェクトを作成したら、「iOSアプリにFirebaseを追加」をクリックします。
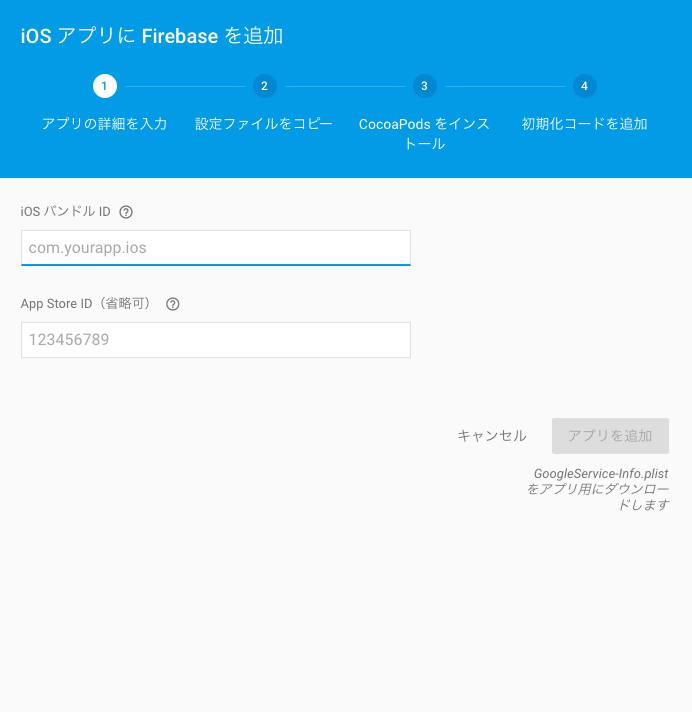
iOSアプリのバンドルID(例:com.yourapp.ios)などを入力していきます。App Store IDは任意です。ここで保存した設定ファイル(GoogleService-Info.plist)は後で使用します。
Xcodeでプロジェクトを作成
Bundle Identifier が Firebase のコンソールで入力したバンドルIDと同じ内容になるようにします。
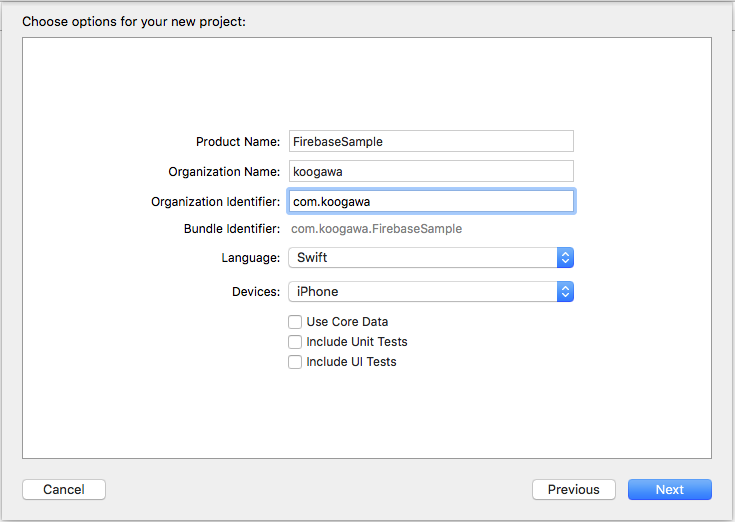
プロジェクトを作成できたら、いったんXcodeは終了しておきます。
Firebase SDKをインストール
.xcodeproj ファイルがあるディレクトリで下記コマンドを実行します。
- pod init
- Podfile を編集
pod 'Firebase/Messaging'
- pod install
インストールが完了したら、 .xcworkspace を開きます。
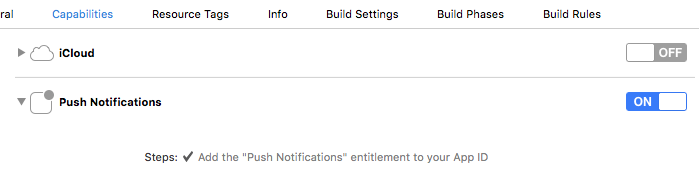
Push Notifications をオン
Capabilities の Push Notifications をオンにします。
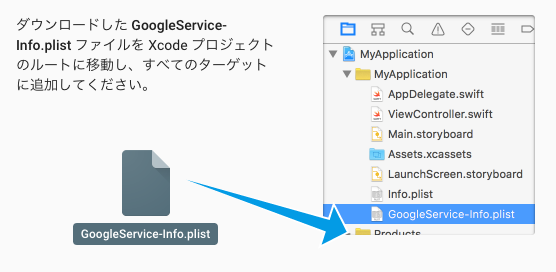
設定ファイルをコピー
先ほど作成した設定ファイル(GoogleService-Info.plist)をプロジェクトにコピーします。
コードを実装
Firebase を import します。
import Firebase
次に AppDelegate の中で FIRApp.configure() を呼び出します。公式ドキュメントではこれだけで実装完了と書いてありましたが、私の環境では何故かうまくいきませんでした。(デバイストークンの取得に失敗してしまう)
ios - Cloud messaging handing terminate app - Stack Overflow
上記のQAを参考にし、最終的には以下のように実装する事でうまく動きました。Info.plist の FirebaseAppDelegateProxyEnabled は NO にしています。
func application(application: UIApplication, didFinishLaunchingWithOptions launchOptions: [NSObject: AnyObject]?) -> Bool {
    // Override point for customization after application launch.
    let notificationSettings = UIUserNotificationSettings(
        forTypes: [.Badge, .Sound, .Alert], categories: nil)
    application.registerUserNotificationSettings(notificationSettings)
    application.registerForRemoteNotifications()
    FIRApp.configure()
    return true
}

func application(application: UIApplication, didRegisterUserNotificationSettings notificationSettings: UIUserNotificationSettings) {
    if notificationSettings.types != .None {
        application.registerForRemoteNotifications()
    }
}

func application(application: UIApplication, didRegisterForRemoteNotificationsWithDeviceToken deviceToken: NSData) {
    let tokenChars = UnsafePointer<CChar>(deviceToken.bytes)
    var tokenString = ""

    for i in 0..<deviceToken.length {
        tokenString += String(format: "%02.2hhx", arguments: [tokenChars[i]])
    }

    FIRInstanceID.instanceID().setAPNSToken(deviceToken, type: FIRInstanceIDAPNSTokenType.Unknown)
}
プッシュ通知を送ってみる
Firebase のコンソールを開き、先ほど作成したプロジェクトを選択しておきます。
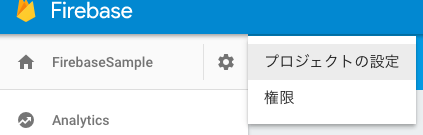
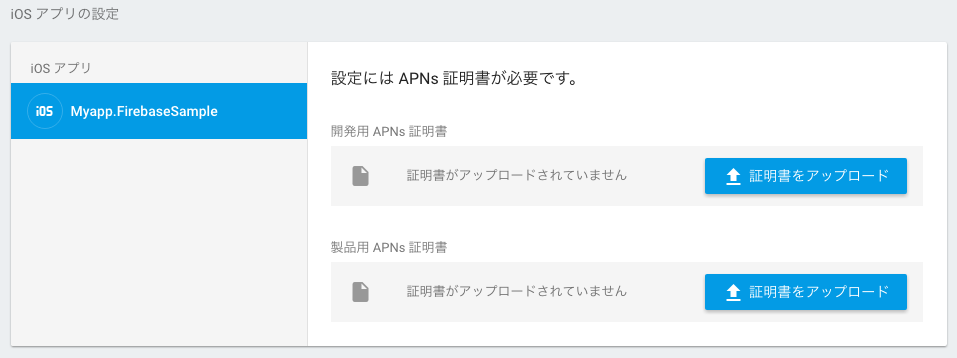
証明書を登録
プロジェクトの設定画面を開きます。
あらかじめ用意しておいた p12 ファイルとパスワードを登録します。
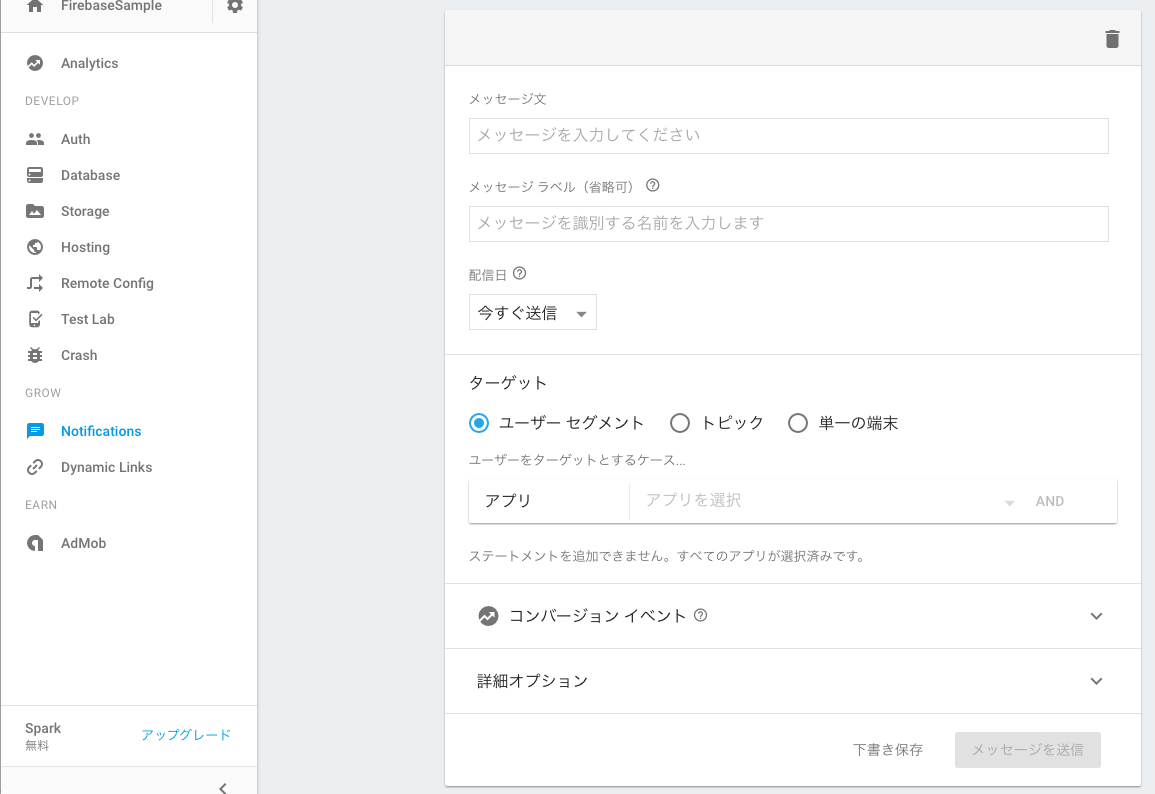
プッシュ送信
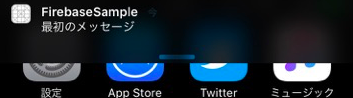
コンソールの左にあるメニューから「Notifications」を選び、「最初のメッセージを送信」をクリックします。

メッセージ文などを入力し、「メッセージを送信」をクリックします。
無事、プッシュ通知がきました!