

はじめに
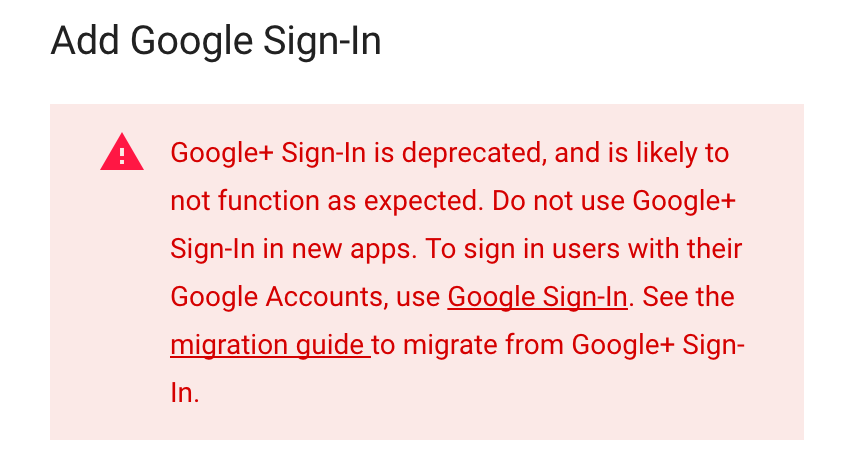
Google+ Sign-Inは非推奨になり、Google Sign-Inを使ってねとの事で、今回はその流れをメモとして残しておきたいと思います。
環境
- OS X El Captian 10.11.5
- Xcode7.3.1
- Swift2.2
手順
Xcodeでプロジェクトを作成する
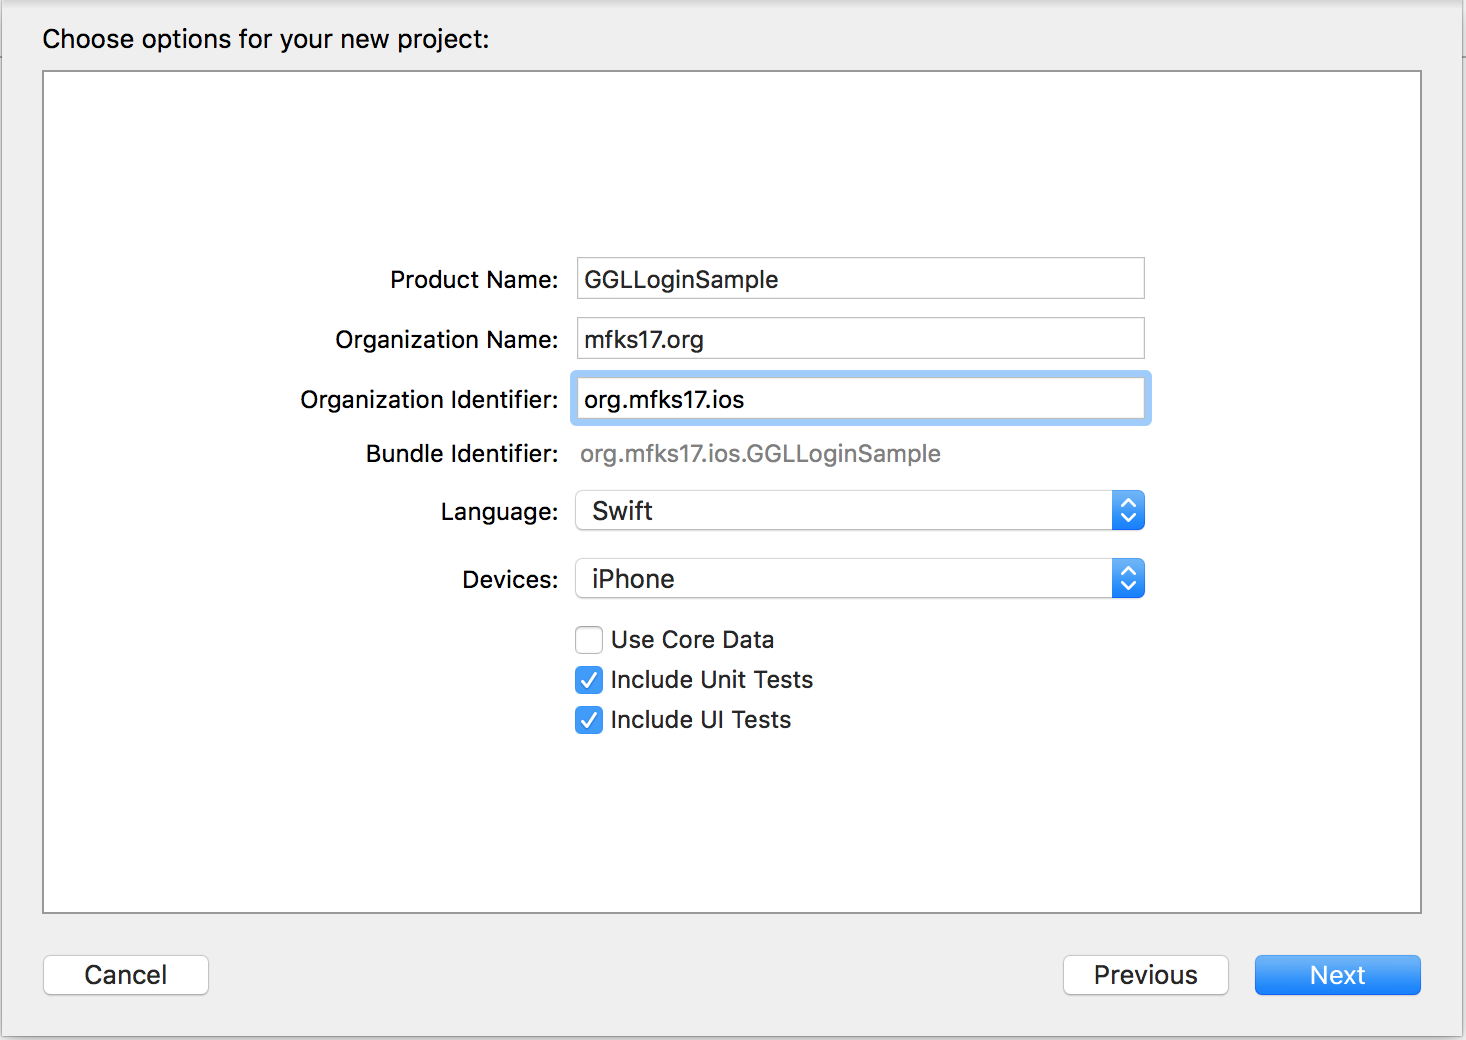
作成するアプリをお好きにどうぞ!!
Google Developer Consoleでアカウントとアプリの登録
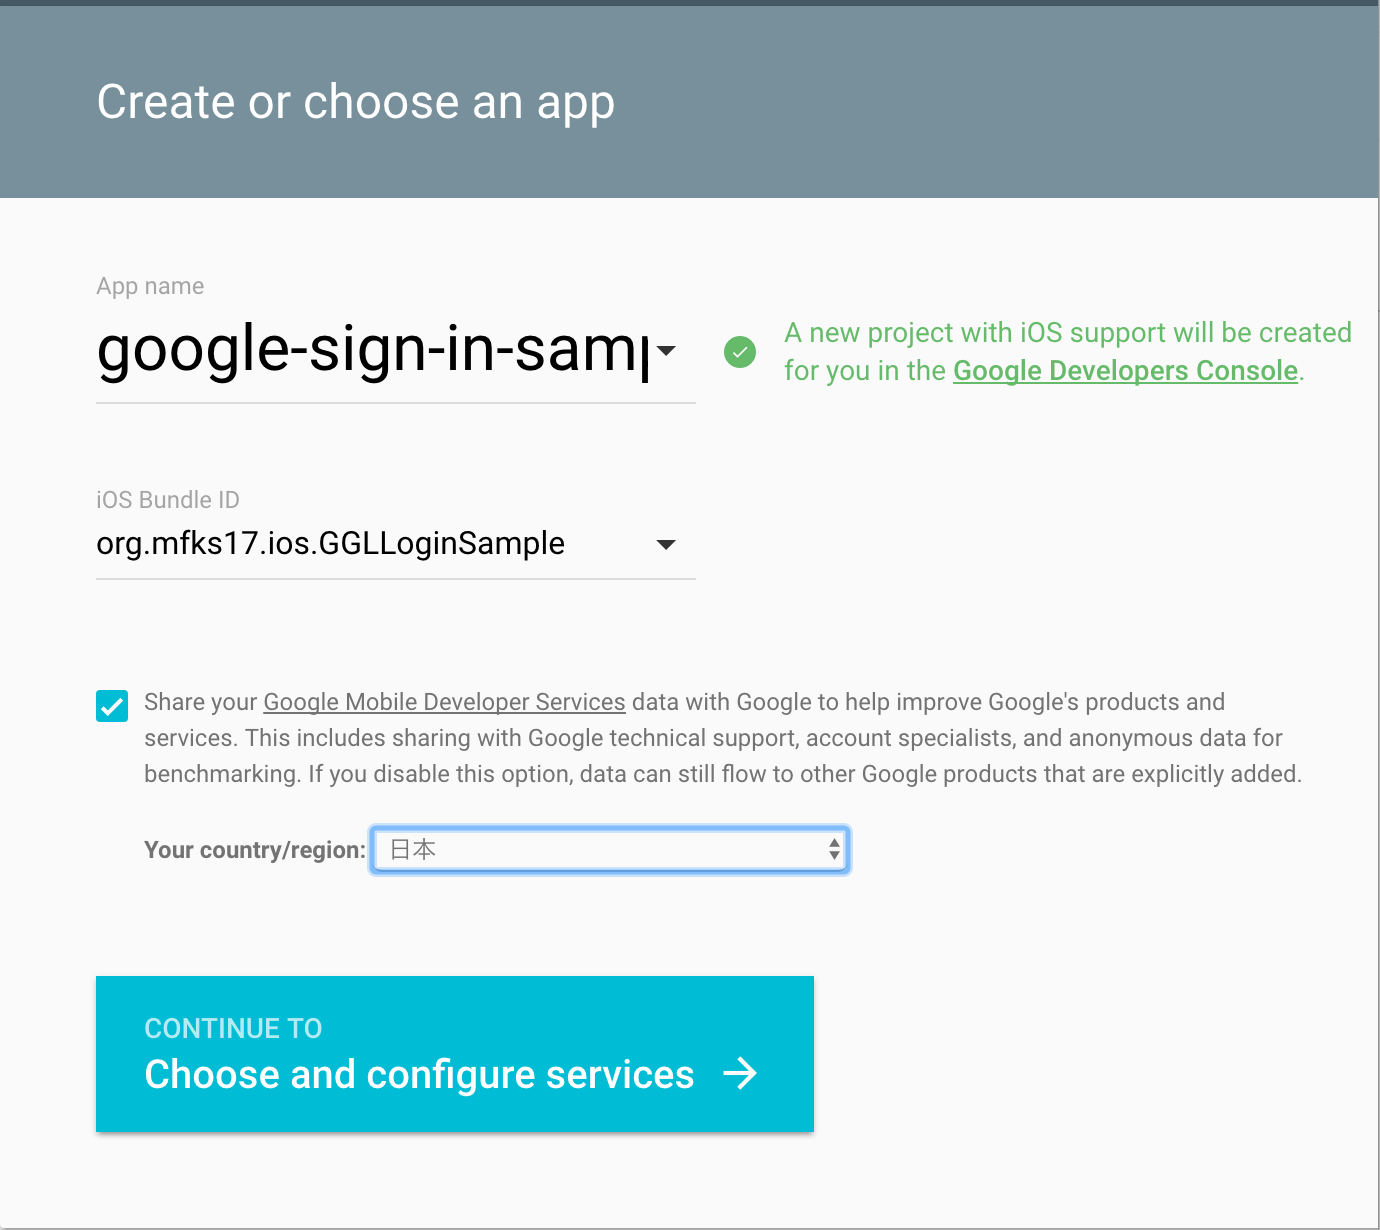
App nameとiOS Bundle IDを入力したら、CONTINUE TO 「Choose and configure services」をクリックして次へ進みます。
画面が切り替わり、使用するサービスを選択します。今回はSign-Inのみなので、Google Sign-Inのみチェックを入れておきます。

CONTINUE TO 「Generate configuration files」をクリックして、次へ進みます。
plistファイルのダウンロード
そうすると、下のような画面に遷移するのでDownload GoogleService-Info.plistをクリックします。

上記のファイルがダウンロードされます。後ほど設定していきます。
SDKのインストール
Google Sign-InのSDKはcocoapodsではいります。
pod 'Google/SignIn'
$ pod install
Updating local specs repositories

CocoaPods 1.0.1 is available.
To update use: `sudo gem install cocoapods`
Until we reach version 1.0 the features of CocoaPods can and will change.
We strongly recommend that you use the latest version at all times.

For more information see http://blog.cocoapods.org
and the CHANGELOG for this version http://git.io/BaH8pQ.

Analyzing dependencies
Downloading dependencies
Installing FirebaseAnalytics (3.2.0)
Installing FirebaseInstanceID (1.0.6)
Installing Google (3.0.3)
Installing GoogleAppUtilities (1.1.1)
Installing GoogleAuthUtilities (2.0.1)
Installing GoogleInterchangeUtilities (1.2.1)
Installing GoogleNetworkingUtilities (1.2.1)
Installing GoogleSignIn (4.0.0)
Installing GoogleSymbolUtilities (1.1.1)
Installing GoogleUtilities (1.3.1)
Generating Pods project
Integrating client project

[!] Please close any current Xcode sessions and use `GGLLoginSample.xcworkspace` for this project from now on.
Sending stats
Pod installation complete! There is 1 dependency from the Podfile and 10 total
pods installed.
$
まぁ、もろもろインストールされました笑
plistの追加
次にplistをプロジェクトに追加します。
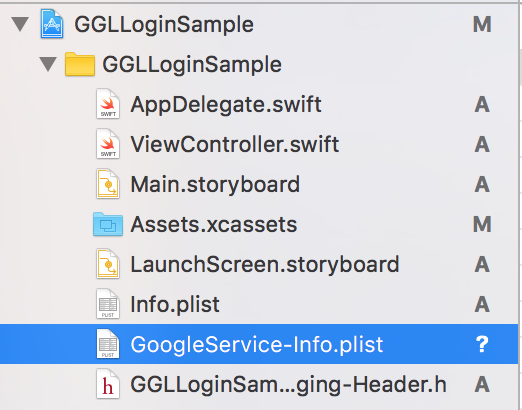
ダウンロードしたplistファイルを作成したプロジェクトの直下に格納して、ナビゲーター・エリアにドラッグ&ドロップします。
Bridging-Headerの作成
Objective-Cのファイルを作成しようとします

名前は適当にどうぞ!!

すると

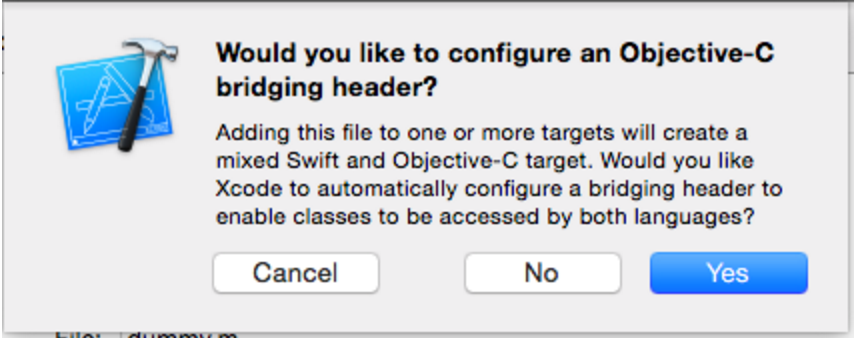
下記のようなダイアログが表示されますので、Yesを選択すると、Bridging-Headerが作成されます。
URL Schemesの追加
plistファイルの中身は下記のようになっており(実際は右側にあたいが入っています)

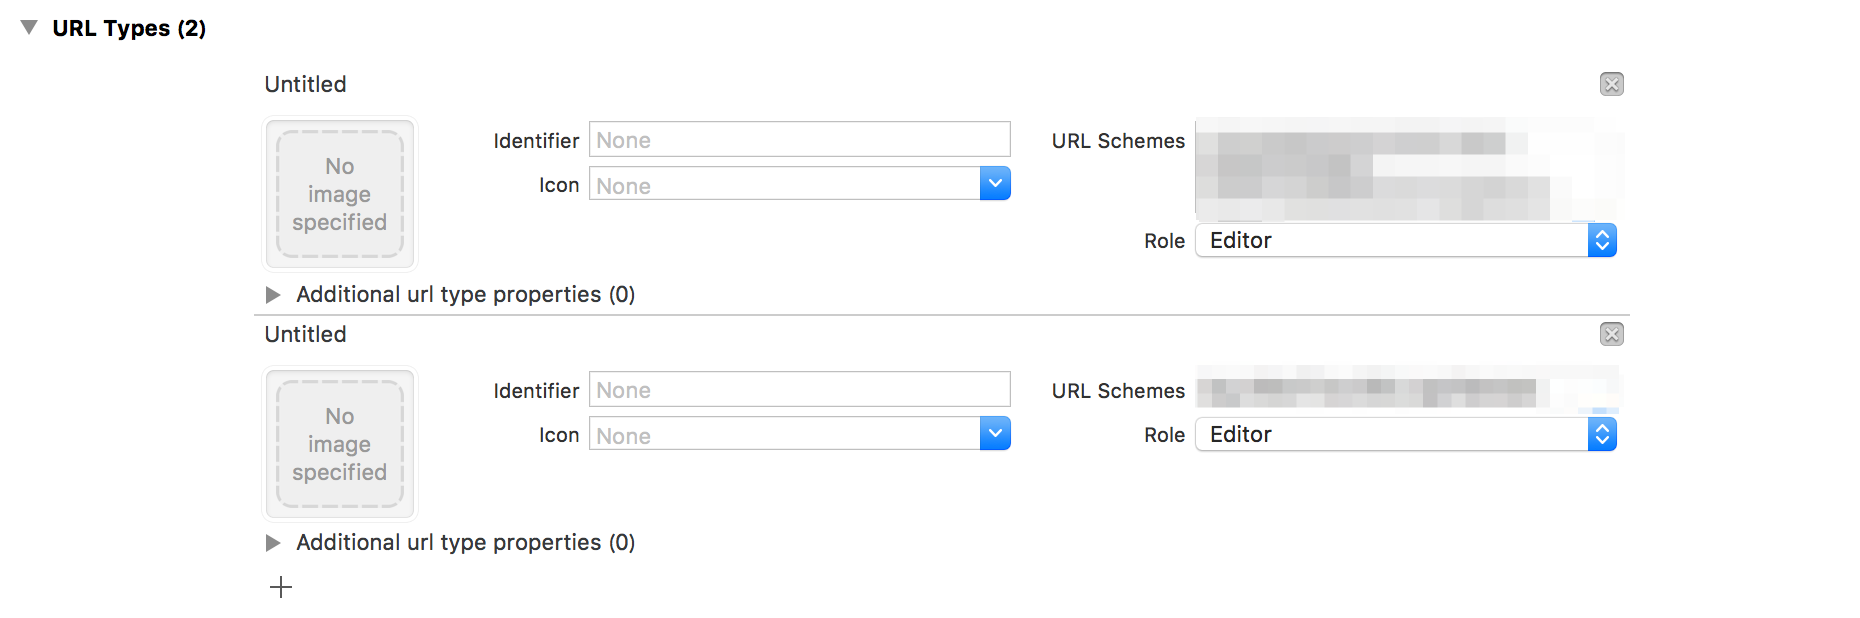
この、REVERSED_CLIENT_IDと、BUNDLE_IDのあたいをURL Schemesに追加します。
Project->Target->Infoタブから設定します。
ソースコードの改修
AppDelegateにGIDSignInDelegateprotocolを継承させる。
class AppDelegate: UIResponder, UIApplicationDelegate, GIDSignInDelegate
application:didFinishLaunchingWithOptions:メソッドにGGLContextのshared instanceとsign-in delegateを追記します。
func application(application: UIApplication,
  didFinishLaunchingWithOptions launchOptions: [NSObject: AnyObject]?) -> Bool {
    // Initialize sign-in
    var configureError: NSError?
    GGLContext.sharedInstance().configureWithError(&configureError)
    assert(configureError == nil, "Error configuring Google services: \(configureError)")

    GIDSignIn.sharedInstance().delegate = self

    return true
}
注意:手動でSDKを組み込んだ場合は、clientIDをコードで記述する必要があります。
GoogleService-Info.plistから探してください。
GIDSignIn.sharedInstance().clientID = kClientID
次に、AppDelegate.swiftに
application:openURL:options:メソッドを実装する。GIDSignInのインスタンスのメソッドであるhandleURL が適切にアプリケーションが認証プロセスの最後に受信したURLを処理します。
func application(application: UIApplication,
  openURL url: NSURL, options: [String: AnyObject]) -> Bool {
    return GIDSignIn.sharedInstance().handleURL(url,
        sourceApplication: options[UIApplicationOpenURLOptionsSourceApplicationKey] as? String,
        annotation: options[UIApplicationOpenURLOptionsAnnotationKey])
}
iOS8以下の場合はこちら
func application(application: UIApplication,
  openURL url: NSURL, sourceApplication: String?, annotation: AnyObject?) -> Bool {
    var options: [String: AnyObject] = [UIApplicationOpenURLOptionsSourceApplicationKey: sourceApplication,
                                        UIApplicationOpenURLOptionsAnnotationKey: annotation]
    return GIDSignIn.sharedInstance().handleURL(url,
        sourceApplication: sourceApplication,
        annotation: annotation)
AppDelegateでは、次のメソッドを定義することにより、サインインプロセスを処理するためにGIDSignInDelegateプロトコルを実装します。
func signIn(signIn: GIDSignIn!, didSignInForUser user: GIDGoogleUser!,
  withError error: NSError!) {
    if (error == nil) {
      // Perform any operations on signed in user here.
      let userId = user.userID                  // For client-side use only!
      let idToken = user.authentication.idToken // Safe to send to the server
      let fullName = user.profile.name
      let givenName = user.profile.givenName
      let familyName = user.profile.familyName
      let email = user.profile.email
      // ...
    } else {
      print("\(error.localizedDescription)")
    }
}
func signIn(signIn: GIDSignIn!, didDisconnectWithUser user:GIDGoogleUser!,
  withError error: NSError!) {
    // Perform any operations when the user disconnects from app here.
    // ...
}
注意:Sign-In SDKは、自動的にアクセストークンを取得しますが、アクセストークンは、あなたがsignInまたはsignInSilentlyを呼び出したときにのみ更新されます。明示的にアクセストークンを更新するには、refreshTokensWithHandlerを呼び出します。アクセストークンが必要な場合、、getTokensWithHandlerを使用することでSDKが自動的にリフレッシュ処理をします。
sign-inボタンの配置
ー ViewController.swiftをGIDSignInUIDelegateプロトコルを継承させます。
class ViewController: UIViewController, GIDSignInUIDelegate {
- ViewController内で、
viewDidLoadをoverrideして、viewDidLoadメソッド内でGIDSignInオブジェクトのuiDelegateをセットします。また、silentlyオプショナルで指定する事もできます。
override func viewDidLoad() {
  super.viewDidLoad()

  GIDSignIn.sharedInstance().uiDelegate = self

  // Uncomment to automatically sign in the user.
  //GIDSignIn.sharedInstance().signInSilently()

  // TODO(developer) Configure the sign-in button look/feel
  // ...
}
注意:ユーザーが黙ってサインインすると、signinSDKは、自動的にアクセストークンを取得し、自動的に必要なときにそれらを更新します。方法:あなたがアクセストークンを必要とSDKが自動的にリフレッシュ処理したい場合は、getAccessTokenWithHandlerを使用することができます。明示的にアクセストークンを更新するには、refreshAccessTokenWithHandlerを呼び出します。
- ここまでは、
viewcontrlloerはのUIViewControllerのサブクラスです。 該当のプロジェクトで、GIDSignInUIDelegateを実装するクラスが、UIViewControllerのサブクラスではない場合は
GIDSignInUIDelegateプロトコルのメソッドであるsignInWillDispatch:error:、presentViewController:、signIn:dismissViewController:を実装します。
こんな感じです。
// Implement these methods only if the GIDSignInUIDelegate is not a subclass of
// UIViewController.

// Stop the UIActivityIndicatorView animation that was started when the user
// pressed the Sign In button
func signInWillDispatch(signIn: GIDSignIn!, error: NSError!) {
  myActivityIndicator.stopAnimating()
}

// Present a view that prompts the user to sign in with Google
func signIn(signIn: GIDSignIn!,
    presentViewController viewController: UIViewController!) {
  self.presentViewController(viewController, animated: true, completion: nil)
}

// Dismiss the "Sign in with Google" view
func signIn(signIn: GIDSignIn!,
    dismissViewController viewController: UIViewController!) {
  self.dismissViewControllerAnimated(true, completion: nil)
}
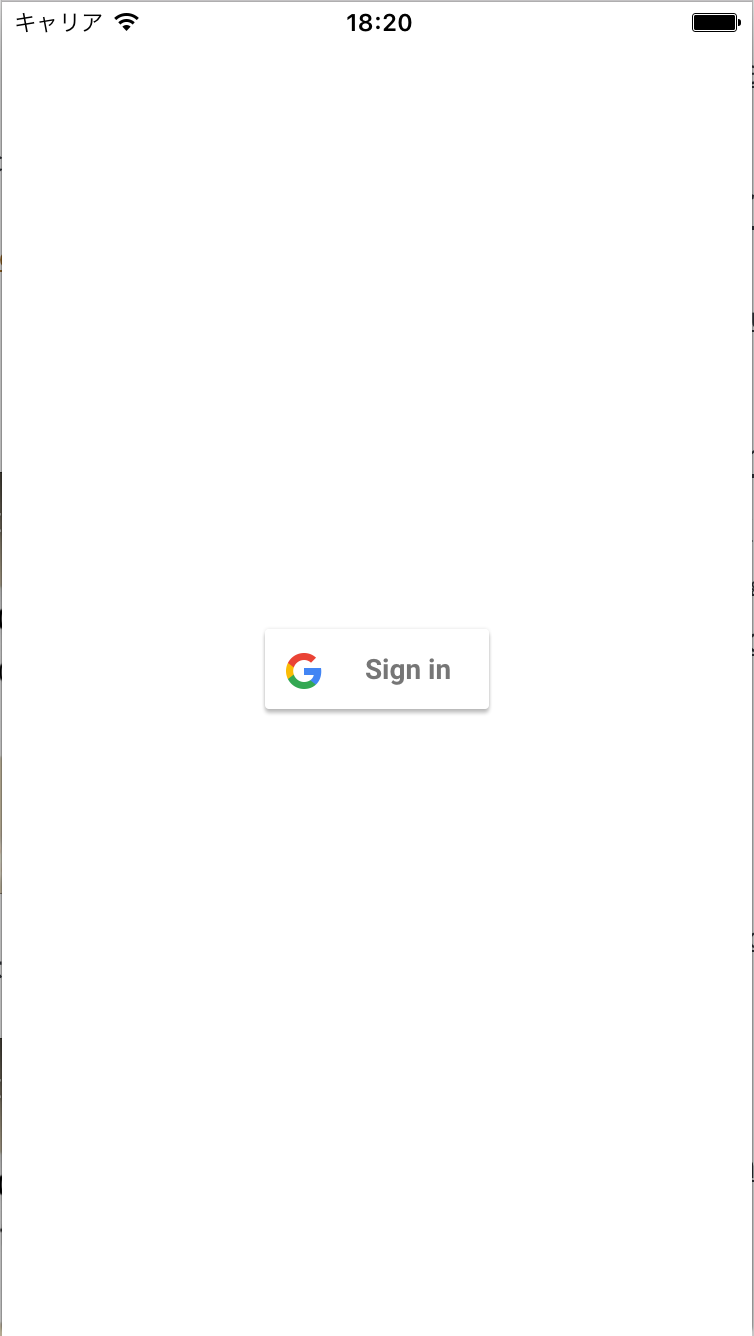
GIDSignInButton をStoryBoard、XIBファイルに追加するか、プログラムでインスタンス化します。StoryBoardまたはXIBファイルにボタンを追加するには、ビューを追加し、GIDSignInButtonにそのカスタムクラスを設定します。
StoryBoardにGIDSignInButtonビューを追加すると、サインインボタンは、インターフェイスビルダーでレンダリングされません。ログインボタンは、アプリを実行すると表示されます。
- ボタンをカスタマイズしたい場合は、次の手順を実行します。
ViewControllerでは、プロパティとしてログインボタンを宣言します。
@IBOutlet weak var signInButton: GIDSignInButton!
signInButton プロパティにボタンを接続します。GIDSignInButton オブジェクトのプロパティを設定することで、ボタンをカスタマイズする事ができます。
ユーザのSign outについて
GIDSignIn オブジェクトのsignOut メソッドを呼び出す事で、該当デバイスでサインアウトさせる事がきます。
@IBAction func didTapSignOut(sender: AnyObject) {
  GIDSignIn.sharedInstance().signOut()
}
遷移について
Google+ Sign-Inの時は、端末にGoogle+アプリがインストールされていれば、アプリが立ち上がっていたようですが、今回はNavigationControllerのPushでの遷移になり、SDKで内包しているWebViewが表示されます。(たぶん)
最後に
いかがだったでしょうか。記事が長くなってしまい、申し訳ありませんでした。最後までお読みいただきありがとうございました。
やる事は細々とありますが、とくにハマった点も無くイケました。
Firebaseとの違いがよくわかってないですが、便利なのはわかりました。ありがとうございました。