Javaの環境構築をしてhelloworldを出力するではまずは書いてみるということでhelloworldをコンソールに出力しました。
今回はもう少し先に進んでspringのプロジェクトでHTMLを表示させてみます。
springなんてまだいれてないよ~というかたは前回までの記事を参考にしていただければと思います。
Eclipseにspring bootとgradleを追加する
Eclipseにプラグインをインストールする
springのプロジェクトをつくってみる
まずはspringプロジェクトを作ってみましょう。
1.[file] => [new] => [Other] => [Spring Starter Project] を選択
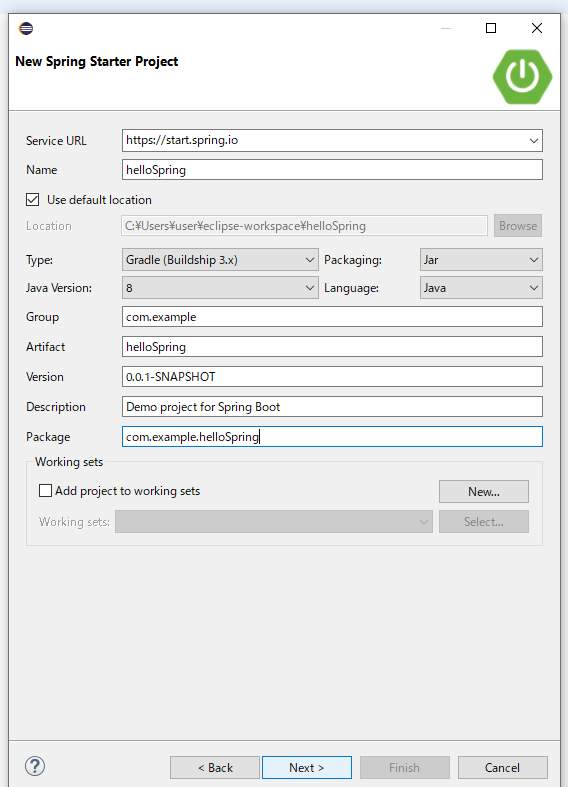
2.プロジェクトやパッケージの名前を決めます。今回はhelloSpringとしました。
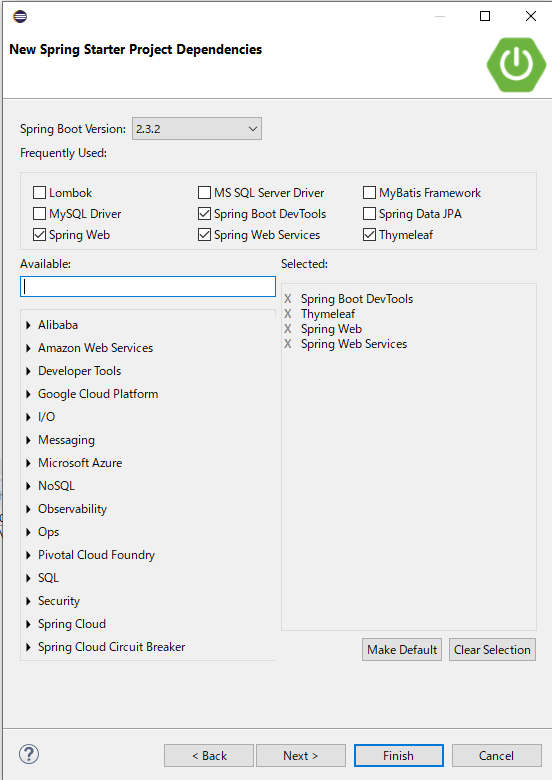
依存関係ってなに?
4で記述した依存関係についてです。正直よくわかってませんが、使いたいSpringフレームワークをここで選ぶということみたいです。Gradleさんにこれよろしく~と頼むものを選ぶイメージですかね。Gradleの設定ファイルをいじることで後から追加もできます。
(認識が違ったら教えていただけますと幸いです)
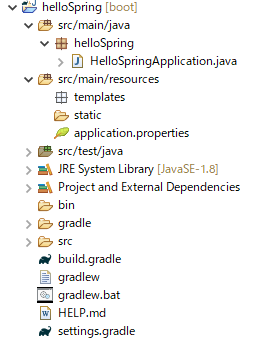
作成したプロジェクトの中を見てみます。
Gradleの設定ファイルはbuild.gradleになってますのでこれを開いてみます。
plugins {
	id 'org.springframework.boot' version '2.3.2.RELEASE'
	id 'io.spring.dependency-management' version '1.0.9.RELEASE'
	id 'java'
}

group = 'com.example'
version = '0.0.1-SNAPSHOT'
sourceCompatibility = '1.8'

repositories {
	mavenCentral()
}

dependencies {
       /*追加されている↓*/
	implementation 'org.springframework.boot:spring-boot-starter-thymeleaf'
	implementation 'org.springframework.boot:spring-boot-starter-web'
	implementation 'org.springframework.boot:spring-boot-starter-web-services'
	developmentOnly 'org.springframework.boot:spring-boot-devtools'
      /*追加されている↑*/

	testImplementation('org.springframework.boot:spring-boot-starter-test') {
		exclude group: 'org.junit.vintage', module: 'junit-vintage-engine'
	}
}

test {
	useJUnitPlatform()
}
依存関係の選択時に選んだ4つが追加されていますね。
このあたりは私もまだまだ知識が足りないのでいつかまとめたいと思います。
helloworldを出力する
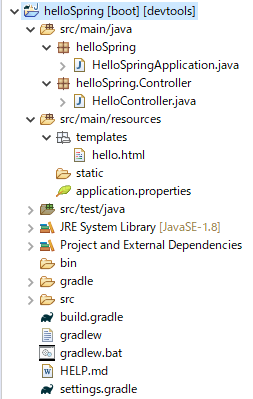
プロジェクトができたので出力してみましょう。ファイルを2つ追加します。追加後はこんな感じ。
1.HTML追加
基本的にsrc/main/resources内のtemplatesにHTMLファイルを置きます。
templates右クリック => [New] => [Other] よりHTMLファイル、helloを作成します。
<!DOCTYPE html>
	<head>
		<meta charset="UTF-8">
		<title>hello</title>
	</head>
	<body>
		 <h1>Hello World!!</h1>
	</body>
</html>
2.Controller追加
helloSpring.Controllerというパッケージを追加し、その中にHelloController.javaを作成します。
package helloSpring.Controller;

import org.springframework.stereotype.Controller;
import org.springframework.web.bind.annotation.RequestMapping;
import org.springframework.web.bind.annotation.RequestMethod;

@Controller
public class HelloController {
    @RequestMapping(value = "/", method = RequestMethod.GET)
    public String hello() {
        return "hello";
    }
}
ここで注意すべきなのはControllerを作る場所です。
プロジェクトのmainメソッドのHelloSpringApplication.javaがある起動クラスと同一パッケージ、もしくはその配下に配置しないと正しくロードされず404エラーになります。
helloSpringパッケージ内に作成してもいいですし、今回紹介したようにController用のパッケージを追加する場合はパッケージ名に注意してください。
Controllerってなにしてるの?
Webフレームワークで一般的に取り入れられているアプリケーション設定を整理するための概念の一つでMVCというものがあるのですがそのCの部分です。なんのこっちゃと思いますが細かいことは後日まとめますので今は簡単に説明します。
HTMLをただ作っただけでは画面に表示させられないので、表示してくれるところが必要です。Controllerは、このURLが来たらこの処理をしてほしいという内容を書くところです。
コードの内容を見てみる
まず@がついているものはアノテーションといいます。アノテーションとは注釈の意味です。
@Controllerと書くことでこのクラスはControllerだよ~と宣言しています。
@RequestMapping ではどういうリクエストが来たら~の処理を書きます。
importはこれらを使うために書いています。
今回のコードを上から(@Controllerから)言葉で説明すると、
これはControllerのHelloControllerクラスです。
"/"というURLのGETリクエストがきたらhelloという関数を実行します。
という意味です。hello関数ではhelloというファイルを返すという処理が書かれていますね。
実行する
ポート番号が8080になっているのでhttp://localhost:8080にアクセスしてみます。
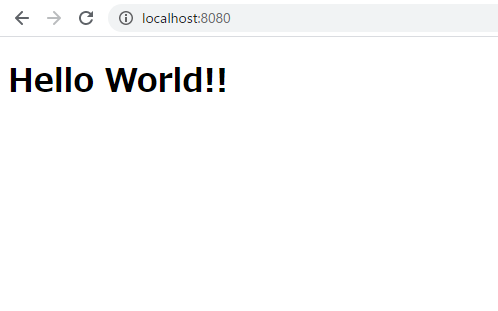
無事に出力できました。
次は出力する文字を動的に変えてみたいと思います。
次 => thymeleafでHTMLのページを動的にする(spring + gradle)
