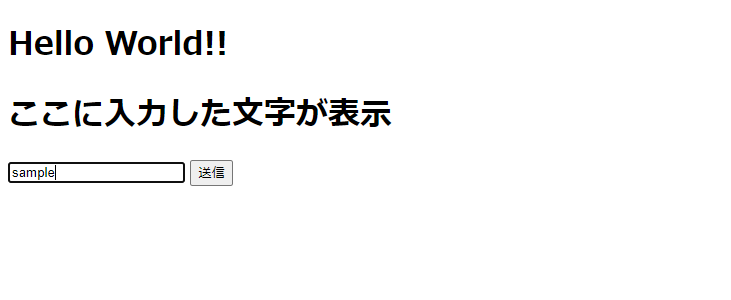
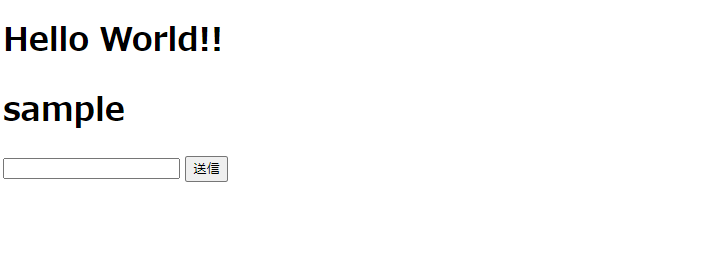
前回はspring + gradle でhelloworldを表示してみるで画面にHTMLを表示しました。
今回は画面を動的に動かしてみたいので、入力した文字を画面に表示させてみたいと思います。初心者の備忘録ですのでおかしな点などありましたらご指摘頂けますと嬉しいです!
前回の記事で使用したコードにそのまま書き足していきますが、今回の記事のみ見ている方のためコードは略さず全体を載せていきます。
HTMLを追加する
前回作成したhello.htmlに入力した文字を表示する箇所と、入力するフィールドを追加します。
<!DOCTYPE html>
	<head>
		<meta charset="UTF-8">
		<title>hello</title>
	</head>
	<body>
		 <h1>Hello World!!</h1>
      // ここから追加↓
		 <h1 th:text="${text}"></h1> ---1

		 <form th:method="POST" th:action="changeText"> ---2
		 <input type="text" name="inputText" /> ---3
		 <input type="submit"> ---4
		 </form>
     // ここまで追加↑
	</body>
</html>
1.入力した値を表示します。textに渡した値が表示されます。
2.methodで送るときの方式を指定して、th:actionはURLを指定しています。
3.テキストフィールドの追加。nameで渡した値の名前を指定しています。
4.送信ボタンです。
thymeleafってなに?
th~というのが出てきましたね。これはthymeleafの書き方です。
タイムリーフと読みます。HTMLなどのテンプレートエンジンで、Spring Bootでは標準的に使われています。
javaで処理したデータを画面に表示するときなど、HTMLなので開発をしながら画面で確認ができるのがいいですね。
build.gradleに以下を追加して更新すると使用できます。
implementation 'org.springframework.boot:spring-boot-starter-thymeleaf'
前回の記事から引き続きこの記事を見ている方は、プロジェクトを作成するときに依存関係でthymeleafを選択したので、追加しなくても記入してあるはずです。
thymeleafでどうやって書くんだ?となったときはこちらの記事がとっても見やすいです
=>Thymeleafチートシート
Controllerを追加する
こちらも前回作ったHelloControllerに追加します。
package helloSpring.Controller;

import org.springframework.stereotype.Controller;
import org.springframework.ui.Model;
import org.springframework.web.bind.annotation.RequestMapping;
import org.springframework.web.bind.annotation.RequestMethod;
import org.springframework.web.bind.annotation.RequestParam;

@Controller
public class HelloController {
    @RequestMapping(value = "/", method = RequestMethod.GET)
    public String hello(Model model) {
    	model.addAttribute("text", "ここに入力した文字が表示"); // 追加---1
        return "hello";
    }

    @RequestMapping(value = "/changeText", method = RequestMethod.POST) // 追加---2
    public String changeText(@RequestParam(name = "inputText") String text, Model model) {
    	model.addAttribute("text", text);
        return "hello";
    }
}
1.hello.htmlで追加した<h1 th:text="${text}"></h1>に初期メッセージをセットします。
2.送信ボタン押下時の関数を追加します。
・@RequestParamはポストパラメータを受け取るためのアノテーションです。
・nameはHTMLのinputで指定した名前と同じにし、変数名を定義します。
・'${text}'にリクエストパラメータで受け取った値をセットします。
以上です。
次はDBに接続してデータを表示させてみたいと思います。
追記:別の現場へ行くことになりしばらくjavaの勉強はおやすみ中ですが、空いた時間に勉強して更新していきます(続きを待っている人いないと思うけど、、)

