はじめに
PythonでGUI開発をするためのライブラリ「PySide2」の基本的な使い方を、いくつかの段階に分けて説明していきます。
当ページではPySide2のウィンドウについて説明しています。
環境
下記の通りになります。
- Windows10
- Python 3.8以降
公式リファレンス
知っておきたい用語
事前に知っておきたい用語とその意味をかみ砕いて説明します。
既に知っている方は飛ばしてください。
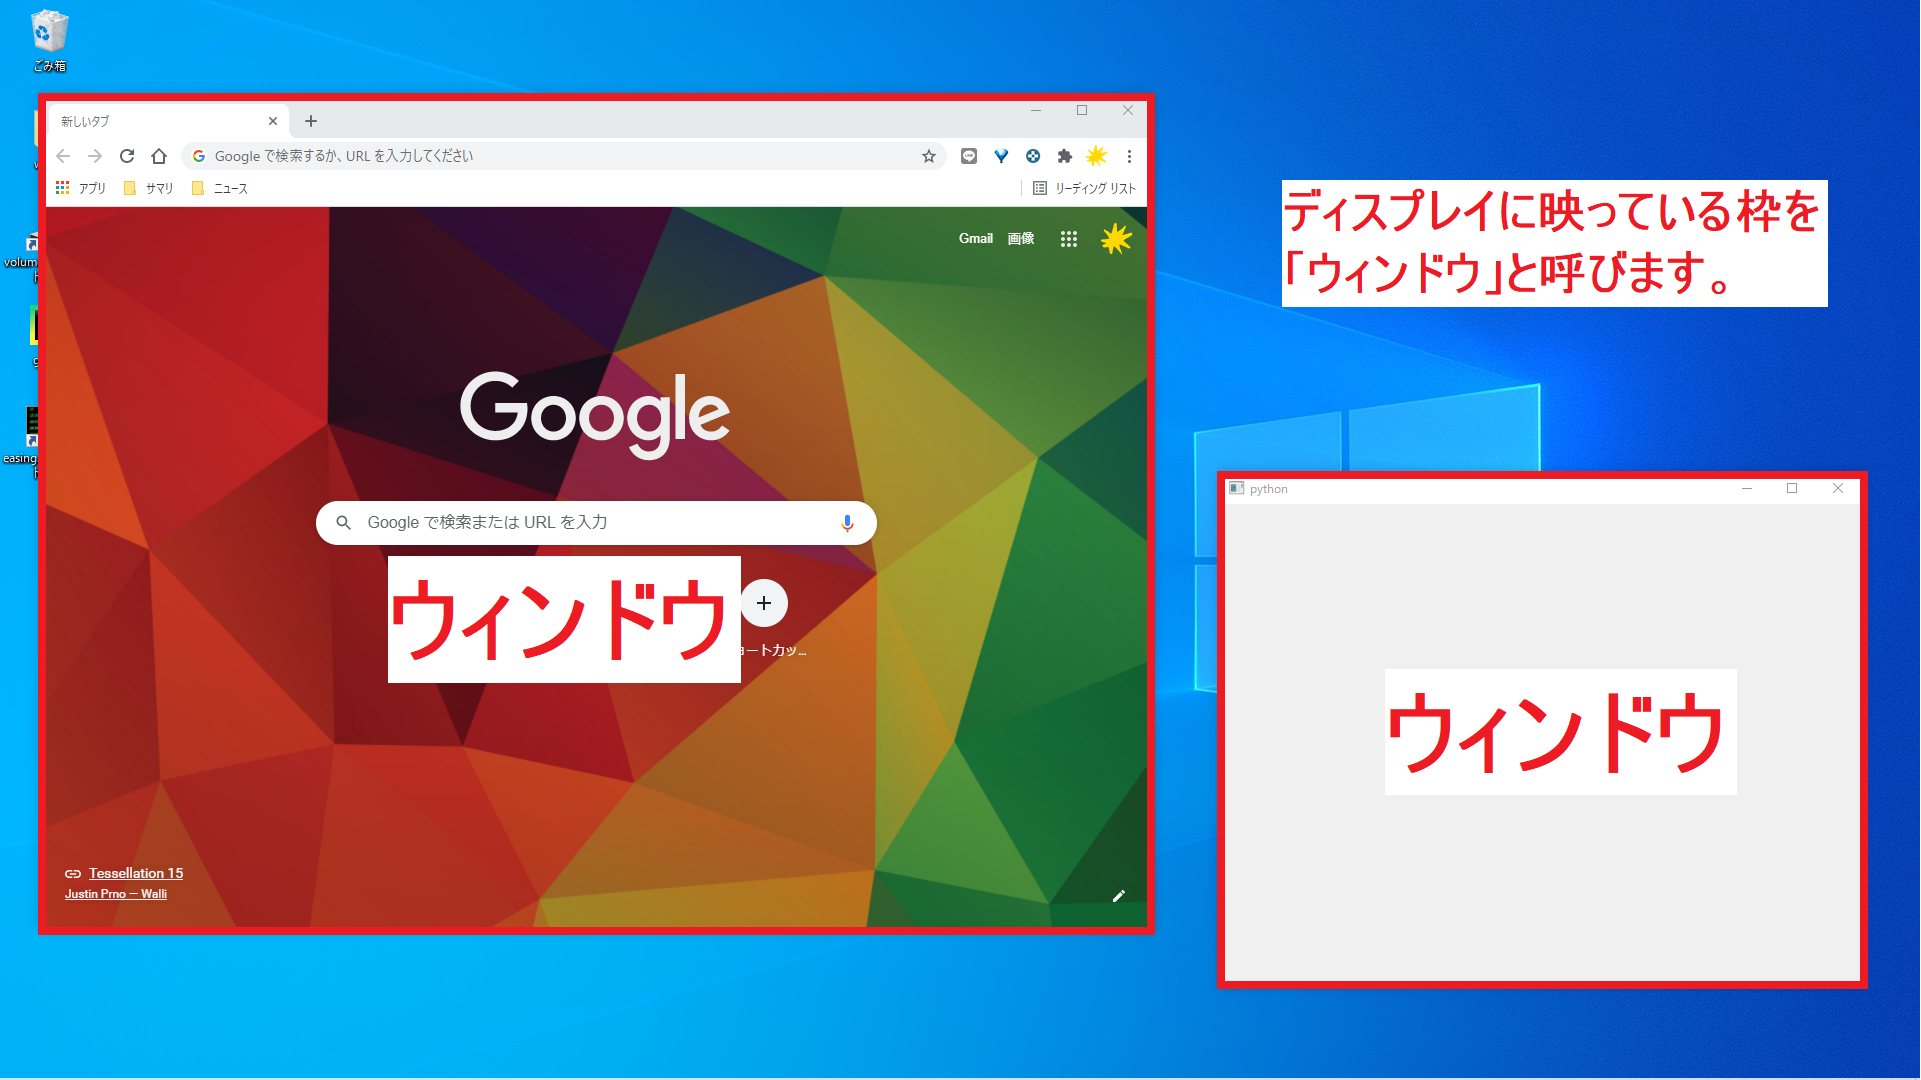
ウィンドウ(Window)
ウェブブラウザやメモ帳などを起動したら、ディスプレイに表示される枠のこと。
言葉よりも見た方が圧倒的に分かりやすいので、以下にウィンドウの参考画像を示します。
ウィジェット(Widget)
ウィンドウの中に表示されているボタンやチェックボックス、入力欄、表示欄など何らかの機能を持った枠のこと。
ザックリ言えば「クリックしたり、選択できる範囲」のことです。

PySide2でウィンドウ操作
ウィンドウを表示する
サンプルプログラム
ウィンドウを表示するだけのプログラムを以下に記載します。
また、以下のコードはサンプルとしてではなく、PySide2のテンプレートやおまじないだと思って暗記しちゃってください。
# PySide2のモジュールを読み込む
from PySide2 import QtWidgets


# ウィンドウの見た目と各機能(今はウィンドウだけ)
class MainWindow(QtWidgets.QWidget):
    def __init__(self):
        super().__init__()


# アプリの実行と終了
app = QtWidgets.QApplication()
window = MainWindow()
window.show()
app.exec_()
実行結果
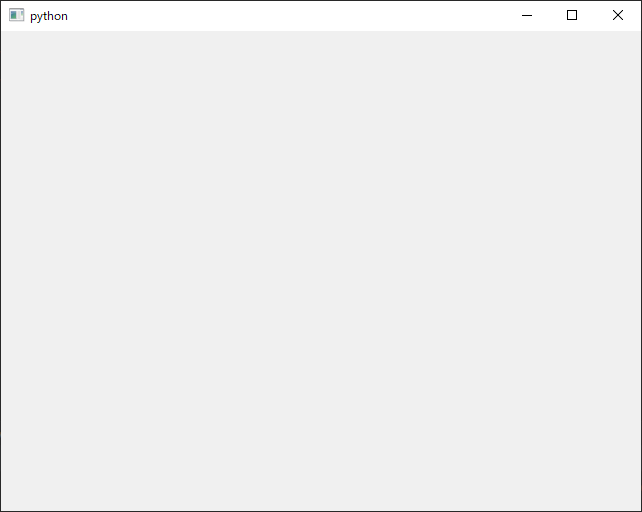
プログラム解説
モジュールの読み込み
PySide2を使用できるように、PySide2モジュールを読み込んでます。
# PySide2のモジュールを読み込む
from PySide2 import QtWidgets
ちなみにQtWidgetsはPySide2のユーザインタフェース(見た目)を処理するモジュールです。
他にどんなモジュールが存在するのか気になる方は、以下のURLを参照してみてください。
Qt Modules
アプリの起動と終了
サンプルプログラムのミソの部分です。
# ウィンドウの見た目と各機能(今はウィンドウだけ)
class MainWindow(QtWidgets.QWidget):  # QtWidgets.QWidgetを必ず継承
    def __init__(self):
        super().__init__()     # 今は気にしなくて良い


# アプリの実行と終了
app = QtWidgets.QApplication() # PySide2で作ったアプリの実行
window = MainWindow()
window.show()                  # ウィンドウを表示
app.exec_()                    # PySide2で作ったアプリの終了
ポイントごとに説明していきます。
まず、以下の2文について。
app = QtWidgets.QApplication() # PySide2で作ったアプリの実行

...(略)

app.exec_()                    # PySide2で作ったアプリの終了
QtWidgets.QApplication()でPySide2を実行します。
「PySide2を使っていくよ」って宣言するようなものです。
.exec_()メソッドは、QtWidgets.QApplication()で実行したPySide2のアプリを終了します。
次に、ウィンドウの処理になります。
class MainWindow(QtWidgets.QWidget):  # QtWidgets.QWidgetを必ず継承

...(略)

window = MainWindow()
window.show()                  # ウィンドウを表示
class MainWindow(QtWidgets.QWidget):のようにQtWidgets.QWidgetを継承したクラスであれば.show()メソッドを実行するだけでウィンドウを表示できます。
起動時のサイズと位置
サンプルプログラム
# PySide2のモジュールを読み込む
from PySide2 import QtWidgets


# ウィンドウの見た目と各機能
class MainWindow(QtWidgets.QWidget):
    def __init__(self):
        super().__init__()
        self.setGeometry(1000, 500, 400, 300)


# アプリの実行と終了
app = QtWidgets.QApplication()
window = MainWindow()
window.show()
app.exec_()
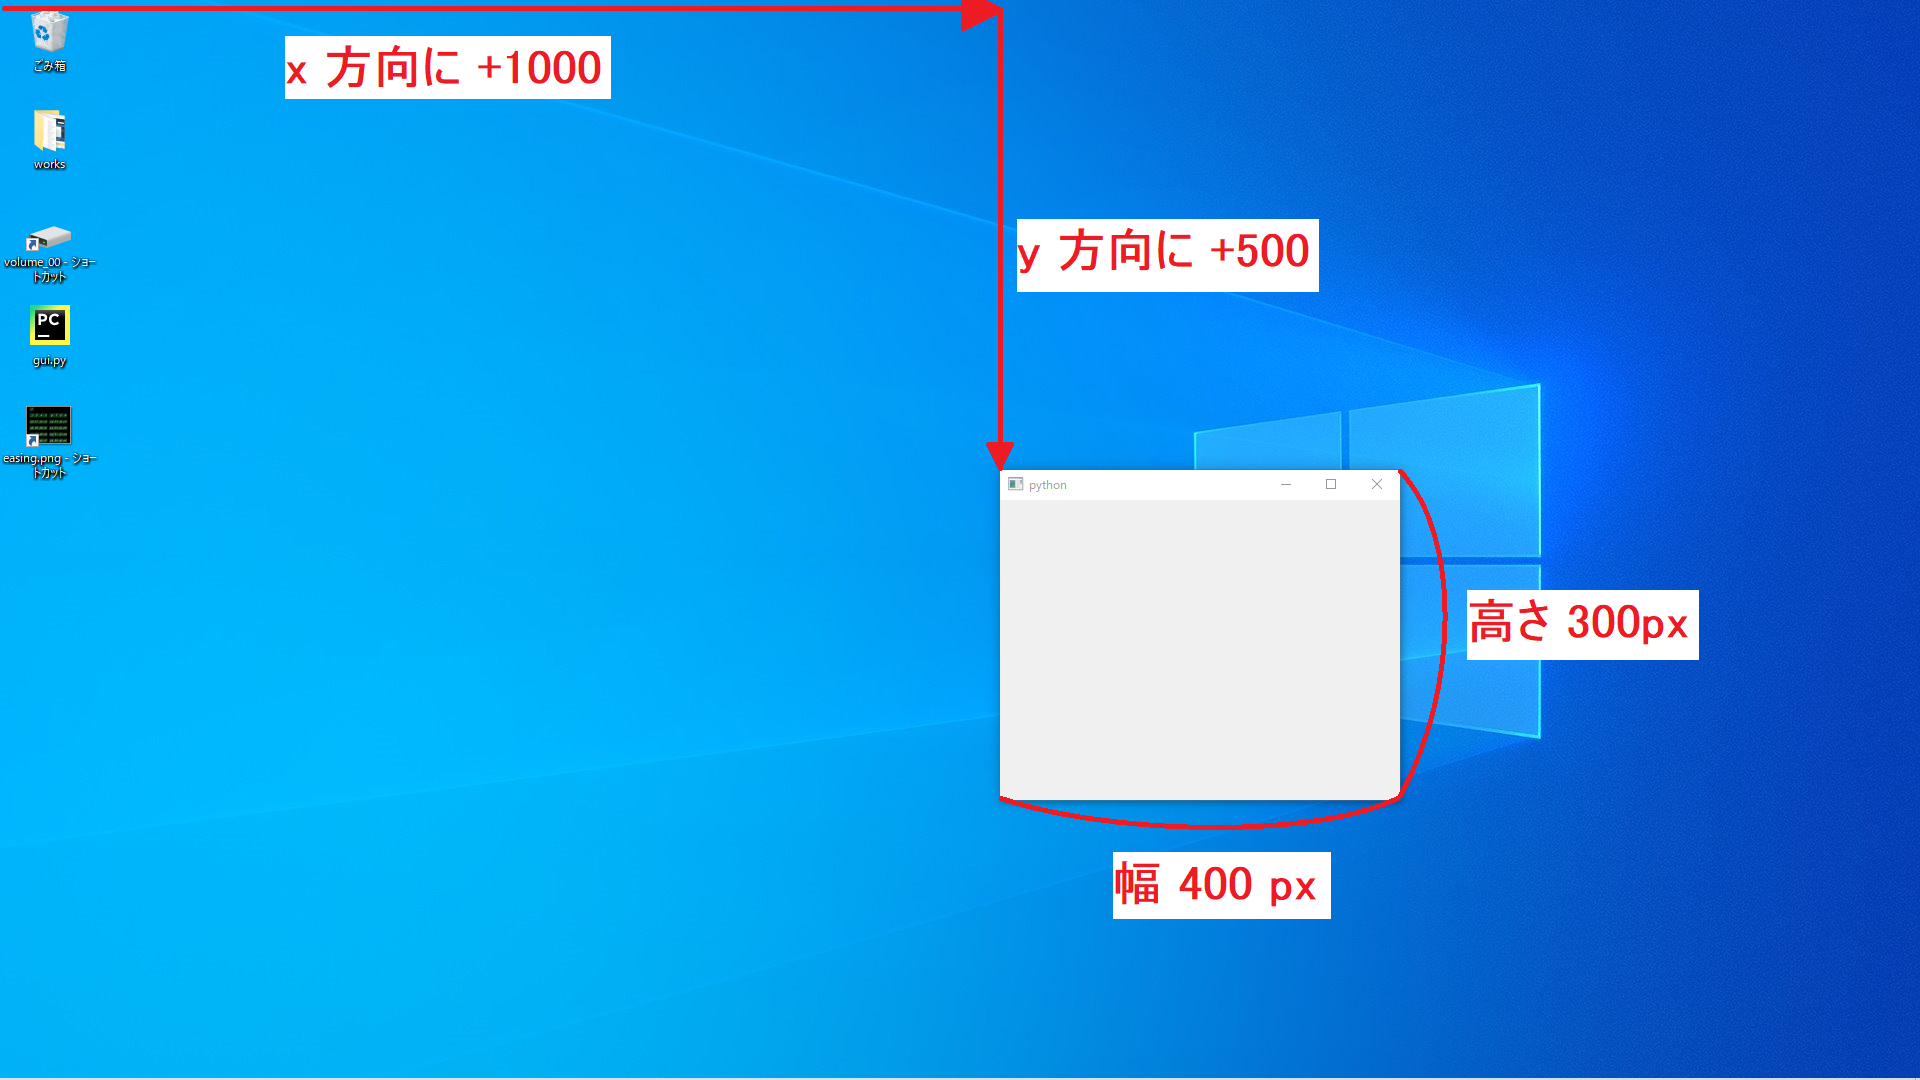
実行結果
プログラム解説
サンプルプログラムのミソの部分です。
# ウィンドウの見た目と各機能
class MainWindow(QtWidgets.QWidget):
    def __init__(self):
        super().__init__()
        self.setGeometry(1000, 500, 400, 300)   # サイズと位置を決定
self.setGeometry(...)で起動時のウィンドウサイズと位置を指定できます。
self.setGeometry(...)の仕様は以下の通りです。
書式:
    QtWidgets.QWidget.setGeometry(x, y, width, height)
引数:
    x: 起動時の x 座標
    y: 起動時の y 座標
    width: 起動時のウィンドウの横幅
    height: 起動時のウィンドウの高さ
ちなみにsetGeometry(x,y,w,h)を使用しない場合、「使用しているPC環境」または「使用ディスプレイ」によって自動的に設定されます。
タイトル
サンプルプログラム
# PySide2のモジュールを読み込む
from PySide2 import QtWidgets


# ウィンドウの見た目と各機能
class MainWindow(QtWidgets.QWidget):
    def __init__(self):
        super().__init__()
        self.setWindowTitle("PySide2をゼロから学んでいく")


# アプリの実行と終了
app = QtWidgets.QApplication()
window = MainWindow()
window.show()
app.exec_()
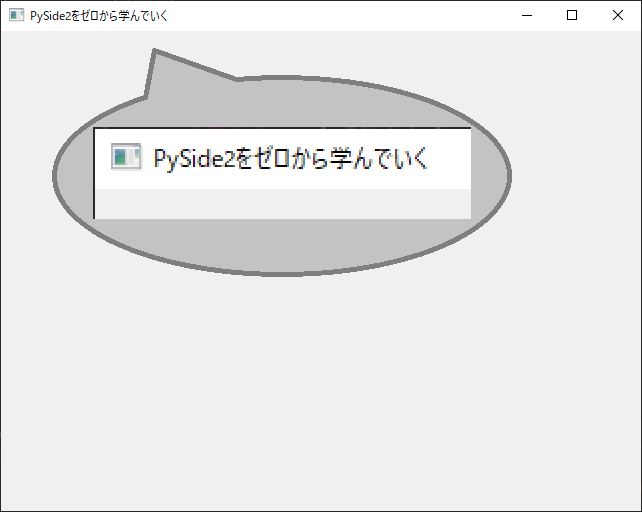
実行結果
プログラム解説
サンプルプログラムのミソの部分です。
# ウィンドウの見た目と各機能
class MainWindow(QtWidgets.QWidget):
    def __init__(self):
        super().__init__()
        self.setWindowTitle("PySide2をゼロから学んでいく")
self.setWindowTitle(...)でタイトルを指定できます。
self.setWindowTitle(...)の仕様は以下の通りです。
書式:
    QtWidgets.QWidget.setWindowTitle("title")
引数:
    title: ウィンドウタイトルに指定した文字列
背景色を変更する
サンプルプログラム
# PySide2のモジュールを読み込む
from PySide2 import QtWidgets


# ウィンドウの見た目と各機能
class MainWindow(QtWidgets.QWidget):
    def __init__(self):
        super().__init__()
        self.setStyleSheet("background-color:gray")


# アプリの実行と終了
app = QtWidgets.QApplication()
window = MainWindow()
window.show()
app.exec_()
実行結果
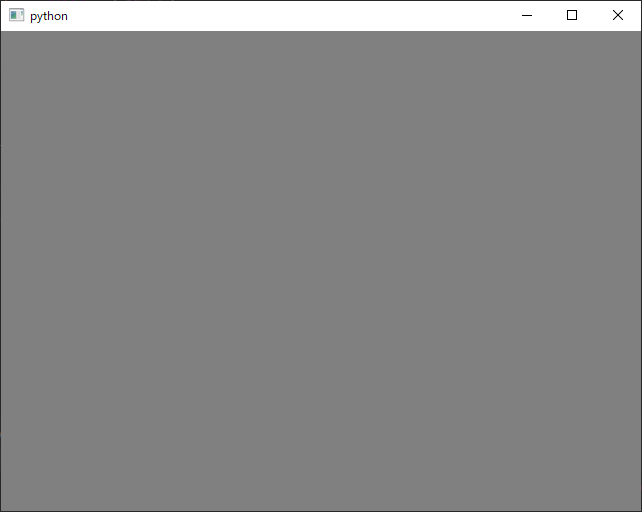
プログラム解説
サンプルプログラムのミソの部分です。
# ウィンドウの見た目と各機能
class MainWindow(QtWidgets.QWidget):
    def __init__(self):
        super().__init__()
        self.setStyleSheet("background-color:gray")  # 背景を灰色にする
self.setStyleSheet(...)で背景色を指定できます。
self.setStyleSheet(...)の仕様は以下の通りです。
書式:
    QtWidgets.QWidget.setStyleSheet("background-color:<背景色>")
引数:
    background-color:<背景色>
        <背景色>に設定したいカラーコードを指定します。

        サンプルプログラムのように"gray"とスペルで指定することもできるが、
        "background-color:#ff0000"のようにRGB形式でも指定できます。
<背景色>の指定するカラーコードの詳細は以下のURLから調べられます。
http://www.netyasun.com/home/color.html
参考
PySide2のモジュール(公式リファレンス)
- PySide2モジュールのリファレンス
https://doc.qt.io/qtforpython-5/api.html