はじめに
graphQLを用いた開発がしたいと思い、調べたところAWS Amplifyというものがあり、どうやら良さげな感じがしたので開発してみました。。
無料枠なら、個人で大抵のことなら無料でできそうです。(料金がかかるのが嫌な人でも、プロジェクトの削除が簡単なのでやるだけなら損はないです。<-ちなみに、私は絶対無料派です笑)
今回簡易blogを作成していきます。
少し長くなりそうなので、3~4段階に分けて記事書きます🙇🏻♂️🙇🏻♂️
AWS Amplifyとは

AWS Amplify は、それぞれを連携させたり個別で使用したりできる、ツールとサービスのセットです。これらの機能により、フロントエンドウェブおよびモバイルのデベロッパーが、AWS によるスケーラブルなフルスタックアプリケーションをビルドできるようにします。Amplify を使用するお客様は、数分の内にバックエンドを構成しアプリケーションと接続でき、また、静的なウェブアプリケーションのデプロイは数クリックだけで実行できます。さらに、AWS コンソールの外部でも、簡単にアプリケーションコンテンツの管理が行えます。
Amplify では、一般的なウェブフレームワーク (JavaScript、React、Angular、Vue、Next.js) やモバイルプラットフォーム (Android、iOS、React Native、Ionic、Flutter (プレビュー)) がサポートされています。AWS Amplify で迅速な市場投入を実現してください。
↑公式より抜粋
前提
- awsのアカウントを持っている(初学者はできれば無料枠期間内が良い)
*個人なら有料枠でも大して課金されない。(無料の可能性もある)
- npmコマンドが使える
- vueかnuxt触っているとやりやすいかも!!
今回やること
- プロジェクト作成
- 実装(ほとんどフロントのみ)
- 公開
バックエンドはAWS Amplifyがやってくれるので今回の開発で必要なのは、フロントの構築のみです。
と言いますのも、AWS Amplify事態graphQLで動いていて、さらにコマンドでインストール等ができます。その際対話形式でインストールを行い、ほぼ自動でバックエンドを実装してくれます。。
やばいっすよね笑笑
実装内容
- 私が今回作成したフロントとバックエンドの様子↓
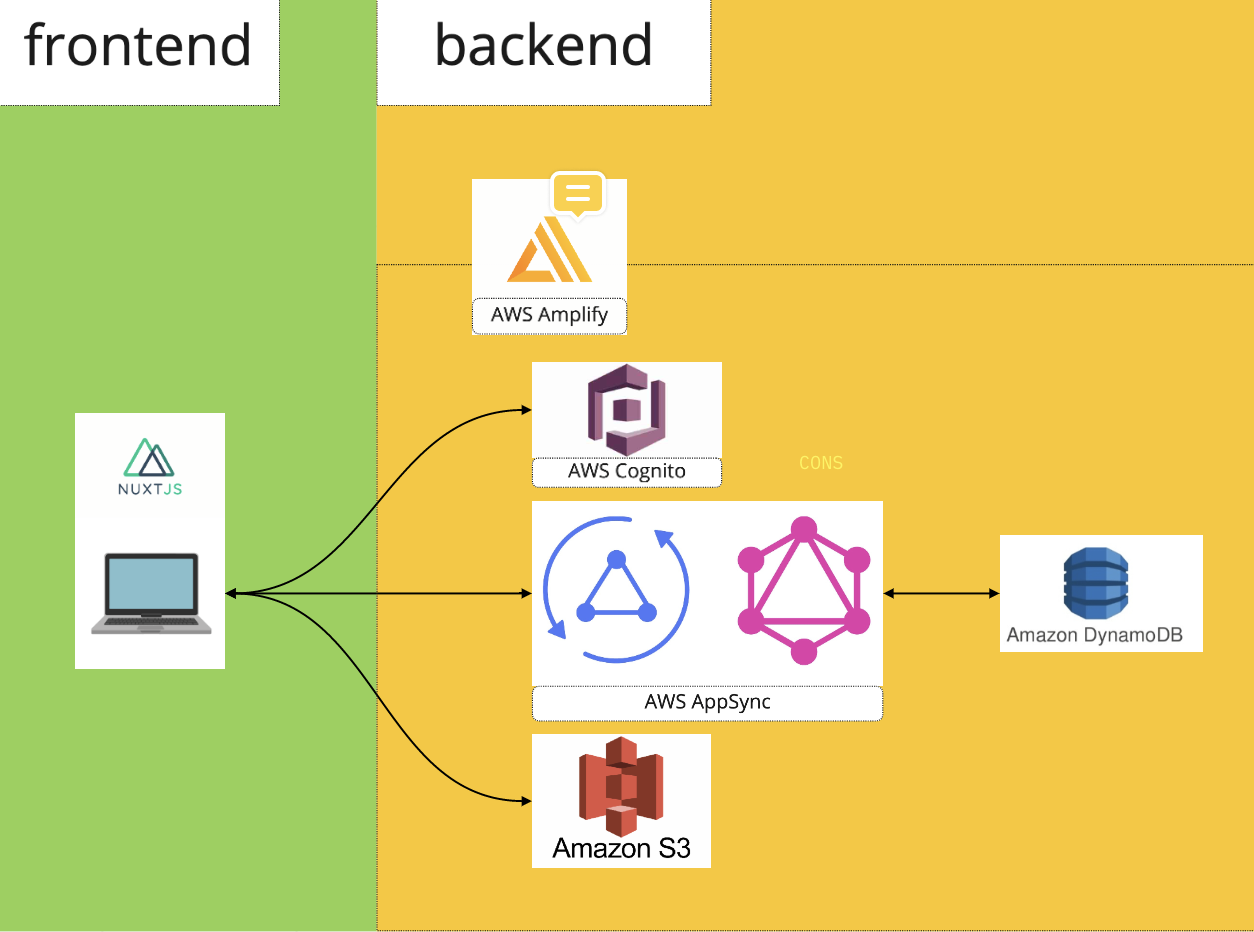
AWS Cognito
Amazon Cognito を使用すれば、ウェブアプリケーションおよびモバイルアプリに素早く簡単にユーザーのサインアップ/サインインおよびアクセスコントロールの機能を追加できます。Amazon Cognito は、数百万人のユーザーにスケールし、Apple、Facebook、Google、Amazon などのソーシャル ID プロバイダー、SAML 2.0 および OpenID Connect によるエンタープライズ ID プロバイダーを使用したサインインをサポートします。
公式より抜粋
要するに、認証機能です。
AWS AppSync
AWS AppSync は、GraphQL API の開発を容易にする、完全マネージド型サービスです。このサービスは、AWS DynamoDB や Lambda、その他のデータソースとの安全な接続に必要な、面倒な作業を自動的に処理します。パフォーマンスを向上させるためのキャッシュや、リアルタイムの更新を可能にするためのサブスクリプション、そして、オフラインのクライアントを簡単に同期できるようにするクライアント側のデータストアなどが、簡単に利用できるようになります。デプロイが完了すると、API リクエストのボリュームに合わせた GraphQL API 実行エンジンの自動的なスケールアップとダウンが、AWS AppSync により行われます。
公式より抜粋
AWS S3
ストレージです。
今回は画像の保存取得に用います。
AWS DynamoDB
データベースです。
実装開始(プロジェクト作成編)
**作成はドキュメントにしたがっていることが多いので、気になる方はドキュメントを参考にしてください。
AWS Amplify初期設定
はじめにAmplifyのCLIをインストールします
% npm install -g @aws-amplify/cli
これでamplifyコマンドが利用できるようになります。
次にamplifyのセットアップを行います。以下のコマンドを実行します。
% amplify configure
awsのページが開かれると思います。ログインしてください👍
ターミナルに戻って、画面を見るとenterを押すように指示があるので押します。
Follow these steps to set up access to your AWS account:

Sign in to your AWS administrator account:
https://console.aws.amazon.com/
Press Enter to continue
質問に答えていきましょう。
Specify the AWS Region
? region:  ap-northeast-1     // ap-northeast-1(東京)を指定
Specify the username of the new IAM user:
? user name:  admin-app   // <- ユーザ名なのでなんでも良いです
次に、awsのIAMユーザ作成画面が開かれます。
IAMユーザの作成完了画面へ行ったら、csvダウンロード等をしてそのファイルを開いておいてください。
(セキュリティ上シークレットキーは絶対自分以外みてはいけないです。)
csvファイルが開いたら、ターミナルへ戻り、指示に従って入力していきます。
Press Enter to continue

Enter the access key of the newly created user:
? accessKeyId:  ********************                          // <-csvファイル参照
? secretAccessKey:  ****************************************  // <-csvファイル参照
This would update/create the AWS Profile in your local machine
? Profile Name:  blog       // <-defaultでもいいですが、名前をつけました。

Successfully set up the new user.
これで、amplifyのセットアップ完了です。
Nuxtの導入&Amplifyとコラボ
Nuxtの前提条件
- node - v10.13 以上 最新の LTS バージョンのインストールをおすすめします。
- テキストエディタは Vetur 拡張機能をインストールした VS Code か WebStorm をおすすめします。
- ターミナルは VS Code の統合ターミナルまたは WebStorm ターミナルを使うことをおすすめします。
公式より抜粋
create-nuxt-appしましょう。
% npm init nuxt-app <project-name>
<project-name>はなんでも良いです。
私は、以下のようにしました。
% npm init nuxt-app blog
↓実行
✨  Generating Nuxt.js project in blog
? Project name: blog
? Programming language: JavaScript
? Package manager: Npm
? UI framework: Vuetify.js
? Nuxt.js modules: Axios
? Linting tools: ESLint, Prettier
? Testing framework: Jest
? Rendering mode: Universal (SSR / SSG)
? Deployment target: Static (Static/JAMStack hosting)
? Development tools: jsconfig.json (Recommended for VS Code if you're not using typescript)
? Continuous integration: None
? Version control system: Git
インストール完了後、以下のように出ていると思います。
  To get started:

	cd blog
	npm run dev
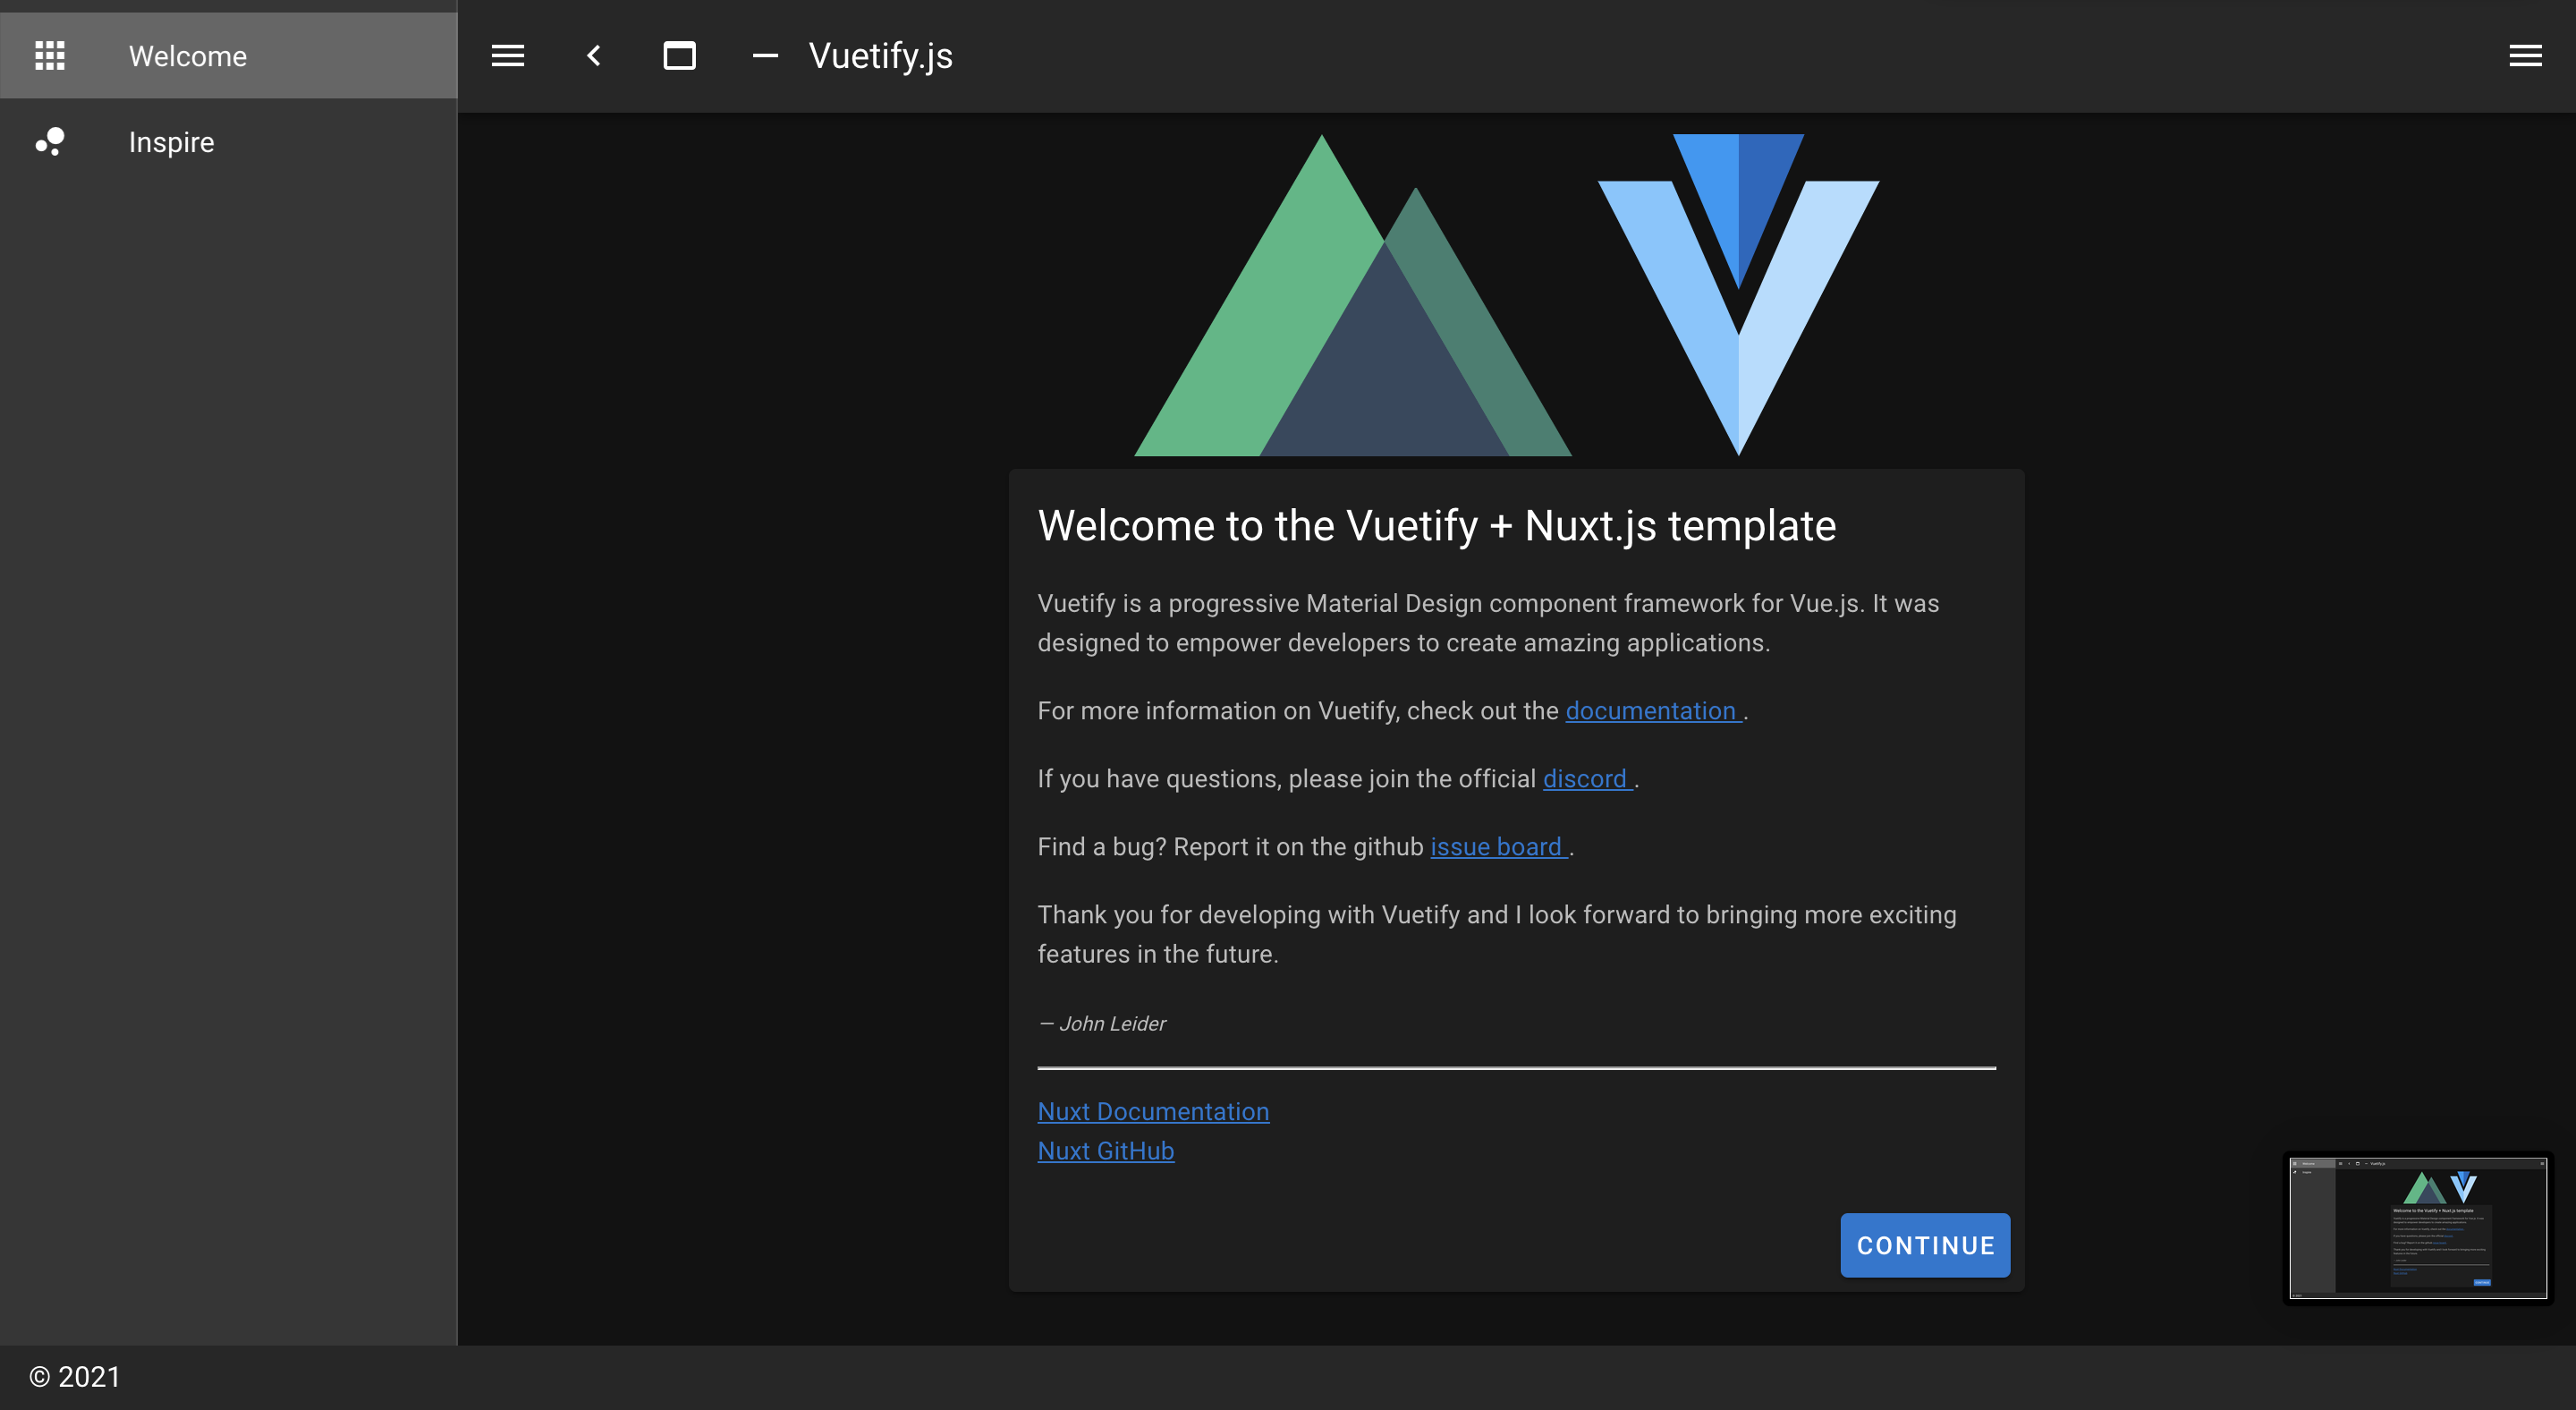
cd blogの後にnom run devコマンドを実行すると、プロジェクトが起動します。
ターミナルで出てきた、urlをブラウザで検索すると以下のような画面になります。
amplifyの導入
以下のコマンドを実行します。
% amplify init
Note: It is recommended to run this command from the root of your app directory
? Enter a name for the project blog
? Enter a name for the environment dev
? Choose your default editor: Visual Studio Code          // <-使っているやつで!!
? Choose the type of app that you're building javascript
Please tell us about your project
? What javascript framework are you using vue
? Source Directory Path:  .
? Distribution Directory Path: dist
? Build Command:  npm run-script build
? Start Command: npm run-script serve
次にどのプロファイルを使用するかを聞かれます。
? Do you want to use an AWS profile? Yes
? Please choose the profile you want to use blog
これでinit終了
次にnuxtのフロント側で使用するamplifyの必要なライブラリをインストールします。
Vue3を使用の場合:
% npm install aws-amplify @aws-amplify/ui-components
Vue2を使用の場合:
% npm install aws-amplify @aws-amplify/ui-vue
バージョンはnpm list vueで確認できます。
参考
インストール完了したら、作成したblogプロジェクトをvscodeで開きます。
/pluginsでamplify.jsファイルを作成して以下のコードを貼ります。
import Vue from 'vue'
import Amplify from 'aws-amplify'
import '@aws-amplify/ui-vue'
import awsExports from '../aws-exports'

Amplify.configure(awsExports)
Vue.use(Amplify)
次にnuxt.config.jsファイルに記述します。
// 略
plugins: [{ src: '~/plugins/amplify.js', ssr: false }],
// 略
ここで、もう一度npm run devしてみてください。
これでエラーが出なければ大丈夫です。
amplifyでAPIを作成し、デプロイする
amplifyでAPIを作成していきます。
ターミナルで以下のように実行してください。
% amplify add api
// APIが聞かれる
? Please select from one of the below mentioned services: GraphQL
// apiの名前
? Provide API name: blog
// 認証方法
? Choose the default authorization type for the API API key
? Enter a description for the API key: blog

? After how many days from now the API key should expire (1-365): 7
? Do you want to configure advanced settings for the GraphQL API No, I am done.
// スキーマファイルが存在するか
? Do you have an annotated GraphQL schema? No
// スキーマファイルのテンプレートです。どちらでも良いです。
? Choose a schema template: Single object with fields (e.g., “Todo” with ID, name, description)
// 今すぐスキーマファイルを編集するのか。どっちでもいいです。vscord手動で開くか、自動で開くかなので
? Do you want to edit the schema now? No
はいこれで、apiが追加されました。編集していきましょう。
amplify/backend/api/blog/schema.graphql
type Blog @model {
  id: ID!
  title: String!
  image_url: String
  content: String
}
参考
フロントでのAPIの設定をサーバーサイドに反映させて実際にAPIを作成します。
amplify push
.....
Current Environment: dev

| Category | Resource name | Operation | Provider plugin   |
| -------- | ------------- | --------- | ----------------- |
| Api      | blog          | Create    | awscloudformation |
// 続けますか
? Are you sure you want to continue? Yes
.....
新しく作成したGraphQL APIのコードを生成しますか?
? Do you want to generate code for your newly created GraphQL API Yes
コード生成言語のターゲットを選択します。
? Choose the code generation language target javascript
GraphQLクエリ、ミューテーション、サブスクリプションのファイル名パターンを入力します。
? Enter the file name pattern of graphql queries, mutations and subscriptions src/graphql/**/*.js
クエリ、ミューテーション、サブスクリプションなど、すべての可能な GraphQL 操作を生成/更新しますか?
? Do you want to generate/update all possible GraphQL operations - queries, mutations and subscriptions Yes
ステートメントの最大深度を入力します。
? Enter maximum statement depth [increase from default if your schema is deeply nested] 2
実はこれだけで、APIの作成終わりです。今の操作でcrud操作できるようになりました。
実際にpushされたかを確認する
% amplify status

Current Environment: dev

| Category | Resource name | Operation | Provider plugin   |
| -------- | ------------- | --------- | ----------------- |
| Api      | blog          | No Change | awscloudformation |
GraphQL endpoint: *********************************
GraphQL API KEY: **************
できていました👏
認証機能の導入
% amplify add auth
 Do you want to use the default authentication and security configuration? Default configuration
 Warning: you will not be able to edit these selections. # 以下の設定は設定後の変更不可
 How do you want users to be able to sign in? Email
 Do you want to configure advanced settings? No, I am done.
% amplify push
? Are you sure you want to continue? Y
認証機能の追加を行いました。
Part1はここまで!!
フロントの実装をPart2、3でやります。