自動運転シミュレータのLGSVLを動かすには、GPUが必要です。GPUが付いているPCでAutowareと自動運転シミュレータLGSVLをインストールします。
目次
環境
- AsRock DeskMini GTX1060(Z370)
- Core i9-9900 (3.10GHz 8core 16thread)
- メモリー32GB
- NVIDIA GeForce GTX 1060 Mobile(6GB GDDR5)
- Ubuntu 18.04.5
- ROS Melodic
- Qt Creator 4.9.2
- Autoware 1.14.0
- LGSVL 2020.05
参考
Ubuntu18.04にNVIDIA GeForce GTX 1060 Mobileをインストール
- GPU認識を確認
$ lspci | grep -i nvidia

01:00.0 VGA compatible controller: NVIDIA Corporation GP106M [GeForce GTX 1060 Mobile] (rev a1)
01:00.1 Audio device: NVIDIA Corporation GP106 High Definition Audio Controller (rev a1)
- NVIDIAのパッケージレポジトリを追加
wget https://developer.download.nvidia.com/compute/cuda/repos/ubuntu1804/x86_64/cuda-repo-ubuntu1804_10.0.130-1_amd64.deb
sudo dpkg -i cuda-repo-ubuntu1804_10.0.130-1_amd64.deb
sudo apt-key adv --fetch-keys https://developer.download.nvidia.com/compute/cuda/repos/ubuntu1804/x86_64/7fa2af80.pub
sudo apt-get update
wget http://developer.download.nvidia.com/compute/machine-learning/repos/ubuntu1804/x86_64/nvidia-machine-learning-repo-ubuntu1804_1.0.0-1_amd64.deb
sudo apt install ./nvidia-machine-learning-repo-ubuntu1804_1.0.0-1_amd64.deb
sudo apt-get update
- GPU driverを確認
$ sudo add-apt-repository ppa:graphics-drivers/ppa
$ sudo apt update
$ ubuntu-drivers devices

== /sys/devices/pci0000:00/0000:00:01.0/0000:01:00.0 ==
modalias : pci:v000010DEd00001C20sv00001B0Asd000022BEbc03sc00i00
vendor   : NVIDIA Corporation
model    : GP106M [GeForce GTX 1060 Mobile]
driver   : nvidia-driver-415 - third-party free
driver   : nvidia-driver-450 - third-party free recommended
driver   : nvidia-driver-418-server - distro non-free
driver   : nvidia-driver-440-server - distro non-free
driver   : nvidia-driver-435 - distro non-free
driver   : nvidia-driver-390 - distro non-free
driver   : nvidia-driver-410 - third-party free
driver   : xserver-xorg-video-nouveau - distro free builtin

== /sys/devices/pci0000:00/0000:00:1c.5/0000:04:00.0 ==
modalias : pci:v00008086d00002526sv00008086sd00000014bc02sc80i00
vendor   : Intel Corporation
manual_install: True
driver   : backport-iwlwifi-dkms - distro free
- セキュアブートを無効
PC起動した際にF2を押してからBios設定でセキュアブートを無効に設定します。
- 推奨ドライバーをインストール
sudo apt install nvidia-driver-450 nvidia-settings
- ubuntuにデフォルトで動いているnouveauドライバを無効化
$ sudo bash -c "echo blacklist nouveau > /etc/modprobe.d/blacklist-nvidia-nouveau.conf"
$ sudo bash -c "echo options nouveau modeset=0 >> /etc/modprobe.d/blacklist-nvidia-nouveau.conf"
$ sudo update-initramfs -u
$ sudo reboot
確認は以下のコマンドでできる。何も表示されなければnouveauが無効化されいている。
$ lsmod | grep -i nouveau
- nvidia-smiで確認
$ nvidia-smi

+-----------------------------------------------------------------------------+
| NVIDIA-SMI 450.66       Driver Version: 450.66       CUDA Version: 11.0     |
|-------------------------------+----------------------+----------------------+
| GPU  Name        Persistence-M| Bus-Id        Disp.A | Volatile Uncorr. ECC |
| Fan  Temp  Perf  Pwr:Usage/Cap|         Memory-Usage | GPU-Util  Compute M. |
|                               |                      |               MIG M. |
|===============================+======================+======================|
|   0  GeForce GTX 1060    Off  | 00000000:01:00.0  On |                  N/A |
| N/A   44C    P8     9W /  N/A |    769MiB /  6077MiB |      0%      Default |
|                               |                      |                  N/A |
+-------------------------------+----------------------+----------------------+

+-----------------------------------------------------------------------------+
| Processes:                                                                  |
|  GPU   GI   CI        PID   Type   Process name                  GPU Memory |
|        ID   ID                                                   Usage      |
|=============================================================================|
|    0   N/A  N/A      1165      G   /usr/lib/xorg/Xorg                 40MiB |
|    0   N/A  N/A      1241      G   /usr/bin/gnome-shell               48MiB |
|    0   N/A  N/A      1699      G   /usr/lib/xorg/Xorg                381MiB |
|    0   N/A  N/A      1828      G   /usr/bin/gnome-shell              220MiB |
|    0   N/A  N/A      2176      G   ...AAAAAAAAA= --shared-files       72MiB |
+-----------------------------------------------------------------------------+
CUDA 10.0 Toolkitをインストール
- Eigenをアップデート
$ sudo apt install cmake
$ cd && wget https://gitlab.com/libeigen/eigen/-/archive/3.3.7/eigen-3.3.7.tar.gz
$ mkdir eigen && tar --strip-components=1 -xzvf eigen-3.3.7.tar.gz -C eigen
$ cd eigen && mkdir build && cd build && cmake .. && make && sudo make install
- CUDA 10.0 と cuDNNのインストール
sudo apt-get install -y --no-install-recommends cuda-10-0 libcudnn7 libcudnn7-dev
- TensorRTのインストール
sudo apt-get install nvinfer-runtime-trt-repo-ubuntu1804-5.0.2-ga-cuda10.0
sudo apt-get update
sudo apt-get install -y --no-install-recommends libnvinfer-dev
LGSVL Simulatorをインストール
- git lfsをインストール
sudo apt-get install git-lfs
sudo apt update && sudo apt install ros-$ROS_DISTRO-image-transport-plugins
- autoware-dataをダウンロード
mkdir ~/shared_dir
cd ~/shared_dir
git clone https://github.com/lgsvl/autoware-data.git
- LGSVL Simulatorをダウンロード
最新リリース版をダウンロードします。
lgsvlsimulator-linux64-2020.05.zip
- 解凍して実行
$ cd lgsvlsimulator-linux64-2020.05
$ ./simulator
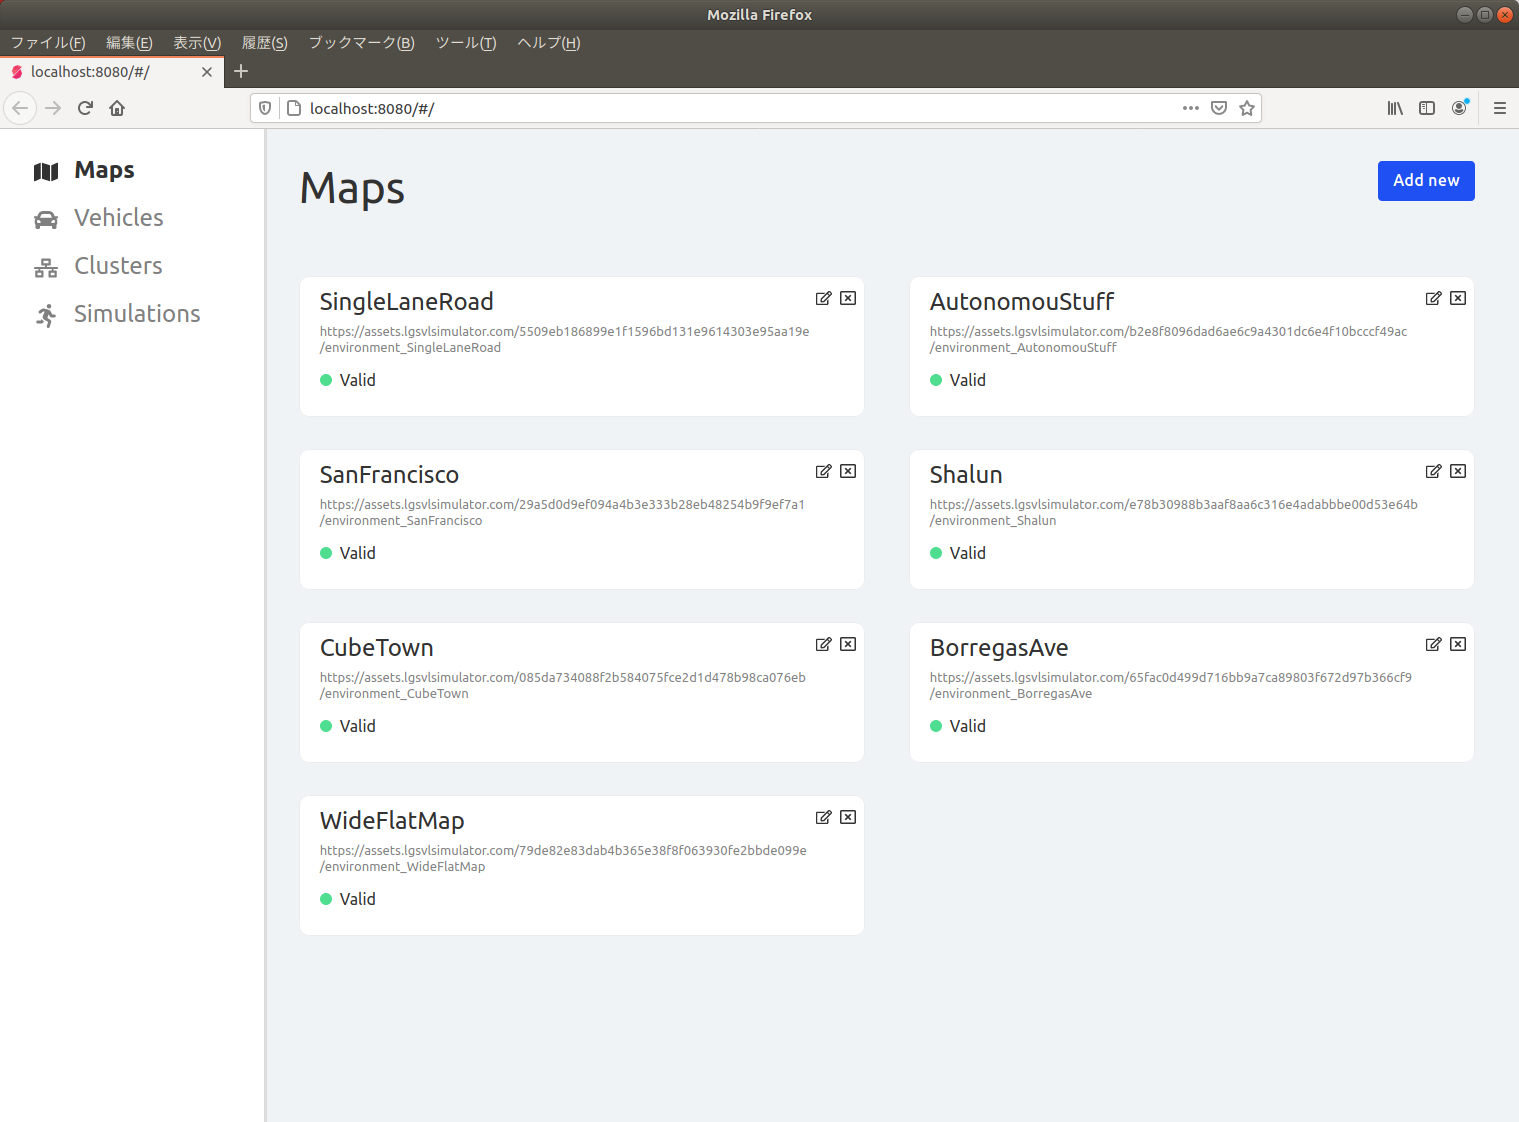
[Open Browser]押してログインしてから管理画面を表示します。

