Ubuntu18.04にAutoware.AIをインストールしてROSBAG Demoの実行をします。
目次
動作環境
- MacBookPro A1708 (Core i7, 16GB RAM, 512GB SSD)
- Ubuntu 18.04
- ROS Melodic
- Qt Creator 4.9.2
- Autoware 1.14.0
Autoware.AIのソースからインストール
基本的に公式のソースからインストール手順参考します。
- System dependencies for Ubuntu 18.04 / Melodic
$ sudo sh -c 'echo "deb http://packages.ros.org/ros/ubuntu $(lsb_release -sc) main" > /etc/apt/sources.list.d/ros-latest.list'
$ sudo apt-key adv --keyserver 'hkp://keyserver.ubuntu.com:80' --recv-key C1CF6E31E6BADE8868B172B4F42ED6FBAB17C654
$ sudo apt update
$ sudo apt install git
$ sudo apt install -y python-catkin-pkg python-rosdep ros-melodic-catkin
$ sudo apt install -y python3-pip python3-colcon-common-extensions python3-setuptools python3-vcstool
$ pip3 install -U setuptools
- ソースのコンパイル
$ mkdir -p autoware.ai/src
$ cd autoware.ai
$ wget -O autoware.ai.repos "https://gitlab.com/autowarefoundation/autoware.ai/autoware/raw/1.14.0/autoware.ai.repos?inline=false"
$ vcs import src < autoware.ai.repos
$ sudo rosdep init
$ rosdep update
$ rosdep install -y --from-paths src --ignore-src --rosdistro melodic
$ source /opt/ros/melodic/setup.bash

# With CUDA support
$ AUTOWARE_COMPILE_WITH_CUDA=1 colcon build --cmake-args -DCMAKE_BUILD_TYPE=Release

# Without CUDA Support
$ colcon build --cmake-args -DCMAKE_BUILD_TYPE=Release
Autoware ROSBAG Demoを実行
公式のROSBAG Demo手順を参考したですが、最新Autoware 1.14.0ソースで公式の「Video steps」通りにならないので、
TIER IV ACADEMY自動運転システム構築塾 を参考しました。
- Download Demo data
$ cd ~
$ mkdir .autoware
$ cd .autoware
$ wget https://autoware-ai.s3.us-east-2.amazonaws.com/sample_moriyama_data.tar.gz
$ wget https://autoware-ai.s3.us-east-2.amazonaws.com/sample_moriyama_150324.tar.gz
$ tar zxfv sample_moriyama_150324.tar.gz
$ tar zxfv sample_moriyama_data.tar.gz
- Autowareを起動
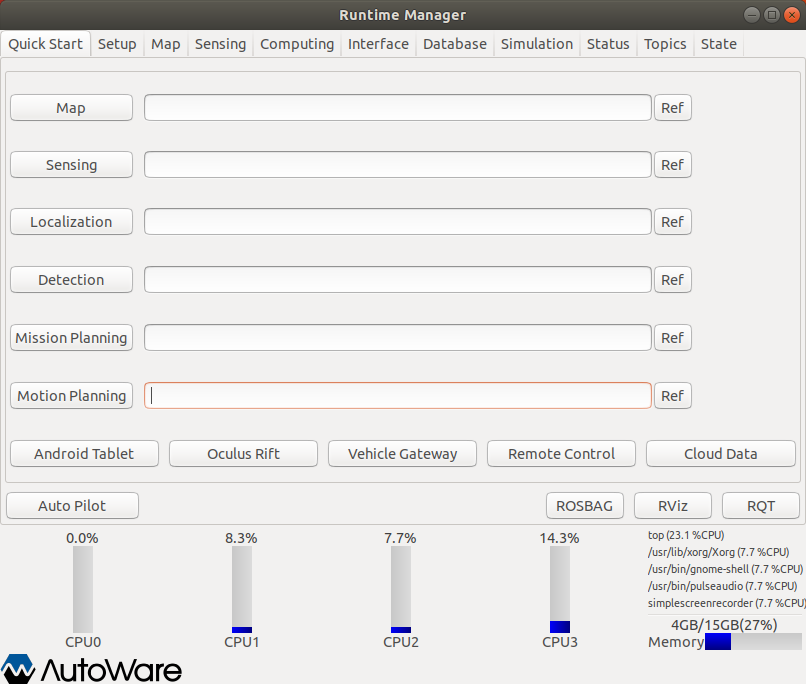
$ roslaunch runtime_manager runtime_manager.launch
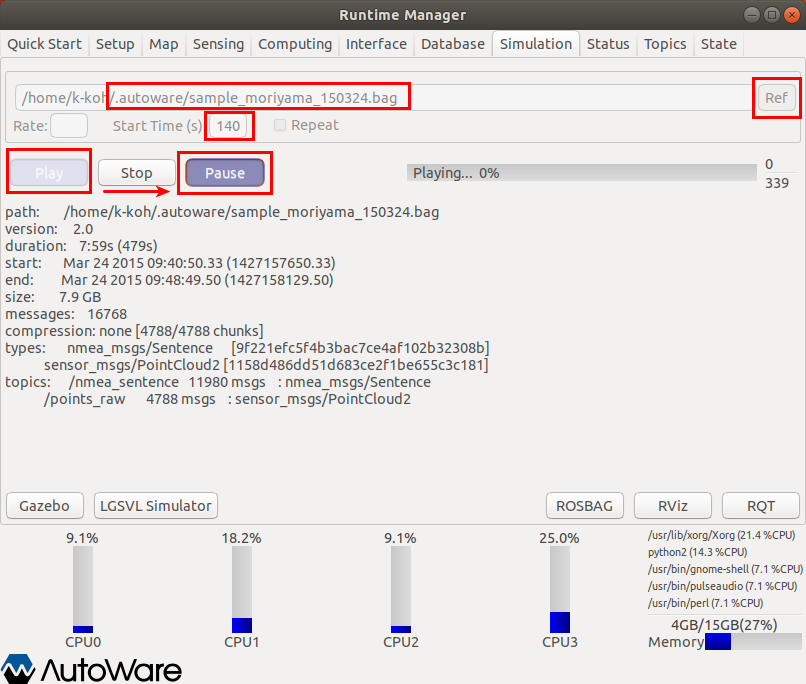
- Load sample ROSBAG data
Simulation tabで「.autoware/sample_moriyama_150324.bag」 を選択
Set the start time to 140, then click Play and Pause just after it has started playing
- Launch RViz
1. Launch RViz through the RViz button
2. Load default.rviz(File -> Open Config)
autoware/documentation/autoware_quickstart_examples/config/default.rviz
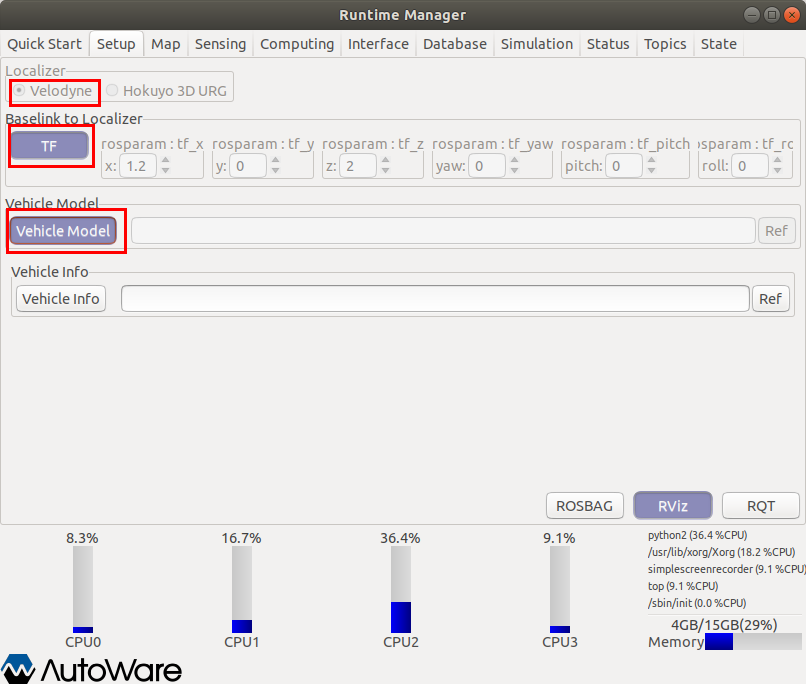
- Setup tabでTFとVehicle Modelを設定
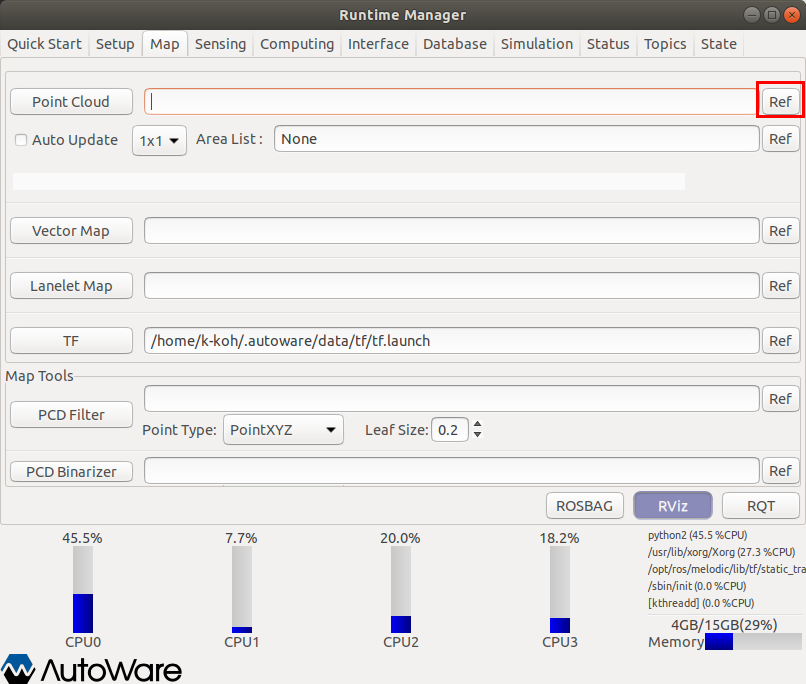
- Map tabでPoint CloudをロードとTF設定
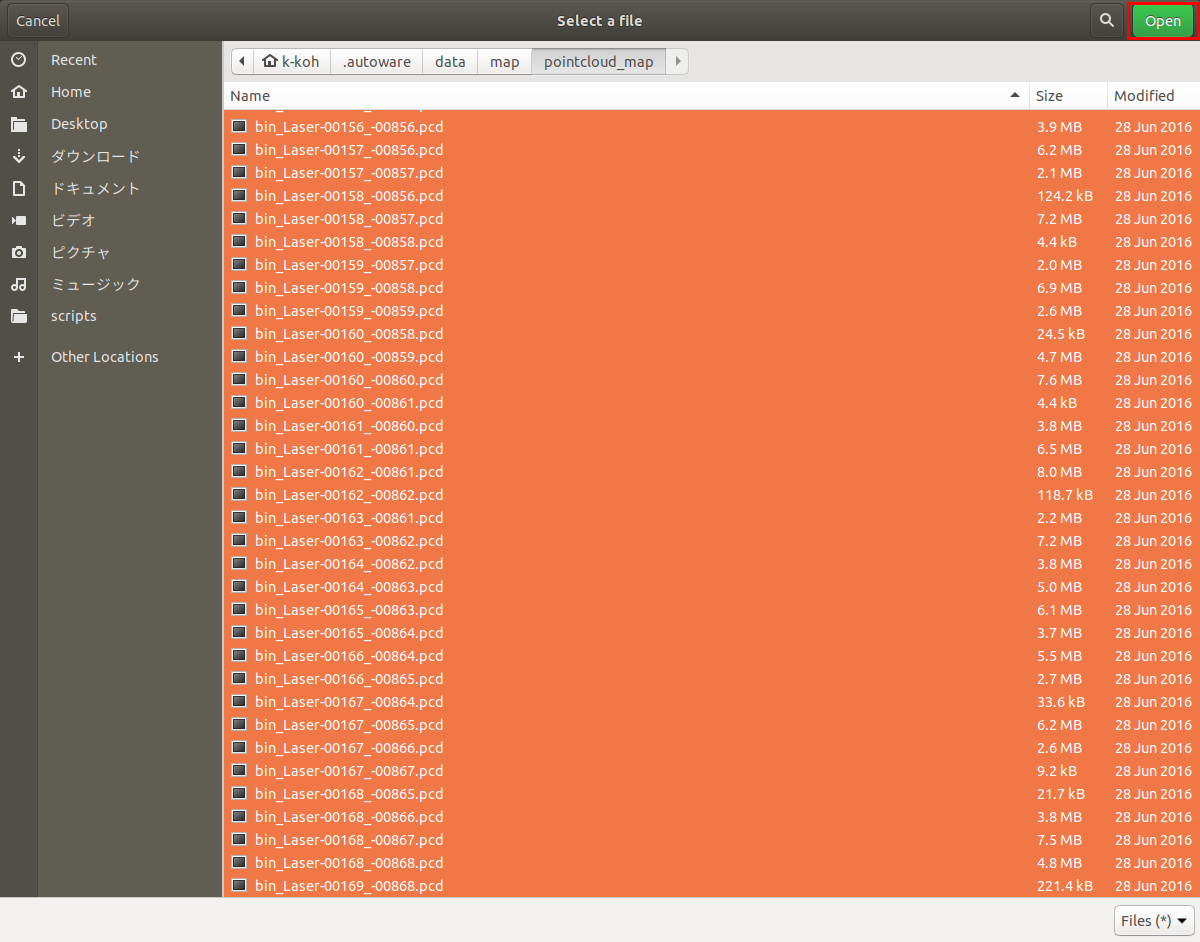
Point CloudのRefより「.autoware/data/map/pointcloud_map」 に遷移
pcdファイルを全選択してOpen
Point CloudとTFを選択して設定
- Sensing tabでvoxel_grid_filterを選択
- Computing tabでnmea2tfpose と ndt_matching を選択
- Simulation tabで一時PauseしたRosbagを解除
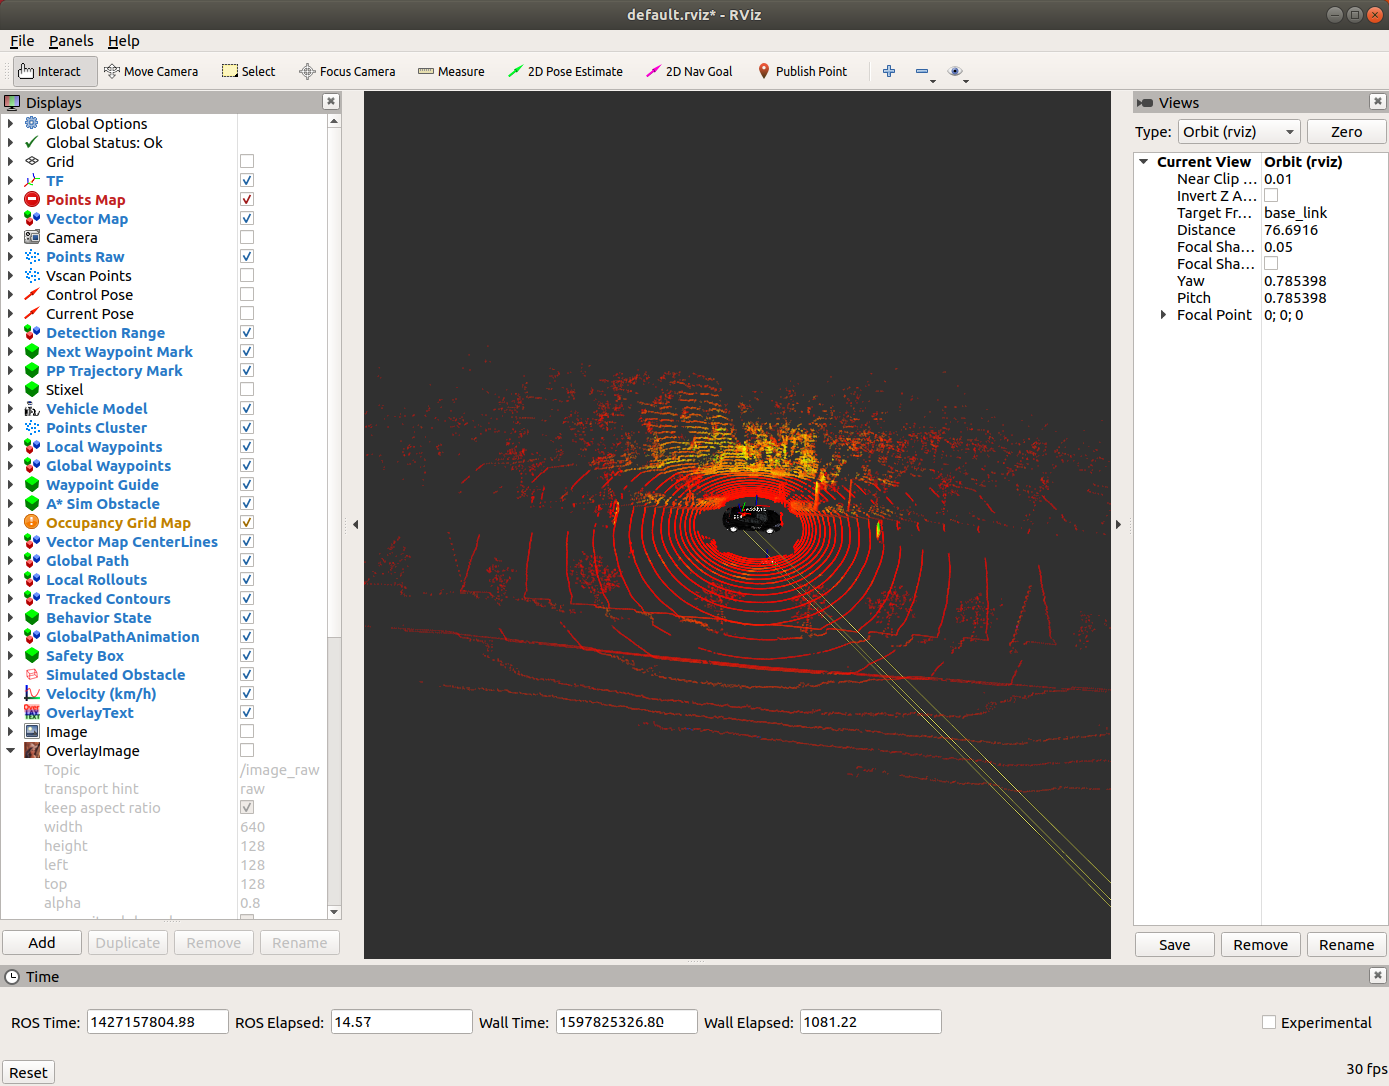
- RvizでVehicle ModelとSensingが表示される
- RvizでPoints Mapを表示
「Points Map」のチェックボックスを一度外してから付けるとPoints Mapが表示されます。
