はじめに
前回まででminishiftでDjango2を動作させるところまで来ました
- Win10環境でDjango2のREST APIを試してみる
- minishift V1.28.0でDjango2を動かす①:テンプレート確認
- minishift V1.28.0でDjango2を動かす②:テンプレート&s2iソースの作成
- minishift V1.28.0でDjango2を動かす③:s2iソースの修正&ビルド
- minishift V1.28.0でDjango2を動かす④:残課題
- minishift V1.28.0でnginx+gunicorn+Django2を動かす
- minishift V1.28.0でnginx+gunicorn+Django2を動かす。あっcreatesuperuser忘れてた(笑)
- openshiftに対応するためのDjango2コーディング時に気を付けるべき点
課題点
- URLのTOPでhealthコンテンツがでるのはなんだか恥ずかしい
- templateで定義したDJANGO_SECRET_KEYを使っていない
- s2i時に指定する環境変数の動き確認
- HTTPヘッダに
gunicorn/19.9.0とVersion Numberまで明記されてしまっている - gunicornのチューニング
URLのTOPを空コンテンツにする
URLのTOPにアクセスして{"health": "ok"}が出ても嬉しくないので空コンテンツでstatus.HTTP_200_OKが返るよう修正しました。
from datetime import datetime
from django.shortcuts import render
from django.http import JsonResponse, HttpResponse
from rest_framework import status
from rest_framework.decorators import api_view

# Create your views here.

@api_view(['GET'])
def current_time(request):
    ret = {'now':str(datetime.now())}
    return JsonResponse(ret, status=status.HTTP_200_OK)

def health(request):
    return HttpResponse('')
DJANGO_SECRET_KEYを環境変数からとってくる
setting.pyを環境変数から持ってくるよう修正しました。
環境変数からとってくるにはos.getenv('<ENV_NAME>','<default>')を使います。
# SECURITY WARNING: keep the secret key used in production secret!
# The SECRET_KEY is provided via an environment variable in OpenShift
# SECRET_KEY = 'g*jrfy&_%p3y0-_bgilt)e(dsy9^hag2(kc3%b1u9hn59h7kh3'
SECRET_KEY = os.getenv(
    'DJANGO_SECRET_KEY',
    # safe value used for development when DJANGO_SECRET_KEY might not be set
    'g*jrfy&_%p3y0-_bgilt)e(dsy9^hag2(kc3%b1u9hn59h7kh3'
)
ALLOWED_HOSTSなんかも環境変数からとるようにしてtemplateに定義してあげると
開発環境用、商用用と切り替えられて幸せになれるかもしれませんね。
ALLOWED_HOSTS = [os.getenv('DJANGO_ALLOWED_HOSTS','*')]
s2i時に指定する環境変数の動き確認
まずは簡単なところから
pipをアップグレードする(UPGRADE_PIP_TO_LATEST)
Docker Imageからs2iする際にpipのバージョンアップができるか確認します。
Builds > Builds から Name のリンクをクリックして
BuildのEnvironment VariablesにUPGRADE_PIP_TO_LATEST=trueとでも定義します。
値はなんでも構いません。
でReBuildしつつログを確認するとちゃんとpipやsettoolsなどがアップグレードされています。
---> Upgrading pip to latest version ...
Collecting pip
Downloading https://files.pythonhosted.org/packages/c2/d7/90f34cb0d83a6c5631cf71dfe64cc1054598c843a92b400e55675cc2ac37/pip-18.1-py2.py3-none-any.whl  (1.3MB)
Collecting setuptools
Downloading https://files.pythonhosted.org/packages/37/06/754589caf971b0d2d48f151c2586f62902d93dc908e2fd9b9b9f6aa3c9dd/setuptools-40.6.3-py2.py3-none-any.whl  (573kB)
Collecting wheel
Downloading https://files.pythonhosted.org/packages/ff/47/1dfa4795e24fd6f93d5d58602dd716c3f101cfd5a77cd9acbe519b44a0a9/wheel-0.32.3-py2.py3-none-any.whl
Installing collected packages: pip, setuptools, wheel
Found existing installation: pip 9.0.1
Uninstalling pip-9.0.1:
Successfully uninstalled pip-9.0.1
Found existing installation: setuptools 28.8.0
Uninstalling setuptools-28.8.0:
Successfully uninstalled setuptools-28.8.0
Found existing installation: wheel 0.29.0
Uninstalling wheel-0.29.0:
Successfully uninstalled wheel-0.29.0
Successfully installed pip-18.1 setuptools-40.6.3 wheel-0.32.3
gunicornに設定を読み込ませる(APP_CONFIG)
Applications > Deployments の Environment から APP_CONFIG=conf/reload.pyとします。
オプションが正常に動作しているか判りませんが、ちゃっと起動しました(笑)
---> Migrating database ...
Operations to perform:
  Apply all migrations: admin, auth, contenttypes, sessions
Running migrations:
  Applying contenttypes.0001_initial... OK
  Applying auth.0001_initial... OK
  Applying admin.0001_initial... OK
  Applying admin.0002_logentry_remove_auto_add... OK
  Applying admin.0003_logentry_add_action_flag_choices... OK
  Applying contenttypes.0002_remove_content_type_name... OK
  Applying auth.0002_alter_permission_name_max_length... OK
  Applying auth.0003_alter_user_email_max_length... OK
  Applying auth.0004_alter_user_username_opts... OK
  Applying auth.0005_alter_user_last_login_null... OK
  Applying auth.0006_require_contenttypes_0002... OK
  Applying auth.0007_alter_validators_add_error_messages... OK
  Applying auth.0008_alter_user_username_max_length... OK
  Applying auth.0009_alter_user_last_name_max_length... OK
  Applying sessions.0001_initial... OK
---> Serving application with gunicorn (wsgi) ...
[2018-12-29 07:54:06 +0000] [1] [INFO] Starting gunicorn 19.9.0
[2018-12-29 07:54:06 +0000] [1] [INFO] Listening at: http://0.0.0.0:8080  (1)
[2018-12-29 07:54:06 +0000] [1] [INFO] Using worker: sync
[2018-12-29 07:54:06 +0000] [35] [INFO] Booting worker with pid: 35
[2018-12-29 07:54:07 +0000] [36] [INFO] Booting worker with pid: 36
[2018-12-29 07:54:07 +0000] [38] [INFO] Booting worker with pid: 38
[2018-12-29 07:54:07 +0000] [40] [INFO] Booting worker with pid: 40
172.17.0.1 - - [29/Dec/2018:16:54:17 +0900] "GET / HTTP/1.1" 200 0 "-" "kube-probe/1.11+"
172.17.0.1 - - [29/Dec/2018:16:54:18 +0900] "GET / HTTP/1.1" 200 0 "-" "kube-probe/1.11+"
172.17.0.1 - - [29/Dec/2018:16:54:23 +0900] "GET / HTTP/1.1" 200 0 "-" "kube-probe/1.11+"
gitのreload.pyをgunicorn.pyとしてアクセスログフォーマットの変更を入れてみました。
"""
You can set APP_CONFIG to point to this file to enable automatic reloading of
modules.
"""

access_log_format = '%(h)s %(l)s %(u)s %(t)s %({Host}i)s "%(r)s" %(s)s %(b)s "%(f)s" "%(a)s" %({X-Forwarded-For}i)s %(l)s %(b)s %(D)s %(l)s'

reload = True
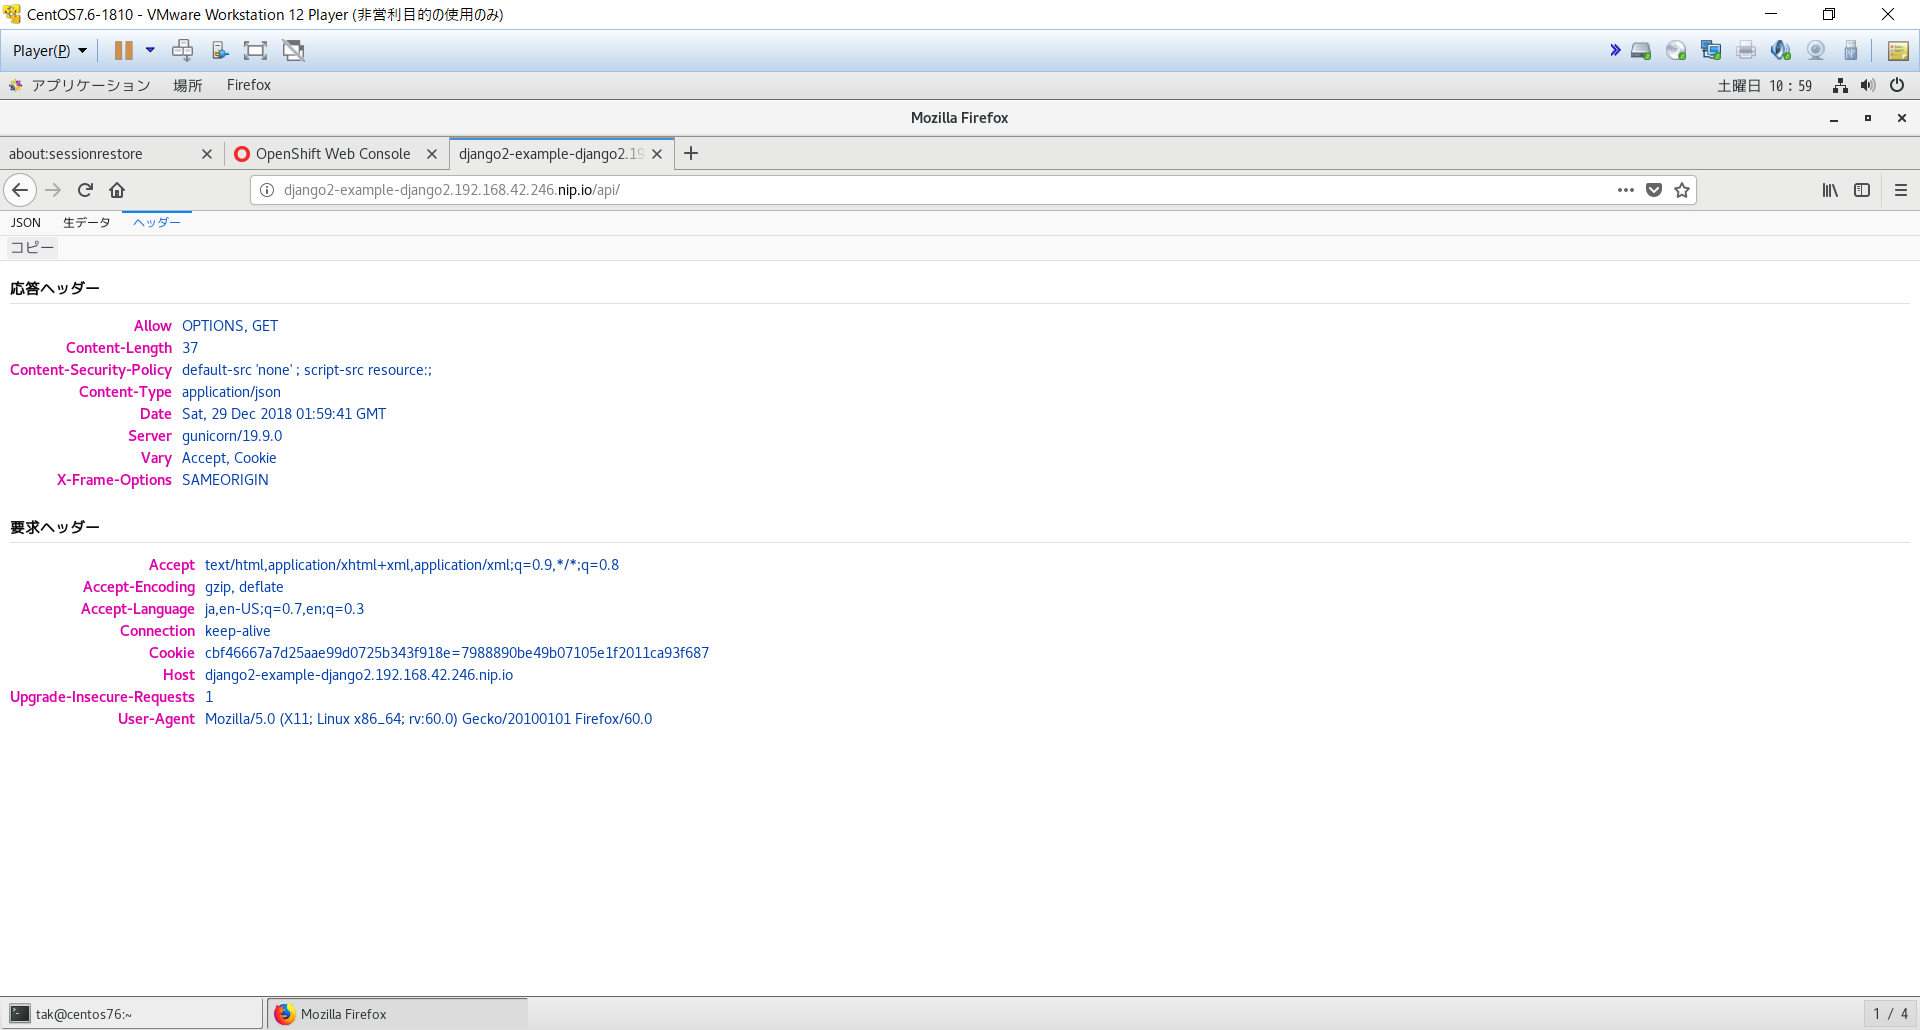
出力されるアクセスログをチェックすると標準がこれに対し
172.17.0.1 - - [29/Dec/2018:18:16:07 +0900] "GET /api/ HTTP/1.1" 200 37 "-" "Mozilla/5.0 (X11; Linux x86_64; rv:60.0) Gecko/20100101 Firefox/60.0"
カスタマイズしたアクセスログがこちら
172.17.0.1 - - [29/Dec/2018:21:47:01 +0900] django2-example-django2.192.168.42.246.nip.io "GET /api/ HTTP/1.1" 200 37 "-" "Mozilla/5.0 (X11; Linux x86_64; rv:60.0) Gecko/20100101 Firefox/60.0" 192.168.42.1 - 37 228940 -
ちゃんと変更が反映されていますね♪
gunicornのアクセスログフォーマットはこちらを参照して作成しました。
Gunicorn > Settings > Logging > access_log_format
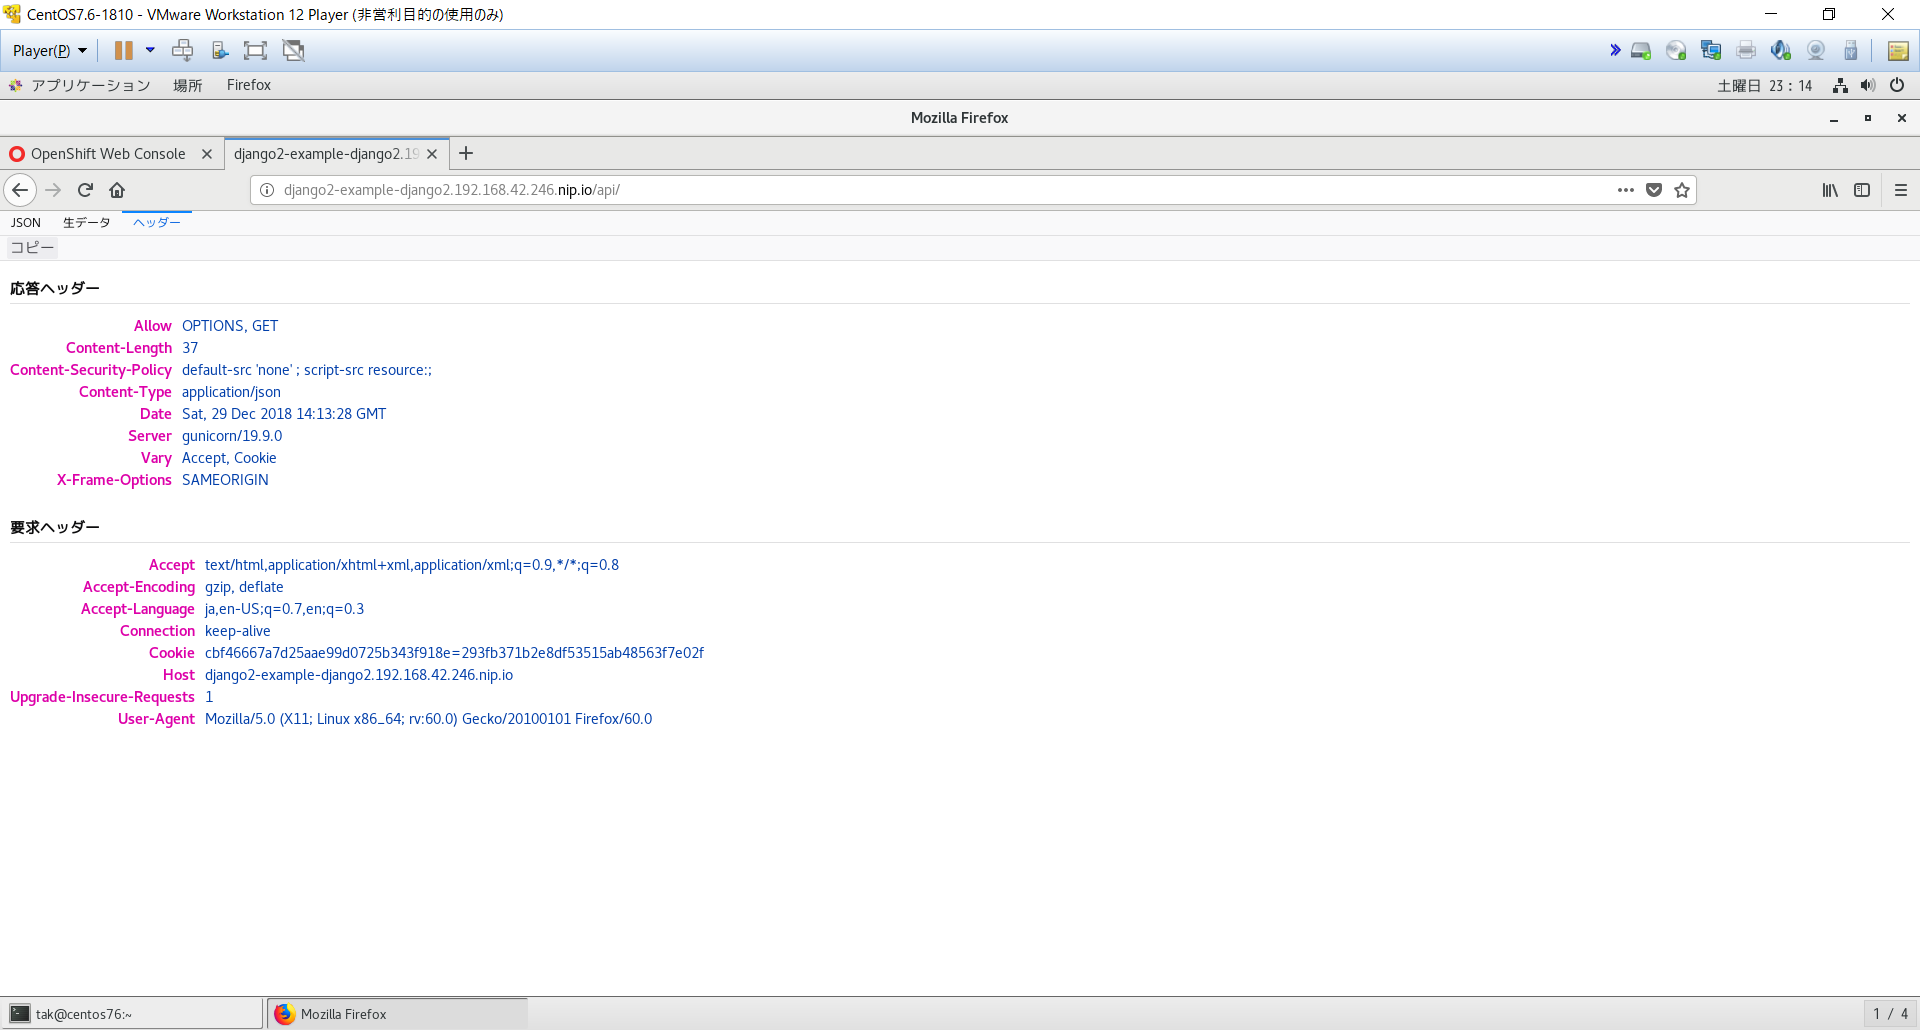
HTTPヘッダのgunicornのバージョン番号を隠す
HTTPヘッダーにgunicornのバージョン番号までしっかり出力されています。
脆弱性対策として隠蔽したいですよね。
gunicornのプロセス名は変更できるみたいなので試してみます。
Gunicorn > Settings > Process Namign > proc_name
ただし動作させるにはpythonのsetproctitleモジュールがいるようなのでrequirements.txtに追記します。
django==2.1.4
djangorestframework
django-filter
gunicorn
setproctitle
"""
You can set APP_CONFIG to point to this file to enable automatic reloading of
modules.
"""

proc_name = 'hoge'

access_log_format = '%(h)s %(l)s %(u)s %(t)s %({Host}i)s "%(r)s" %(s)s %(b)s "%(f)s" "%(a)s" %({X-Forwarded-For}i)s %(l)s %(b)s %(D)s %(l)s'

reload = True
まずは標準の状態でpsを叩いてみます。
Applications > Pods > Terminalから
(app-root) sh-4.2$ ps aux
USER       PID %CPU %MEM    VSZ   RSS TTY      STAT START   TIME COMMAND
1000150+     1  0.1  0.4 117812 18992 ?        Ss   13:23   0:00 /opt/app-root/bin/python3 /opt/app-root/bin/gunicorn wsgi --bind=0.0.0.0:8080 --access-logfile=- --config conf/gunicorn.py
1000150+    35  1.9  0.8 229764 34848 ?        Sl   13:24   0:13 /opt/app-root/bin/python3 /opt/app-root/bin/gunicorn wsgi --bind=0.0.0.0:8080 --access-logfile=- --config conf/gunicorn.py
1000150+    37  2.0  0.8 229784 34916 ?        Sl   13:24   0:14 /opt/app-root/bin/python3 /opt/app-root/bin/gunicorn wsgi --bind=0.0.0.0:8080 --access-logfile=- --config conf/gunicorn.py
1000150+    39  2.0  0.8 229804 34980 ?        Sl   13:24   0:14 /opt/app-root/bin/python3 /opt/app-root/bin/gunicorn wsgi --bind=0.0.0.0:8080 --access-logfile=- --config conf/gunicorn.py
1000150+    40  1.9  0.8 229760 34864 ?        Sl   13:24   0:13 /opt/app-root/bin/python3 /opt/app-root/bin/gunicorn wsgi --bind=0.0.0.0:8080 --access-logfile=- --config conf/gunicorn.py
1000150+    47  1.0  0.0  13420  1828 ?        Ss   13:35   0:00 /bin/sh
1000150+    62  0.0  0.0  53308  1860 ?        R+   13:36   0:00 ps aux
(app-root) sh-4.2$
そしてReBuild後
(app-root) sh-4.2$ ps aux
USER       PID %CPU %MEM    VSZ   RSS TTY      STAT START   TIME COMMAND
1000150+     1  0.6  0.4 119880 19208 ?        Ss   14:12   0:00 gunicorn: master [hoge]
1000150+    35  3.0  0.8 231784 34848 ?        Sl   14:12   0:02 gunicorn: worker [hoge]
1000150+    37  3.1  0.8 231856 34928 ?        Sl   14:12   0:02 gunicorn: worker [hoge]
1000150+    38  3.1  0.8 231852 34836 ?        Sl   14:12   0:02 gunicorn: worker [hoge]
1000150+    40  3.3  0.8 231856 35008 ?        Sl   14:12   0:02 gunicorn: worker [hoge]
1000150+    47  1.2  0.0  13420  1828 ?        Ss   14:14   0:00 /bin/sh
1000150+    62  0.0  0.0  53308  1860 ?        R+   14:14   0:00 ps aux
(app-root) sh-4.2$
おお。hogeに代わってますね♪
ただしHTTPヘッダ情報は変わらずでした…( ;∀;)
期待してたのに…。
gunicornのドキュメントを眺めてみましたがそれっぽいオプションが見当たらない…( ;∀;)
フロントエンドにnginx入れて、gunicornはデーモン化する方向が良いのかな…
gunicornのチューニング
gitのconf/gunicorn.pyでチューニングできるようにしてみました。
Applications > Deployments の Environment から APP_CONFIG=conf/gunicorn.pyとします。
https://gitlab.com/imp555/django2.git
gunicornのプロセス数
上のps auxの結果から1つのmasterと4つのworkerが動作していることが判りました。
これでどの位捌けるのか調査します。
gunicorn > Design > How Many Workers?
Generally we recommend (2 x $num_cores) + 1 as the number of workers to start off with.
gunicorn > Design > How Many Threads?
Since Gunicorn 19, a threads option can be used to process requests in multiple threads. Using threads assumes use of the gthread worker.
s2iテンプレートに計算式がのっていました。
CPUのコア数かMemoryから以下の計算式で算出してその少ない方が取られるようです。
Min.1 ~ Max.12までのようです。
NUMBER_OF_CORES x 2 = 2 x 2 = 4
(MEMORY_LIMIT-43MiB) / 40MiB = (512 MiB limit - 43MiB)/40MiB = 11.725
この環境の場合、CPUネックで4スレッド
# Guess the number of workers according to the number of cores
function get_default_web_concurrency() {
  limit_vars=$(cgroup-limits)
  local $limit_vars
  if [ -z "${NUMBER_OF_CORES:-}" ]; then
    echo 1
    return
  fi

  local max=$((NUMBER_OF_CORES*2))
  # Require at least 43 MiB and additional 40 MiB for every worker
  local default=$(((${MEMORY_LIMIT_IN_BYTES:-MAX_MEMORY_LIMIT_IN_BYTES}/1024/1024 - 43) / 40))
  default=$((default > max ? max : default))
  default=$((default < 1 ? 1 : default))
  # According to http://docs.gunicorn.org/en/stable/design.html#how-many-workers,
  # 12 workers should be enough to handle hundreds or thousands requests per second
  default=$((default > 12 ? 12 : default))
  echo $default
}
gunicorn > Settings > Worker Processes > worker_connections
worker_connections
・--worker-connections INT
・1000
The maximum number of simultaneous clients.
This setting only affects the Eventlet and Gevent worker types.
[2018-12-29 07:54:06 +0000] [1] [INFO] Using worker: sync
worker_classは定義していいないのでdefaultのsyncが採用されているみたいですね。
worker_connectionsを利用するためにはworker_classがeventletおよびgeventである必要があるみたい。
という事は同時接続数って4なのかな!?そんなことはないよね(笑)
結局どの位捌けるのかはわかりませんが…同期、非同期のworker_classの選定方法が載っていました。
gunicorn > Design > Choosing a Worker Type
Some examples of behavior requiring asynchronous workers:
・Applications making long blocking calls (Ie, external web services)
・Serving requests directly to the internet
・Streaming requests and responses
・Long polling
・Web sockets
・Comet
今回のようなシンプルにカレントタイムのjsonを返すだけのAppの場合はsyncで良さそうですね♪