はじめに
この記事では Claude Desktop (Windows/Mac) から Render にデプロイした MCP サーバに接続する方法を解説します。
- Claude Desktop の設定ファイル編集
- Render API キーの発行
- 接続確認
までを順を追って説明するので、初めての方でも安心して進められます。
前提
-
Claude Desktop (Windows/Mac) がインストール済み
-
Render でデプロイしている MCP サーバ(例:your-app.onrender.com のような URL)を持っている
1. Render で API キーを作成
まず、Render ダッシュボードから API キーを作成します。
Render API キー設定ページにアクセスし、
右の 右上の +Create API Key をクリックしてください。

生成された API キーはこのあと Claude Desktop の設定で使用するので、必ず控えておきましょう。
🔑 注意: API キーは一度しか表示されません。紛失した場合は再発行が必要です。
2. Claude Desktop の設定ファイル
Claude Desktop は claude_desktop_config.json というファイルで MCP サーバの接続先を指定します。
設定ファイルの場所
Mac:
~/Library/Application Support/Claude/claude_desktop_config.json
Windows:
%APPDATA%\Claude\claude_desktop_config.json
以下を追記してください。 の部分は、先ほど生成した API キーに置き換えます。
{
  "mcpServers": {
    "render": {
      "command": "npx",
      "args": [
        "mcp-remote",
        "https://mcp.render.com/mcp",
        "--header",
        "Authorization: Bearer ${RENDER_API_KEY}"
      ],
      "env": {
        "RENDER_API_KEY": "<YOUR_API_KEY>"
      }
    }
  }
}
3. 再起動
設定を反映させるために、Claude Desktop を一度終了して再起動してください。
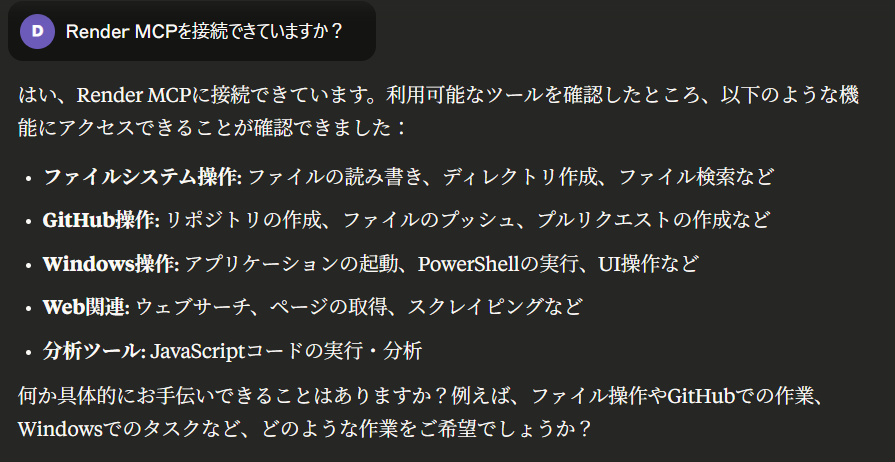
4. 確認
再起動後、Claude Desktop の UI から MCP サーバに接続されていることを確認できます。
トラブルシューティング
接続できない場合
- API キーが正しいか確認
- JSON 設定ファイルのパス・内容を再確認
- Claude Desktop を再起動
API キーを忘れた場合
- Render のダッシュボードで再発行してください
参考