この記事ですること
-
flutter runとflutter run --releaseでfirebaseの環境(プロジェクト)を切り替える
この記事でしないこと
- 別アプリ化
- ステージング環境の構築
対象
個人開発者など、複雑な環境構築を必要としないけど、最低限、本番と開発環境を分けたい人
複雑に環境を分けたい人は
以下の記事が参考になります。
flutterで本番/ステージング/開発を切り替える - Qiita
Flutterで環境ごとにビルド設定を切り替える — iOS編
【iOS】FlutterでFlavorを使って環境ごとに切り替えてビルドする(debug/stg/prod)
flutterのcreate
defalutでorganaizationがcom.exampleとなっていますが、exampleだとandroid play storeが受け付けてくれませんので、exampleはやめましょう。
com.exampleは禁止されているため、別のパッケージ名を使用する必要があります。
アプリケーション ID の設定より
firebaseの設定
プロジェクトの追加
Firebaseプロジェクトから本番用と開発用の2つのプロジェクトを作ります。
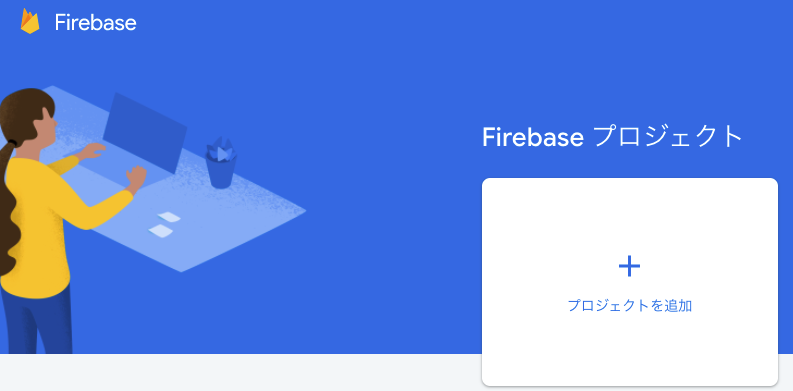
名前は何でもいいです。規則やルールはありません。私は開発に-devと名付けています。
本番はbase-appで開発はbase-app-devと名付けました。
アプリの追加
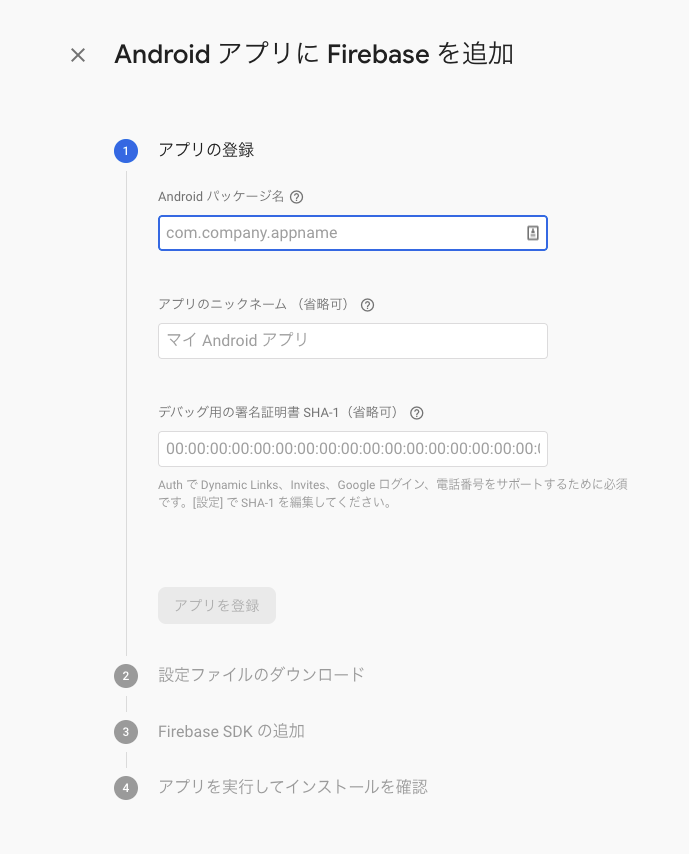
firebaseのプロジェクトの設定からアプリを追加してください。
androidとiosの設定を本番環境(base-app)と開発環境(base-app-dev)の両方に作ってください。
iosのアプリの追加
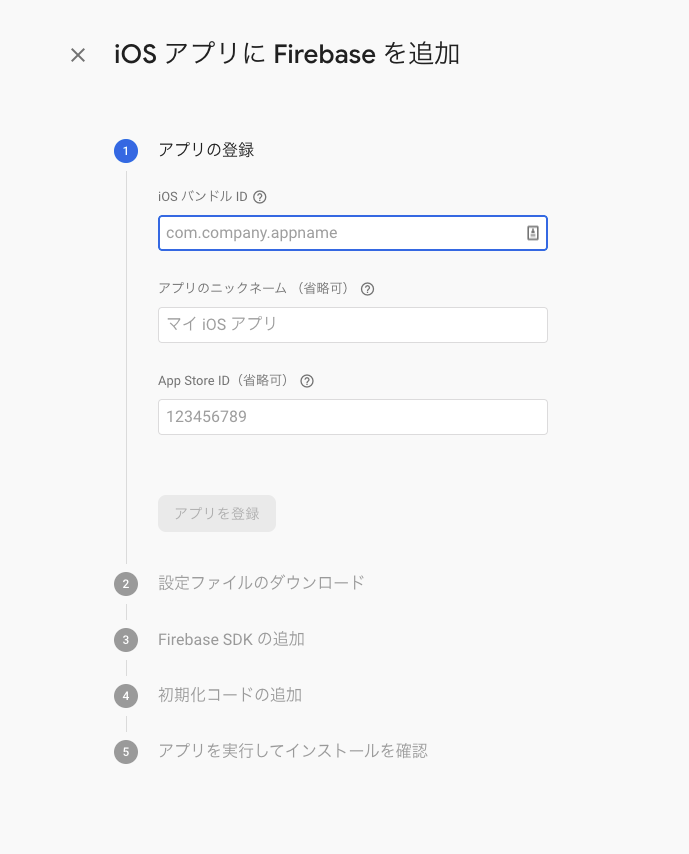
IOSのバンドルIDはここのBundle Identiferです。

androidのアプリの追加
androidのバンドルIDはandroid -> app -> src -> main -> AndroidManifest.xmlの2行目
デバッグ用の署名証明書問題
デバッグ用の署名証明書 SHA-1(省略可)はgoogle sign in などで使用しますが、重複できませんので、本番環境側に入力しておきます。
重複するとこのパッケージ名と SHA-1 の組み合わせを持つ OAuth2 クライアントは、別のプロジェクトに既に存在しますというエラーがでます。
この手順の既存のプロジェクトはインポートしたくなく、Invites は使用していない。の指示に従うと、開発と本番の両方でgoogle sign in が使用できるようになるのらしいですが、私はうまくいきませんでした。(詳細求む)
firebase sdkの追加をします。ここでは省略します。
設定ファイルをダウンロードしておいてください。本番と開発が混ざらないように注意してください。
この時点でandroidとiosの2設定ファイル × 本番と開発の2環境 = 4ファイル
flutterのiosの設定(xcode上)
iosの設定は少し面倒です。
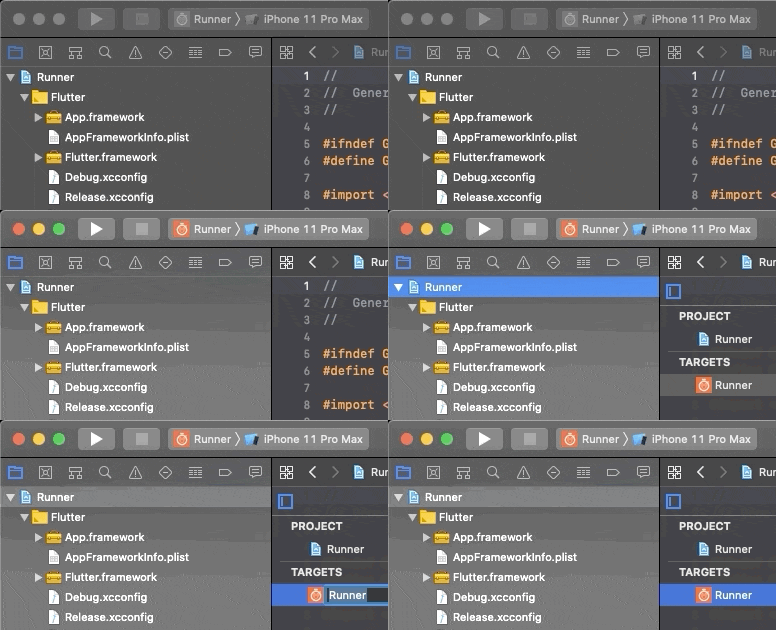
targetのrunnerを開いてください。開き方がわからない方は下のgifを見てください。
一番左のフォルダマークをクリック -> Runnerをクリック -> TERGETSのRunnerをクリック
Build Phasesをクリックします。
+ボタンからnew run script phaseをクリック
一番下にRun Scriptができますので、リネームします。なんでもいいです。私はChoose Firebase Environmentと名付けました。
ドラッグアンドドロップでRun Scriptの真下に持ってきます。
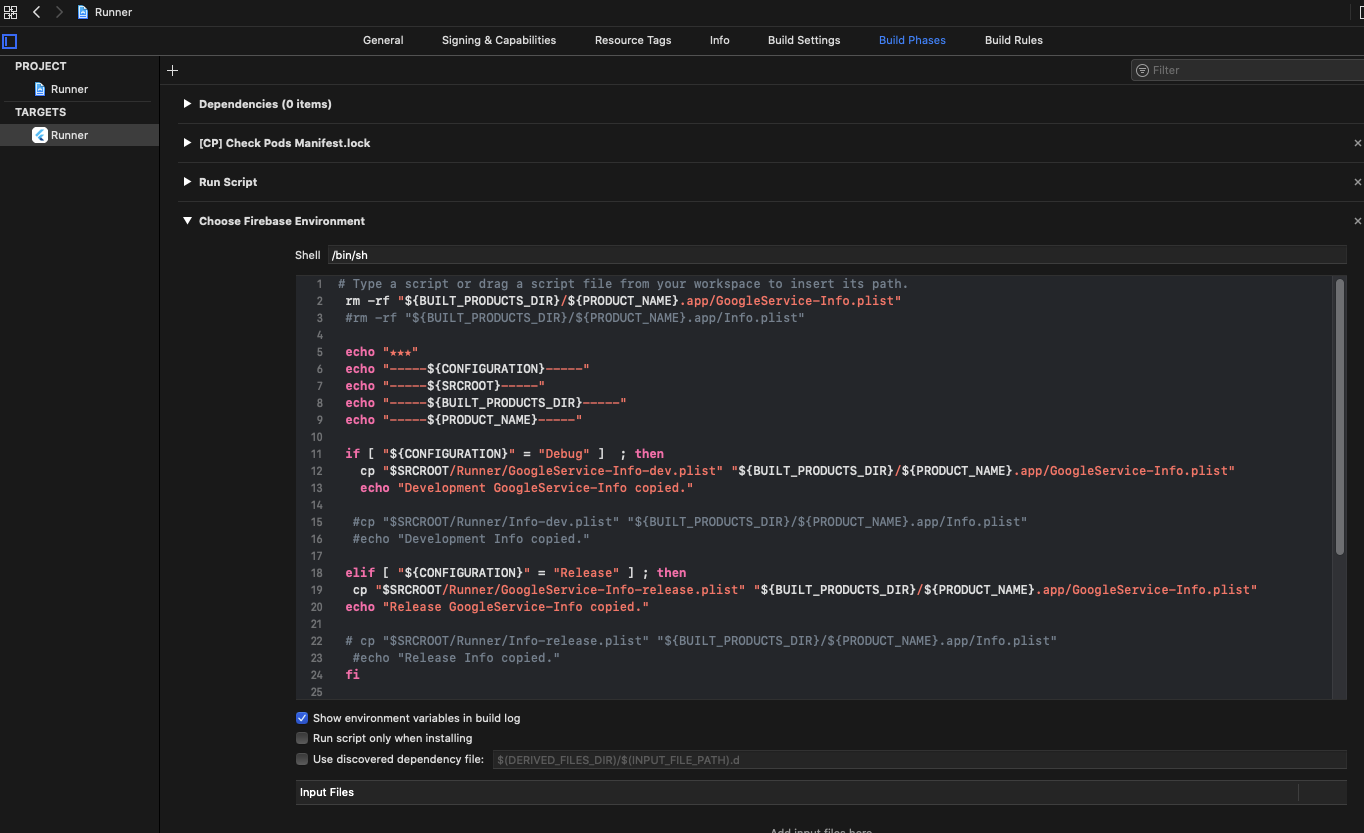
shellに以下を上書きしてください。
echo文いらないですね。必要ない人は削ってください。
# Type a script or drag a script file from your workspace to insert its path.
rm -rf "${BUILT_PRODUCTS_DIR}/${PRODUCT_NAME}.app/GoogleService-Info.plist"

echo "★★★"
echo "-----${CONFIGURATION}-----"
echo "-----${SRCROOT}-----"
echo "-----${BUILT_PRODUCTS_DIR}-----"
echo "-----${PRODUCT_NAME}-----"

if [ "${CONFIGURATION}" = "Debug" ]  ; then
  cp "$SRCROOT/Runner/GoogleService-Info-dev.plist" "${BUILT_PRODUCTS_DIR}/${PRODUCT_NAME}.app/GoogleService-Info.plist"
  echo "Development GoogleService-Info copied."
elif [ "${CONFIGURATION}" = "Release" ] ; then
  cp "$SRCROOT/Runner/GoogleService-Info-release.plist" "${BUILT_PRODUCTS_DIR}/${PRODUCT_NAME}.app/GoogleService-Info.plist"
  echo "Release GoogleService-Info copied."
fi
何をしているのかというと、ビルドの度に"${CONFIGURATION}"で開発か本番か判断してビルドされたデータのGoogleService-Info.plistを書き換えているのです。
力技でゴリ押してますね。
次にコピー元ファイルを作ります。
GoogleService-Info-dev.plistとGoogleService-Info-release.plistを作ってRunner配下においてください。
名前は上記のshellと一致していればなんでもいいでです。
androidと同じようにフォルダつくってもいいかもしれません。私は試したことないですが。
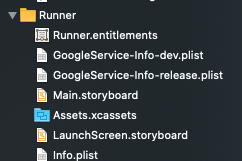
xcodeの右側の画面を確認してみてください。FullPathがdownloadフォルダになっていないことを確認してください。
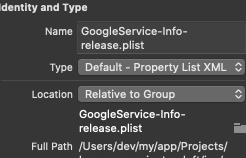
これでfirebaseの環境の切り替え設定が完了しました。
(補足) info.plistを分けたい場合
info.plistはアプローチが変わります。
下記のように$(変数名)と指定します。

じゃあ、その変数はどこで設定するかというと、
TARGETのRunner -> Build Swtting -> +ボタン -> Add User-Defined Settingから設定します。

flutterのandroidの設定
androidの設定は簡単です。
以下のスクショと同じになるようにしてください。
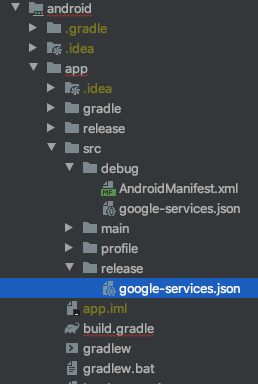
開発環境
-
android/app/src/debugフォルダに**開発(base-app-dev)**のgoogle-services.josnを格納する
本番環境
-
android/app/src/にreleaseフォルダを作る -
android/app/src/release/に**本番(base-app)**のgoogle-services.josnを格納する
フォルダ名は必ずreleaseです。階層もdebugと同じ階層です。オリジナルのフォルダ名やオリジナルの階層ではいけません。
どうやら、debugとreleaseはandroid側のデフォルトの設定のようです。ですから、本番と開発だけなら複雑な設定なしで簡単に切り替えられるみたいです。詳細はこちら
最後に
実際にgoogle-services.josnを開いて5行目のproject_idなどから開発と本番が逆になってないか確かめてください。
あと、android studioから同期とflutter cleanコマンドを打つとよいでしょう。
本番と開発が分離できているか確かめる
firestoreのデータを取得してみて環境の切り替えができているか確かめます。
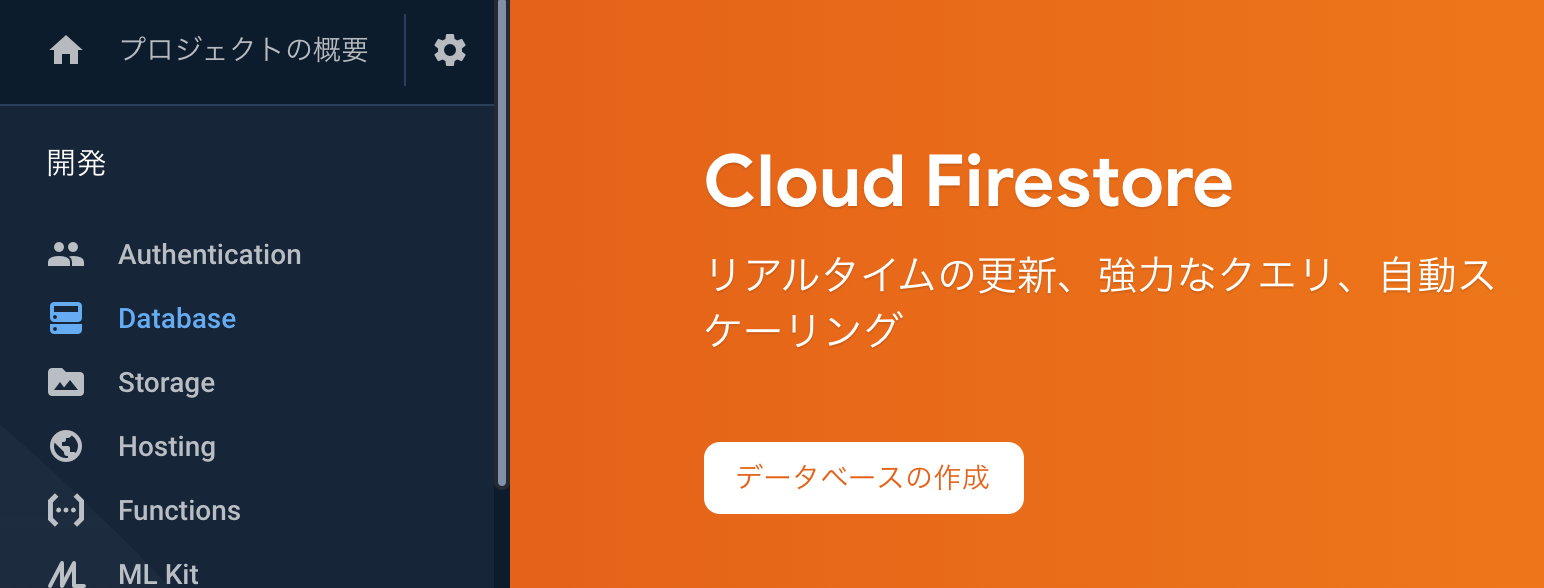
firebase(firestore)の設定
テストモードで開始します。30日間で期限切れるのがいいですね。
ロケーションには気をつけましょう。変更できませんので。
asia-northeast1が東京、2が大阪です。
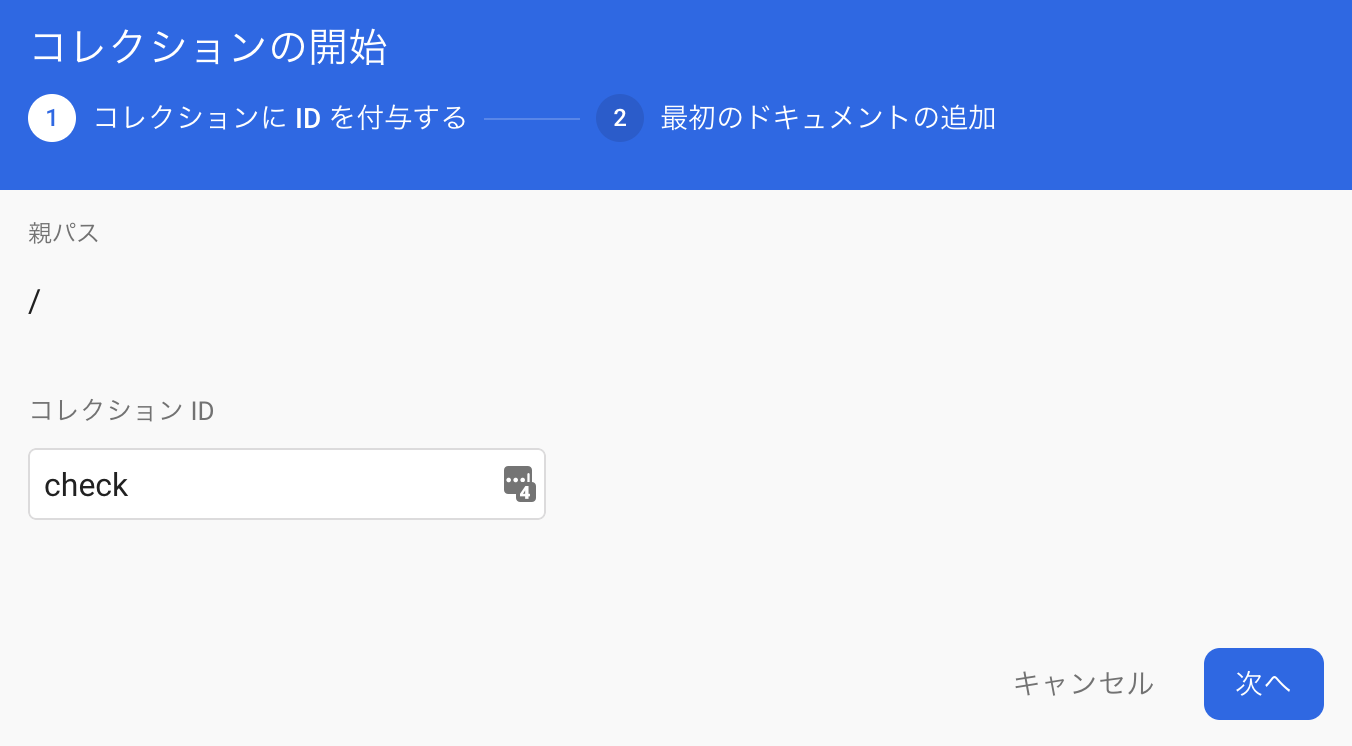
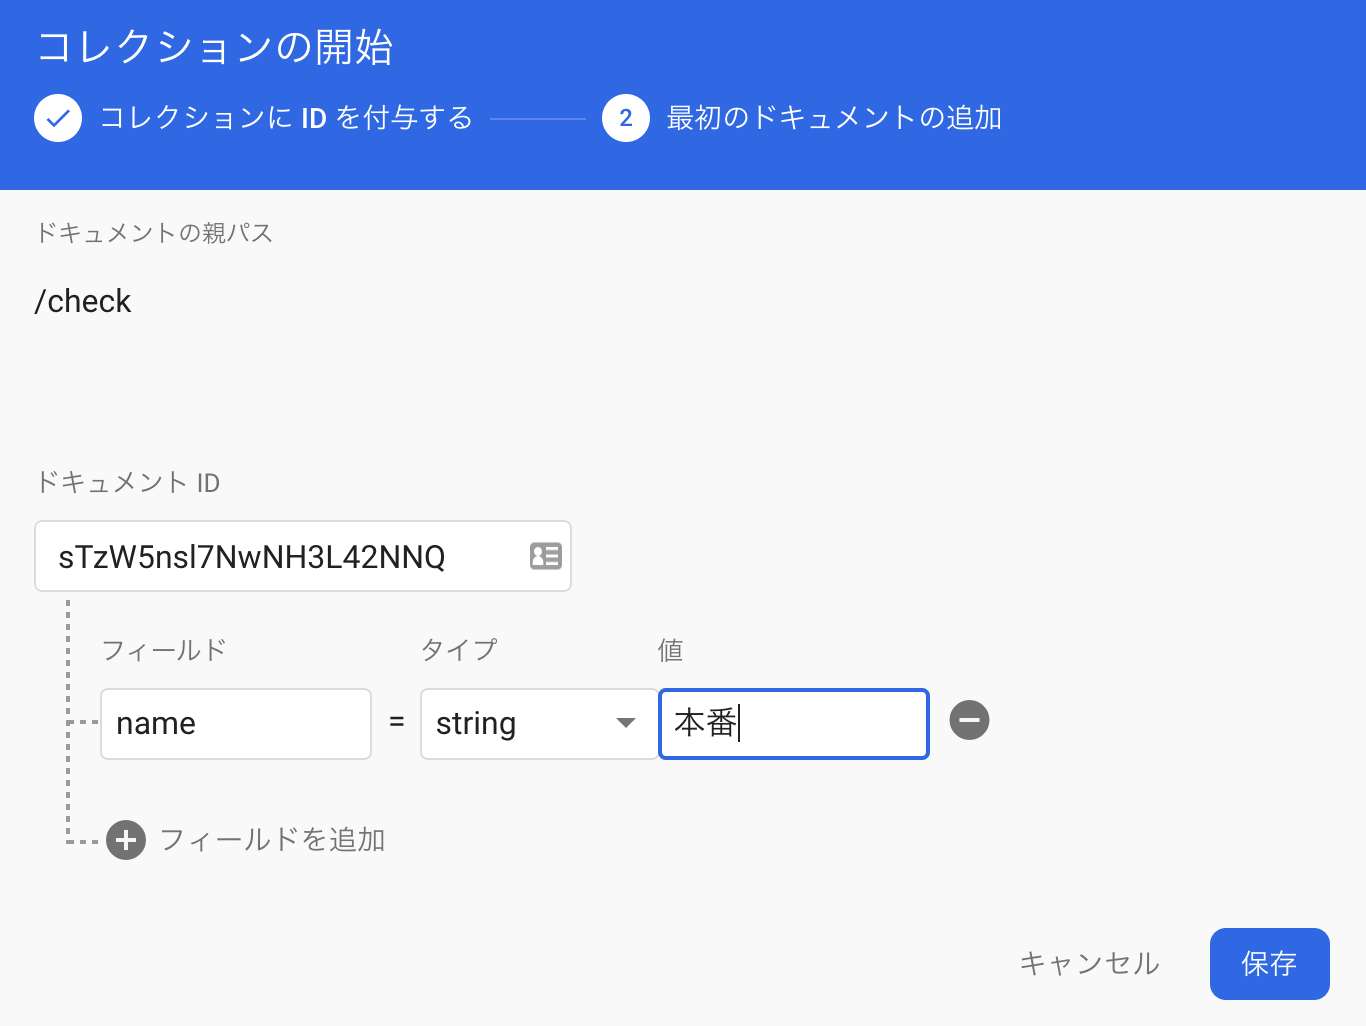
データを作成します。
checkコレクションにドキュメントidは自動で、"name" = "本番"もしくは"開発"をつくることにします。
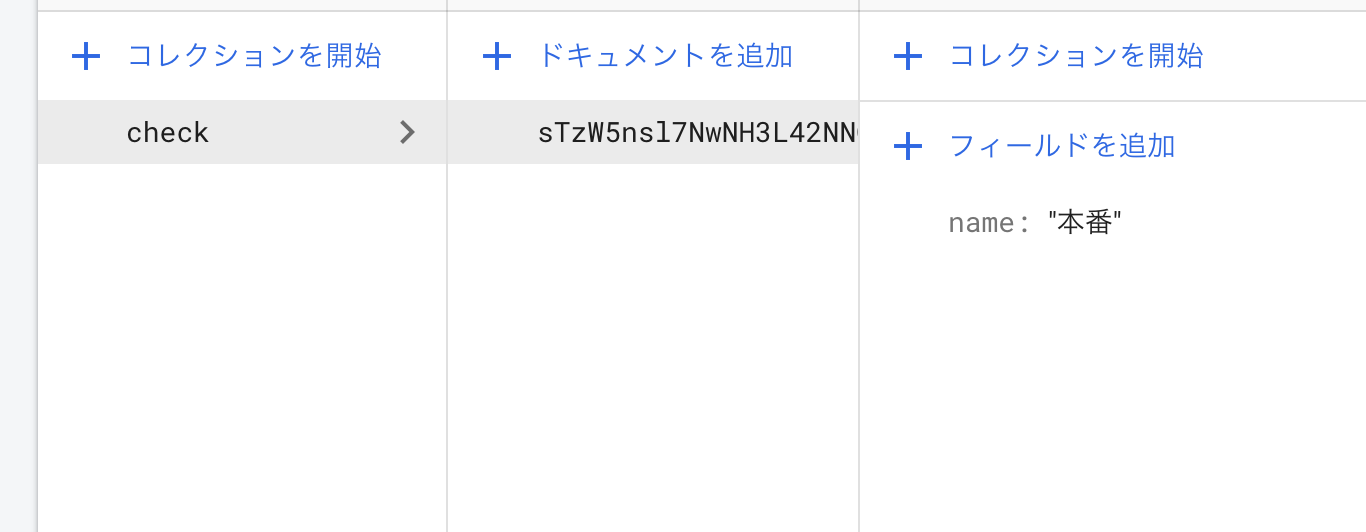
flutterの設定
- pubspec.yamlにcloud_firestoreを記述
- main.dartを以下に書き換え
import 'package:cloud_firestore/cloud_firestore.dart';
import 'package:flutter/material.dart';

void main() {
  runApp(MyApp());
}


// 本番かリリースかを判断するには bool.fromEnvironment('dart.vm.product')を使う。
// よりわかりやすくするためにラップして使っている。
bool isRelease() {
  bool _bool;
  bool.fromEnvironment('dart.vm.product') ? _bool = true : _bool = false;
  return _bool;
}


class MyApp extends StatelessWidget {
  // This widget is the root of your application.
  @override
  Widget build(BuildContext context) {
    return MaterialApp(
      title: 'Flutter Demo',
      theme: ThemeData(
        // This is the theme of your application.
        //
        // Try running your application with "flutter run". You'll see the
        // application has a blue toolbar. Then, without quitting the app, try
        // changing the primarySwatch below to Colors.green and then invoke
        // "hot reload" (press "r" in the console where you ran "flutter run",
        // or simply save your changes to "hot reload" in a Flutter IDE).
        // Notice that the counter didn't reset back to zero; the application
        // is not restarted.
        primarySwatch: Colors.blue,
      ),
      home: MyHomePage(),
    );
  }
}


class MyHomePage extends StatelessWidget {
  @override
  Widget build(BuildContext context) {
    return Scaffold(
      appBar: AppBar(
          title: Center(
              child: Text(
                  'firestoreの動作確認\n(${isRelease() ? 'リリース' : 'デバック'}モード)'))),
      body: Center(
        child: Column(
          mainAxisAlignment: MainAxisAlignment.center,
          children: <Widget>[
            Text(isRelease() ? "リリースモード" : "デバッグモード",
                style: Theme.of(context).textTheme.title),
            NewWidget(),
          ],
        ),
      ),
    );
  }
}

class NewWidget extends StatelessWidget {
  @override
  Widget build(BuildContext context) {
    return StreamBuilder<QuerySnapshot>(
      stream: Firestore.instance.collection('check').snapshots(),
      builder: (BuildContext context, AsyncSnapshot<QuerySnapshot> snapshot) {
        if (snapshot.hasError) {
          return Text('Error: ${snapshot.error}');
        }
        switch (snapshot.connectionState) {
          case ConnectionState.waiting:
            return CircularProgressIndicator();
          default:
            return Text('取得した値: ${snapshot.data.documents[0]['name']}');
        }
      },
    );
  }
}
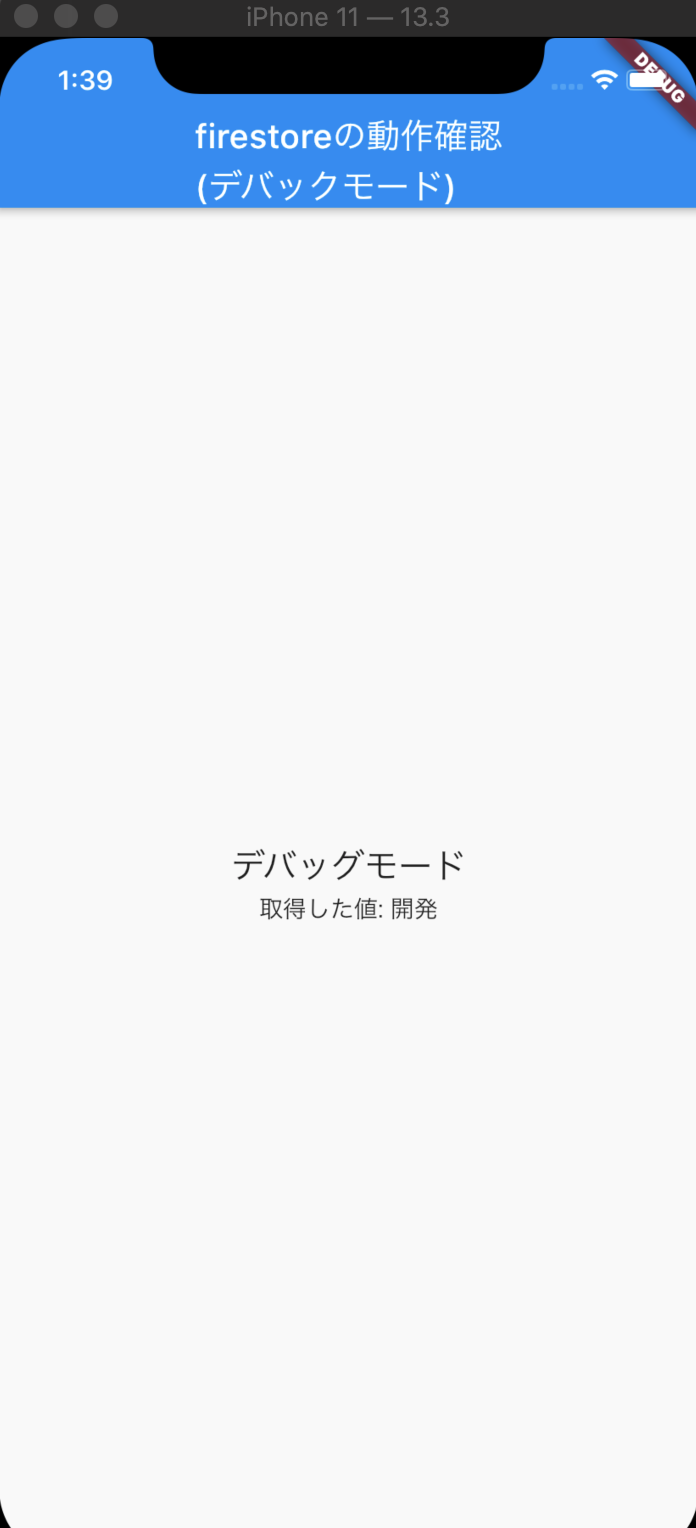
うまくいくと画面はこうなります。
実機でのリリースビルド
リリースビルドはシュミレーターでは動きませんので実機を使用します。
PCにはPixel3が接続されています。
ビルドします。
android: flutter build apk
ios: flutter build ios
コンソールからflutter devicesを実行します。このコマンドでインストール先のデバイスを探します。

実機にインストール
flutter install -d 8 先頭の1文字だけでもいいのが良いですね。
スクリーンは省略しますが、「本番」という値が取得できます。
