Outline
Spring BootをつかったREST APIサーバを0から実装する。
YutaKase6/spring-api-sample
Goal
Entry Point
table
| 物理名 | 論理名 |
|---|---|
| id | ユーザID |
| value | ユーザ情報 |
Steps...
まずはプロジェクトの作成
Spring BootプロジェクトをIntelliJ(Spring Initializr)を利用して作成する - Qiita

Gradleについて確認
Gradleについてちょこっと調べて、Spring Initializrで生成されたbuild.gradleを読む - Qiita

実装の前に、アーキテクチャ、クラス設計を考える
Spring Bootで実装するWebAPIのアーキテクチャを考える - Qiita

実装していく
Spring BootとJPAでREST APIを実装する(ドメイン層編) - Qiita
Spring BootとJPAでREST APIを実装する(インフラ層編) - Qiita
Spring BootとJPAでREST APIを実装する(アプリケーション層編) - Qiita
MySQL設定
MySQL準備
Install & Start
% brew install mysql
% mysql.server start
テーブル作成
CREATE TABLE test_users (
  id VARCHAR(18) PRIMARY KEY
  , value TEXT DEFAULT NULL
  , created_at TIMESTAMP NOT NULL DEFAULT CURRENT_TIMESTAMP
  , updated_at TIMESTAMP NOT NULL DEFAULT CURRENT_TIMESTAMP ON UPDATE CURRENT_TIMESTAMP
) ENGINE=InnoDB DEFAULT CHARSET=utf8
;
mysql> desc test_users;
+------------+-------------+------+-----+-------------------+-----------------------------+
| Field      | Type        | Null | Key | Default           | Extra                       |
+------------+-------------+------+-----+-------------------+-----------------------------+
| id         | varchar(18) | NO   | PRI | NULL              |                             |
| value      | text        | YES  |     | NULL              |                             |
| created_at | timestamp   | NO   |     | CURRENT_TIMESTAMP |                             |
| updated_at | timestamp   | NO   |     | CURRENT_TIMESTAMP | on update CURRENT_TIMESTAMP |
+------------+-------------+------+-----+-------------------+-----------------------------+
4 rows in set (0.00 sec)
Spring Boot設定
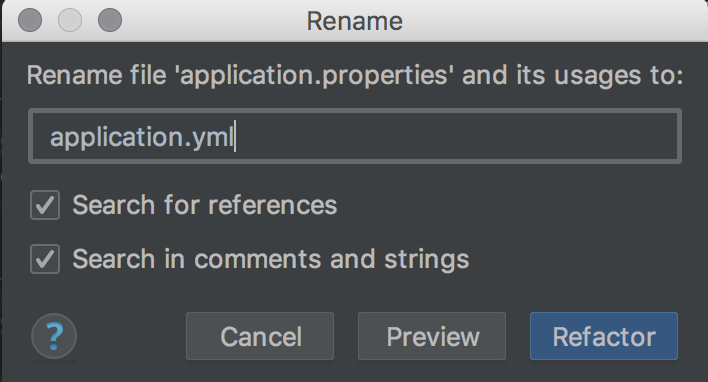
設定はsrc/main/resources/application.propertiesに書く。
ymlでも書けるのでymlで書く。
まずはリネーム。

MySQLとの接続設定を書く。
spring:
  datasource:
    url: jdbc:mysql://localhost:3306/<SchemaName>
    username: root
    password:

  jpa:
    hibernate:
      ddl-auto: none
動作確認
実行
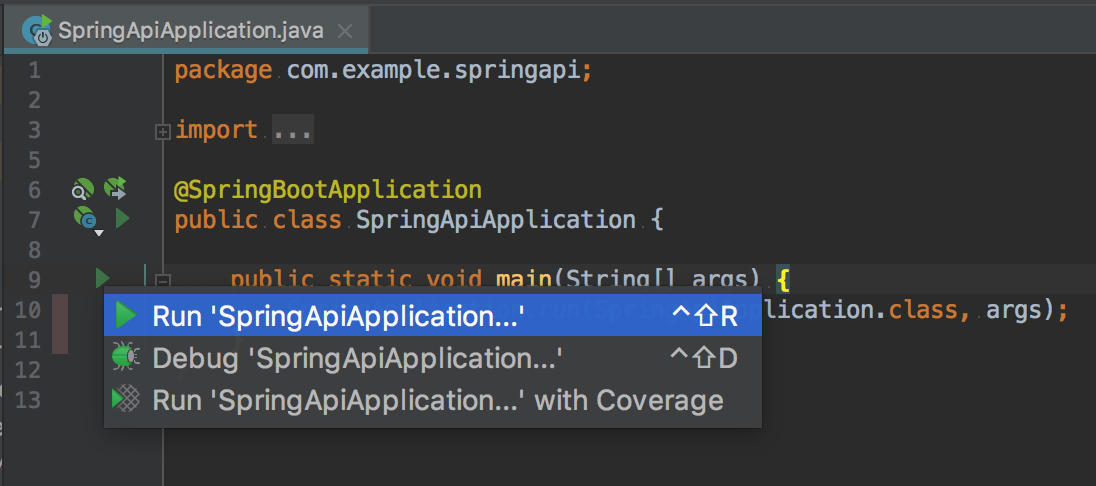
IntelliJから実行(その1)
mainメソッドの左の再生ボタンを押すことで実行できる。

IntelliJから実行(その2)
右上のプルダウンからmainクラスを選択し、右の再生ボタンで実行できる。

Gradleから実行
% ./gradlew bootRun
javaから実行
% ./gradlew build
% java -jar build/libs/spring-api-0.0.1-SNAPSHOT.jar
正常確認
- 登録
% curl -X POST "http://localhost:8080/v1/users" -H "Content-Type: application/json" -d "{ \"id\": \"id\", \"value\": \"value\"}" -s -w '\nstatus code: %{http_code}\n'

{"id":"id","value":"value"}
status code: 201
- 参照
% curl "http://localhost:8080/v1/users/id" -s -w '\nstatus code: %{http_code}\n'

{"id":"id","value":"value"}
status code: 200
- 削除
% curl -X DELETE "http://localhost:8080/v1/users/id" -s -w '\nstatus code: %{http_code}\n'


status code: 204
異常確認(Spring Bootのデフォルト)
- 存在しないユーザ
% curl "http://localhost:8080/v1/users/hoge" -s -w '\nstatus code: %{http_code}\n'

{"timestamp":"2018-07-20T12:11:51.131+0000","status":500,"error":"Internal Server Error","message":"No message available","path":"/v1/users/hoge"}
status code: 500
- 定義していないメソッド
% curl "http://localhost:8080/v1/users" -s -w '\nstatus code: %{http_code}\n'

{"timestamp":"2018-07-20T12:14:08.013+0000","status":405,"error":"Method Not Allowed","message":"Request method 'GET' not supported","path":"/v1/users"}
status code: 405
- 定義していないパス
% curl "http://localhost:8080/v1/user" -s -w '\nstatus code: %{http_code}\n'

{"timestamp":"2018-07-20T12:14:14.668+0000","status":404,"error":"Not Found","message":"No message available","path":"/v1/user"}
status code: 404
他にもいろいろある。
異常時のレスポンスをカスタムする
Spring Bootで作成したREST APIのエラーレスポンスをカスタムする - Qiita
Swaggerを導入する
Spring BootのREST APIにSwaggerを導入する - Qiita
単体テストを作成する
Spring Boot + JUnitで単体テストをやる - Qiita

Spring Boot + JUnit + Mockitoで単体テストをやる - Qiita

機能テストを作成する
Spring Boot + JUnit + h2でスタンドアローンな機能テストをやる - Qiita

ロガーを導入する
Spring AOPを利用してSpring Boot アプリケーションのログを落とす - Qiita

カバレッジを計測する
TBA...

