techcrunchでtensorflowが物体認識をとっつきやすくするAPIを出したという記事を見かけたので早速試してみました。詳しい説明はgithubで読むことが出来ます。
まずはインストール
基本構成
OS : macOS Sierra 10.12.5
python環境 : anaconda3-4.2.0(python 3.5.2)
tensorflow : v1.2.0(installは前もってやっていました。)
modelsのclone
いつもはkerasのmodelを使っていて、tensorflowのmodelは使ったことがなかったのでcloneしました。場所は、tutorialにのっとって~/tensorflowを作ってみました。そのなかに、modelsをcloneしました。色々なモデルがあったので、時間があれば試してみようかと思います。
$ cd
$ mkdir tensorflow
$ cd tensorflow
$ git clone https://github.com/tensorflow/models.git
setup
色々いると書いてあったので、色々入れました。
まずはpipで足りないものを幾つか拾ってきました。自分の環境ではlxmlがなかったので入れました。足りているかいないかは下のコマンドで確認できます。
$ pip freeze
次に、Protobufを入れなければならなかったのですが、チュートリアルのインストールではlinuxという体で書かれていたので、apt-getの代わりにhomebrewを使ってインストールしました。
$ brew install protobuf
その後、コンパイル、環境設定、テストを行います。以下のコマンドは~/tensorflow/models/researchで行ってください。
$ protoc object_detection/protos/*.proto --python_out=.
$ export PYTHONPATH=$PYTHONPATH:`pwd`:`pwd`/slim
$ python object_detection/builders/model_builder_test.py
OKと返ってきたら多分設置完了です。
動作テスト
~/tensorflow/models/research/object_detectionでjupyter notebookを実行します。そのまま、object_detection_tutorial.ipynbを開いてください。test画像は~/tensorflow/models/research/object_detection/test_imagesに入っています。上のcellから実行して、最後まで行くと実行完了しているはずです。早速自前の画像を試してみたいときは、test_imageにのなかのimage1.jpgもしくはimage2.jpgを入れ変えて実行するか、最後から2個めのcellを
# For the sake of simplicity we will use only 2 images:
# image1.jpg
# image2.jpg
# If you want to test the code with your images, just add path to the images to the TEST_IMAGE_PATHS.
PATH_TO_TEST_IMAGES_DIR = 'test_images'
# TEST_IMAGE_PATHS = [ os.path.join(PATH_TO_TEST_IMAGES_DIR, 'image{}.jpg'.format(i)) for i in range(1, 3) ]
TEST_IMAGE_PATHS = ['好きな画像のfile name']
# Size, in inches, of the output images.
IMAGE_SIZE = (12,8)
として実行すれば良いです。最後のcellを書き換えると出力画像を保存できます。
with detection_graph.as_default():
  with tf.Session(graph=detection_graph) as sess:
    for image_path in TEST_IMAGE_PATHS:
      image = Image.open(image_path)
      # the array based representation of the image will be used later in order to prepare the
      # result image with boxes and labels on it.
      image_np = load_image_into_numpy_array(image)
      # Expand dimensions since the model expects images to have shape: [1, None, None, 3]
      image_np_expanded = np.expand_dims(image_np, axis=0)
      image_tensor = detection_graph.get_tensor_by_name('image_tensor:0')
      # Each box represents a part of the image where a particular object was detected.
      boxes = detection_graph.get_tensor_by_name('detection_boxes:0')
      # Each score represent how level of confidence for each of the objects.
      # Score is shown on the result image, together with the class label.
      scores = detection_graph.get_tensor_by_name('detection_scores:0')
      classes = detection_graph.get_tensor_by_name('detection_classes:0')
      num_detections = detection_graph.get_tensor_by_name('num_detections:0')
      # Actual detection.
      (boxes, scores, classes, num_detections) = sess.run(
          [boxes, scores, classes, num_detections],
          feed_dict={image_tensor: image_np_expanded})
      # Visualization of the results of a detection.
      vis_util.visualize_boxes_and_labels_on_image_array(
          image_np,
          np.squeeze(boxes),
          np.squeeze(classes).astype(np.int32),
          np.squeeze(scores),
          category_index,
          use_normalized_coordinates=True,
          line_thickness=8)
      print(image_path.split('.')[0]+'_labeled.jpg') # 確認用
      plt.figure(figsize=IMAGE_SIZE, dpi=300) # dpiいじったら文字が読めるようになる
      plt.imshow(image_np)
      plt.savefig(image_path.split('.')[0] + '_labeled.jpg') # ここを追加
出力例
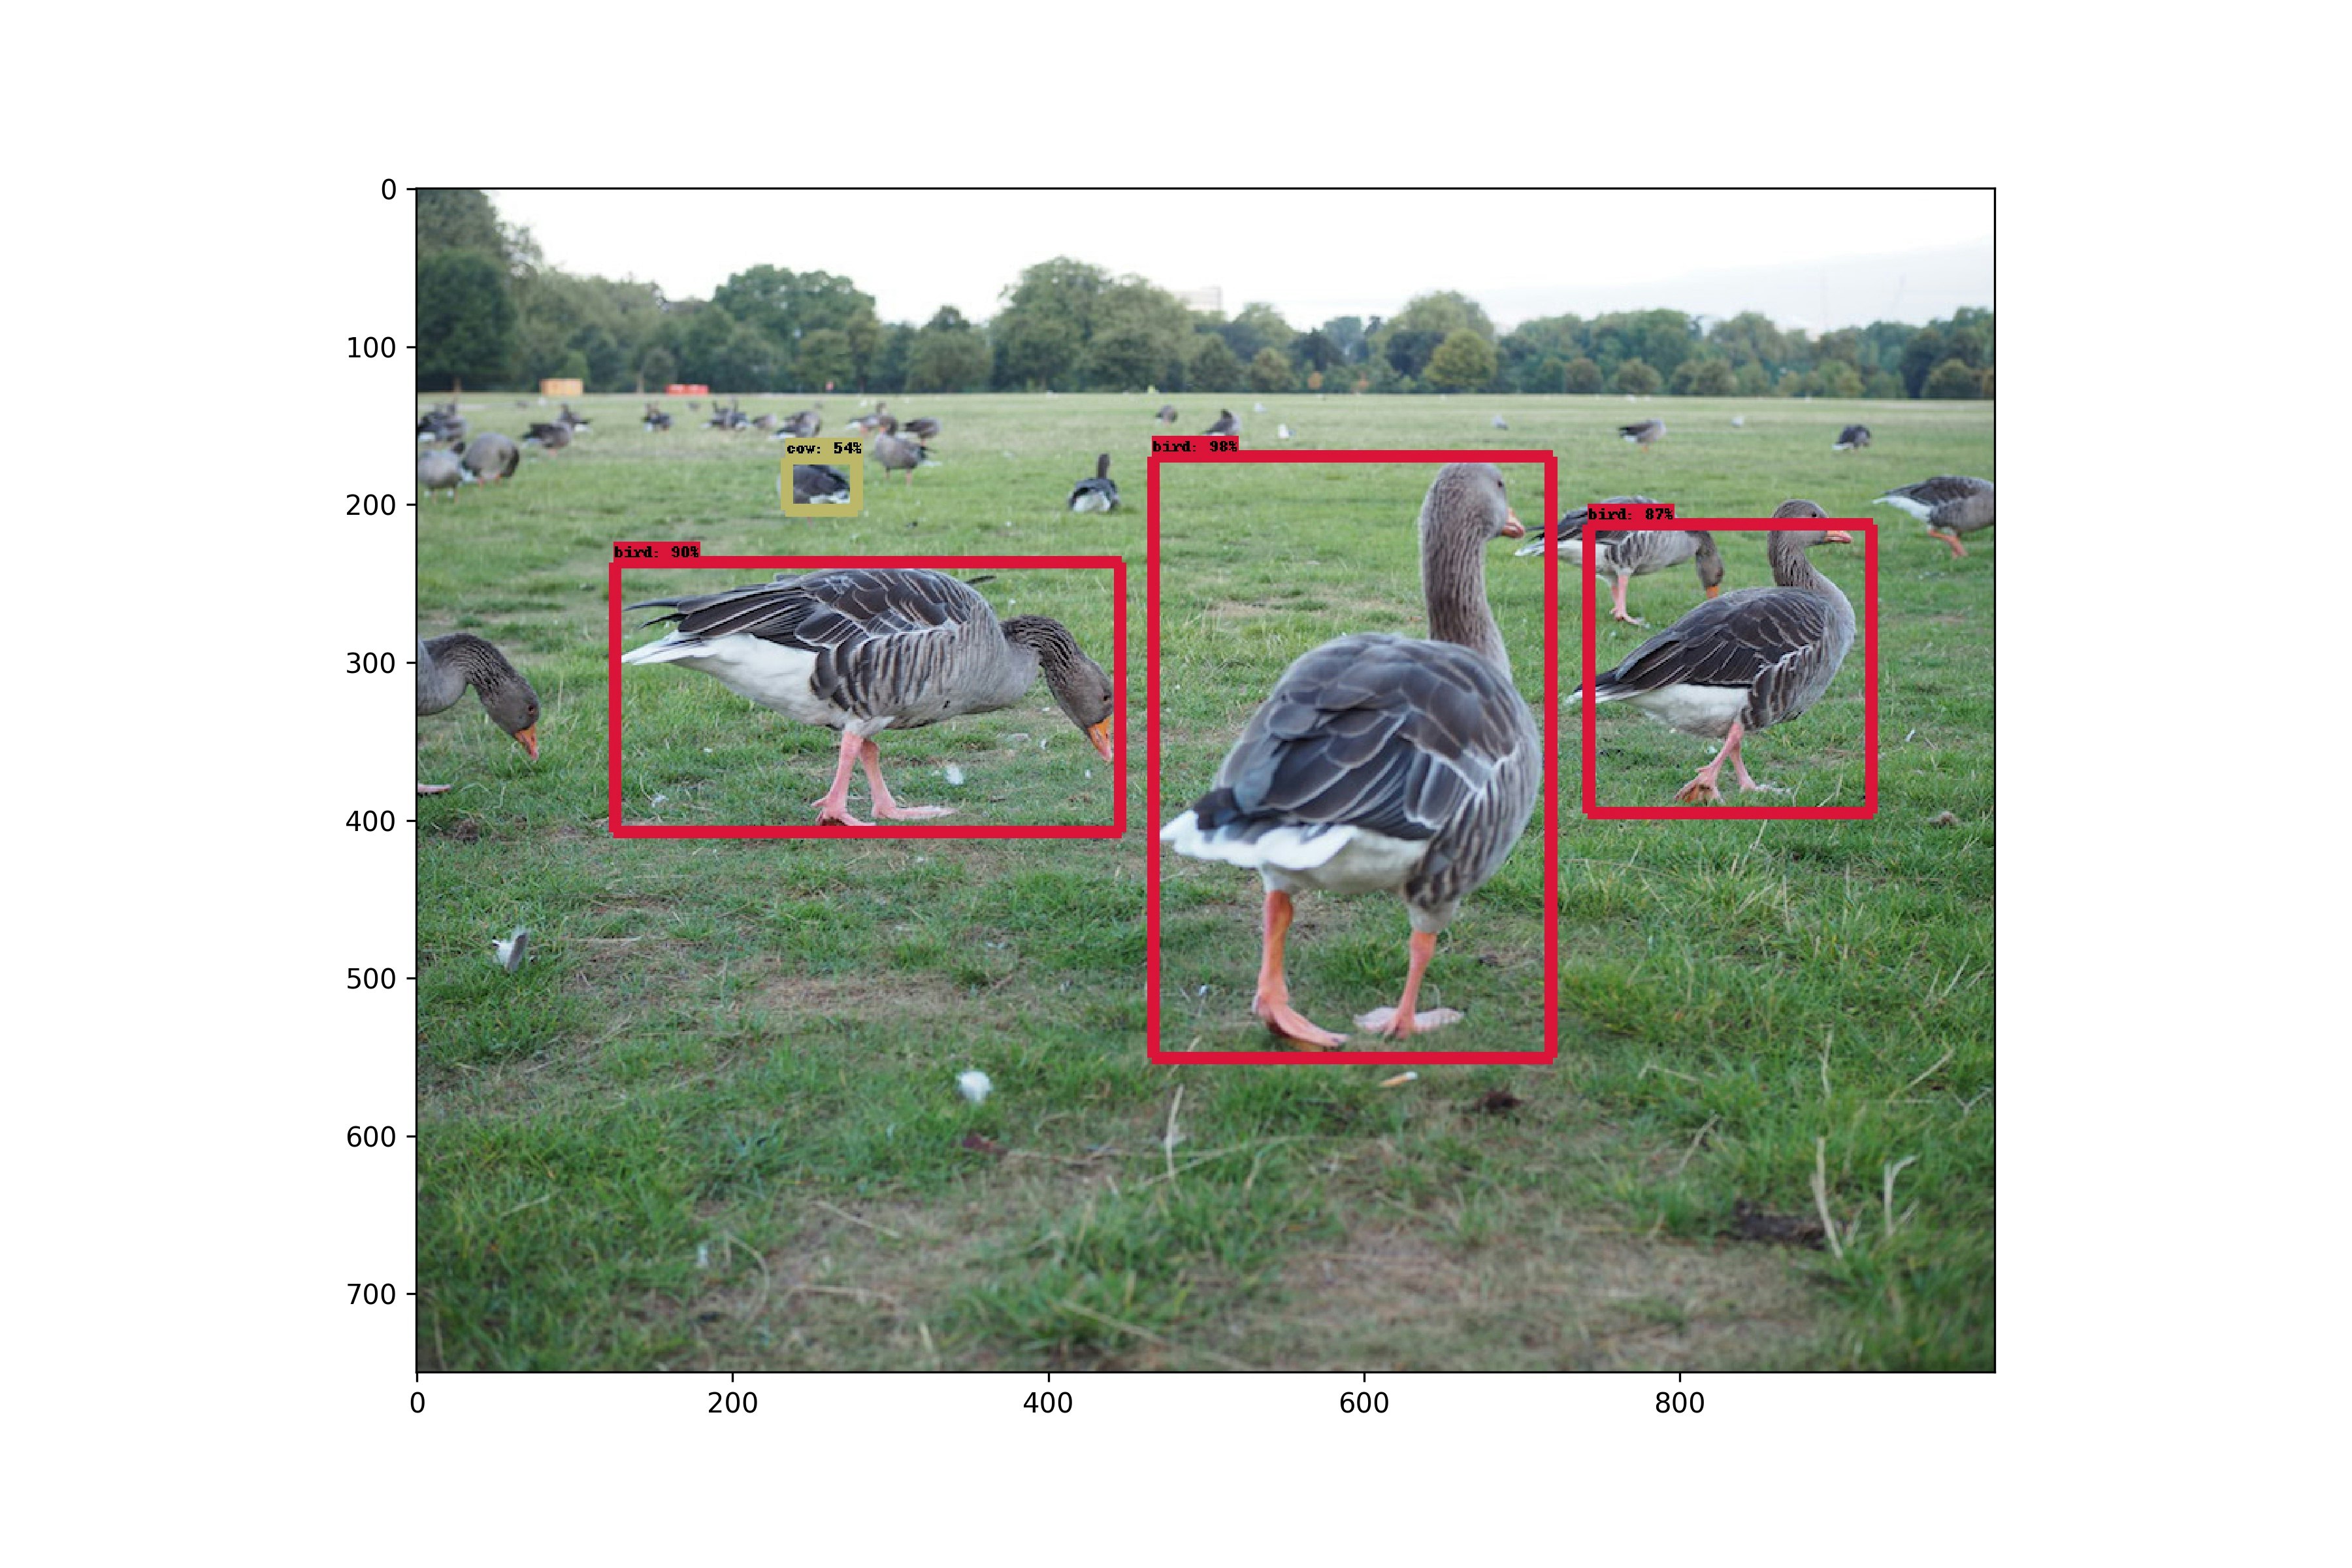
cowではないやつが混ざっていますが、まずまずでしょう。
最後に
この辺のことはKerasですでに出来ていたらしいので、次はそっちをやってみたいと思います。動画でもやってみたいですね。こちらの記事が良さそうです。