はじめに
Backlog、Slackをプロジェクトで使用しています。
Slackは使い始めたばかりなのですが、うまくBacklogと連携させたくて、
chaliceを使って、まずは通知から初めてみました。
やりたいこと
Backlogが更新された時に、Slackに通知させたい、がやりたいことです。
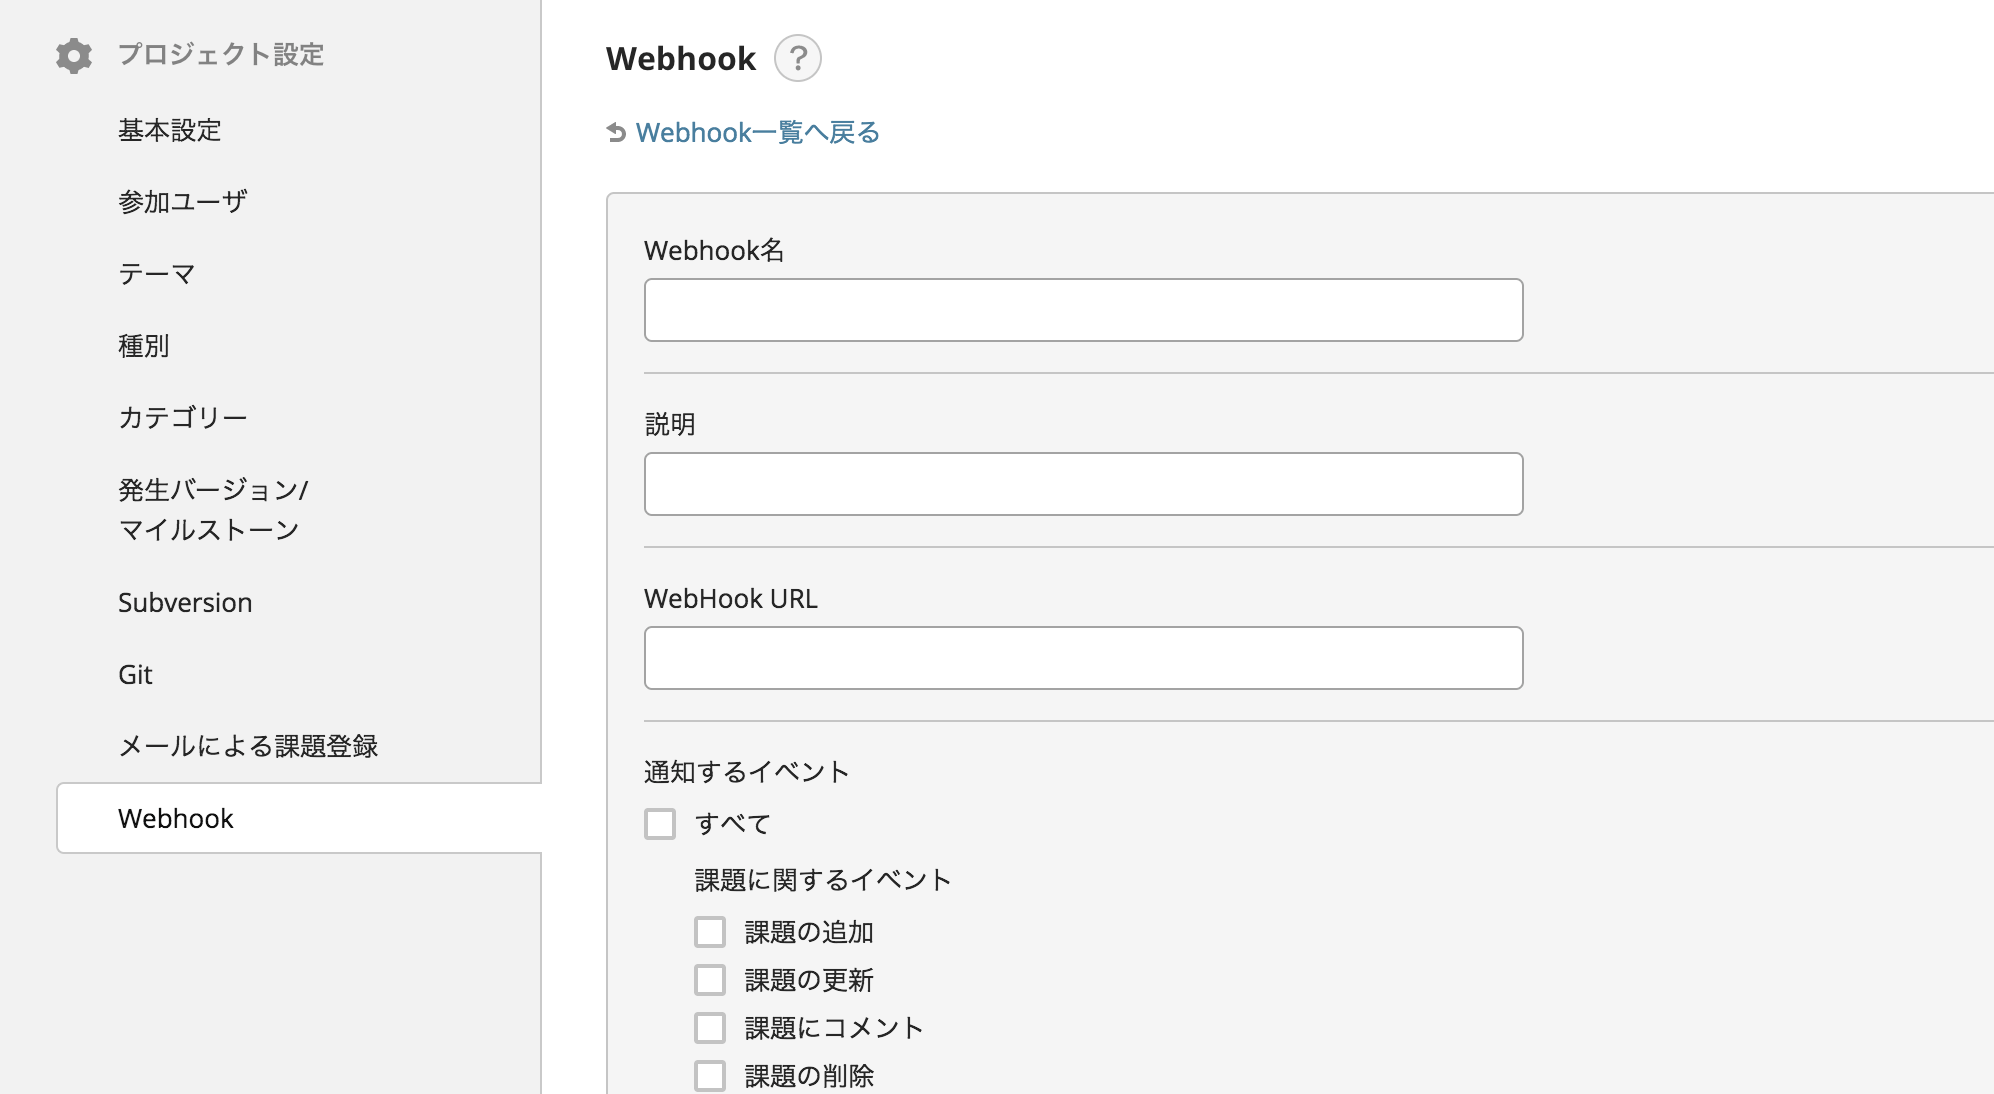
Backlogには、WebHookが設定できるので、WebHook URLに作成したAPIを設定します。
Slackには、incoming WeHookがあるので、そこを作成したAPIで叩く感じです。
Backlogからはとりあえず、
- 課題の追加
- 課題の更新
- 課題にコメント
- Subversionコミット
の通知ができればいいかと思い、それらを対象としました。
実行環境
- AWS
- Lambda(Python2.7)
- API gateway
chaliceとは
chaliceとはAmazon公式の Python ライブラリです。
AWS CLIが実行可能な環境であれば、以下のように、瞬殺でHello worldできます。
$ chalice new-project helloworld
$ cd helloworld/
$ ll
total 8
drwxr-xr-x 6 centos centos 204 Oct 17 23:41 .
drwxr-xr-x 4 centos centos 136 Oct 17 23:41 ..
drwxr-xr-x 3 centos centos 102 Oct 17 23:41 .chalice
-rw-r--r-- 1 centos centos  37 Oct 17 23:41 .gitignore
-rw-r--r-- 1 centos centos 735 Oct 17 23:41 app.py
-rw-r--r-- 1 centos centos   0 Oct 17 23:41 requirements.txt
$ chalice deploy
Creating role: helloworld-dev
Creating deployment package.
Creating lambda function: helloworld-dev
Initiating first time deployment.
Deploying to API Gateway stage: api
https://xxxxxxxx.execute-api.ap-northeast-1.amazonaws.com/api/
$ curl https://xxxxxxxx.execute-api.ap-northeast-1.amazonaws.com/api/
{"hello": "world"}
詳しい使い方はこちら
Slackへの通知
pythonのライブラリである「slackweb」を使用します。
attachmentは自力で作成する必要がありますが、非常に簡単に、slack通知が可能です。
slack_url = "https://hooks.slack.com/services/xxxxxxxx/xxxxxxxx/xxxxxxxxxxxxx"
slack = slackweb.Slack(url=slack_url)
attachments[]
attachment = {
    "author_name": user,
    "title": project,
    "title_link": project_url,
    "pretext": attachment_pretext,
    "fields": field_list}
attachments.append(attachment)
slack.notify(attachments=attachments, channel=CHANNEL_NAME, username=USER_NAME)
困ったこと
- BacklogのOutbound WebHook
公式のドキュメントを探したのですが、見つからず、
どんなフォーマットなのかは、実際に通知させてみるしかありませんでした。
WebHookの内容をみるために、実行テストが利用できるので、それを利用しています。。
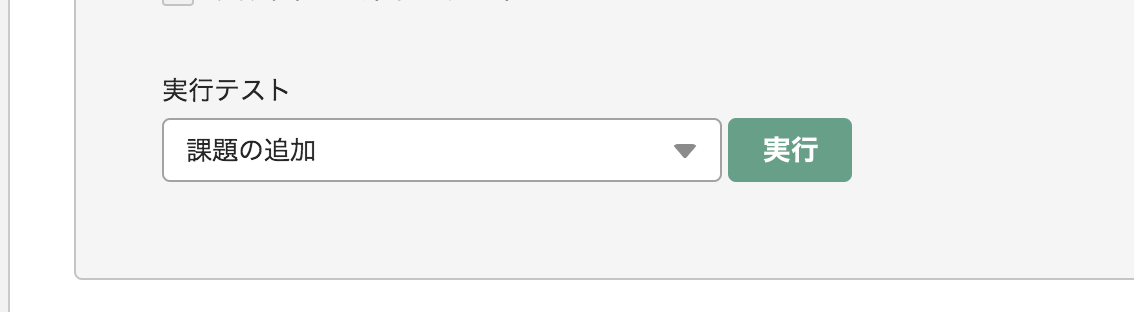
例えば、課題の通知は、こんなフォーマットでした。
typeの数値で、通知の種類が変わるらしい。タスク追加が1、タスクの更新が2、みたいな。
{
    "content": {
        "category": [
            {
                "name": "Category1",
                "displayOrder": null,
                "id": null
            },
            {
                "name": "Category2",
                "displayOrder": null,
                "id": null
            }
        ],
        "startDate": "",
        "estimatedHours": null,
        "description": "test description",
        "versions": [
            {
                "startDate": "null",
                "archived": "false",
                "description": "",
                "projectId": null,
                "releaseDueDate": "null",
                "id": null,
                "displayOrder": null,
                "name": "Version0.1"
            },
            {
                "startDate": "null",
                "archived": "false",
                "description": "",
                "projectId": null,
                "releaseDueDate": "null",
                "id": null,
                "displayOrder": null,
                "name": "Version0.2"
            },
            {
                "startDate": "null",
                "archived": "false",
                "description": "",
                "projectId": null,
                "releaseDueDate": "null",
                "id": null,
                "displayOrder": null,
                "name": "Version1.0"
            }
        ],
        "id": 100,
        "actualHours": null,
        "summary": "test issue",
        "priority": {
            "name": "",
            "id": null
        },
        "assignee": null,
        "status": {
            "name": "In Progress",
            "id": 2
        },
        "milestone": [
            {
                "startDate": "null",
                "archived": "false",
                "description": "",
                "projectId": null,
                "releaseDueDate": "null",
                "id": null,
                "displayOrder": null,
                "name": "prototype release"
            },
            {
                "startDate": "null",
                "archived": "false",
                "description": "",
                "projectId": null,
                "releaseDueDate": "null",
                "id": null,
                "displayOrder": null,
                "name": "alpha release"
            },
            {
                "startDate": "null",
                "archived": "false",
                "description": "",
                "projectId": null,
                "releaseDueDate": "null",
                "id": null,
                "displayOrder": null,
                "name": "beta release"
            },
            {
                "startDate": "null",
                "archived": "false",
                "description": "",
                "projectId": null,
                "releaseDueDate": "null",
                "id": null,
                "displayOrder": null,
                "name": "product release"
            }
        ],
        "issueType": {
            "color": "null",
            "projectId": null,
            "name": "Bug",
            "displayOrder": null,
            "id": 400
        },
        "key_id": 100,
        "customFields": [],
        "parentIssueId": null,
        "resolution": {
            "name": "",
            "id": null
        },
        "dueDate": ""
    },
    "created": "2017-10-19T14:29:53Z",
    "project": {
        "archived": false,
        "name": "TestProject",
        "chartEnabled": false,
        "subtaskingEnabled": false,
        "id": 100,
        "projectKey": "TEST"
    },
    "notifications": [],
    "createdUser": {
        "roleType": 1,
        "name": "y-kawahara",
        "userId": null,
        "nulabAccount": null,
        "mailAddress": null,
        "id": 13079
    },
    "type": 1,
    "id": 10
}
- chaliceで外部ライブラリを使用する方法
chaliceは、ドキュメントによると以下のようなフォルダ構成が推奨されています。
.
├── app.py
├── chalicelib       ←独自実装のライブラリ
│   ├── __init__.py
│   └── utils.py
├── requirements.txt
└── vendor         ←サードパーティのライブラリ
    └── internalpackage
        └── __init__.py
つまり、slackwebなんかはvendorフォルダ配下にダウンロードしておく必要があります。
もちろんrequirementも必要です。
最初、pip download slackwebでダウンロードしてきたslackweb-1.0.5.tar.gzを格納していたのですが、
wheelファイルにビルドする必要があるみたいです。
pip install wheel

cd vendor
pip download slackweb
pip wheel slackweb-1.0.5.tar.gz
最終的な構成は以下になりました。
.
├── README.md
├── app.py
├── requirements.txt
└── vendor
    └── slackweb-1.0.5-py2-none-any.whl
デバッグ
デバッグは、chalice localコマンドとngrokを使用しました。
ngrokはサブドメインを払い出してくれて、ローカルのPCの特定ポートに引き込んでくれるサービスです。
以下のコマンドで、https://7e9a9046.ngrok.ioへのリクエストを、
localhostのポート8000で受信できます。払い出されるサブドメインは毎回変わります。
$ ngrok http 8000
grok by @inconshreveable                                                                                                                                                           (Ctrl+C to quit)

Session Status                online
Version                       2.2.8
Region                        United States (us)
Web Interface                 http://127.0.0.1:4040
Forwarding                    http://7e9a9046.ngrok.io -> localhost:8000
Forwarding                    https://7e9a9046.ngrok.io -> localhost:8000

Connections                   ttl     opn     rt1     rt5     p50     p90
                              0       0       0.00    0.00    0.00    0.00
chaliceのほうはchalice localコマンドでローカルにポート8000で受け付けてくれます。
$ chalice local
Serving on localhost:8000
これで、backlogのWebHookにhttps://7e9a9046.ngrok.ioを設定すればローカルPCの8000ポートにリクエストが飛んできて、chaliceでリクエストを受けることができる
ということになります。
毎回chalice deployで動作確認するのも大変なので、最初はこちらのほうが楽でした。
Githubにアップしてみました!