はじめに
この記事は、ローカルLLM で「FunctionGemma + LM Studio の Tool Use」を試した話で、直近で書いた以下の記事と似た内容です。
●ローカルLLM: FunctionGemma + LM Studio の Tool Use を Node.js で試す - Qiita
https://qiita.com/youtoy/items/10ade777fe73c5628c14
しかし、上記の記事と今回の記事には違いがあります。具体的には、上記の記事で「OpenAI API Library」を使っていた部分に関して、この記事では以下の「OpenAI Agents SDK (JavaScript/TypeScript)」を使っています。
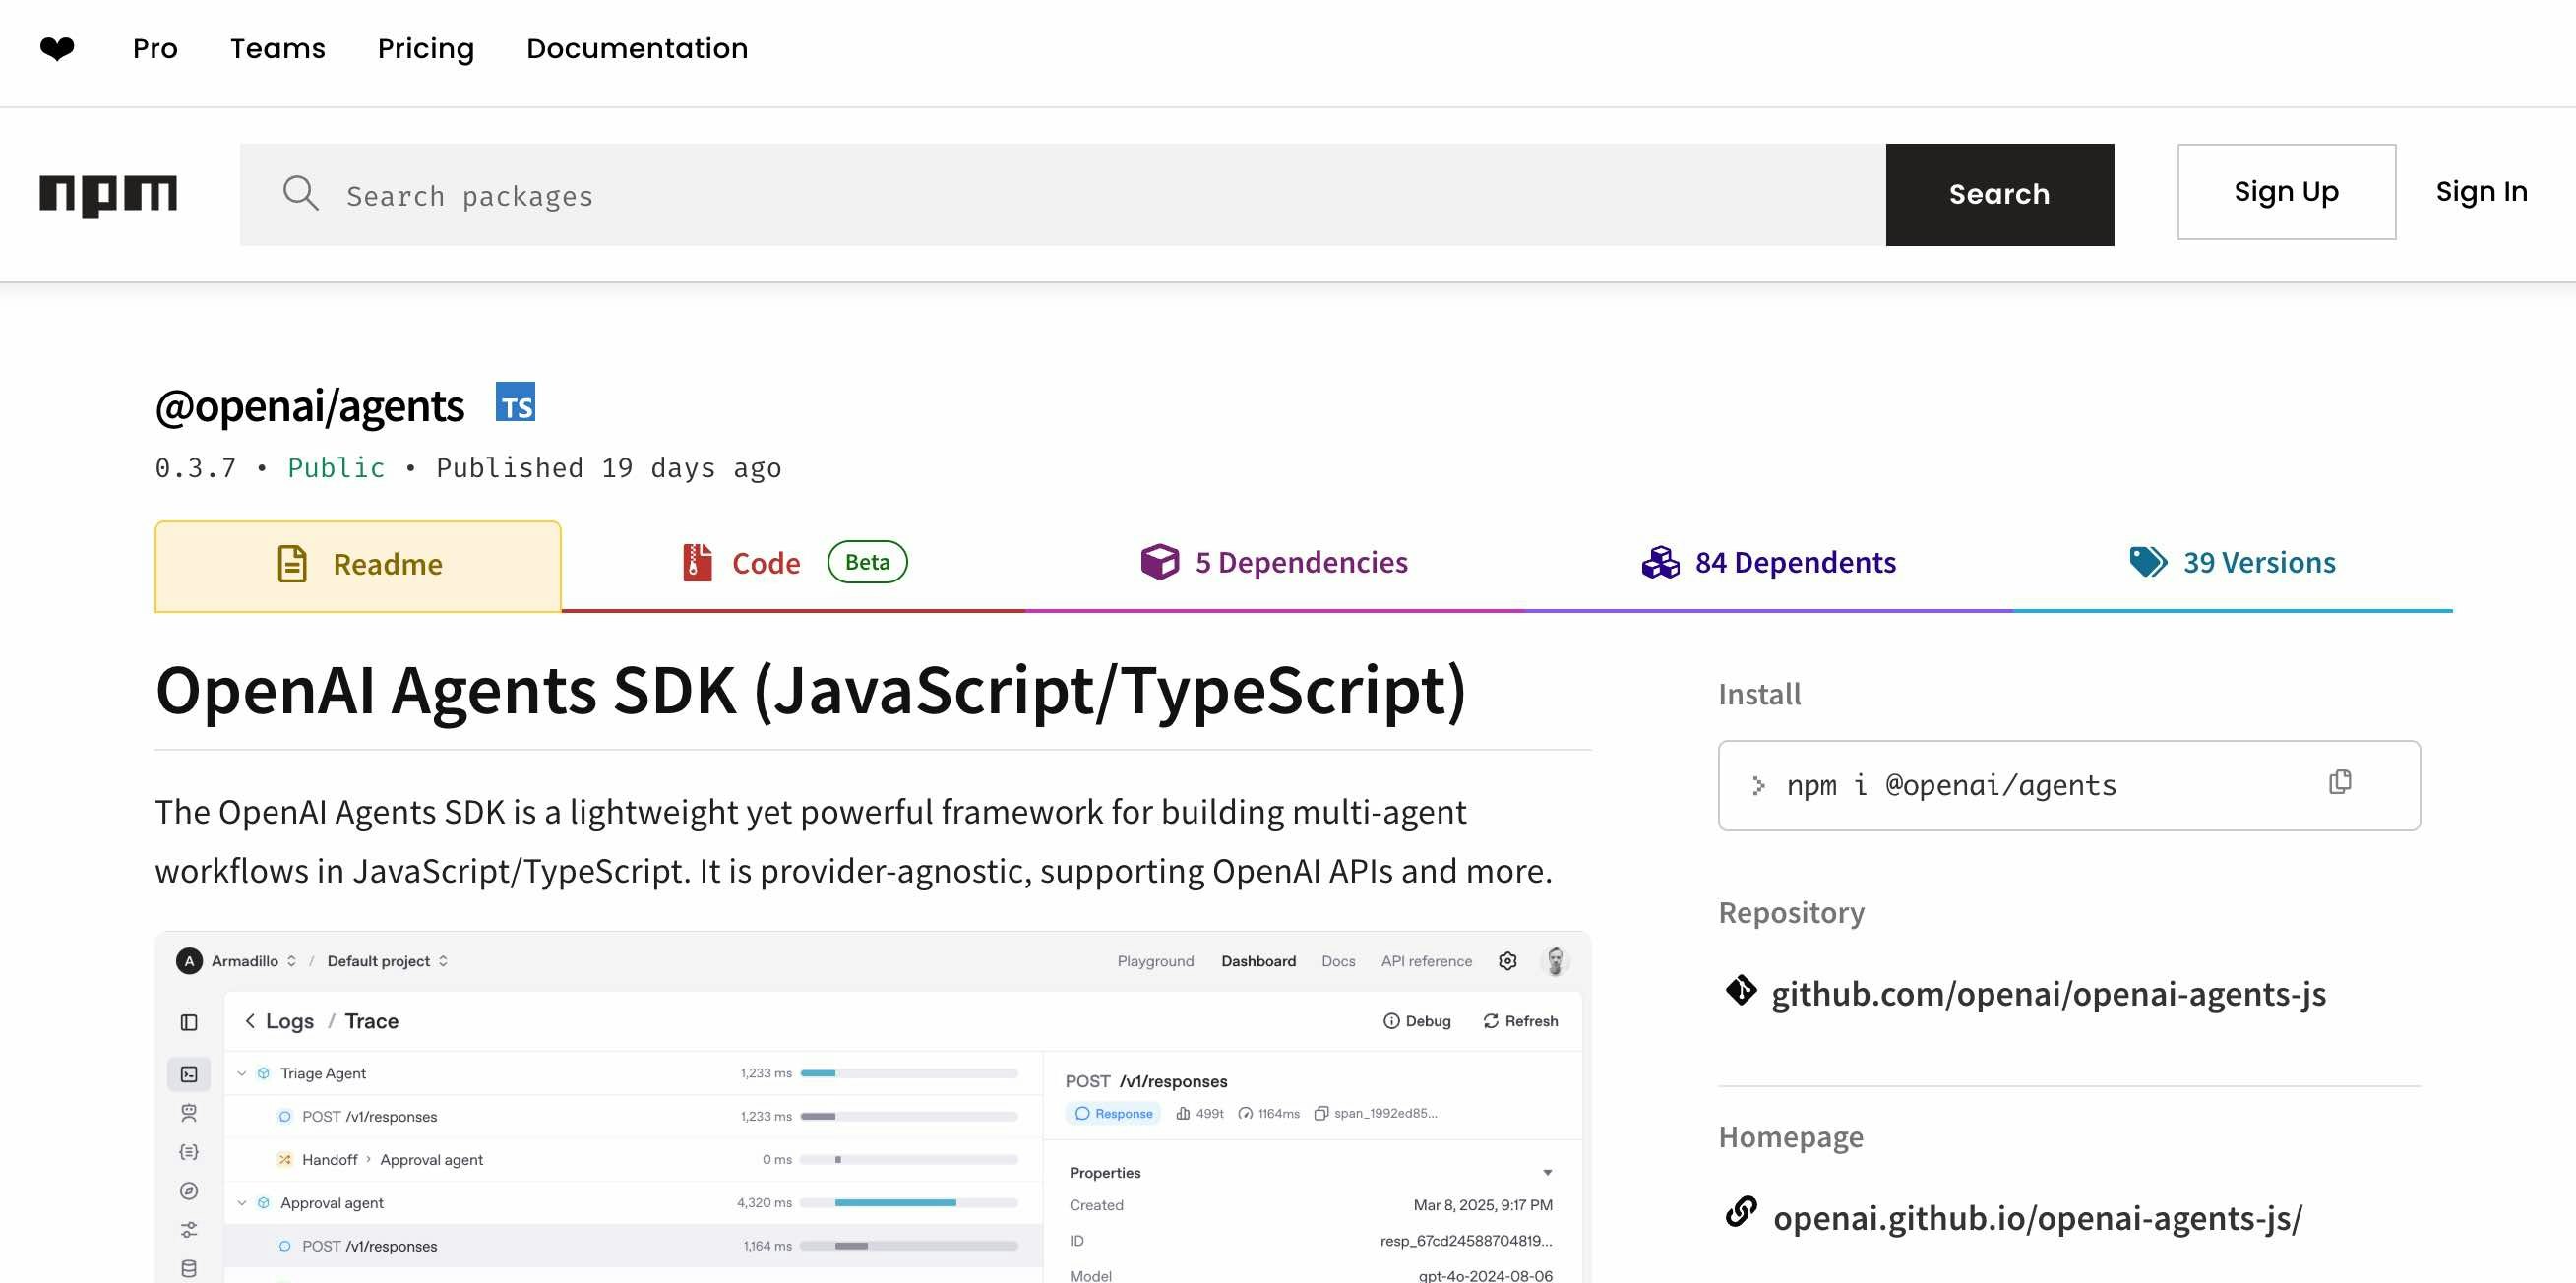
●@openai/agents - npm
https://www.npmjs.com/package/@openai/agents
さっそく試してみる
さっそく試していきます。少し補足をしてから、その後に実装したコード全体の話へ入っていきます。
お試し用に実装する処理の補足
今回のお試しで実装する処理は、上で掲載した記事の中の「複数ターンの処理」です。
利用するツールの実装など、基本的な内容は同じものにしつつ、「OpenAI API Library」と「OpenAI Agents SDK (JavaScript/TypeScript)」とで実装方法が異なる部分の修正をする形にします。
OpenAI Agents SDK で LM Studio のローカルサーバーの URL を指定する
デフォルトでは、OpenAI Agents SDK は最初のインポート時に、環境変数 OPENAI_API_KEY を読み取ります。今回は OpenAI の API を使わないので、その部分に関する対応が必要です。
具体的には、過去に以下の記事で書いたように「独自の OpenAI クライアントインスタンスを渡す」というやり方などがあります。
●【小ネタ】OpenAI Agents SDK for TypeScript でローカルLLM(LM Studio との組み合わせ) - Qiita
https://qiita.com/youtoy/items/03460f8a79048792379f
その処理に関し、LM Studio のローカルサーバーの URL を指定する書き方は、例えば以下になります。

お試し用の実装を試す
それでは、実装したコード全体の話へ入っていきます。
下準備
この後に掲載しているコードを実行できるよう、2つの下準備を行います。
1つは LM Studio でのローカルサーバーの立ち上げです。やり方については、説明が書かれた記事が既に色々あると思うので、ここでは省略します。
2つ目の下準備はパッケージのインストールです。以下の pnpmコマンドを使ったやり方で、パッケージをインストールしました。
pnpm add openai @openai/agents zod
実装したコード全体
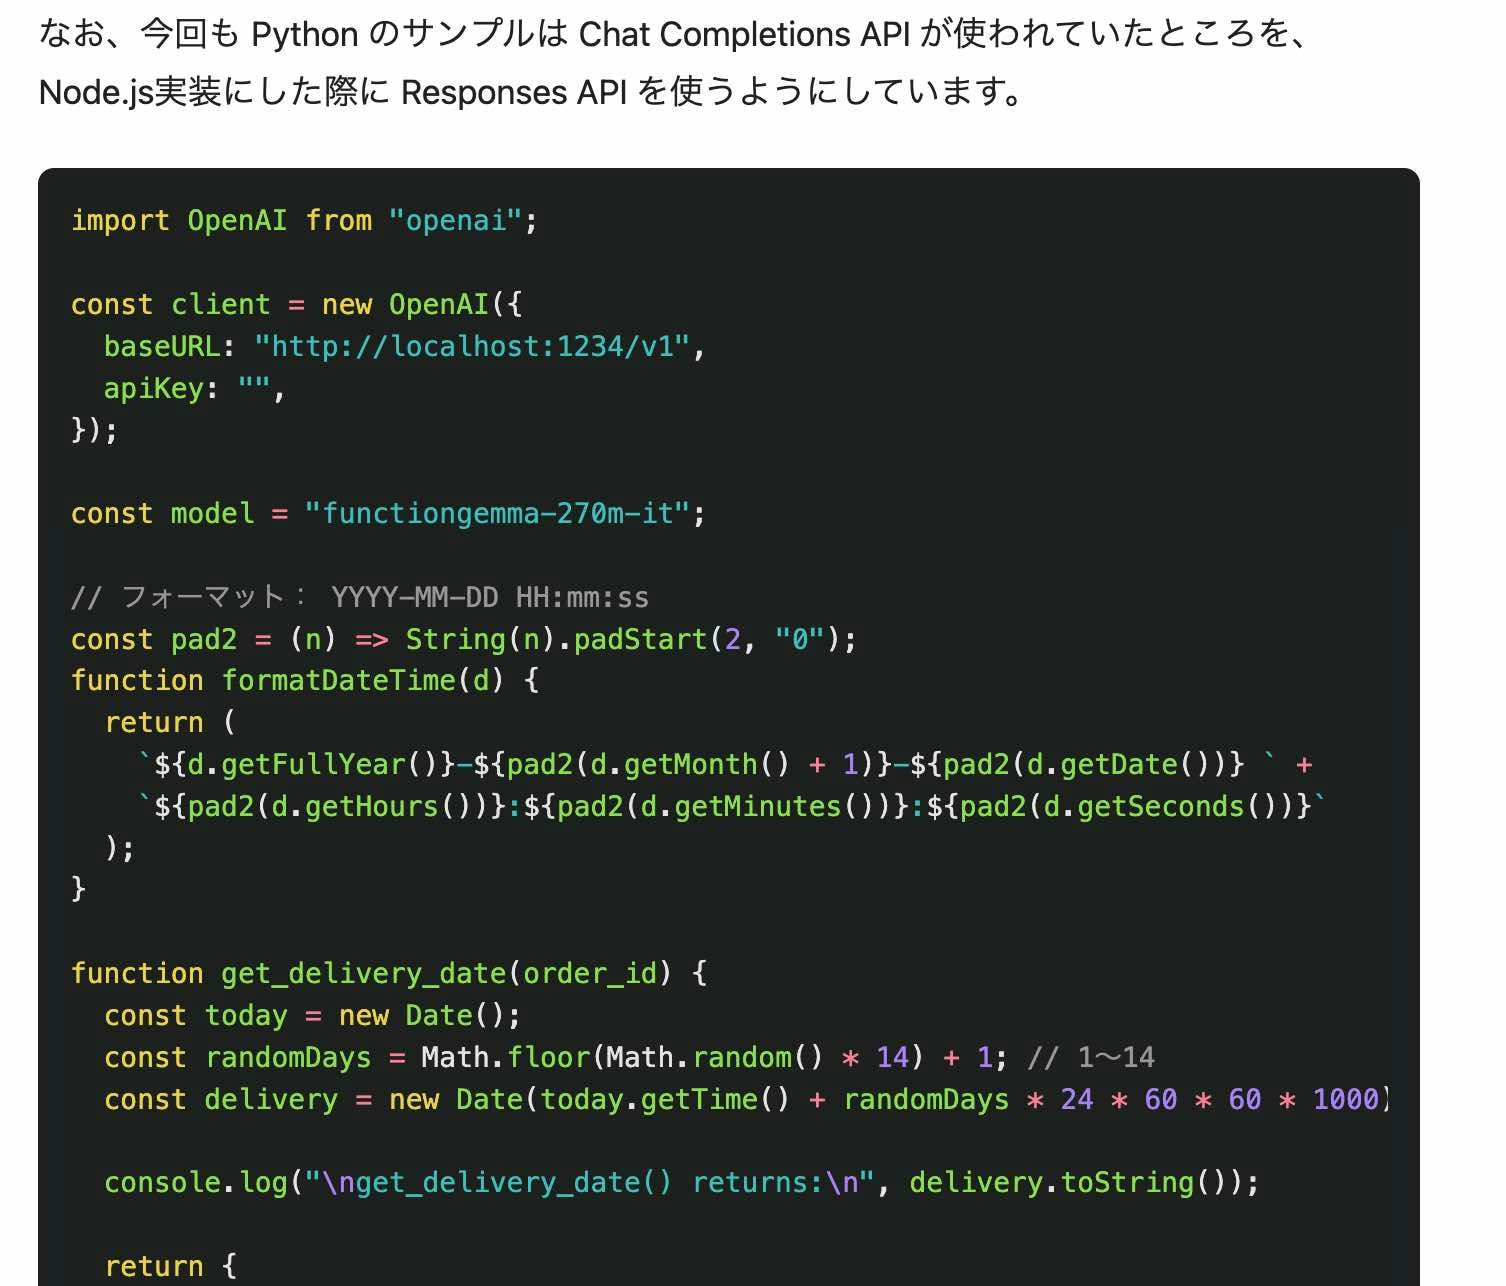
実装したコード全体を以下に掲載します。
import OpenAI from "openai";
import { Agent, run, tool, setDefaultOpenAIClient } from "@openai/agents";
import { z } from "zod";

const baseURL = "http://localhost:1234/v1";
const apiKey = "";
const model = "functiongemma-270m-it";

const pad2 = (n) => String(n).padStart(2, "0");

function formatDateTime(d) {
  return (
    `${d.getFullYear()}-${pad2(d.getMonth() + 1)}-${pad2(d.getDate())} ` +
    `${pad2(d.getHours())}:${pad2(d.getMinutes())}:${pad2(d.getSeconds())}`
  );
}

function get_delivery_date(order_id) {
  const today = new Date();
  const randomDays = Math.floor(Math.random() * 14) + 1; // 1〜14日
  const delivery = new Date(today.getTime() + randomDays * 24 * 60 * 60 * 1000);

  console.log("\nget_delivery_date() returns:\n", delivery.toString());

  return {
    order_id,
    delivery_date: formatDateTime(delivery),
  };
}

const getDeliveryDateTool = tool({
  name: "get_delivery_date",
  description:
    "Get the delivery date for a customer's order. Call this whenever you need to know the delivery date, for example when a customer asks 'Where is my package'",
  parameters: z.object({
    order_id: z.string().describe("The customer's order ID."),
  }),
  execute: async ({ order_id }) => {
    return get_delivery_date(order_id);
  },
});

async function main() {
  const client = new OpenAI({ baseURL, apiKey });
  setDefaultOpenAIClient(client);

  const agent = new Agent({
    name: "Customer Support Assistant",
    model,
    instructions:
      "You are a helpful customer support assistant. " +
      "If the user provides an order id/number, call get_delivery_date immediately. " +
      "You MUST use the tool result exactly as provided. " +
      "Do not change dates/times. " +
      "Read the JSON from the tool output and copy delivery_date verbatim.",
    tools: [getDeliveryDateTool],
    modelSettings: {
      toolChoice: "required",
    },
  });

  const result = await run(
    agent,
    "Order ID: 1017. Give me the delivery date and time."
  );

  console.log("\nFinal assistant text:\n", result.finalOutput);
}

main().catch(console.error);
上記関して、直近で書いていた記事での実装(OpenAI API Library を使った実装)と比べて、function_call / tool_output の手動処理が不要になったり、2段階で書いていた処理がシンプルになったりしました。
処理の実行結果
処理を実行してみた結果を、以下に掲載します。

意図した通りの出力が得られました。