はじめに
今回の記事では、2025年の 12月中旬に発表されていた「FunctionGemma」を、LM Studio を使ったローカルLLM で扱ってみます。
●FunctionGemma: New Gemma model for function calling
https://blog.google/technology/developers/functiongemma/

FunctionGemma に関する簡単な補足と今回試すメインの内容
FunctionGemma は、以前出ていた軽量モデルの「Gemma 3 270M」をベースに、「function calling(ツール呼び出し、関数呼び出し)」に特化して fine-tune されたモデルのようです。
今回試すメインの内容
今回の記事のメインの内容は、FunctionGemma の特長となる「function calling」を軽く試してみることです。
LM Studio の OpenAI互換API に関するページ内だと、以下が関連する内容になるかと思います。
●Tool Use | LM Studio Docs
https://lmstudio.ai/docs/developer/openai-compat/tools
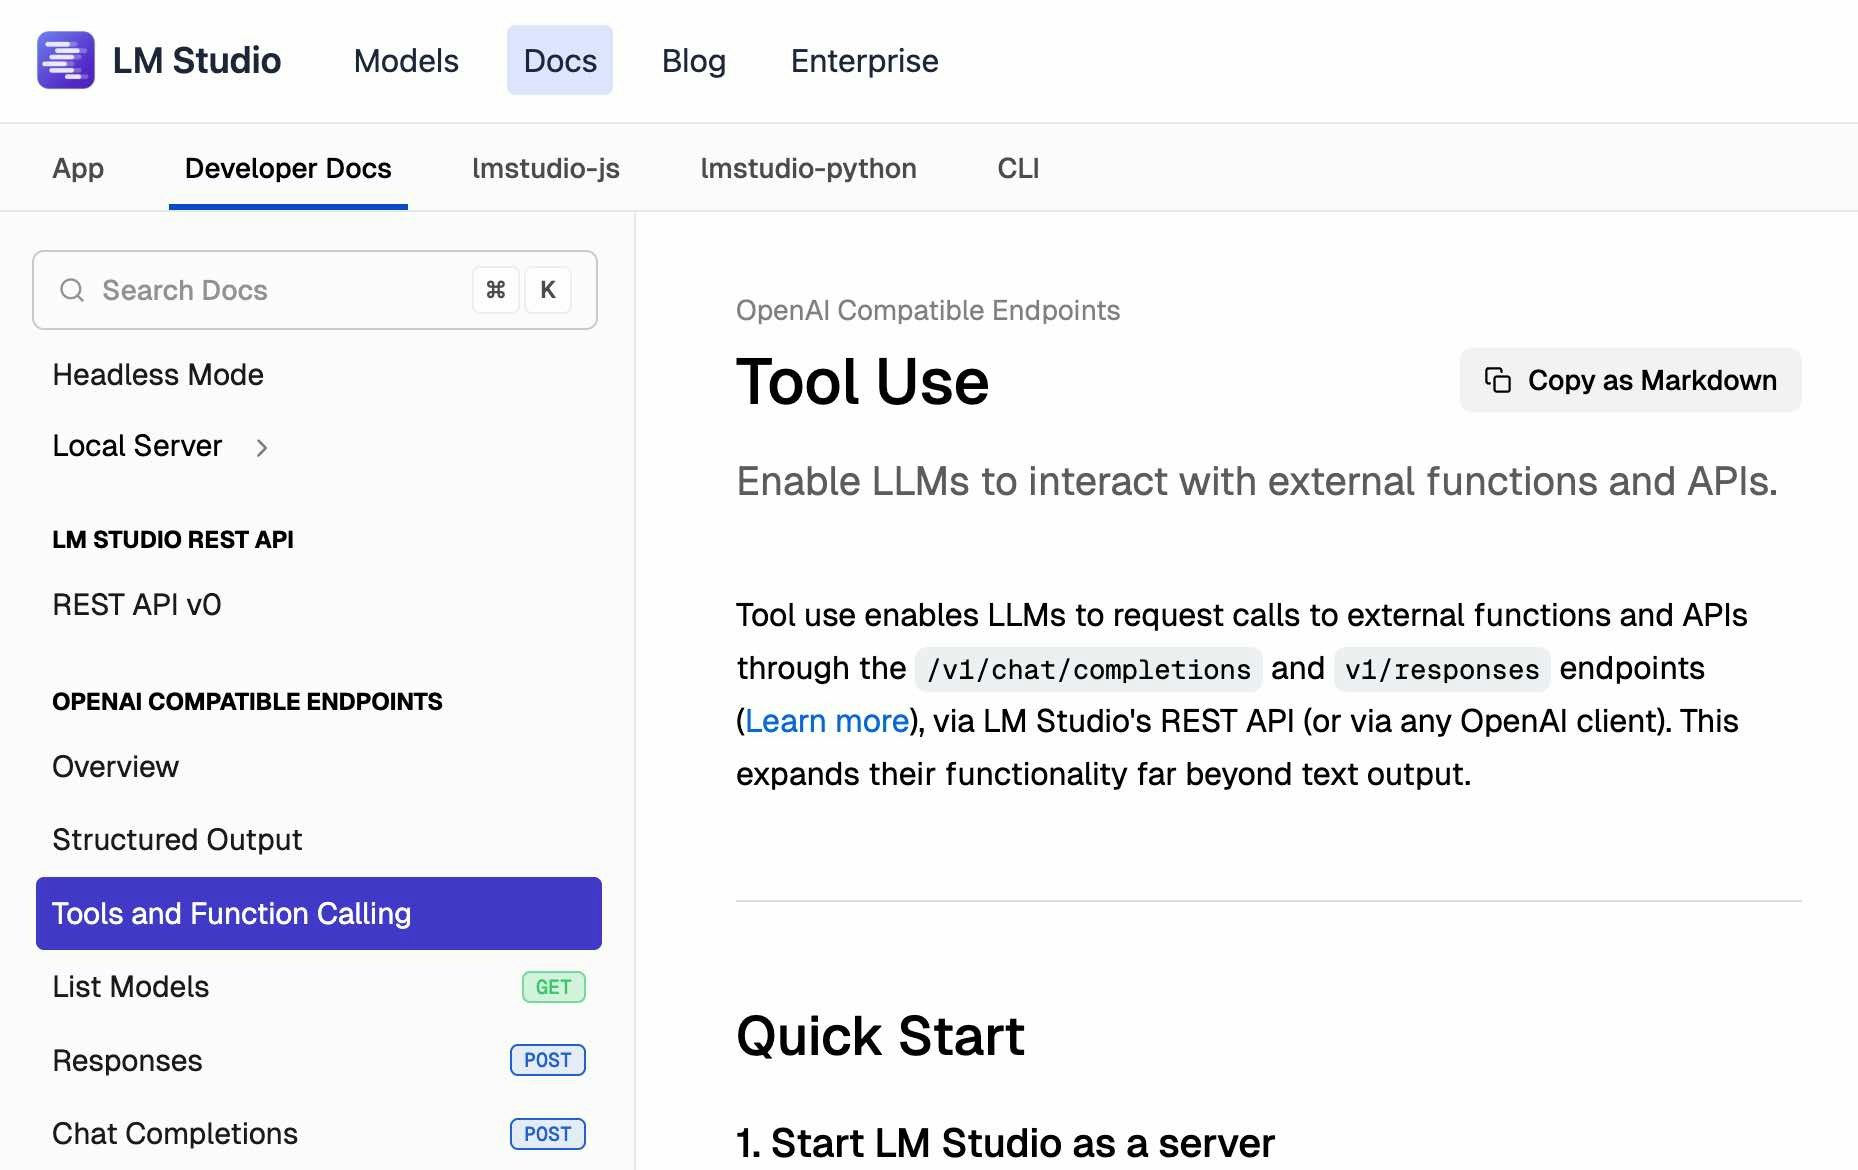
まずは、シンプルな呼び出しを試してから、その後に「Tool Use」を使った処理を試します。
実際に試してみる
下準備
まずは、LM Studio でモデルを準備します。
その前に、LM Studio公式のページで FunctionGemma について書かれたページを少し見てみます。そうすると、以下のモデル情報のページがありました。
●functiongemma
https://lmstudio.ai/models/functiongemma

このページを見ると、モデルサイズは「786 MB」になるようです。それと、モデル名は「functiongemma-270m」という文字列を含むものになるようです。
LM Studio上でモデルを準備する
LM Studio上で「functiongemma」検索すると、以下のように MLX版や GGUF版などのモデルが出てきます。
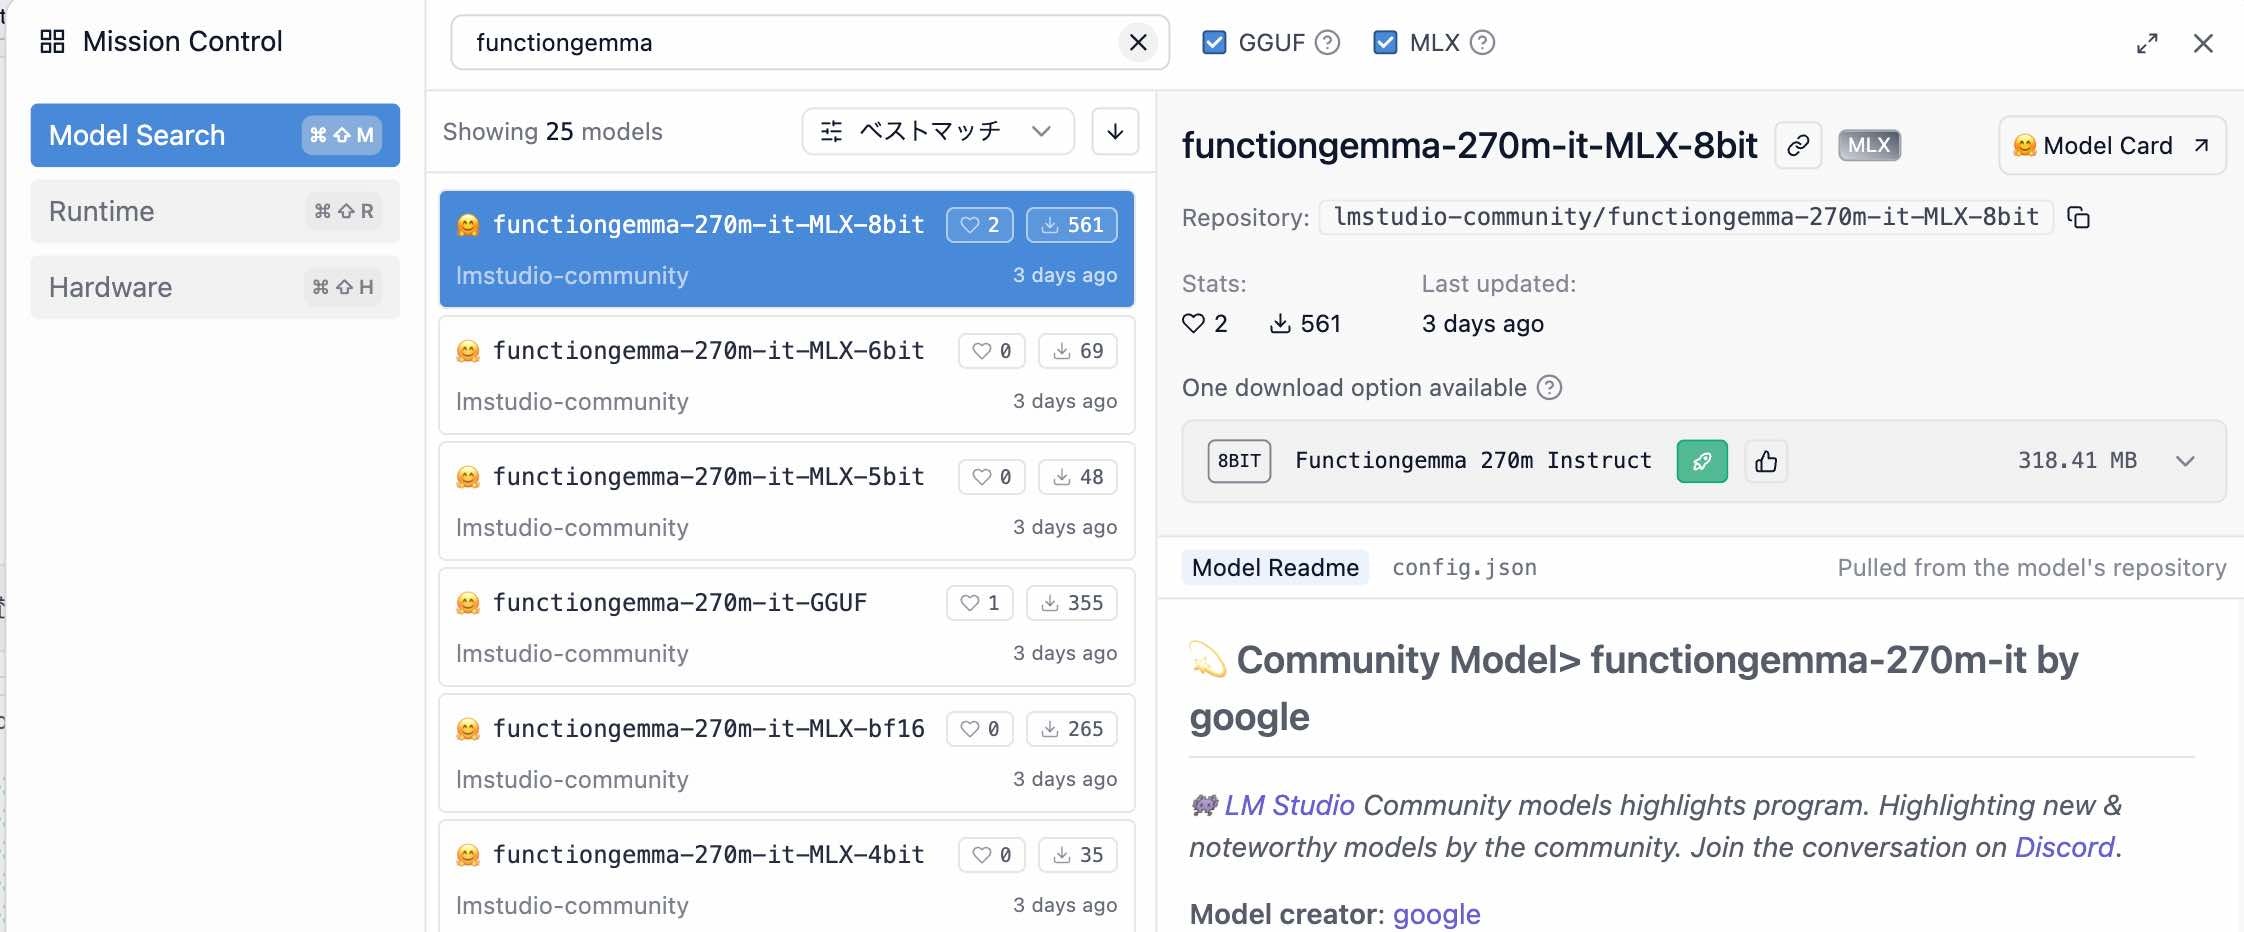

今回は、GGUF版(lmstudio-community/functiongemma-270m-it-GGUF)を使います。
ちなみに、Hugging Face上のモデルのページや、Ollama のモデルのページも以下などがあります。
●google/functiongemma-270m-it · Hugging Face
https://huggingface.co/google/functiongemma-270m-it
●functiongemma
https://ollama.com/library/functiongemma
軽い動作確認
次は、Node.js を使った軽い動作確認です。
パッケージの準備
LM Studio の OpenAI互換API を扱うために、以下のパッケージをインストールします。
●openai - npm
https://www.npmjs.com/package/openai
pnpm や npm などでインストールしておきます。
pnpm i openai
LM Studio でローカルサーバーを起動
また、LM Studio でローカルサーバーを起動して、この先の内容を試してみます。
シンプルなコードを実行する
次に、シンプルなコードを実行してみます。具体的には、以下のとおりです。
import OpenAI from "openai";

const client = new OpenAI({
  baseURL: "http://localhost:1234/v1",
  apiKey: "",
});

const response = await client.responses.create({
  model: "functiongemma-270m-it",
  input: "あなたは誰?",
});

console.log(response.output_text);
この内容で、レスポンスが返ってくるのを確認できました。
LM Studio の Tool Use を試す
次に LM Studio の Tool Use を試してみます。
1ターンの処理
先ほどの LMStudio のページ内で、「Examples using python」の「Single-turn example」という部分を見ると Python のサンプルが書かれています。これを以下の Node.js の処理に変えてみました。
なお Python のサンプルは Chat Completions API が使われていましたが、Node.js実装にした際には Responses API を使うようにしてみています。
import OpenAI from "openai";

const client = new OpenAI({
  baseURL: "http://localhost:1234/v1",
  apiKey: "",
});

function say_hello(name) {
  console.log(`こんにちは、${name}!`);
}

// Responses API の tools の形式:
//   トップレベルに name/description/parameters
const tools = [
  {
    type: "function",
    name: "say_hello",
    description: "誰かにこんにちはと言う",
    parameters: {
      type: "object",
      properties: {
        name: {
          type: "string",
          description: "The person's name",
        },
      },
      required: ["name"],
    },
  },
];

async function main() {
  const response = await client.responses.create({
    model: "functiongemma-270m-it",
    // input: [{ role: "user", content: "太郎にこんにちはと挨拶して" }],
    input: [{ role: "user", content: "こんにちはと太郎に挨拶して" }],
    tools,
  });

  const toolCall = response.output?.find(
    (item) => item.type === "function_call" && item.name === "say_hello"
  );

  if (!toolCall) {
    console.log("No tool call found.");
    console.dir(response.output, { depth: null });
    return;
  }

  const args = JSON.parse(toolCall.arguments ?? "{}");
  const name = args.name;

  if (typeof name !== "string" || !name.length) {
    console.log("Tool call had no valid 'name' argument.");
    return;
  }

  say_hello(name);
}

main().catch(console.error);
上記を実行してみると、「こんにちは、太郎!」という出力を得ることができました。
なお、参考にした LM Studio公式の Python のサンプル(single-turn-example.py)は以下のとおりです。
from openai import OpenAI

# Connect to LM Studio
client = OpenAI(base_url="http://localhost:1234/v1", api_key="lm-studio")

# Define a simple function
def say_hello(name: str) → str:
    print(f"Hello, {name}!")

# Tell the AI about our function
tools = [
    {
        "type": "function",
        "function": {
            "name": "say_hello",
            "description": "Says hello to someone",
            "parameters": {
                "type": "object",
                "properties": {
                    "name": {
                        "type": "string",
                        "description": "The person's name"
                    }
                },
                "required": ["name"]
            }
        }
    }
]

# Ask the AI to use our function
response = client.chat.completions.create(
    model="lmstudio-community/qwen2.5-7b-instruct",
    messages=[{"role": "user", "content": "Can you say hello to Bob the Builder?"}],
    tools=tools
)

# Get the name the AI wants to use a tool to say hello to
# (Assumes the AI has requested a tool call and that tool call is say_hello)
tool_call = response.choices[0].message.tool_calls[0]
name = eval(tool_call.function.arguments)["name"]

# Actually call the say_hello function
say_hello(name) # Prints: Hello, Bob the Builder!
複数ターンの処理
最後に複数ターンの処理を試してみます。
先ほどの Python のサンプルの下に、「Multi-turn example」という項目があり、そこで「multi-turn-example.py」という名前で以下の実装が例示されています。
from datetime import datetime, timedelta
import json
import random
from openai import OpenAI

# Point to the local server
client = OpenAI(base_url="http://localhost:1234/v1", api_key="lm-studio")
model = "lmstudio-community/qwen2.5-7b-instruct"


def get_delivery_date(order_id: str) → datetime:
    # Generate a random delivery date between today and 14 days from now
    # in a real-world scenario, this function would query a database or API
    today = datetime.now()
    random_days = random.randint(1, 14)
    delivery_date = today + timedelta(days=random_days)
    print(
        f"\nget_delivery_date function returns delivery date:\n\n{delivery_date}",
        flush=True,
    )
    return delivery_date


tools = [
    {
        "type": "function",
        "function": {
            "name": "get_delivery_date",
            "description": "Get the delivery date for a customer's order. Call this whenever you need to know the delivery date, for example when a customer asks 'Where is my package'",
            "parameters": {
                "type": "object",
                "properties": {
                    "order_id": {
                        "type": "string",
                        "description": "The customer's order ID.",
                    },
                },
                "required": ["order_id"],
                "additionalProperties": False,
            },
        },
    }
]

messages = [
    {
        "role": "system",
        "content": "You are a helpful customer support assistant. Use the supplied tools to assist the user.",
    },
    {
        "role": "user",
        "content": "Give me the delivery date and time for order number 1017",
    },
]

# LM Studio
response = client.chat.completions.create(
    model=model,
    messages=messages,
    tools=tools,
)

print("\nModel response requesting tool call:\n", flush=True)
print(response, flush=True)

# Extract the arguments for get_delivery_date
# Note this code assumes we have already determined that the model generated a function call.
tool_call = response.choices[0].message.tool_calls[0]
arguments = json.loads(tool_call.function.arguments)

order_id = arguments.get("order_id")

# Call the get_delivery_date function with the extracted order_id
delivery_date = get_delivery_date(order_id)

assistant_tool_call_request_message = {
    "role": "assistant",
    "tool_calls": [
        {
            "id": response.choices[0].message.tool_calls[0].id,
            "type": response.choices[0].message.tool_calls[0].type,
            "function": response.choices[0].message.tool_calls[0].function,
        }
    ],
}

# Create a message containing the result of the function call
function_call_result_message = {
    "role": "tool",
    "content": json.dumps(
        {
            "order_id": order_id,
            "delivery_date": delivery_date.strftime("%Y-%m-%d %H:%M:%S"),
        }
    ),
    "tool_call_id": response.choices[0].message.tool_calls[0].id,
}

# Prepare the chat completion call payload
completion_messages_payload = [
    messages[0],
    messages[1],
    assistant_tool_call_request_message,
    function_call_result_message,
]

# Call the OpenAI API's chat completions endpoint to send the tool call result back to the model
# LM Studio
response = client.chat.completions.create(
    model=model,
    messages=completion_messages_payload,
)

print("\nFinal model response with knowledge of the tool call result:\n", flush=True)
print(response.choices[0].message.content, flush=True)
これを参考にして以下の Node.js の実装を作ってみました。
なお、今回も Python のサンプルは Chat Completions API が使われていたところを、Node.js実装にした際に Responses API を使うようにしています。
import OpenAI from "openai";

const client = new OpenAI({
  baseURL: "http://localhost:1234/v1",
  apiKey: "",
});

const model = "functiongemma-270m-it";

// フォーマット: YYYY-MM-DD HH:mm:ss
const pad2 = (n) => String(n).padStart(2, "0");
function formatDateTime(d) {
  return (
    `${d.getFullYear()}-${pad2(d.getMonth() + 1)}-${pad2(d.getDate())} ` +
    `${pad2(d.getHours())}:${pad2(d.getMinutes())}:${pad2(d.getSeconds())}`
  );
}

function get_delivery_date(order_id) {
  const today = new Date();
  const randomDays = Math.floor(Math.random() * 14) + 1; // 1〜14
  const delivery = new Date(today.getTime() + randomDays * 24 * 60 * 60 * 1000);

  console.log("\nget_delivery_date() returns:\n", delivery.toString());

  return {
    order_id,
    delivery_date: formatDateTime(delivery),
  };
}

// Responses API の tools の形式:
//   トップレベルに name/description/parameters
const tools = [
  {
    type: "function",
    name: "get_delivery_date",
    description:
      "Get the delivery date for a customer's order. Call this whenever you need to know the delivery date, for example when a customer asks 'Where is my package'",
    parameters: {
      type: "object",
      properties: {
        order_id: {
          type: "string",
          description: "The customer's order ID.",
        },
      },
      required: ["order_id"],
      additionalProperties: false,
    },
  },
];

function extractText(resp) {
  const parts = [];
  for (const item of resp.output ?? []) {
    if (item.type === "message") {
      for (const c of item.content ?? []) {
        if (c.type === "output_text" && typeof c.text === "string")
          parts.push(c.text);
      }
    }
  }
  return parts.join("");
}

async function main() {
  const response1 = await client.responses.create({
    model,
    input: [
      {
        role: "system",
        content:
          "You are a helpful customer support assistant. " +
          "If the user provides an order id/number, call get_delivery_date immediately.",
      },
      {
        role: "user",
        content: "Order ID: 1017. Give me the delivery date and time.",
      },
    ],
    tools,

    // 仕様の参照先: https://platform.openai.com/docs/guides/function-calling?strict-mode=enabled#tool-choice
    tool_choice: "required",
    // 関数を指定する場合は、以下の書き方
    // tool_choice: { type: "function", name: "get_delivery_date" },
  });

  console.log("\n--- response1.output ---");
  console.dir(response1.output, { depth: null });

  const calls = (response1.output ?? []).filter(
    (it) => it.type === "function_call"
  );
  if (calls.length === 0) {
    console.log("\n(No function_call returned)");
    console.log("Assistant said:\n", extractText(response1));
    return;
  }

  const toolOutputs = [];
  for (const call of calls) {
    if (call.name !== "get_delivery_date") continue;

    const args = JSON.parse(call.arguments ?? "{}");
    const resultObj = get_delivery_date(args.order_id);

    toolOutputs.push({
      type: "function_call_output",
      call_id: call.call_id,
      output: JSON.stringify(resultObj),
    });
  }

  // 最終応答のための処理
  const response2 = await client.responses.create({
    model,
    previous_response_id: response1.id,
    input: toolOutputs,
    instructions:
      "You MUST use the tool result exactly as provided. " +
      "Do not change dates/times. " +
      "Read the JSON from the tool output and copy delivery_date verbatim.",
  });

  console.log("\n--- response2.output ---");
  console.dir(response2.output, { depth: null });

  const finalText = response2.output_text ?? extractText(response2);
  console.log("\nFinal assistant text:\n", finalText);
}

main().catch(console.error);
Node.js実装に関する補足(複数ターンの処理)
上記の Node.js による複数ターンの処理の実装では、以下の対応を行っています。
- 1回目の処理で
tool_choice: "required"を指定 - 最終応答の処理で、以下のインストラクションを追加
- "You MUST use the tool result exactly as provided. Do not change dates/times. Read the JSON from the tool output and copy delivery_date verbatim."
上記 1つ目を実装したのは、これを追加する前の実装でツールが使われないことがあったためです。また、上記 2つ目を実装したのは、最終応答のもとにする年月日・時刻の情報と最終出力内の年月日・時刻の内容が一致しないことがあったためです。
2つ目の対応については別の対処方法もありそうですが、とりあえず元になった情報をそのまま使うようにする指示を加える対応としました。
複数ターンの処理の実行結果
この内容で処理を実行したところ、以下などのレスポンスが返ってくるのを確認できました(以下は、2回実行してみた時のそれぞれの応答です)。

