一部のCocoaPodsをSwiftPMに移行した際に、
いろいろ調べたのでToDoを書いておきます
前提
CocoaPodsからの移行はXcodeGen導入済みProjectにて行いました。
XcodeGen導入済み環境でSwiftPMを導入する方法についてはこちら
やること
- Package.resolvedをgit管理下に置く
- Bitriseに環境変数を登録
- BitriseのCache Push Stepを定義
- Fastlaneのlane内でキャッシュを利用
Package.resolvedをgit管理下に置く
プロジェクトファイルをgitから除外している場合、
Package.resolvedをgit管理下に置きます
# XcodeGen
*.xcodeproj
*.xcworkspace

# Cache SwiftPM for CI
!*.xcworkspace/xcshareddata/swiftpm/Package.resolved
Bitriseに環境変数を登録
後述しますが、
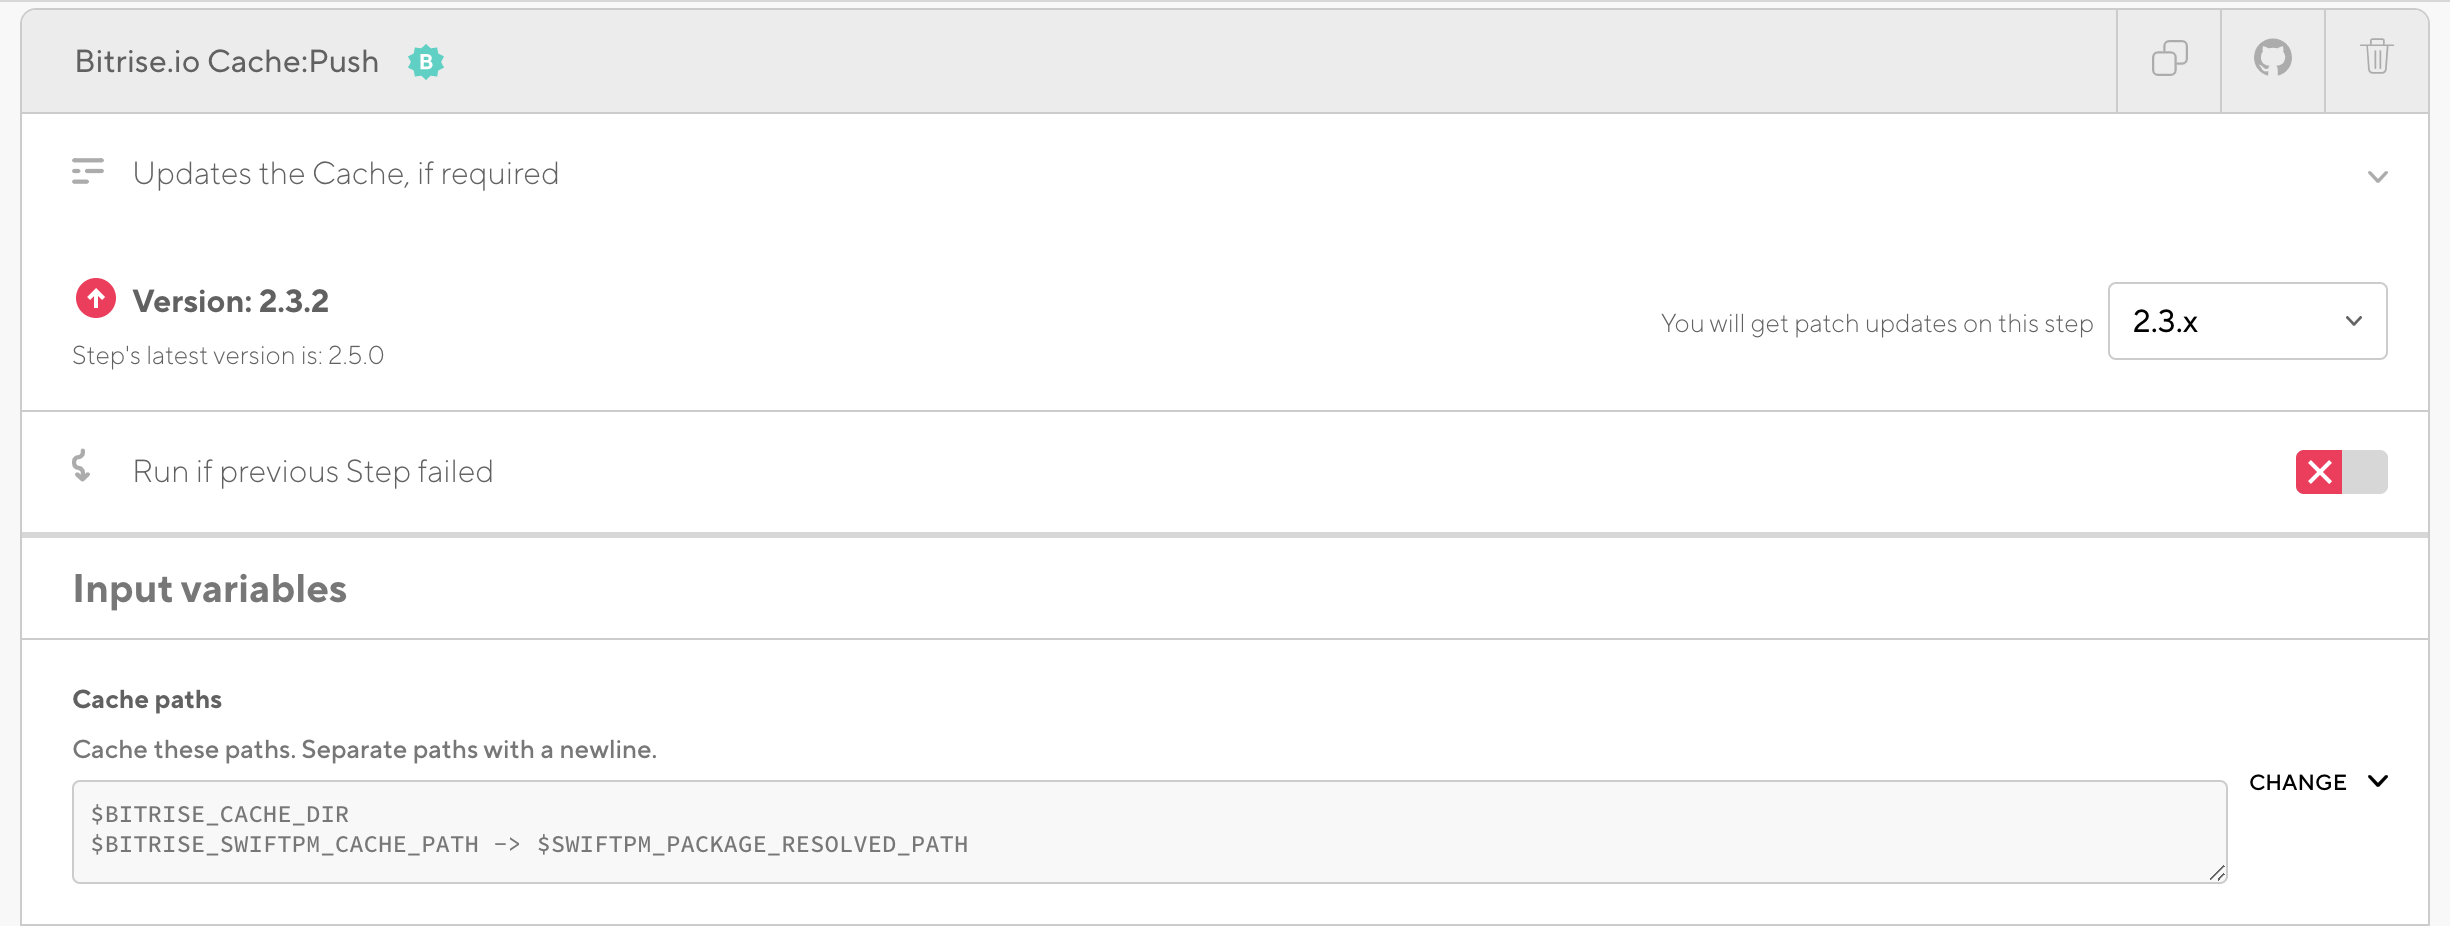
BitriseのCache Push Stepに下記記述を追加することで、指定場所にcacheを保存することが可能です。
{cache保存先} -> {Package.resolvedのPath}
今回は、cache保存先を示す環境変数BITRISE_SWIFTPM_CACHE_PATHを、
Package.resolvedのpathを環境変数SWIFTPM_PACKAGE_RESOLVED_PATHを作成します。
BitriseのCache Push Stepを定義
BitriseのCache Push Stepのcache pathsに前述した通り
{cache保存先} -> {Package.resolvedのPath}
を追加します。
これにより、SwiftPMのcacheがpushされるようになります。
Fastlaneのlane内でキャッシュを利用
gymのcloned_source_packages_pathにBITRISE_SWIFTPM_CACHE_PATHを渡すことで、
SwiftPMのcacheを利用します。
    gym(
      workspace: "MyApp.xcworkspace",
      scheme: "MyApp",
      configuration: "Debug",
      export_method: "ad-hoc",
      cloned_source_packages_path: ENV["BITRISE_SWIFTPM_CACHE_PATH"],
    )
キャッシュの確認方法
BitriseのSetting -> Manage Build Caches (BETA) からファイルをダウンロードして、
内部にSwiftPMのファイル群があればokです

