そこそこ実用的な翻訳アプリを開発しましたので、その構成や作り方を記録しておきます。コード は MITライセンスですので、参考になるところがあれば部分的にでも使ってみてください。
目次
- (1) 概要編
- (2) 開発環境の準備
- (3) 翻訳サービスの実装
- (4) ログサービスの実装 【このページ】
- (5) フロントエンド側の実装
- (6) 学習用データの作成
DBにアクセスしよう
Cloudantサービスの作成と接続
カタログの「データベース」からNoSQL DBである「Cloudant」サービスを選択し作成しましょう。

「Available authentication methods」は「Use both legacy and IAM」にします。

※ 最初は 「Use only IAM」にしていたのですが、one of _writer, _creator is required for this request エラーが発生してうまく権限が得られなかったようなので、変更して接続し直しちゃいました。
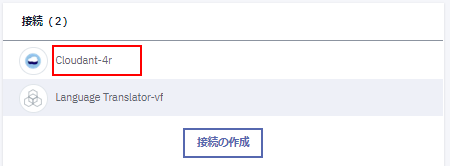
翻訳サービスの時と同様に、アプリに接続して再ステージまで実施します。

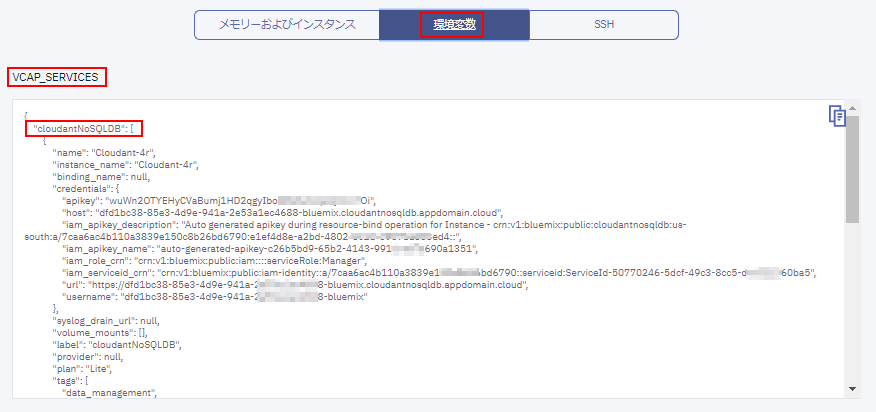
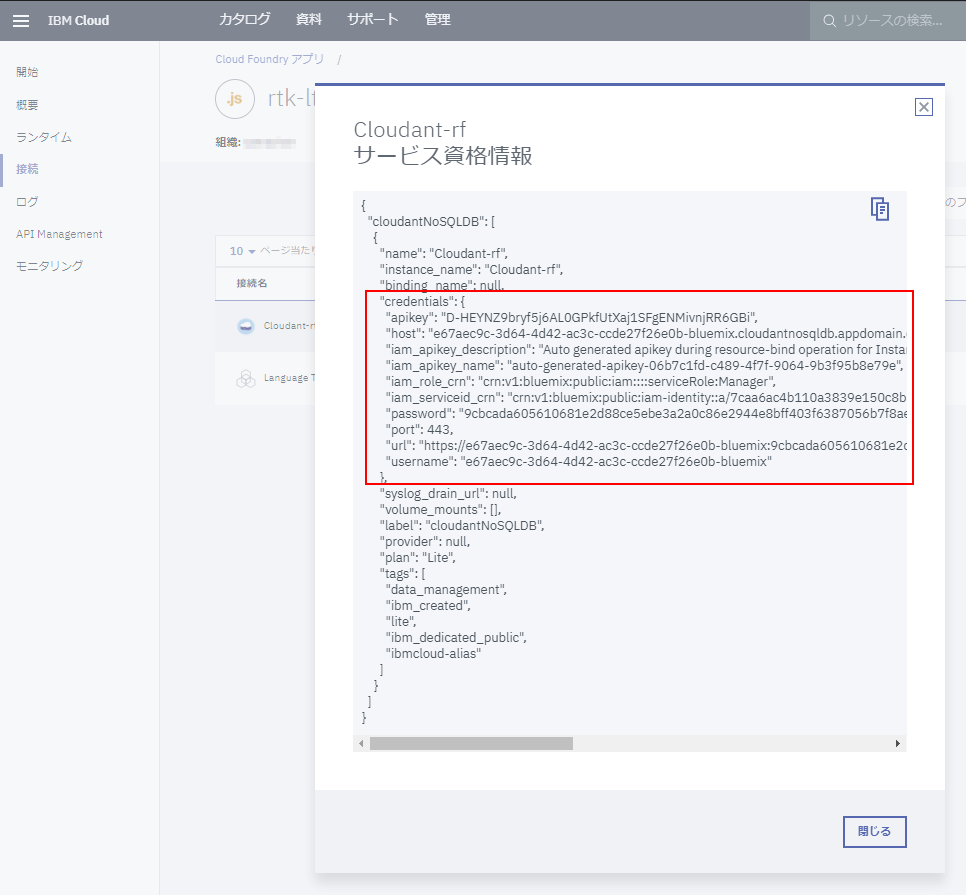
ランタイムで環境変数を確認し、例の VCAP_SERVICES に Cloudant サービス用の値 (特に接続用の値 credentials) が追加されていることを確認しておきましょう。

CloudantサービスのAPI化
このあたり を参考に、Cloudantサービス用のAPIも作成しておきましょう。まずは @cloudant/cloudant モジュールを導入。
npm install --save @cloudant/cloudant
Cloudantサービスの接続とDBの準備まで以下のようなコードにしてみました。翻訳サービスの時と同様に、VCAP_SERVICES 環境変数が設定されていればそれを利用します。
const Cloudant = require('@cloudant/cloudant');

let cloudant_credentials = {
	// <your credentials>
};
try {
	let db_obj = JSON.parse(process.env.VCAP_SERVICES);
	if (!!db_obj.cloudantNoSQLDB[0].credentials) {
		cloudant_credentials = db_obj.cloudantNoSQLDB[0].credentials;
	}
} catch (e) {}
const cloudant = Cloudant(cloudant_credentials);

const cloudant_dbname = 'rtk-lt';
cloudant.db.create(cloudant_dbname, function(err, data) {
	if(!err) //err if database doesn't already exists
		console.log("Created database: " + cloudant_dbname);
});
const db = cloudant.db.use(cloudant_dbname);
例によってこのままではローカル環境で動作しませんので、<your credentials> の部分に資格情報をコピペしておいてください。

DBにオブジェクトを追加する POST API を以下のように定義します。
app.post('/add', (req, res) => {
	if (req.body) {
		db.insert(req.body, function(err, body, header) {
			if (err) {
				console.log('[db.insert] ', err.message);
				res.status(500).send("Error");
				return;
			}
			req.body._id = body.id;
			res.status(200).send(req.body);
		});
	}
});
POST で得られたオブジェクトを、中身を確認せずに、そのまま Cloudant DB に insert してしまう、というかなり豪快な仕様になっています。実際に利用する場合には、値チェックして、ちゃんとオブジェクト作り直すなど用心深いコードに書き直すほうが良いでしょうw
さて、登録するだけではダメですね。参照するための GET API も定義しましょう。
app.get('/list/:user', (req, res) => {
	if (!!req.params.user) {
		db.find({ selector: { user:req.params.user }, limit:50 }, function(err, result) {
			if (err) {
				console.log('[db.find] ', err.message);
				res.status(500).send("Error");
				return;
			}
			let json = '[' + result.docs.map(doc => JSON.stringfy(doc)).join(',') + ']';
			res.status(200).send(json);
		});
	}
	res.status(400).send("Bad Request");
	return;
});
こちらもシンプルなコードですが、ユーザー名を Express の 名前付き パラメーター 機能で得ているのがポイントでしょうか。この機能、楽でいいですよね。
ロジックとしては Cloudant DB の find 関数で、検索条件としては user のみを指定しています。limit:50 で返すオブジェクトの数を50個までに制限しているところは、今後、考慮の余地がありそうな気もしますね。
また、オブジェクトの配列を
'[' + result.docs.map(doc => JSON.stringfy(doc)).join(',') + ']'
のように map と join を組み合わせてテキスト化するのは好みのパターンなのですが、、、今回は JSON 形式が欲しいだけなので、単に JSON.stringfy(result.docs) で十分な気がしますw
というわけで
さて、これで Node.js アプリに、ログを保存し、またそれを入手する API を追加することができました。必要なサービスが揃ったので、次回は (5) フロントエンド側の実装 を実施します。GitHub 上の ソースコード も参照してみてください。