はじめに
今回はiOSからFirebaseのRealtime Databaseに接続しデータの登録と参照を行ってみます。
必要なのは、MacとXCodeです。
今回はMacBook Air (Retina, 13-inch, 2018)、XCode Version 11.3.1 (11C504)を使っています。
XCodeでアプリのベースを作成
- Create new project を実行
- iOSのSingle View Appを選択
- Product nameを適当につけます
- 言語はSwift、User InterFaceはStoryBoardを選択
- 実行してスケルトンが動作することを確認します
Firebaseの準備
-
iOSアプリにFireBaseを追加するで、iOSアプリのバンドルIDを入力します
-
バンドIDはプロジェクトを選択しGeneralのタブで参照できます
-
設定ファイルをダウンロードせよと出るのでFireBaseのページで指示されるとおりに操作します
-
plistを追加できたら「次へ」を押します
-
cocoapodsが必要なので、入れてない場合はインストールします
-
terminalでプロジェクトのフォルダを開きます
-
terminalでの手順はFireBaseのページの通です
- pod init
- Podfilesの編集
- pod install
-
xcodeを一旦閉じて「.xcworkspace」で開きます
-
AppDelegateにFirebaseへ接続するコードを追加します
import UIKit
import Firebase

@UIApplicationMain
class AppDelegate: UIResponder, UIApplicationDelegate {


    func application(_ application: UIApplication, didFinishLaunchingWithOptions launchOptions: [UIApplication.LaunchOptionsKey: Any]?) -> Bool {
        // Override point for customization after application launch.
        FirebaseApp.configure()
        return true
    }

    // MARK: UISceneSession Lifecycle

    func application(_ application: UIApplication, configurationForConnecting connectingSceneSession: UISceneSession, options: UIScene.ConnectionOptions) -> UISceneConfiguration {
        // Called when a new scene session is being created.
        // Use this method to select a configuration to create the new scene with.
        return UISceneConfiguration(name: "Default Configuration", sessionRole: connectingSceneSession.role)
    }

    func application(_ application: UIApplication, didDiscardSceneSessions sceneSessions: Set<UISceneSession>) {
        // Called when the user discards a scene session.
        // If any sessions were discarded while the application was not running, this will be called shortly after application:didFinishLaunchingWithOptions.
        // Use this method to release any resources that were specific to the discarded scenes, as they will not return.
    }


}
- ここまで来たらビルドして実行して、firebaseのページでアクセスできたか確認します
- firebaseがアプリに正常に追加されました と表示されればO
K

iOSアプリにUIを追加
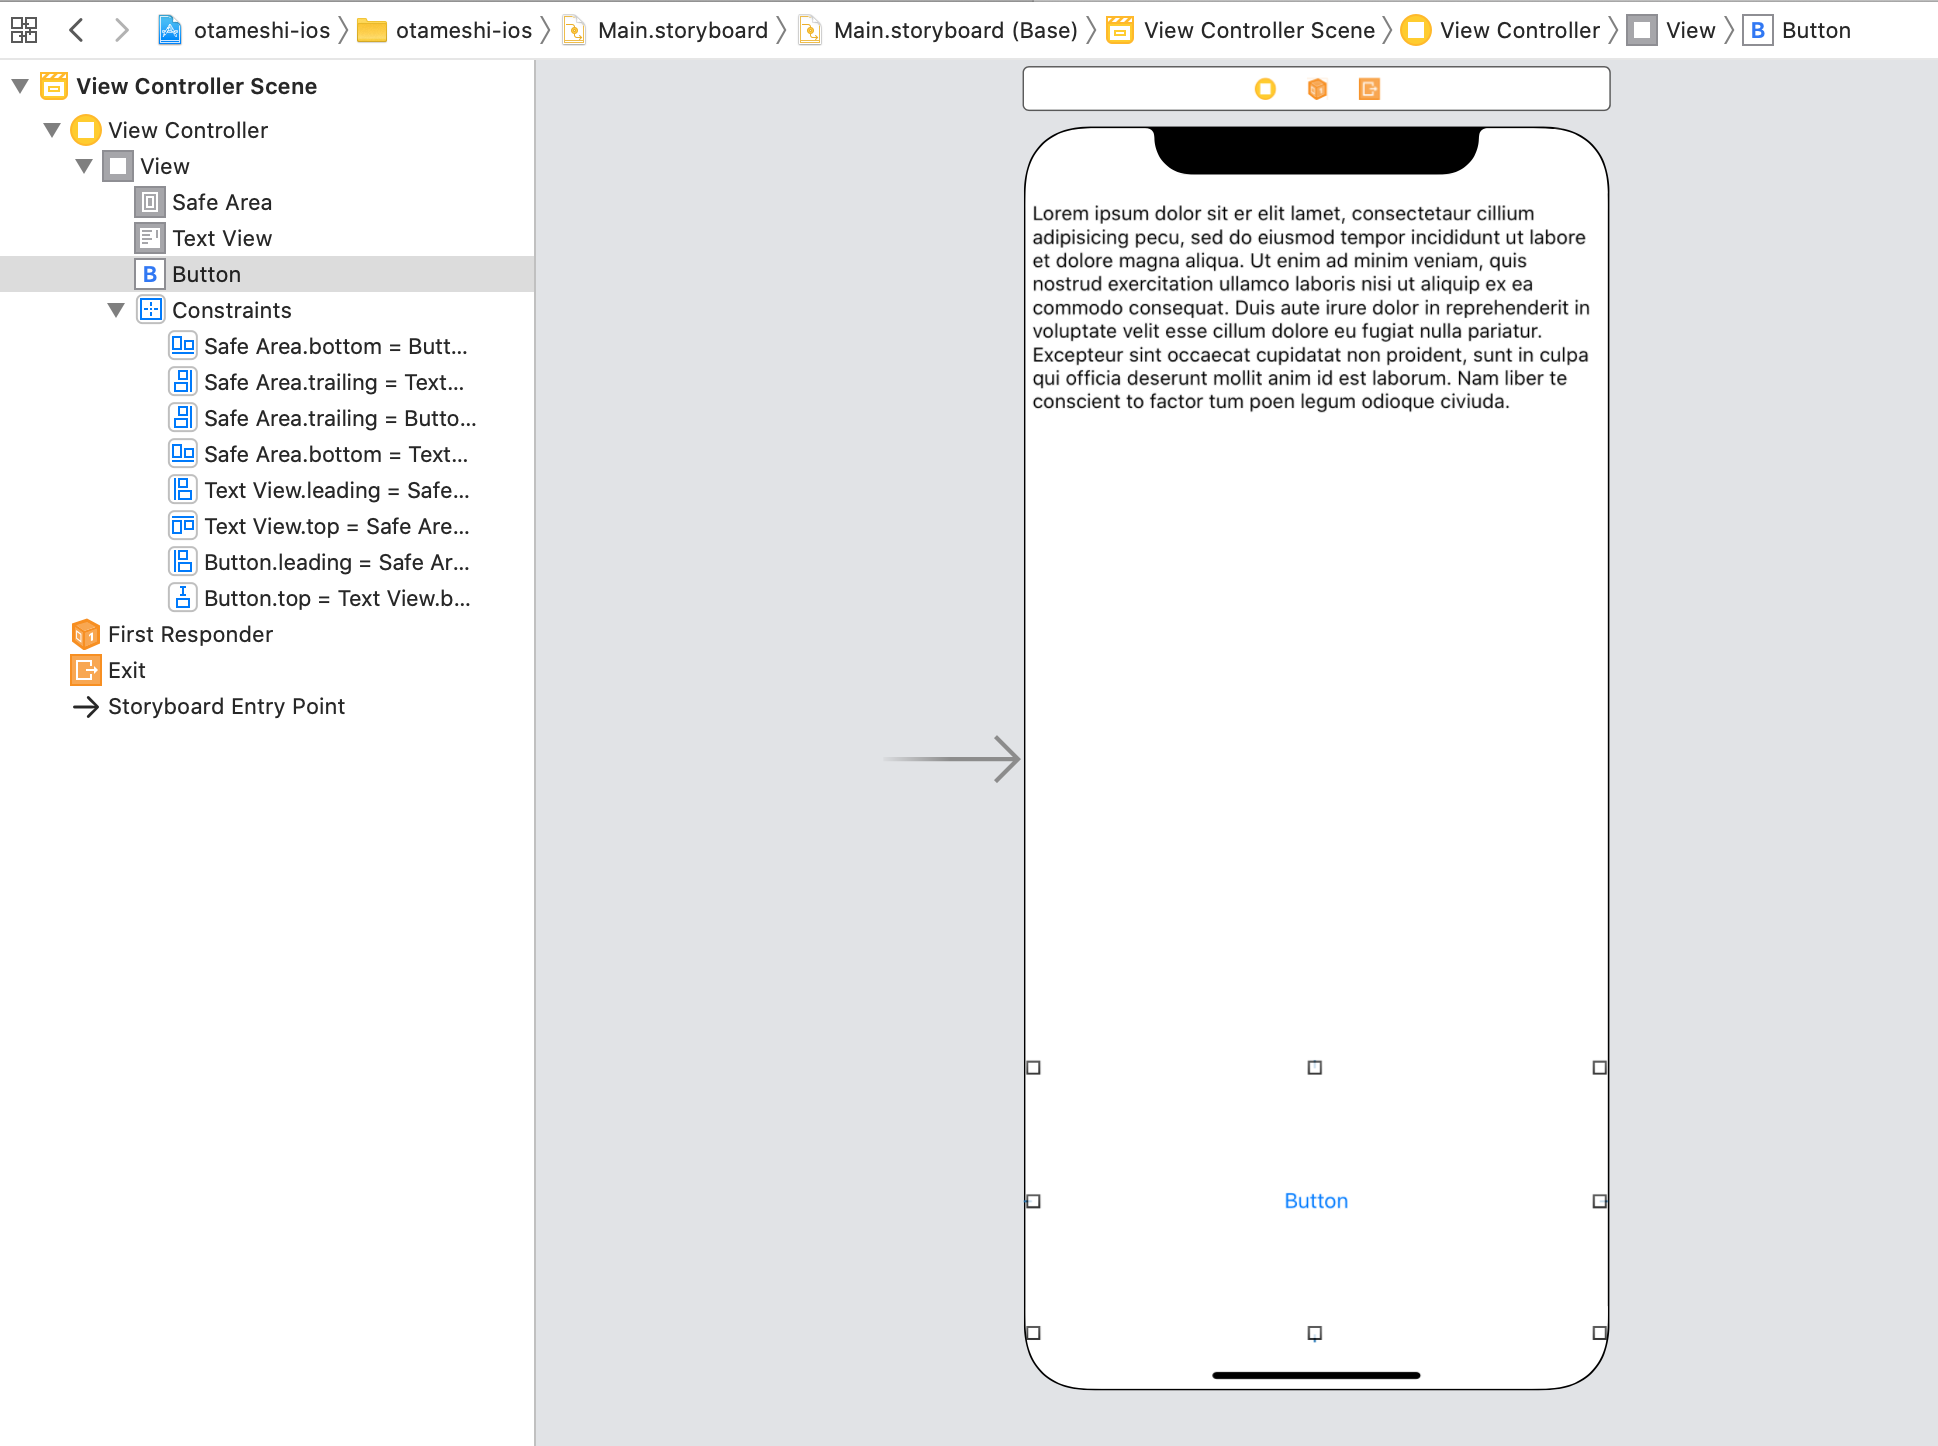
- Main.stoyboardにTextViewを追加します
- Constraintsは上左右は0、下は200
- 下のスペースにButtonを追加します
- Constrainsは上下左右5に設定します

DBへの書き込みを追加
- ViewControllerにボタンを押した際のイベントハンドラーを追加
- DBに書き込むコードを書きます
import UIKit
import FirebaseDatabase

class ViewController: UIViewController {

    var databaseRef: DatabaseReference!

    override func viewDidLoad() {
        super.viewDidLoad()
        // Do any additional setup after loading the view.
       databaseRef = Database.database().reference().child("/log")

    }

    @IBAction func WriteToDB(_ sender: Any) {

        view.endEditing(true)
        let MyTime:Int = Int(NSDate().timeIntervalSince1970*1000)
        let messageData = ["name": "user2(ios)", "message": "だれ?","timestamp":String(MyTime)]
        databaseRef.childByAutoId().setValue(messageData)

    }

}
- FirebaseDatabaseが解決できないとエラーになると思います。PodsのprofileにFirebaseDatabaseを追加します。
- Podsに追加しらPod installをします
# Uncomment the next line to define a global platform for your project
# platform :ios, '9.0'

target 'otameshi-ios' do
  # Comment the next line if you don't want to use dynamic frameworks
  use_frameworks!

  # Pods for otameshi-ios
pod 'Firebase/Analytics'
pod 'Firebase/Database'
end
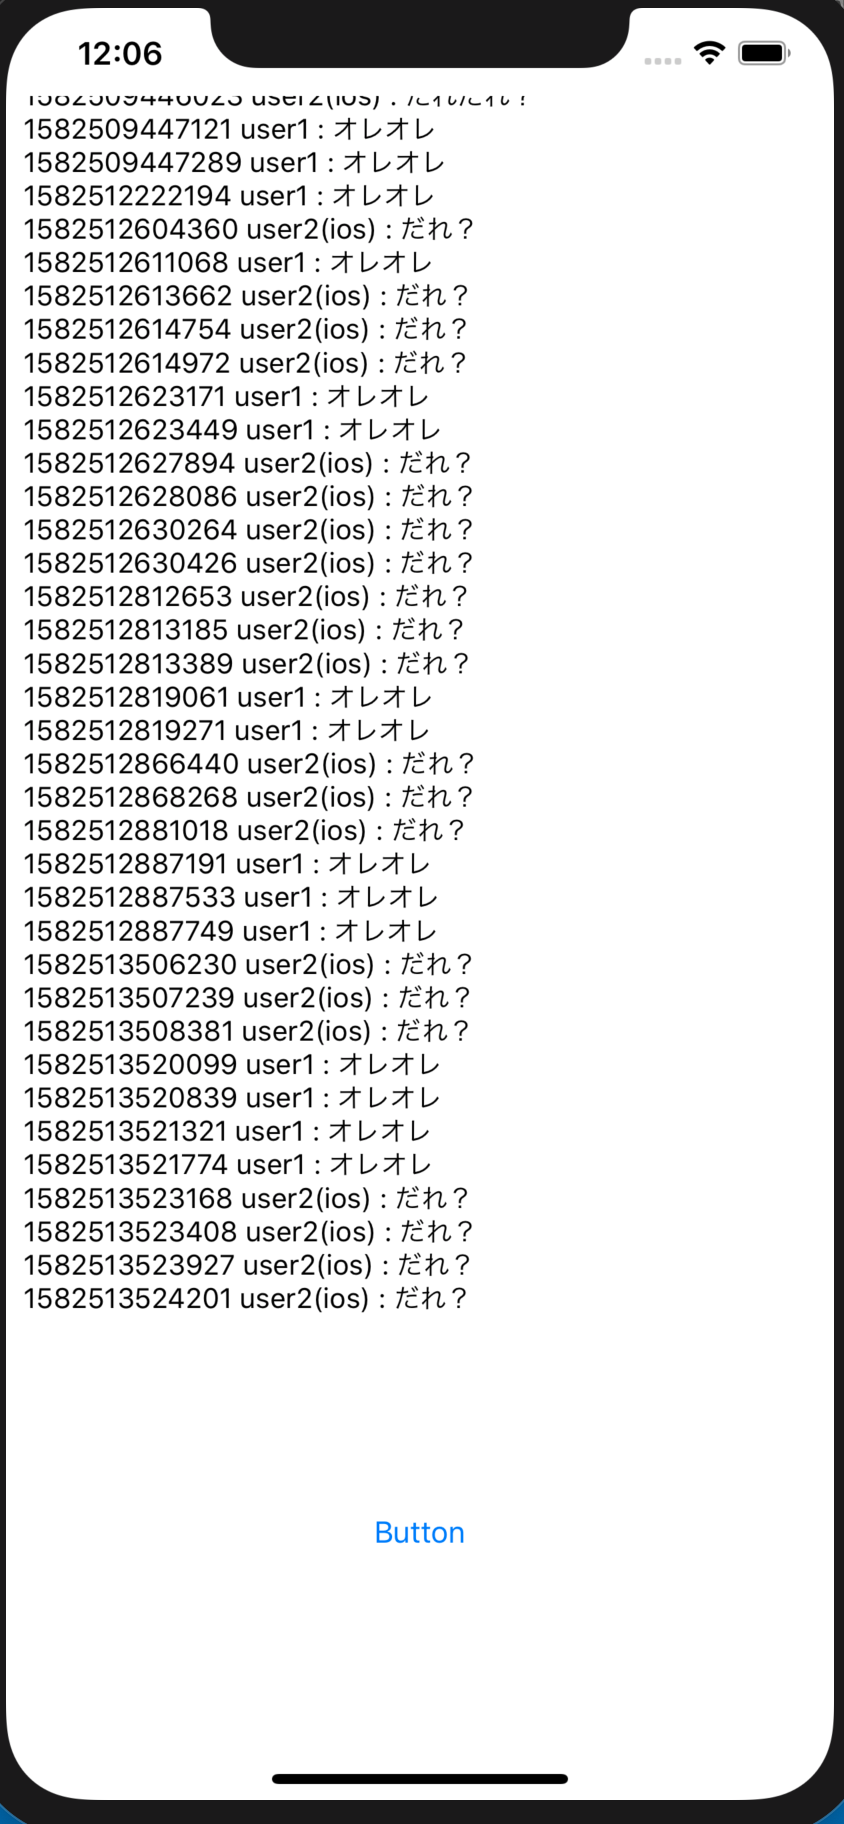
- ビルドして動作させます。ボタンを押してDBにデータが書き込まれれば成功です
データの取得と表示
- データの更新前にTextViewを更新します
import UIKit
import FirebaseDatabase

class ViewController: UIViewController {

    var databaseRef: DatabaseReference!
    @IBOutlet weak var TextView: UITextView!

    override func viewDidLoad() {
        super.viewDidLoad()
        // Do any additional setup after loading the view.
        databaseRef = Database.database().reference().child("/log")
        databaseRef.observe(.childAdded, with: { snapshot in
        if let obj = snapshot.value as? [String : AnyObject], let name = obj["name"] as? String, let message = obj["message"], let time = obj["timestamp"] {
            let currentText = self.TextView.text
            self.TextView.text = (currentText ?? "") + "\n \(time) \(name) : \(message)"
            }
        })
    }

    @IBAction func WriteToDB(_ sender: Any) {
        self.view.endEditing(true)
        let MyTime:Int = Int(NSDate().timeIntervalSince1970*1000)
        let messageData = ["name": "user2(ios)", "message": "だれ?","timestamp":String(MyTime)]
        self.databaseRef.childByAutoId().setValue(messageData)
    }

}
TextViewをオートスクロールに
- 一番下まで行った時に勝手にスクロールするようにします
import UIKit
import FirebaseDatabase

class ViewController: UIViewController {

    var databaseRef: DatabaseReference!
    @IBOutlet weak var TextView: UITextView!

    override func viewDidLoad() {
        super.viewDidLoad()
        // Do any additional setup after loading the view.
        databaseRef = Database.database().reference().child("/log")
        databaseRef.observe(.childAdded, with: { snapshot in
        if let obj = snapshot.value as? [String : AnyObject], let name = obj["name"] as? String, let message = obj["message"], let time = obj["timestamp"] {
            let currentText = self.TextView.text
            self.TextView.isScrollEnabled = false
            self.TextView.text = (currentText ?? "") + "\n \(time) \(name) : \(message)"
            self.scrollToBottom()
            }
        })
    }

    @IBAction func WriteToDB(_ sender: Any) {
        self.view.endEditing(true)
        let MyTime:Int = Int(NSDate().timeIntervalSince1970*1000)
        let messageData = ["name": "user2(ios)", "message": "だれ?","timestamp":String(MyTime)]
        self.databaseRef.childByAutoId().setValue(messageData)
    }

    func scrollToBottom() {
        TextView.selectedRange = NSRange(location: TextView.text.count, length: 0)
        TextView.isScrollEnabled = true

        let scrollY = TextView.contentSize.height - TextView.bounds.height
        let scrollPoint = CGPoint(x: 0, y: scrollY > 0 ? scrollY : 0)
        TextView.setContentOffset(scrollPoint, animated: true)
    }
}
まとめ
これでAndroidとiOSのアプリが揃いました。
それぞれでボタンを押すと同時に反映されることが確認できると思います。

このシリーズについて
その2:Androidのクライアントアプリからデータの登録と表示まで
その3:iOSのクライアントアプリからデータの登録と表示まで
[その4:準備中]
[その5:準備中]

