この記事はtomowarkar ひとりAdvent Calendar 2019の25日目の記事です。
はじめに
Goで画像処理を行い、グレースケール変換、セピア色変換、ぼかしを実装していきたいと思います。
例外処理が甘いのと、パフォーマンス無視のゴリ押し実装はご愛嬌。
コードが間違っていたり、こちらの方がパフォーマンスが良いという場合はぜひ教えていただけると嬉しく思います。
コード
メイン処理
func main() {
	filename := "hoge.jpg"
	imgSrc := readImage(filename)

	gray := gray(imgSrc)
	toPNG("gray", gray)
	sepia := sepia(imgSrc)
	toPNG("sepia", sepia)
	mosaic := shade(21, imgSrc)
	toPNG("shade", mosaic)
}
コード全文は長いので折りたたんで置いておきます
👇👇👇
コード全文
package main

import (
	"image"
	"image/color"
	"image/jpeg"
	"image/png"
	"log"
	"math"
	"net/http"
	"os"
)

func main() {
	filename := "hoge.jpg"
	imgSrc := readImage(filename)

	gray := gray(imgSrc)
	toPNG("gray", gray)
	sepia := sepia(imgSrc)
	toPNG("sepia", sepia)
	mosaic := shade(21, imgSrc)
	toPNG("shade", mosaic)
}

func max(a, b int) int {
	if a > b {
		return a
	}
	return b
}

func min(a, b int) int {
	if b > a {
		return a
	}
	return b
}

func toPNG(name string, imgSrc image.Image) {
	wf, _ := os.Create(name + ".png")
	defer wf.Close()
	png.Encode(wf, imgSrc)
}

func gray(imgSrc image.Image) image.Image {
	w, h := imgSrc.Bounds().Dx(), imgSrc.Bounds().Dy()
	img := image.NewRGBA(image.Rect(0, 0, w, h))
	for y := 0; y < h; y++ {
		for x := 0; x < w; x++ {
			rr, gg, bb, _ := imgSrc.At(x, y).RGBA()
			v := grayRGB(rr, gg, bb)
			img.Set(x, y, color.RGBA{v, v, v, 255})
		}
	}
	return img
}

func shade(oddnum int, imgSrc image.Image) image.Image {
	if oddnum%2 == 0 || oddnum < 1 {
		log.Fatal("1より大きい奇数を入れてね")
	}
	n := oddnum / 2
	w, h := imgSrc.Bounds().Dx(), imgSrc.Bounds().Dy()
	img := image.NewRGBA(image.Rect(0, 0, w, h))
	for y := 0; y < h; y++ {
		for x := 0; x < w; x++ {
			var rr, gg, bb uint32
			var count float64
			for i := max(0, x-n); i < min(w-1, x+n); i++ {
				for j := max(0, y-n); j < min(h-1, y+n); j++ {
					r, g, b, _ := imgSrc.At(i, j).RGBA()
					rr += r
					gg += g
					bb += b
					count++
				}
			}
			img.Set(x, y, color.RGBA{f2uint8(float64(rr) / count), f2uint8(float64(gg) / count), f2uint8(float64(bb) / count), 255})
		}
	}
	return img
}

func sepia(imgSrc image.Image) image.Image {
	w, h := imgSrc.Bounds().Dx(), imgSrc.Bounds().Dy()
	img := image.NewRGBA(image.Rect(0, 0, w, h))
	for y := 0; y < h; y++ {
		for x := 0; x < w; x++ {
			rr, gg, bb, _ := imgSrc.At(x, y).RGBA()
			r, g, b := sepiaRGB(rr, gg, bb)
			img.Set(x, y, color.RGBA{r, g, b, 255})
		}
	}
	return img
}

func grayRGB(rr, gg, bb uint32) uint8 {
	m := cieXYZ(rr, gg, bb)
	return f2uint8(m)
}

func f2uint8(m float64) uint8 {
	return uint8(uint16(m+0.5) >> 8)
}

func cieXYZ(rr, gg, bb uint32) float64 {
	r := math.Pow(float64(rr), 2.2)
	g := math.Pow(float64(gg), 2.2)
	b := math.Pow(float64(bb), 2.2)
	return math.Pow(0.2125*r+0.7154*g+0.0721*b, 1/2.2)
}

func sepiaRGB(rr, gg, bb uint32) (r, g, b uint8) {
	m := cieXYZ(rr, gg, bb)
	r = f2uint8(m * 107 / 107)
	g = f2uint8(m * 74 / 107)
	b = f2uint8(m * 43 / 107)
	return
}

func readImage(path string) (imgSrc image.Image) {
	rf, err := os.Open(path)
	if err != nil {
		log.Fatal(err)
	}
	defer rf.Close()

	buffer := make([]byte, 512)
	_, err = rf.Read(buffer)
	if err != nil {
		log.Fatal(err)
	}
	cType := http.DetectContentType(buffer)
	rf.Seek(0, 0)

	switch cType {
	case "image/png":
		imgSrc, err = png.Decode(rf)
		if err != nil {
			log.Fatal(err)
		}
	case "image/jpeg":
		imgSrc, _ = jpeg.Decode(rf)
		if err != nil {
			log.Fatal(err)
		}
	default:
		log.Fatal("not defined")
	}
	return
}
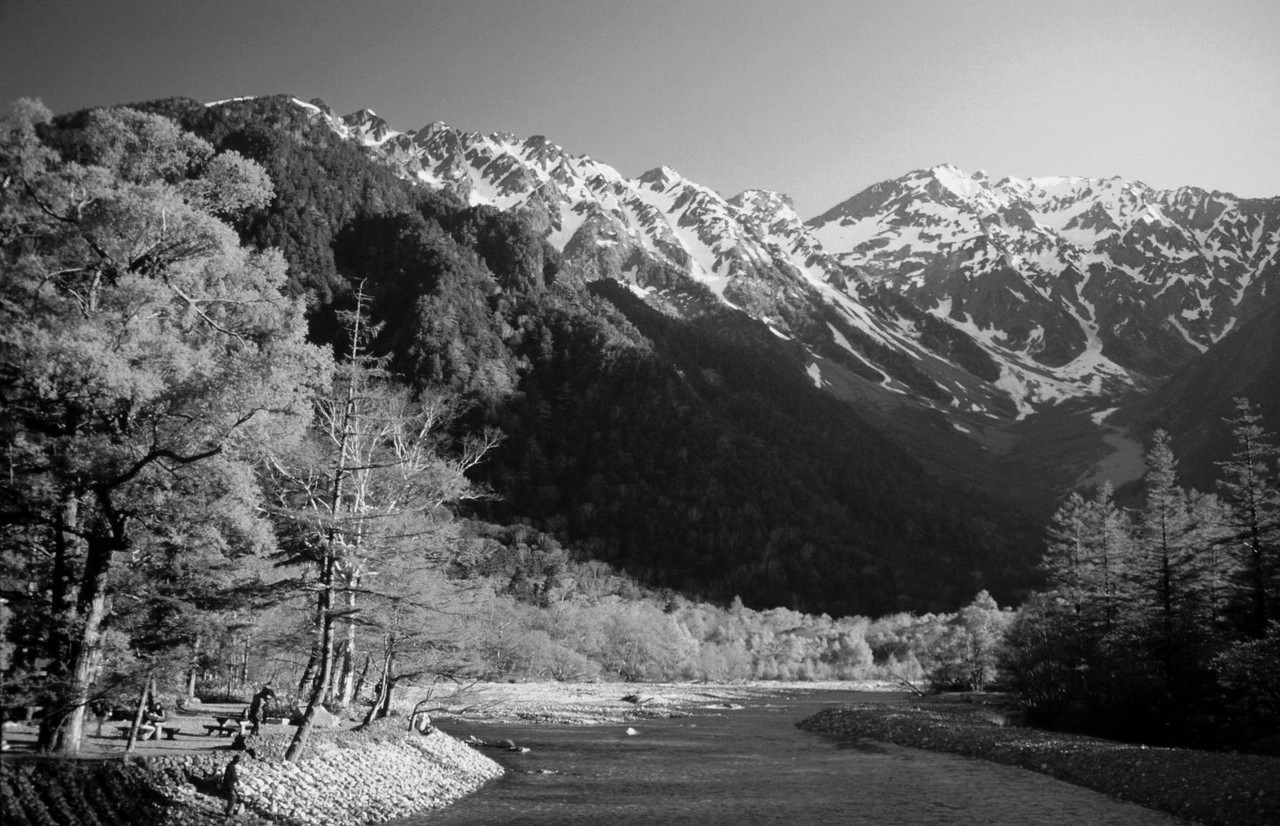
オリジナル画像

(https://ja.wikipedia.org/wiki/%E9%A2%A8%E6%99%AF)
グレースケール
逆ガンマ補正したRGBの値に重みをつけてガンマ変換をして実装しています。
逆ガンマ変換などの細かいロジックは以下参考をご参照ください。
R,G,B は同じ値でも明るさが違うということは普段あまり気にしていないということもあり初めて知りました。
func grayRGB(rr, gg, bb uint32) uint8 {
	m := cieXYZ(rr, gg, bb)
	return f2uint8(m)
}

func f2uint8(m float64) uint8 {
	return uint8(uint16(m+0.5) >> 8)
}

func cieXYZ(rr, gg, bb uint32) float64 {
	r := math.Pow(float64(rr), 2.2)
	g := math.Pow(float64(gg), 2.2)
	b := math.Pow(float64(bb), 2.2)
	return math.Pow(0.2125*r+0.7154*g+0.0721*b, 1/2.2)
}
セピア色
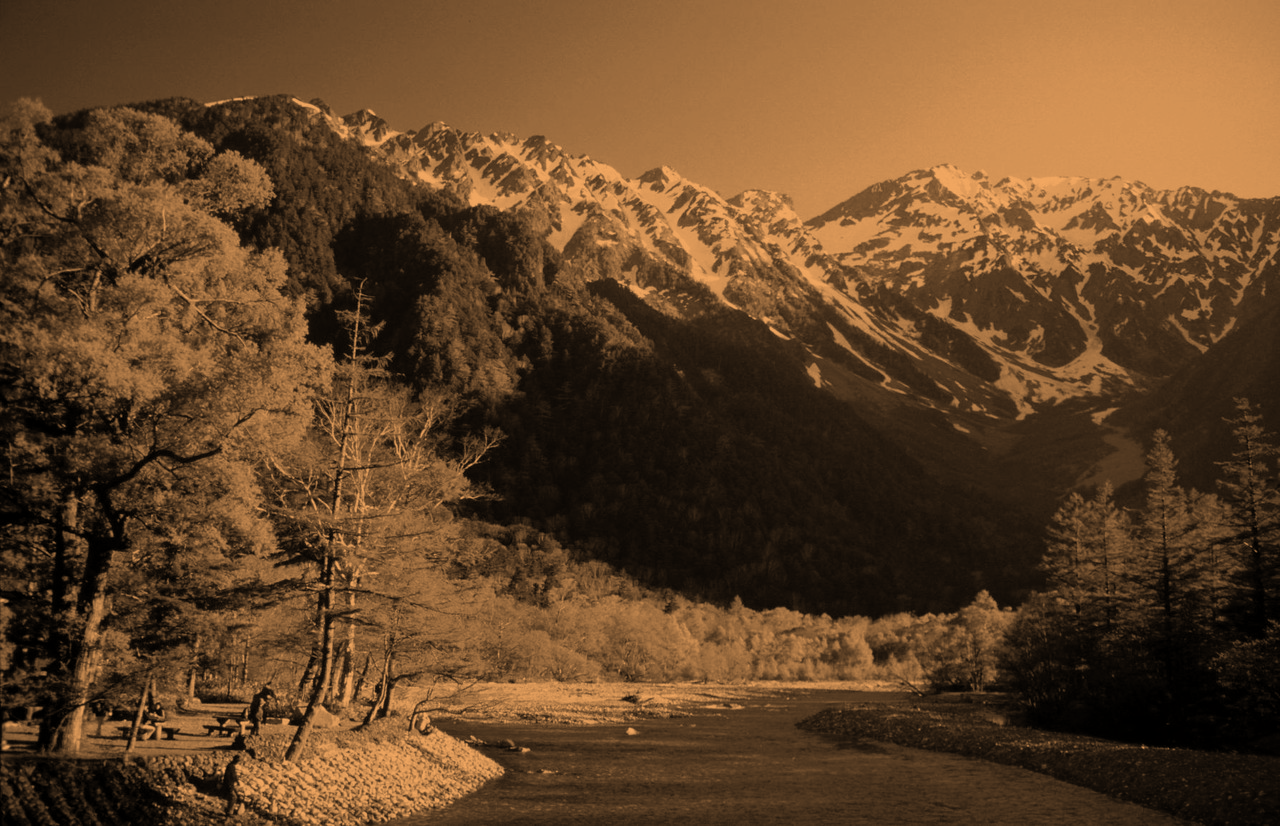
セピア色は先ほどのグレースケールで得た値にそれぞれ重みをつけてあげることで実装できます。
func sepiaRGB(rr, gg, bb uint32) (r, g, b uint8) {
	m := cieXYZ(rr, gg, bb)
	r = f2uint8(m * 107 / 107)
	g = f2uint8(m * 74 / 107)
	b = f2uint8(m * 43 / 107)
	return
}
ぼかし
oddnum = 21

oddnum = 101

少しゴリ押しが過ぎるぼかし処理の実装。
周囲のNマスのRGB平均をとっています。
コードを見て想像に難くないようにパフォーマンスは最悪です。
🙇♂️🙇♂️🙇♂️🙇♂️🙇♂️🙇♂️🙇♂️🙇♂️効率のいい処理方法募集中なのです🙇♂️🙇♂️🙇♂️🙇♂️🙇♂️🙇♂️🙇♂️🙇♂️
func shade(oddnum int, imgSrc image.Image) image.Image {
	if oddnum%2 == 0 || oddnum < 1 {
		log.Fatal("1より大きい奇数を入れてね")
	}
	n := oddnum / 2
	w, h := imgSrc.Bounds().Dx(), imgSrc.Bounds().Dy()
	img := image.NewRGBA(image.Rect(0, 0, w, h))
	for y := 0; y < h; y++ {
		for x := 0; x < w; x++ {
			var rr, gg, bb uint32
			var count float64
			for i := max(0, x-n); i < min(w-1, x+n); i++ {
				for j := max(0, y-n); j < min(h-1, y+n); j++ {
					r, g, b, _ := imgSrc.At(i, j).RGBA()
					rr += r
					gg += g
					bb += b
					count++
				}
			}
			img.Set(x, y, color.RGBA{f2uint8(float64(rr) / count), f2uint8(float64(gg) / count), f2uint8(float64(bb) / count), 255})
		}
	}
	return img
}
終わりに
以上25日間ありがとうございました!!
tomowarkar ひとりAdvent Calendar Advent Calendar 2019
おまけ
回転

package main

import (
	"image"

	"github.com/tomowarkar/biome"
)

func main() {
	imgSrc := biome.ReadImage("hoge.jpg")
	w, h := imgSrc.Bounds().Dx(), imgSrc.Bounds().Dy()
	img := image.NewRGBA(image.Rect(0, 0, h, w))

	for y := 0; y < w; y++ {
		for x := 0; x < h; x++ {
			img.Set(x, w-y-1, imgSrc.At(y, x))
		}
	}

	biome.ToPng("huga", img)
}
鏡

package main

import (
	"image"

	"github.com/tomowarkar/biome"
)

func main() {
	imgSrc := biome.ReadImage("hoge.jpg")
	w, h := imgSrc.Bounds().Dx(), imgSrc.Bounds().Dy()
	img := image.NewRGBA(image.Rect(0, 0, w, h))
	for y := 0; y < h; y++ {
		for x := 0; x < w; x++ {
			if x > w/2 {
				img.Set(x, y, imgSrc.At(w-x-1, y))
			} else {
				img.Set(x, y, imgSrc.At(x, y))
			}
		}
	}
	biome.ToPng("huga", img)
}

package main

import (
	"image"

	"github.com/tomowarkar/biome"
)

func main() {
	imgSrc := biome.ReadImage("hoge.jpg")
	w, h := imgSrc.Bounds().Dx(), imgSrc.Bounds().Dy()
	img := image.NewRGBA(image.Rect(0, 0, w, h))
	for y := 0; y < h; y++ {
		for x := 0; x < w; x++ {
			if x > w/2 && y > h/2 {
				img.Set(x, y, imgSrc.At(w-x-1, h-y-1))
			} else if x > w/2 {
				img.Set(x, y, imgSrc.At(w-x-1, y))
			} else if y > h/2 {
				img.Set(x, y, imgSrc.At(x, h-y-1))
			} else {
				img.Set(x, y, imgSrc.At(x, y))
			}
		}
	}
	biome.ToPng("huga", img)
}
参考
一度ファイルの読み込みをしたらファイルのポインタを元に戻してあげる必要がある
panic: runtime error: invalid memory address or nil pointer dereference
https://www.devdungeon.com/content/working-images-go
グレースケールのロジック
https://www.golangprograms.com/how-to-convert-colorful-png-image-to-gray-scale.html
https://qiita.com/yoya/items/96c36b069e74398796f3
セピア変換のロジック
本家様