おさらい
前回までに下記について学習しました。
https://qiita.com/toguchi/items/b9bc56111b063c825ab3
- *ngFor, *ngIf 等の基本的なデータバインディング
- (click)を使ったボタンと関数の紐づけ
これで1枚の画面上に変数の中身を表示したり、またボタンクリックによる処理を記述することができるようになりました。
ただ一般的なアプリケーションは複数の画面で構成されている事が多いのですが、Angularではどのようにしてこれを実現するのでしょうか。
今回は、複数の画面(コンポーネント)で構成されたアプリケーションのひな形を作るまでの手順について紹介します。
新しいプロジェクトの作成
今回は読書リストアプリを例にしてみたいと思います。
ng new profiles から新しいプロジェクトを作成してください。
※プロジェクト名は "profiles" としています。
一回目の記事で紹介したとおり、今回はルーティングを利用しますので最初の質問には y と答えてください。
前回と同様にappフォルダの中を除くと app.component.ts が自動的に作成されている事が分かります。
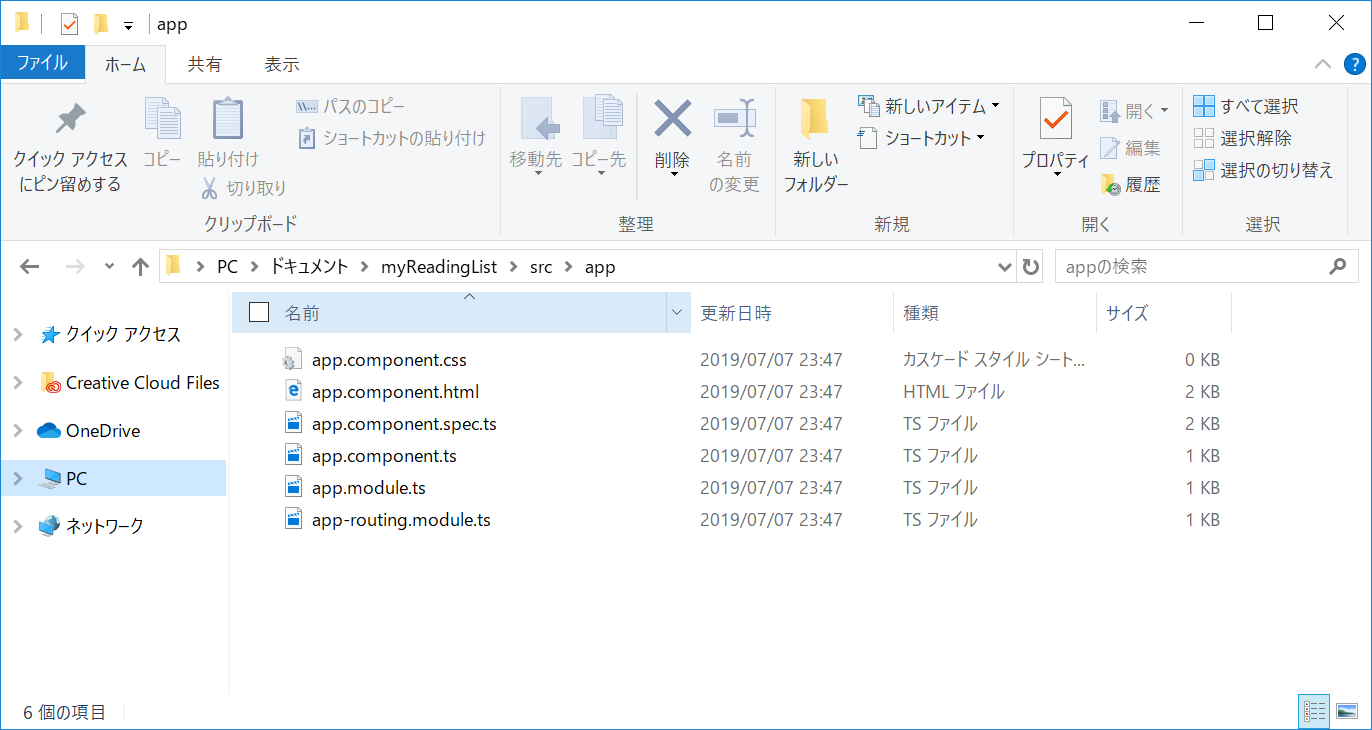
前回まではコンポーネントについて意識しませんでしたが、コンポーネントは画面を構成する"部品"のようなイメージで使われます。
今回は複数の画面を作っていきますから、1つの画面ごとにコンポーネントを用意していきます。
またapp.componentは他の画面を呼び出す親画面の役割として利用しますから、メニューの機能を持たせることにします。
今回作るコンポーネントは下記のとおりです。
- app.component ・・・ 親画面(メニューの機能を持ちます)。
- profile-a.component ・・・ Aさんのプロフィールを表示する画面とします。
- profile-b.component ・・・ Bさんのプロフィールを表示する画面とします。
少しわかりづらいので、画面のイメージをまとめてみました。
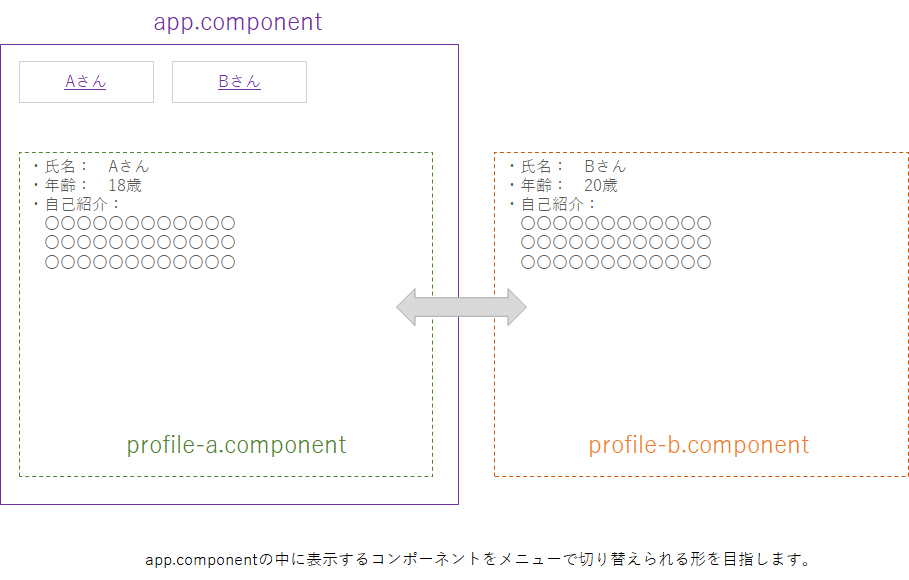
app.component はAさんとBさんのコンポーネントを切り替えるためのメニューを持っています。
profile-a.componentはAさんの情報を、profile-b.componentはBさんの情報を表示するためのコンポーネント(画面)として扱いましょう。
それではまずapp.componentを作りましょう。
app.componentの作成
app.componentは他のコンポーネントを表示するための枠として使います。
これをコンポーネントシェルと呼びます。
app.component自体はメニューだけを持っている構成としますので、下記の通りとしました。
<h1>{{ title }}</h1>
<p>
  <a href="#">Aさんのプロフィール</a>
  <a href="#">Bさんのプロフィール</a>
</p>
<router-outlet></router-outlet>
import { Component } from '@angular/core';

@Component({
  selector: 'app-root',
  templateUrl: './app.component.html',
  styleUrls: ['./app.component.css']
})
export class AppComponent {
  title = 'profiles';
}
a {
    margin: 8px;
}
htmlの方にはリンクを2つ設けていますが、リンク先はまだ指定していません。
またapp.componentはリンク以外の機能を持っていませんので、tsファイルには特に処理を追加していません。
重要なのはhtmlファイルの一番下に記述してある<router-outlet></router-outlet>です。
これから作成するコンポーネントを表示する場所になりますので、決して削除しないようにしてください。
profile-a.componentの作成
さてメニューが作成できたので早速他のコンポーネント(画面)を作っていきましょう。
次のコマンドを入力して新しいコンポーネントを作成してください。
まずはAさんのコンポーネントを作成しましょう。
ng g component profile-a
gはgenerateの略ですから、省略せずにgenerateとしても問題ありません。
さて作成が完了したら新しいフォルダが作成されている事と思います。
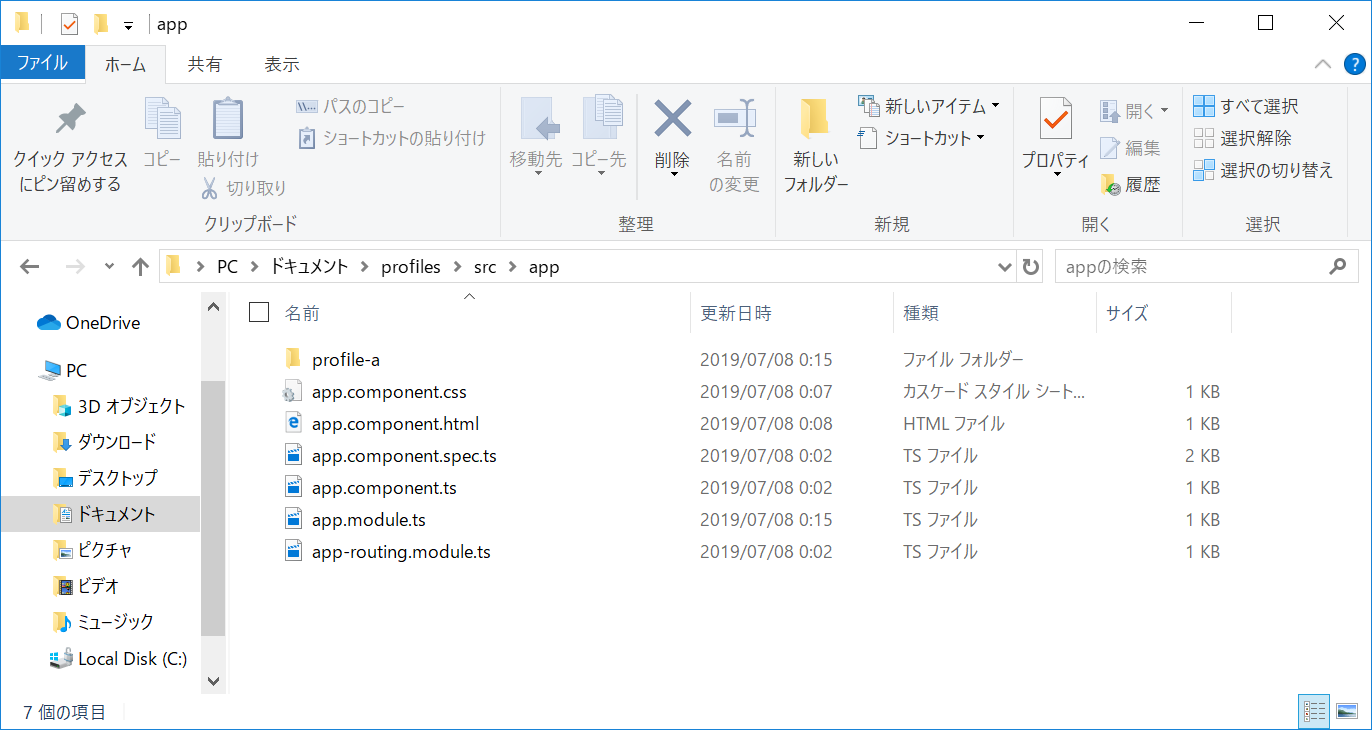
フォルダの中を除くとapp.componentと同じように html, ts, css ファイルが自動的に作成されている事が確認できるかと思います。
早速htmlの中身をAさんの自己紹介ページに作り上げていきましょう。
  <h1>Aさんの自己紹介</h1>
  <hr>
  <ul>
    <li>氏名:{{name}}</li>
    <li>年齢:{{age}}才</li>
  </ul>
  <h2>自己紹介</h2>
  <span>{{introduction}}</span>
import { Component, OnInit } from '@angular/core';

@Component({
  selector: 'app-profile-a',
  templateUrl: './profile-a.component.html',
  styleUrls: ['./profile-a.component.css']
})
export class ProfileAComponent implements OnInit {

  name = "A";
  age = 18;
  introduction = "こんにちは私はAです。趣味はサッカーで、今年の目標はインターハイに出場する事です。";

  constructor() { }

  ngOnInit() {
  }

}
これを画面で確認できるようにしましょう。早速ルーティングの設定を行っていきます。
ルーティングの設定(Aさんの自己紹介ページの表示)
Angularではページ遷移(コンポーネントの表示切替)のための機能が提供されています。
app.componentのファイルがあるフォルダまで戻っていくと、app-routing.module.tsというファイルがあるかと思いますが、Angularではページ遷移の設定をこのファイルに行います。
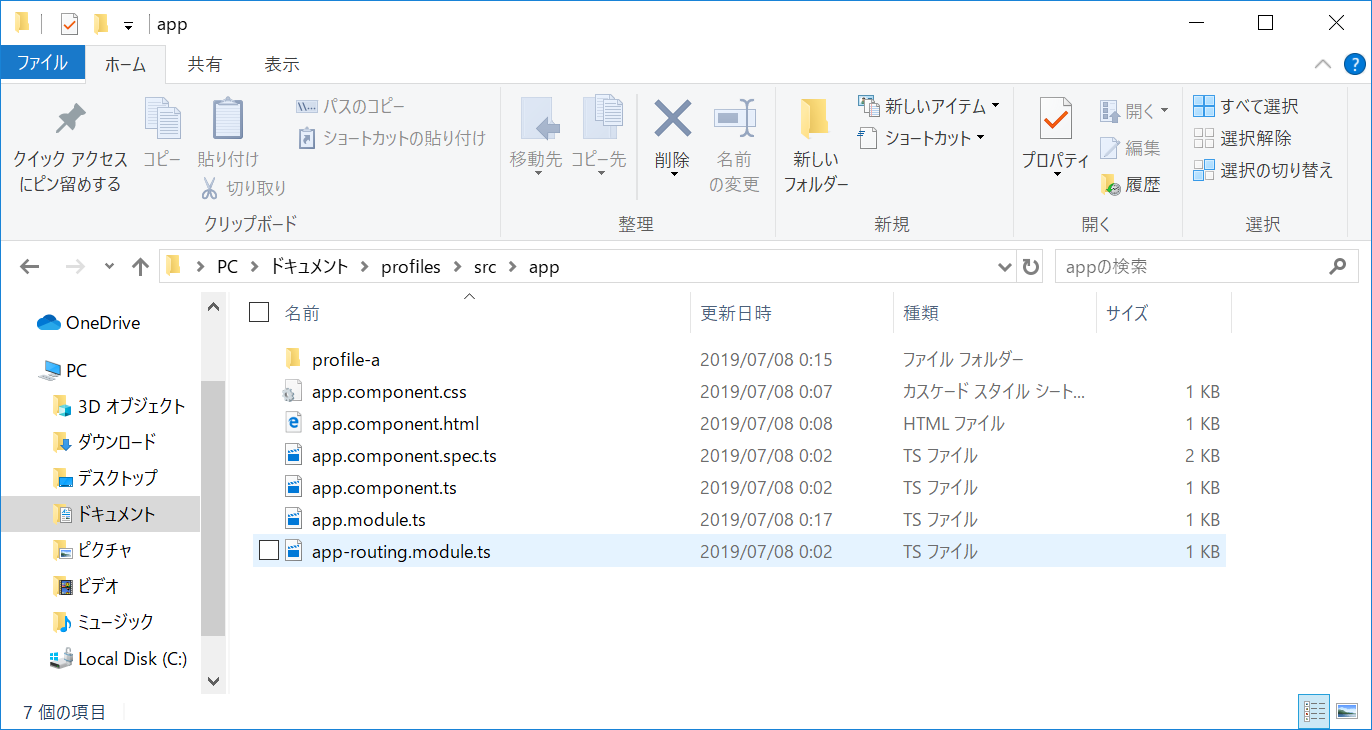
app-routing.module.tsの中を覗いてみると下記のように記述されています。
import { NgModule } from '@angular/core';
import { Routes, RouterModule } from '@angular/router';
import { ProfileAComponent } from './profile-a/profile-a.component';

const routes: Routes = [];

@NgModule({
  imports: [RouterModule.forRoot(routes)],
  exports: [RouterModule]
})
export class AppRoutingModule { }
Angularでは、const routes: Routes = []; の中身に設定を追加することで、ページ遷移が行えるようになります。
先程作成したprofile-a.componentへのページ遷移の設定を追加しましょう。
コードを下記のように書き換えてください。
import { NgModule } from '@angular/core';
import { Routes, RouterModule } from '@angular/router';
import { ProfileAComponent } from './profile-a/profile-a.component';

const routes: Routes = [
  { path: 'a', component: ProfileAComponent }
];

@NgModule({
  imports: [RouterModule.forRoot(routes)],
  exports: [RouterModule]
})
export class AppRoutingModule { }
pathはそのページにアクセスするためのURLのようなものです。
設定の例では、aにアクセスされたら、先程作成した ProfileAComponent に表示を切り替えるようになっています。
最後にaというURLにアクセスするためのリンクを作成しましょう。
app.component.htmlのリンクを次のように書き換えてください。
<h1>{{ title }}</h1>
<p>
  <a href="a">Aさんのプロフィール</a>
  <a href="#">Bさんのプロフィール</a>
</p>
<router-outlet></router-outlet>
ブラウザを更新して、Aさんのリンクをクリックして動作を確認してみましょう。
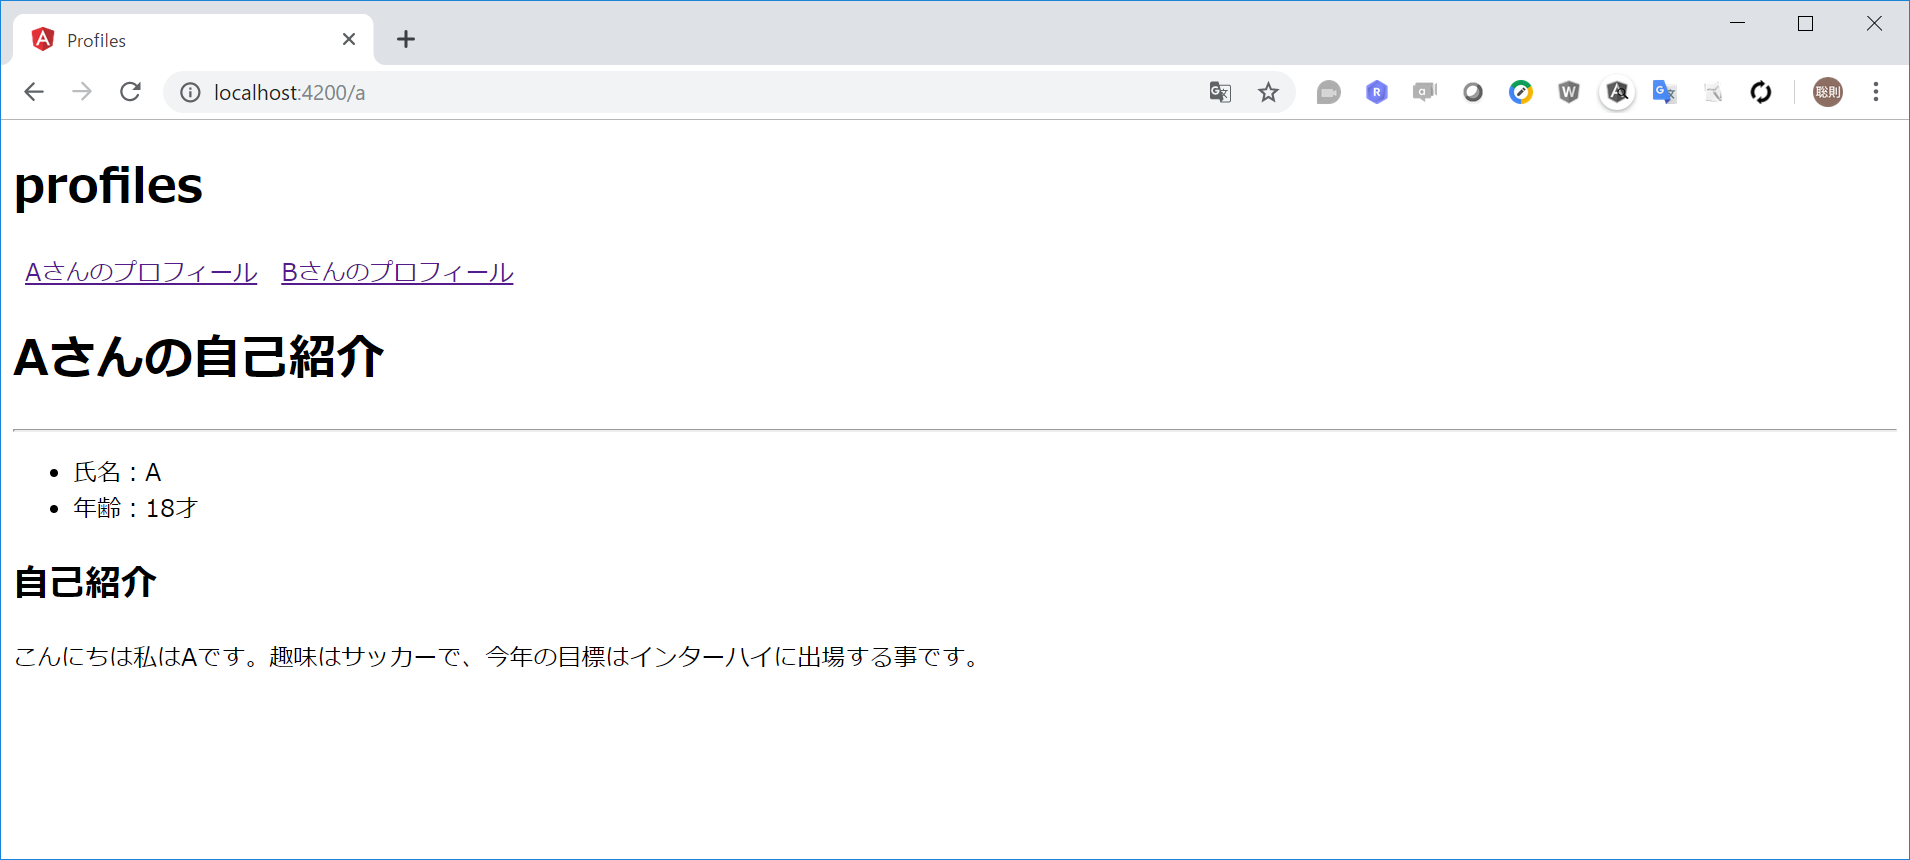
"Aさんのプロフィール"というリンクをクリックするとブラウザのURLが http://localhost:4200/aに変化することを確認できました。
また <router-outlet></router-outlet>の中の表示もprofile-a.componentの表示に切り替わっている事が確認できましたね。
このようにAngularではコンポーネントの表示をURLによって切り替える事ができます。
これをルーティングと呼びます。
同じようにBさんのコンポーネントも作成をしてルーティングの設定を次の通りとしました。
import { NgModule } from '@angular/core';
import { Routes, RouterModule } from '@angular/router';
import { ProfileAComponent } from './profile-a/profile-a.component';
import { ProfileBComponent } from './profile-b/profile-b.component';

const routes: Routes = [
  { path: 'a', component: ProfileAComponent },
  { path: 'b', component: ProfileBComponent }
];

@NgModule({
  imports: [RouterModule.forRoot(routes)],
  exports: [RouterModule]
})
export class AppRoutingModule { }
<h1>{{ title }}</h1>
<p>
  <a href="a">Aさんのプロフィール</a>
  <a href="b">Bさんのプロフィール</a>
</p>
<router-outlet></router-outlet>
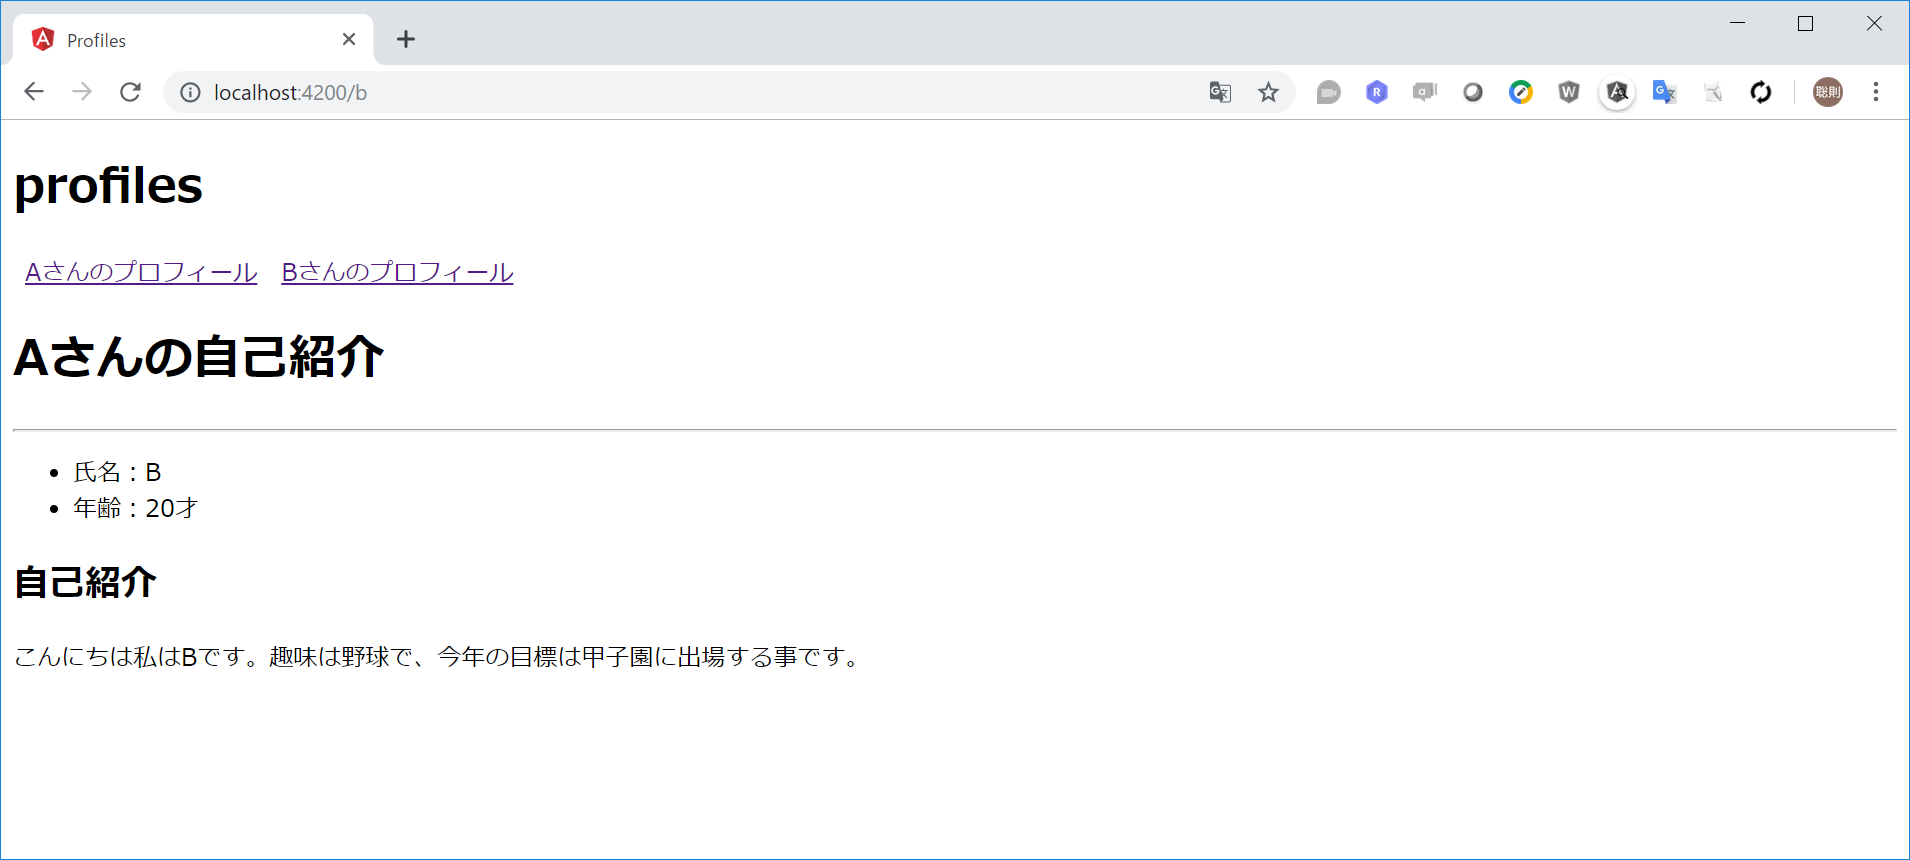
Bさんのコンポーネントもリンクから表示できるようになりました。
次回
今回は新しくコンポーネントを作成する方法と、ルーティングを使って表示を切り替えていく事でページ遷移が実現できることを確認しました。
次回はコンポーネントとコンポーネントの間で変数を共有する方法を学びたいと思います。