概要
既存の Vue v3のアプリに Vuetify v3 を導入し、UIコンポーネントを画面に実装してみるまでの全手順を記載します。
前提
アプリは、Vue 3+Vite 3(+ TypeScript)で作成したものを対象に実施する想定。
※ Vuetify v2 はVue v3 に対応していないため、今回は Vuetify v3 を使用する
- OS: macOS 11.7(Big Sur)
- CPU: Intel Xeon W
- node: v18.12.1
- npm: v8.19.2
- Vue: v3.2.41
- Vite: v3.2.3
Vuetify とは
「Vuetify(ビューティファイ)」は美しく整えられたマテリアルコンポーネントを提供する Vue UIライブラリ。
要するに Web 画面のキレイな表示部品を利用できる Vue 向けのツールで、デザインスキルが無くてもそれなりにオシャレな見た目の Vue アプリが作れる。

手順
Vuetify を手動で導入する
既存の Vue アプリのディレクトリに移動し、以下のコマンドで v3 のVuetify を追加する(記事作成時は v3.0.2 が最新だったので、このバージョンで例を記載)。
# バージョン指定して Vuetify を追加
npm add vuetify@^3.0.2
コマンド実行後、以下のように表示されたら成功
# 実行結果
added 1 package, and audited 49 packages in 4s

5 packages are looking for funding
  run `npm fund` for details

found 0 vulnerabilities
初期起動ファイルを、以下のように追記・修正する
import { createApp } from 'vue'
import './style.css'
import App from './App.vue'

// Vuetify のインポートを追加 **********/
import 'vuetify/styles'
import { createVuetify } from 'vuetify'
import * as components from 'vuetify/components'
import * as directives from 'vuetify/directives'

// 以下を追加 **********/
const vuetify = createVuetify({
  components,
  directives,
})

// 以下のように .use(vuetify) を追加
createApp(App).use(vuetify).mount('#app')
アイコンをインストールする
Vuetify は、アイコンデータを個別にインストールする必要があり、「Material Design Icons」「Material Icons」「Font Awesome 4」「Font Awesome 5」をサポートしている。
今回は、デフォルトの「Material Design Icons」を導入する。
# Material Design Icons を導入
npm install @mdi/font -D
コマンド実行後、以下のように表示されたら成功
added 1 package, and audited 50 packages in 1s

5 packages are looking for funding
  run `npm fund` for details

found 0 vulnerabilities
デフォルトの場合は、src/main.ts に以下のように追記するだけ
import { createApp } from 'vue'
import './style.css'
import App from './App.vue'

// Vuetify 追加
import '@mdi/font/css/materialdesignicons.css' // 👈 これを追記
import 'vuetify/styles'
import { createVuetify } from 'vuetify'
  :
(省略)
以上で導入は完了
使い方
UIコンポーネントの使い方
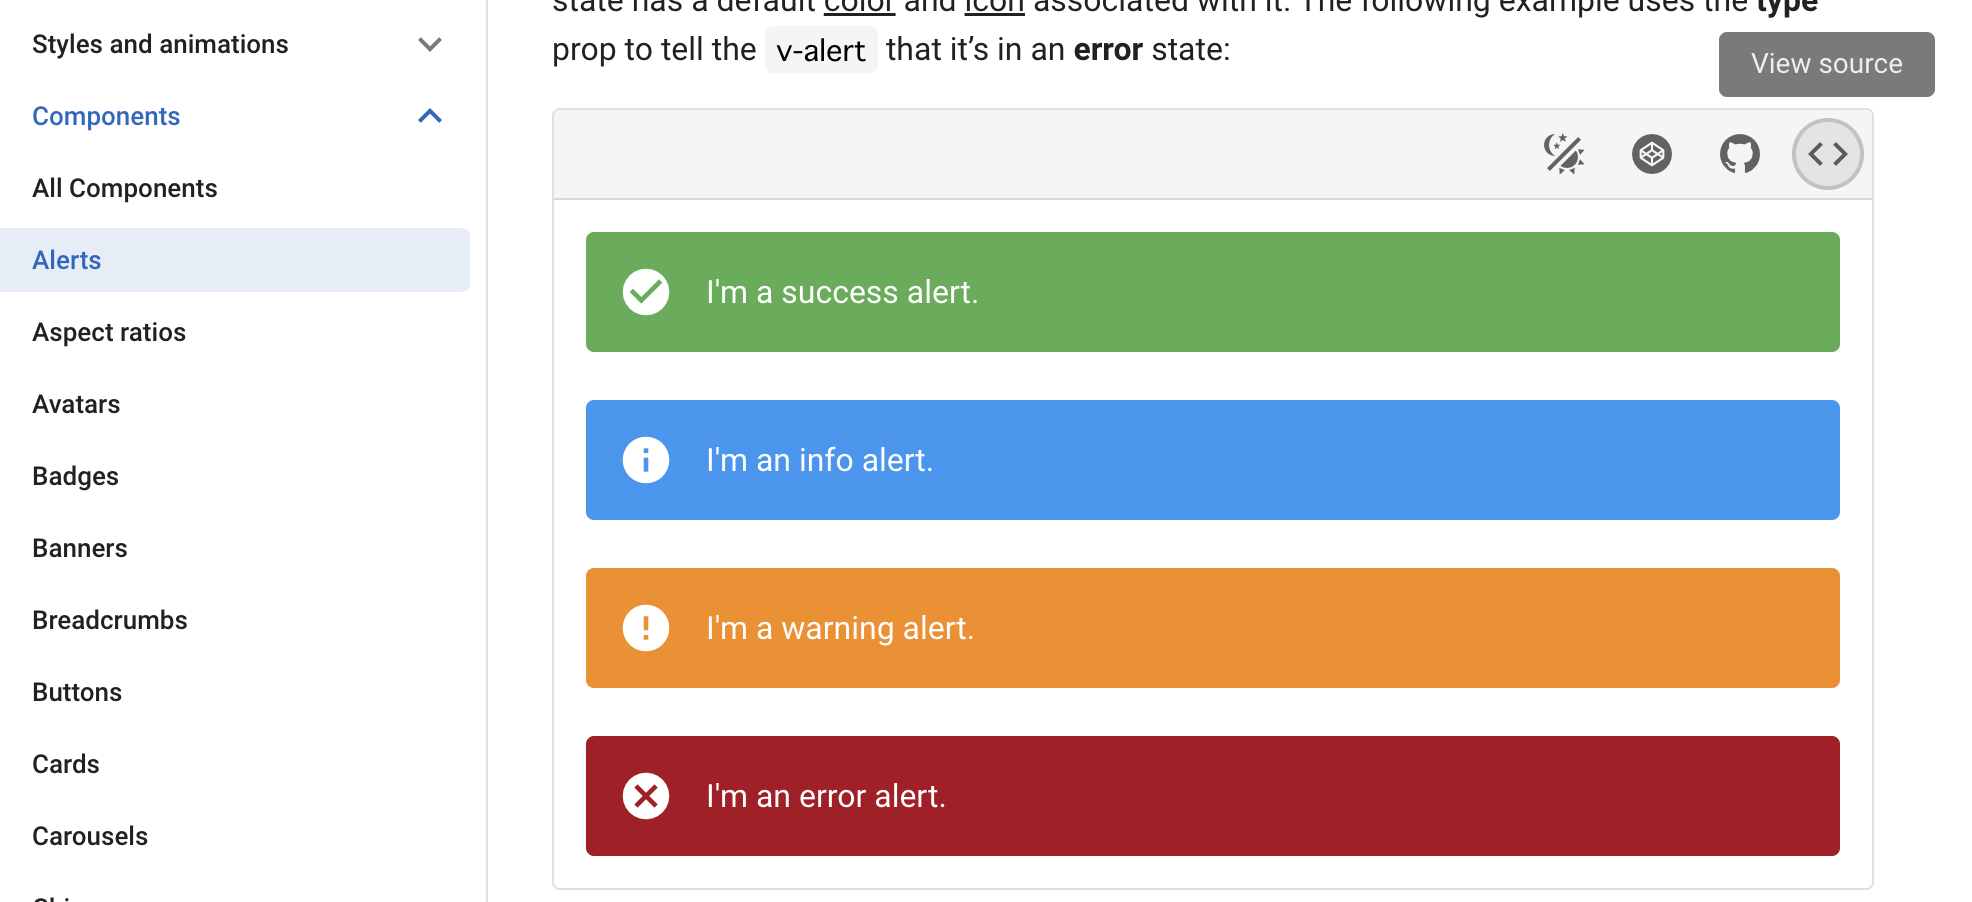
左のメニューの「Components」から、使いたい部品を選び、下図のように、サンプルエリアの右上にある「< >」マークをクリックすると HTML の書き方が表示されるので、同様にソースコードに書けば画面に表示できる。

以下の様に、vue ファイルに追記してみると、画面で再現できる。
<v-alert text="Alert コンポーネント サンプル" type="success"></v-alert>
アイコンの使い方
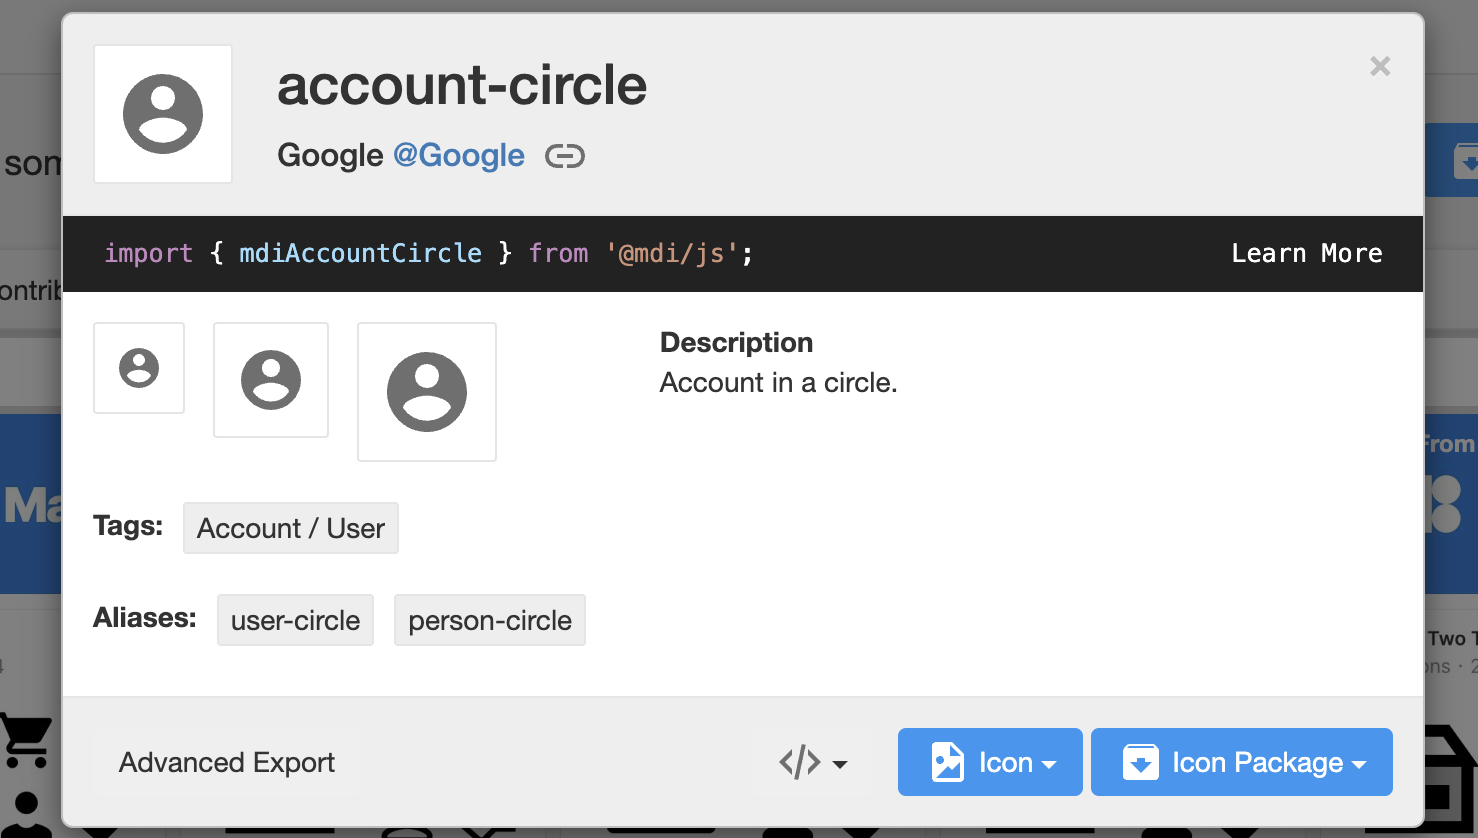
Material Design Icons で任意のアイコンを選択すると、以下の様に表示される。

import の { } の中にあるキャメルケースの文字を、ハイフン区切りのケバブケースに書き換えて、<v-icon> タグで挟み込むと表示できる。
例えば、以下はアイコン情報に記載されたインポート文字列を
mdiAccount 👉 mdi-account
mdiAccountCircle 👉 mdi-account-circle
と書き換えることで表示している。
<v-icon>mdi-account</v-icon>
<v-icon>mdi-account-circle</v-icon>
以上で導入は完了。

