昨日は @Nyokki さんの SQL についての記事でした。
@Nyokki さんの記事は毎回丁寧で勉強になりますよね!!
今日は、 CodeCommit と CodePipeline を利用して、以前書いた S3 で静的ホスティングをおこなった環境を git のブランチに push をすることで、自動デプロイできるようにしてみたいと思います。
CodeCommit を作成
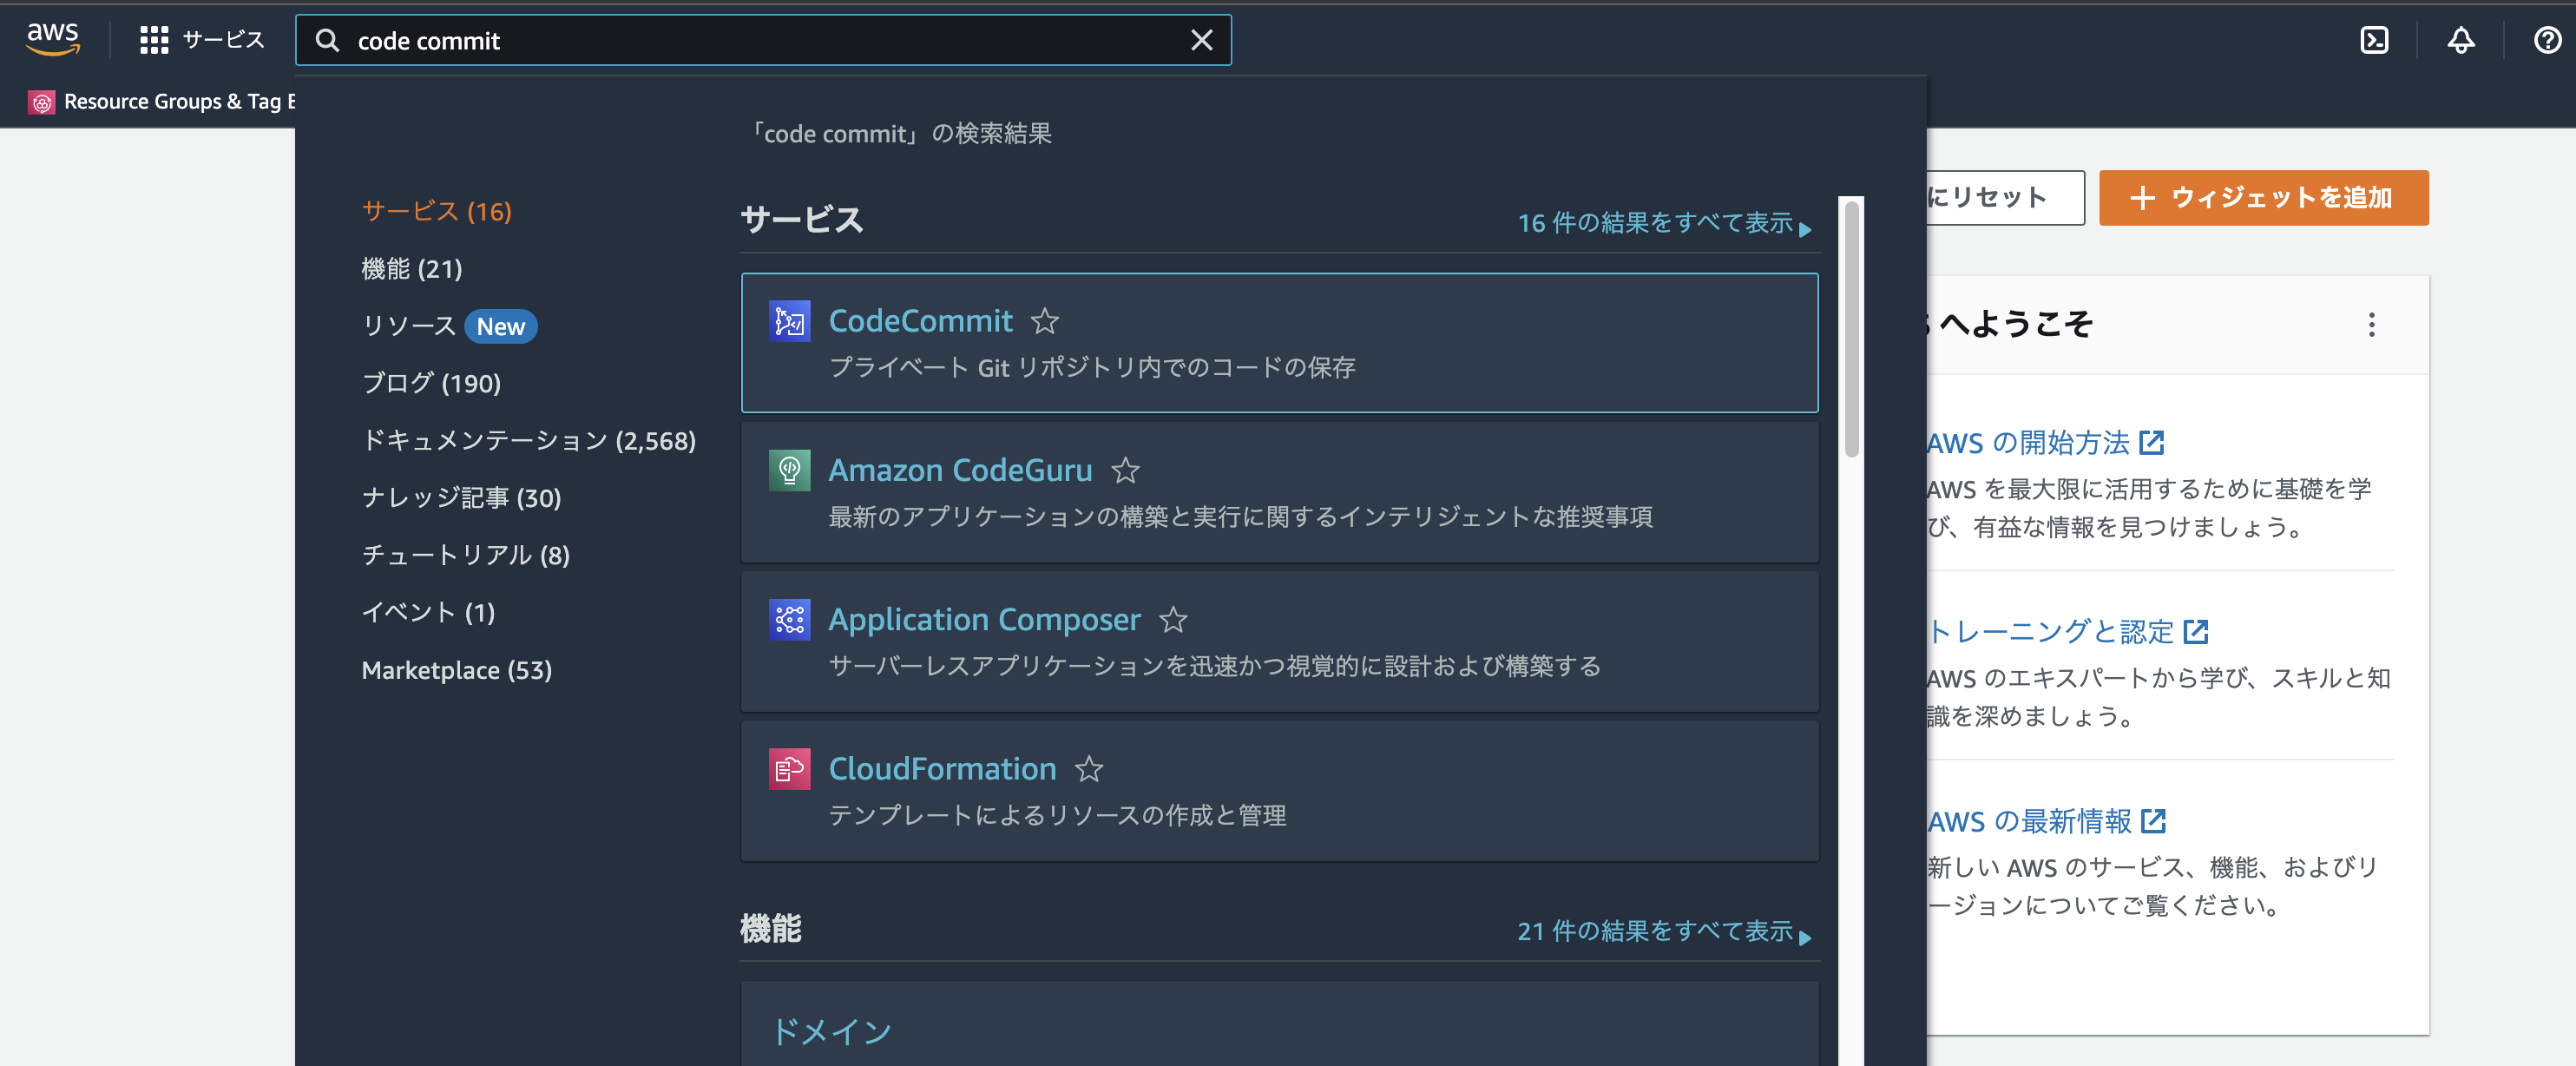
CodeCommit のコンソール画面へ移動
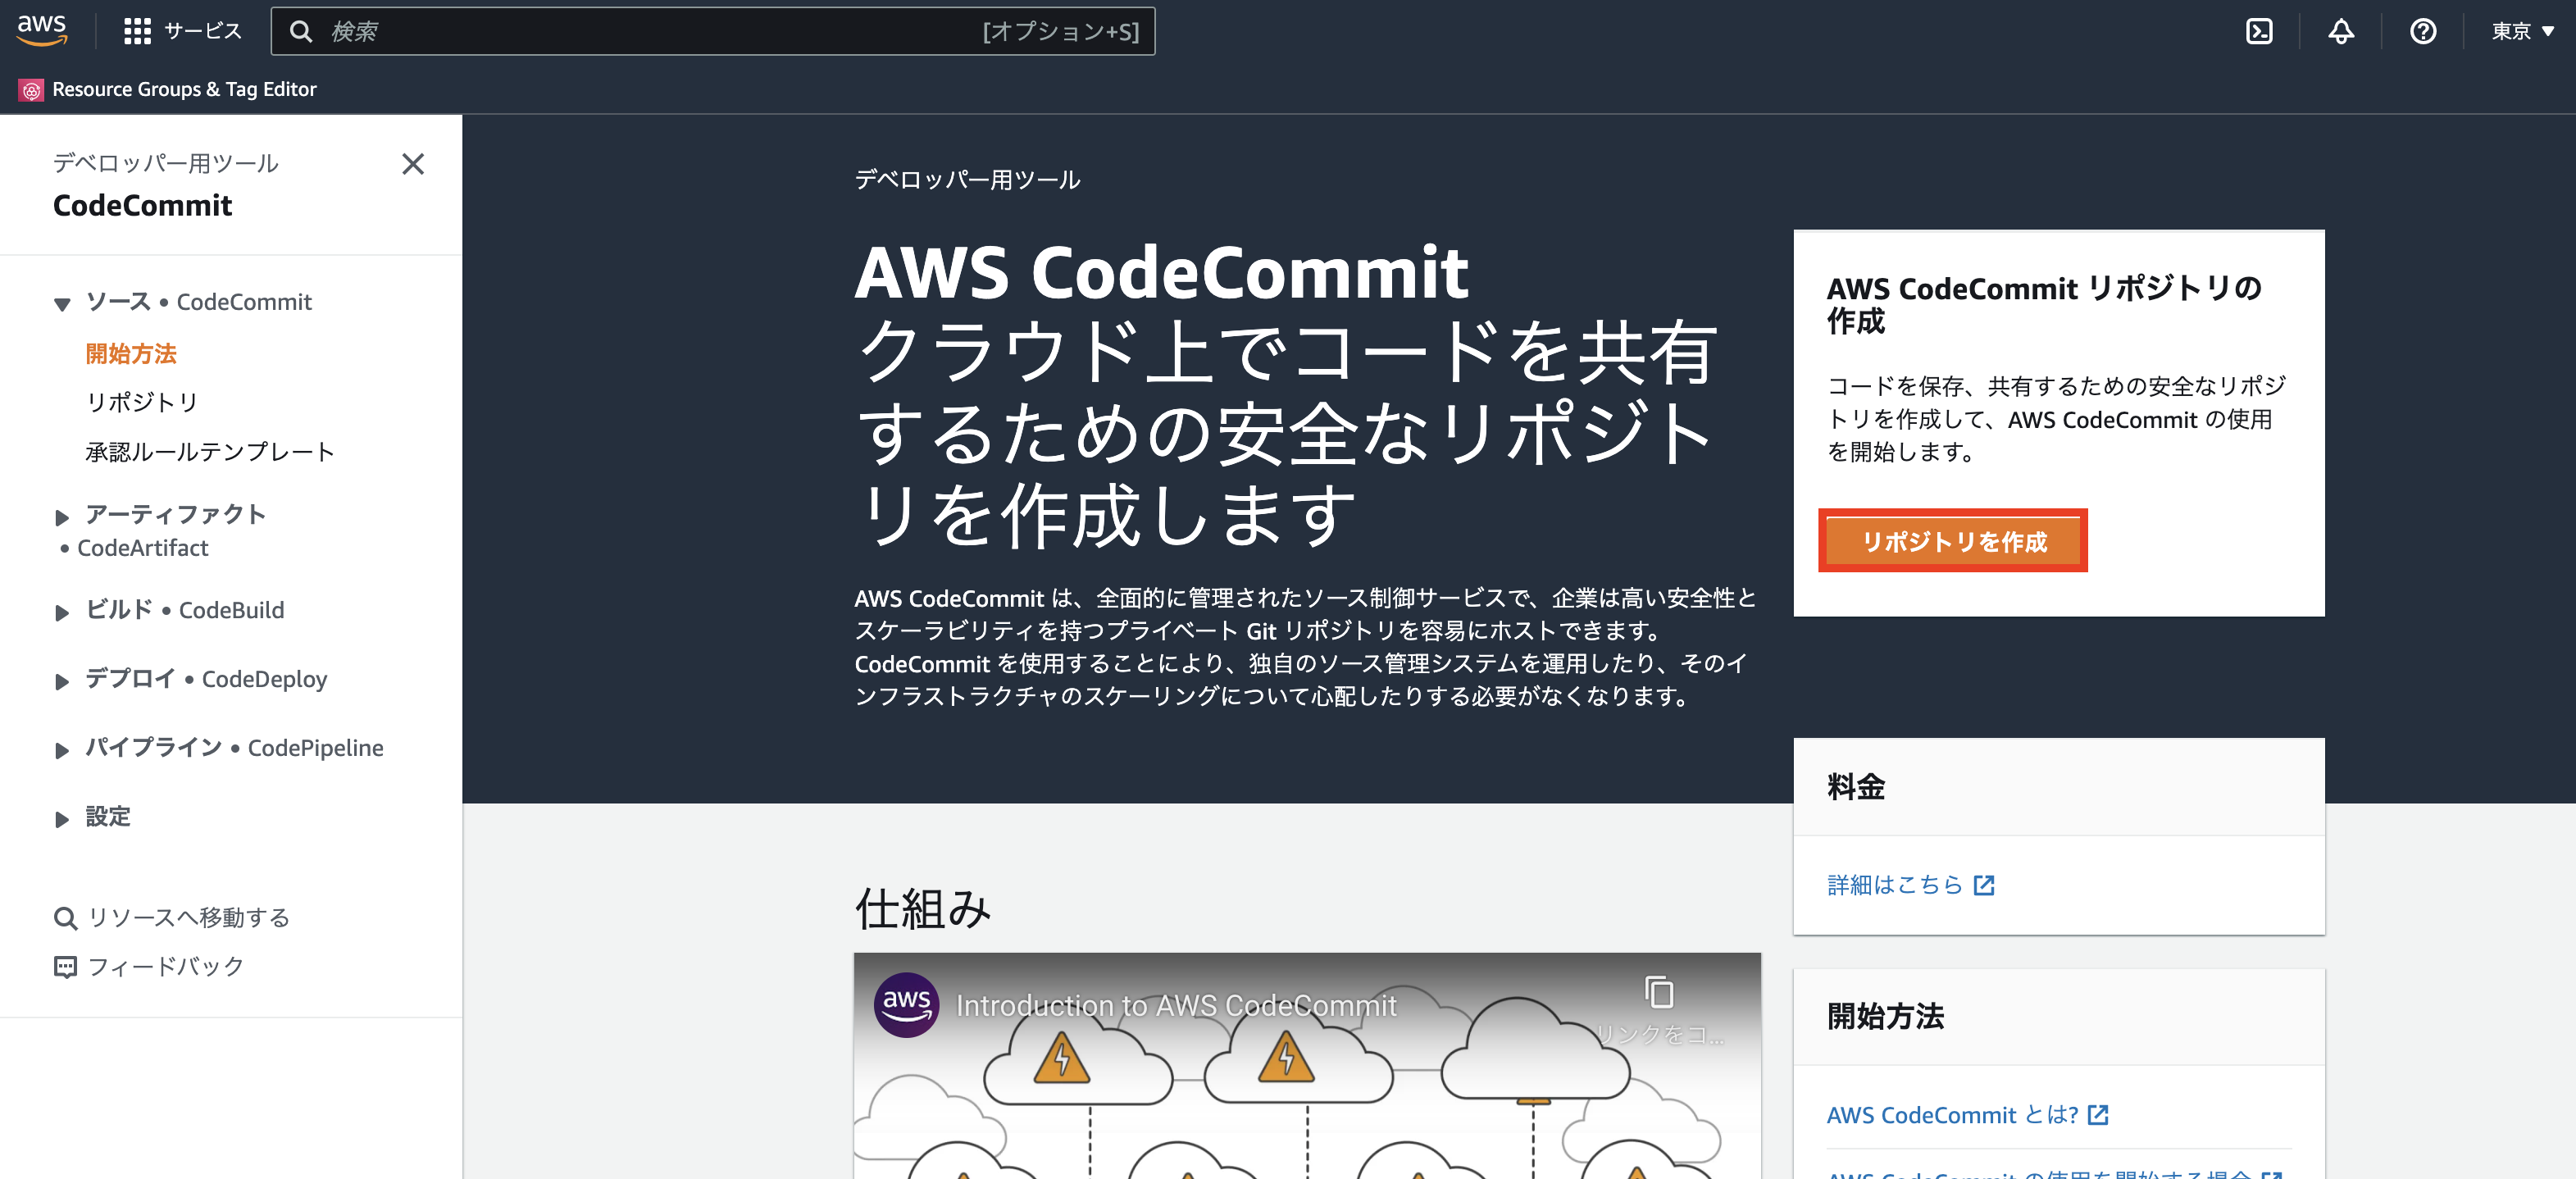
リポジトリの作成をクリック
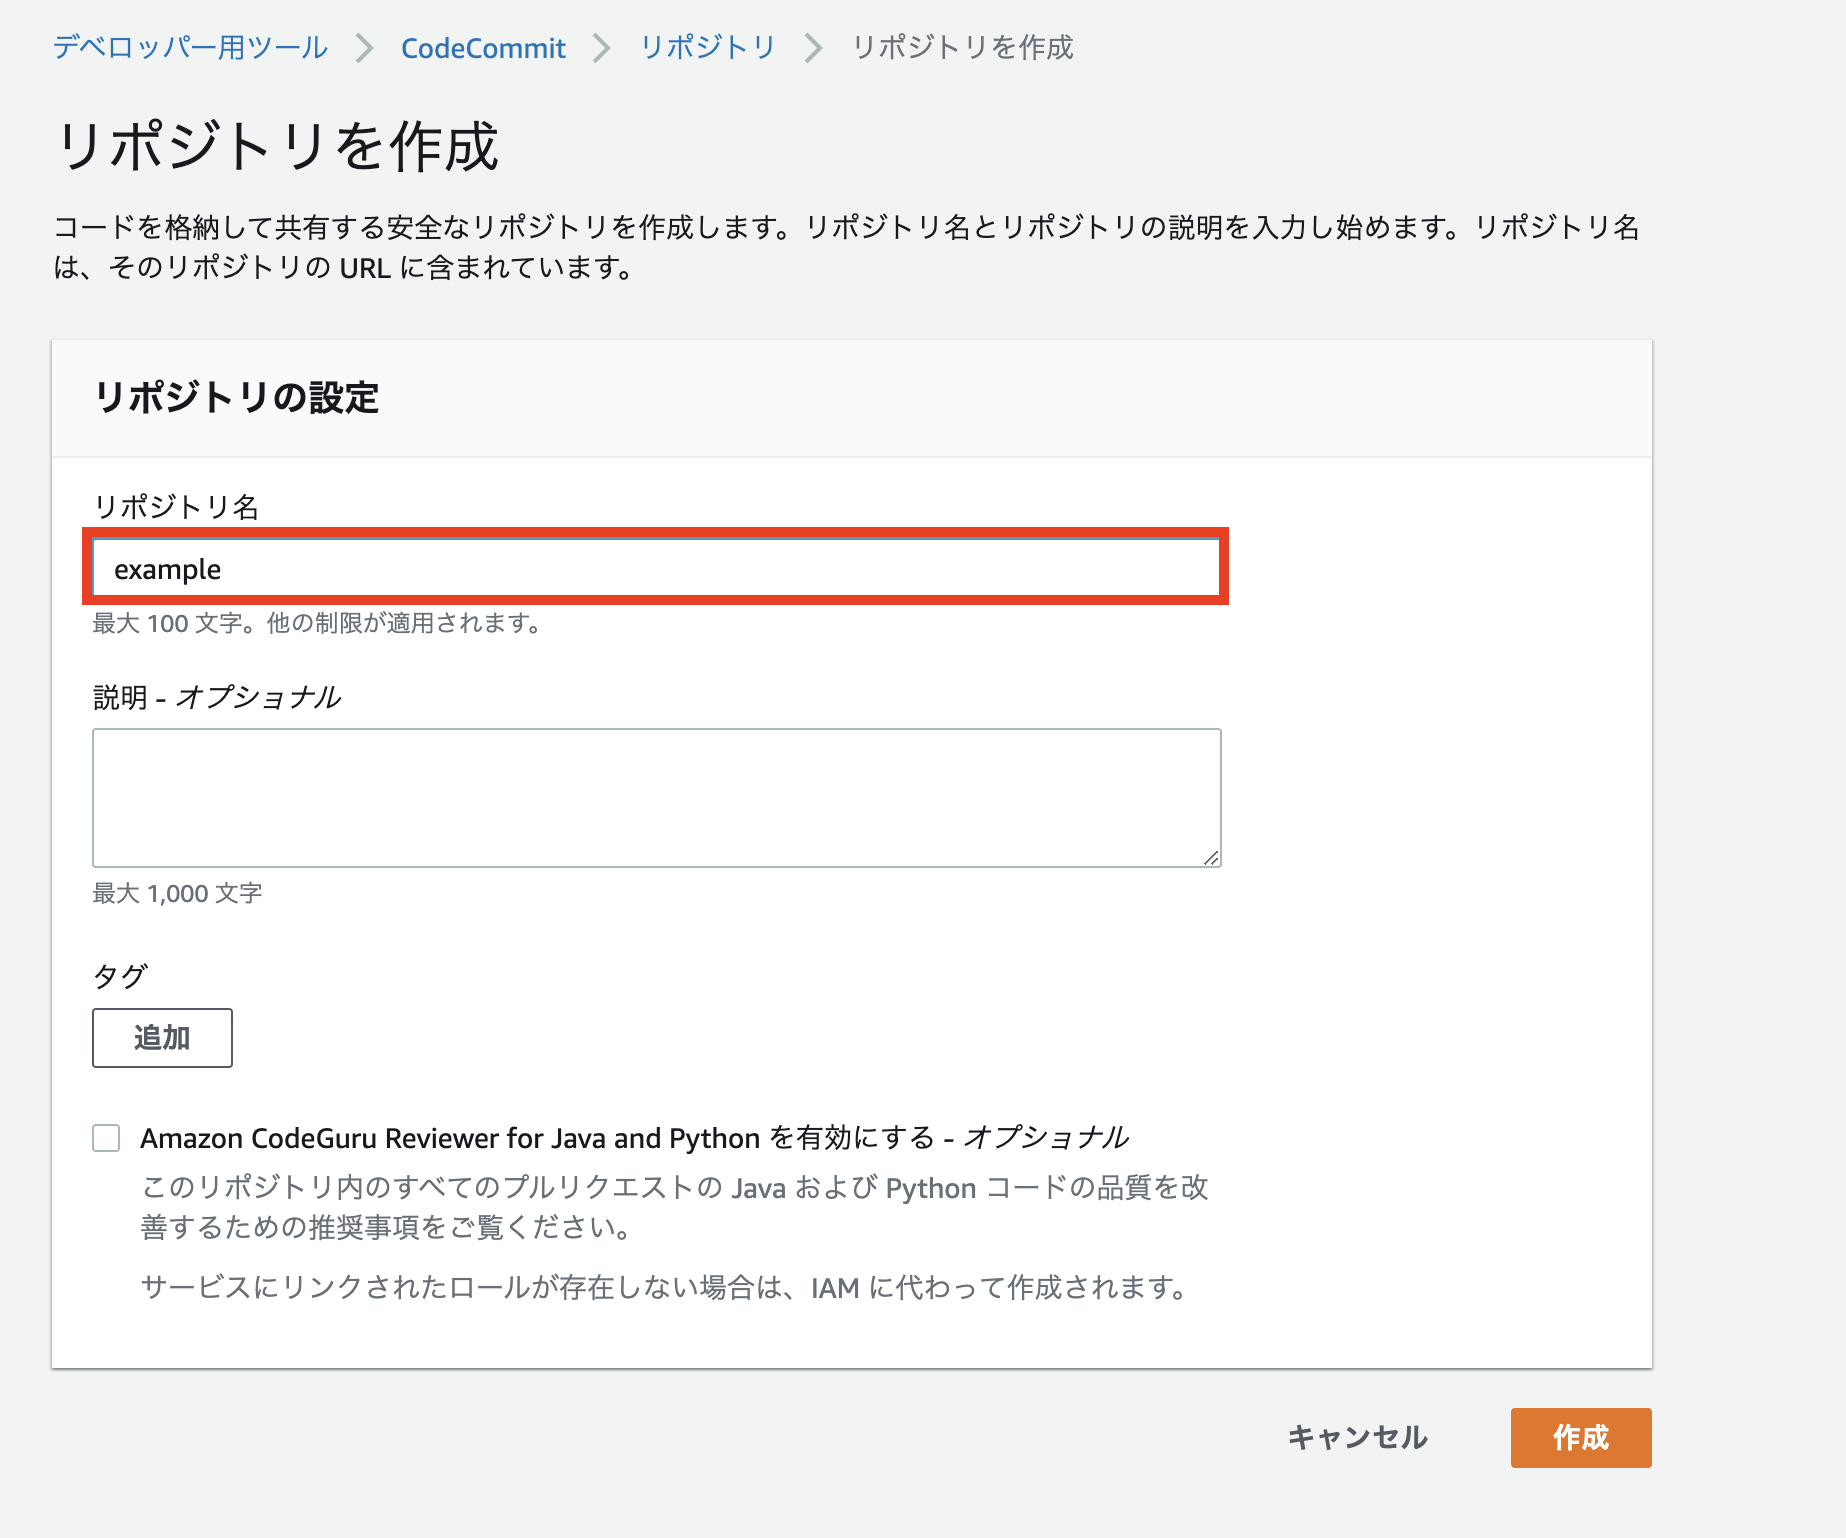
リポジトリ名を入力して作成をクリック
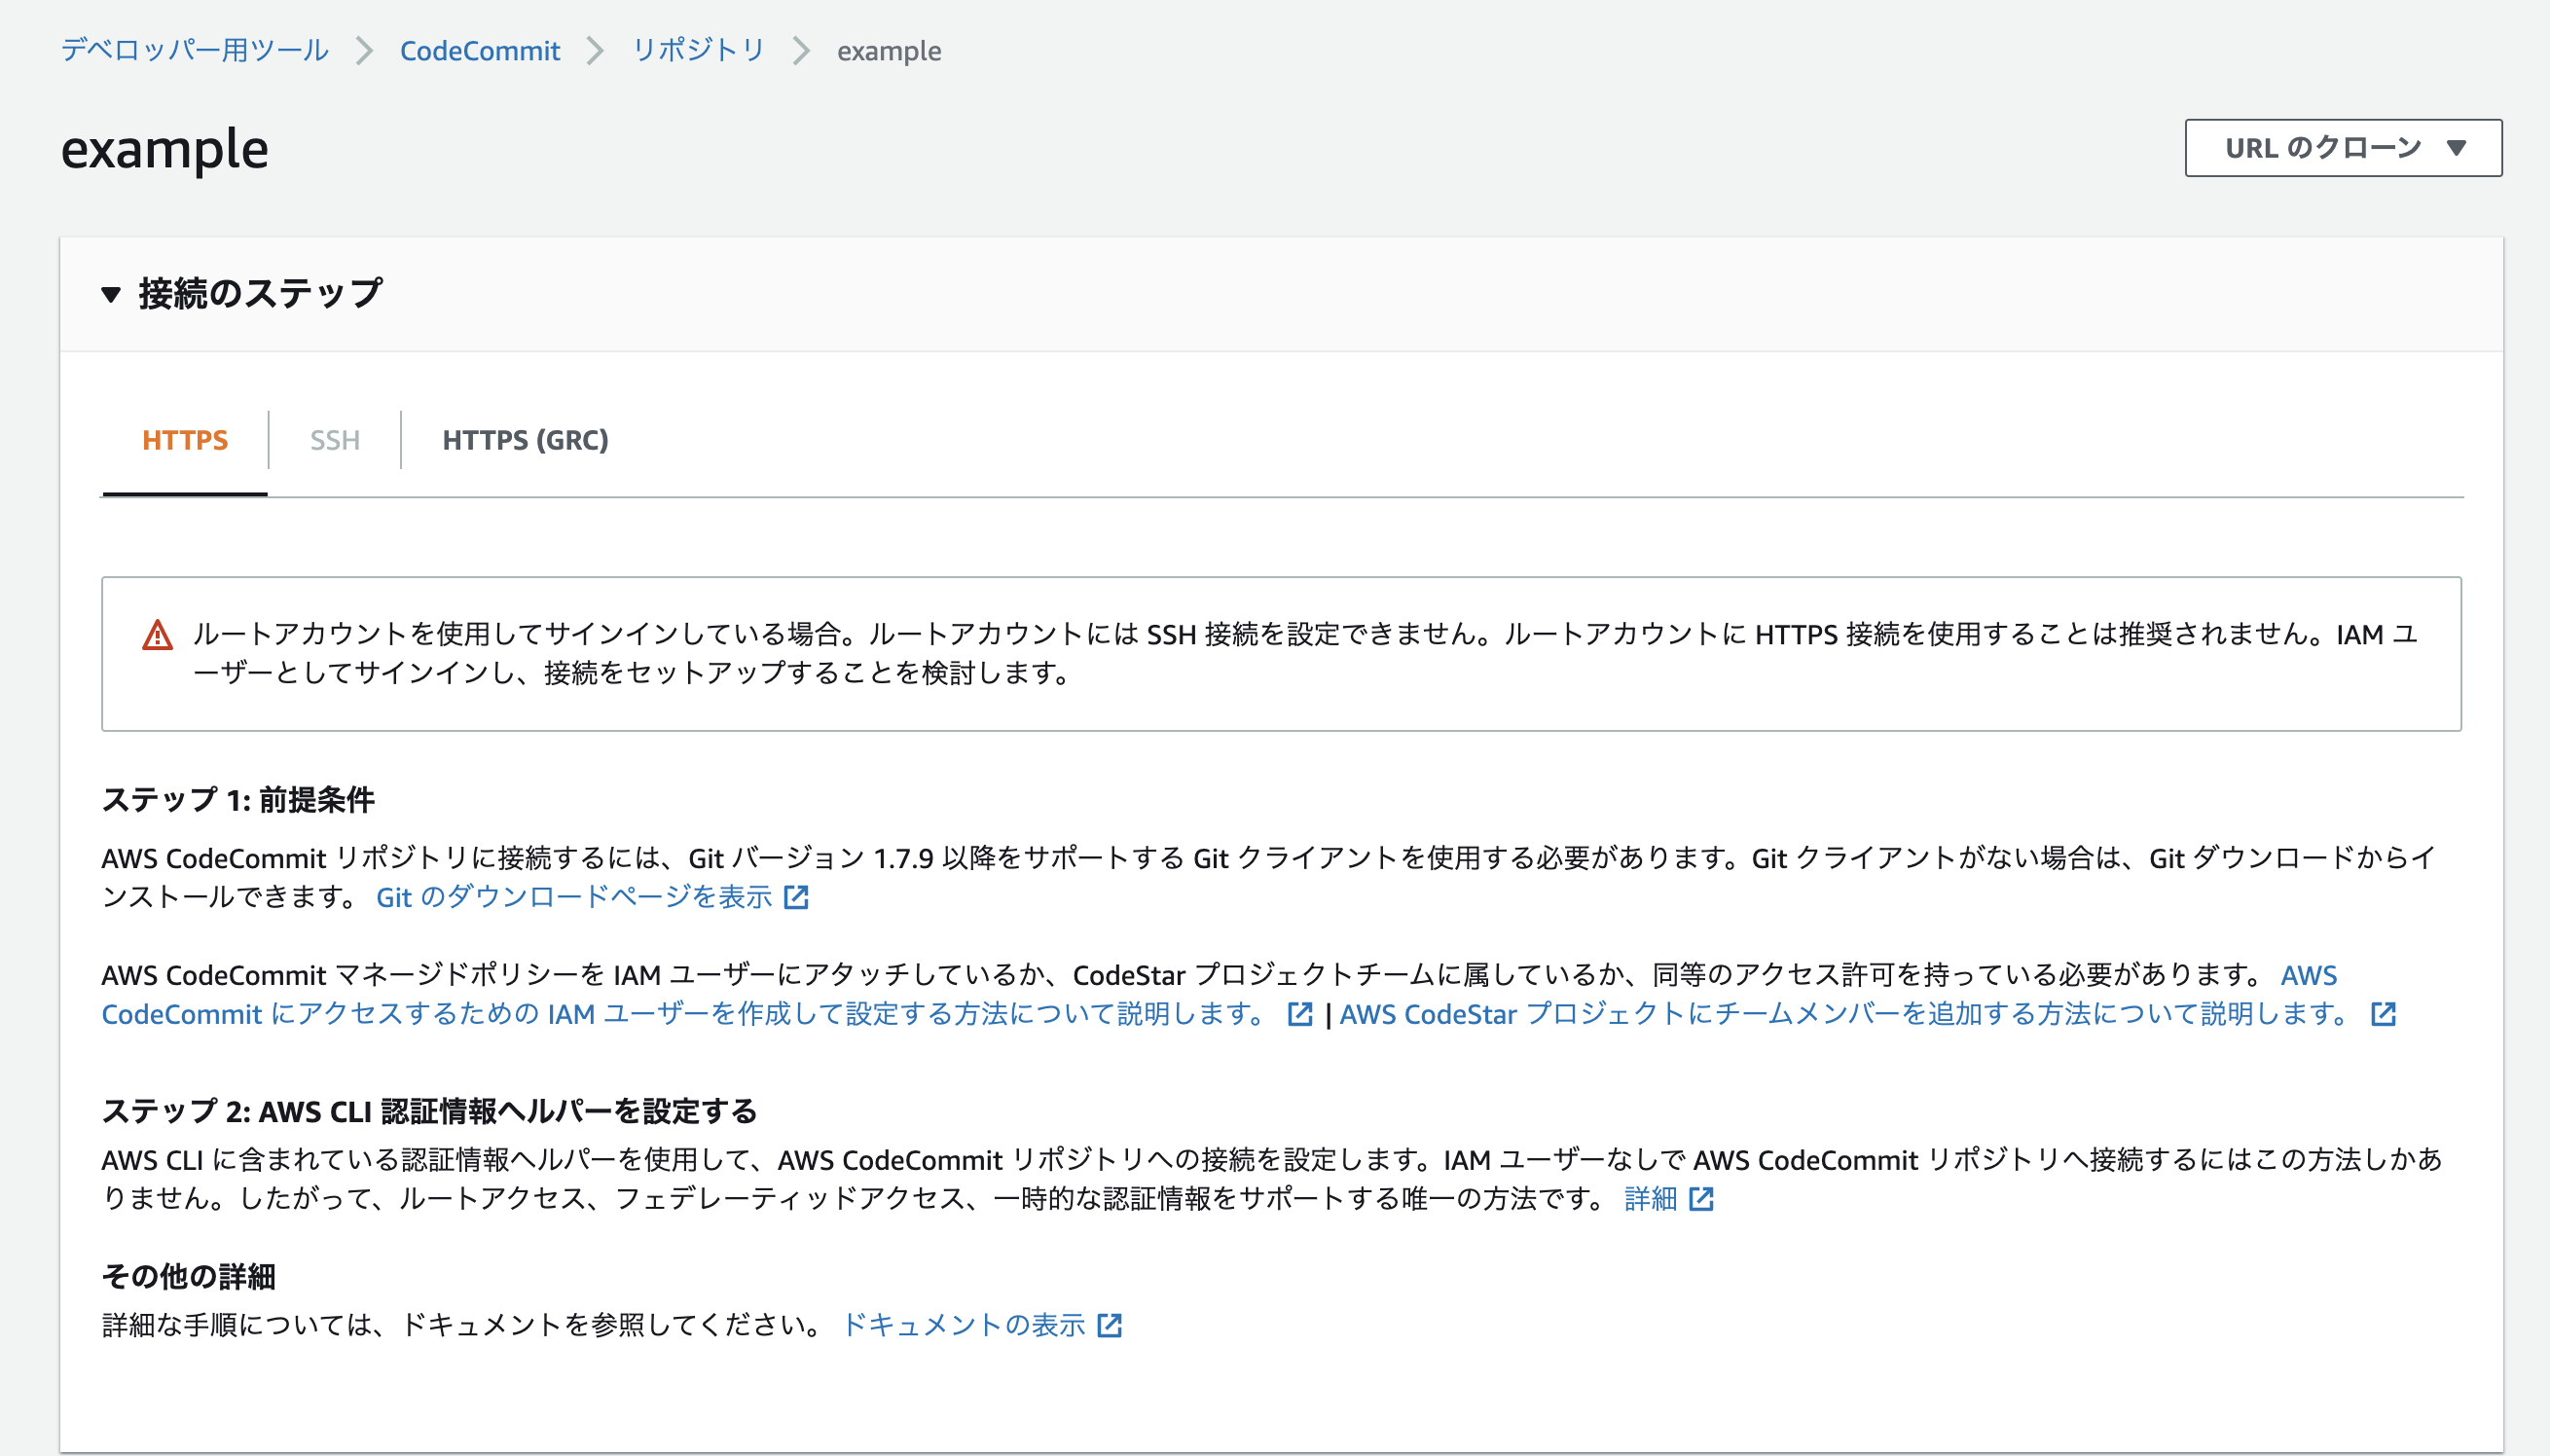
リポジトリが作成できる
CodeCommit にアクセス
ローカルから CodeCommit に push するための設定を行います。
IAM ユーザーを作成
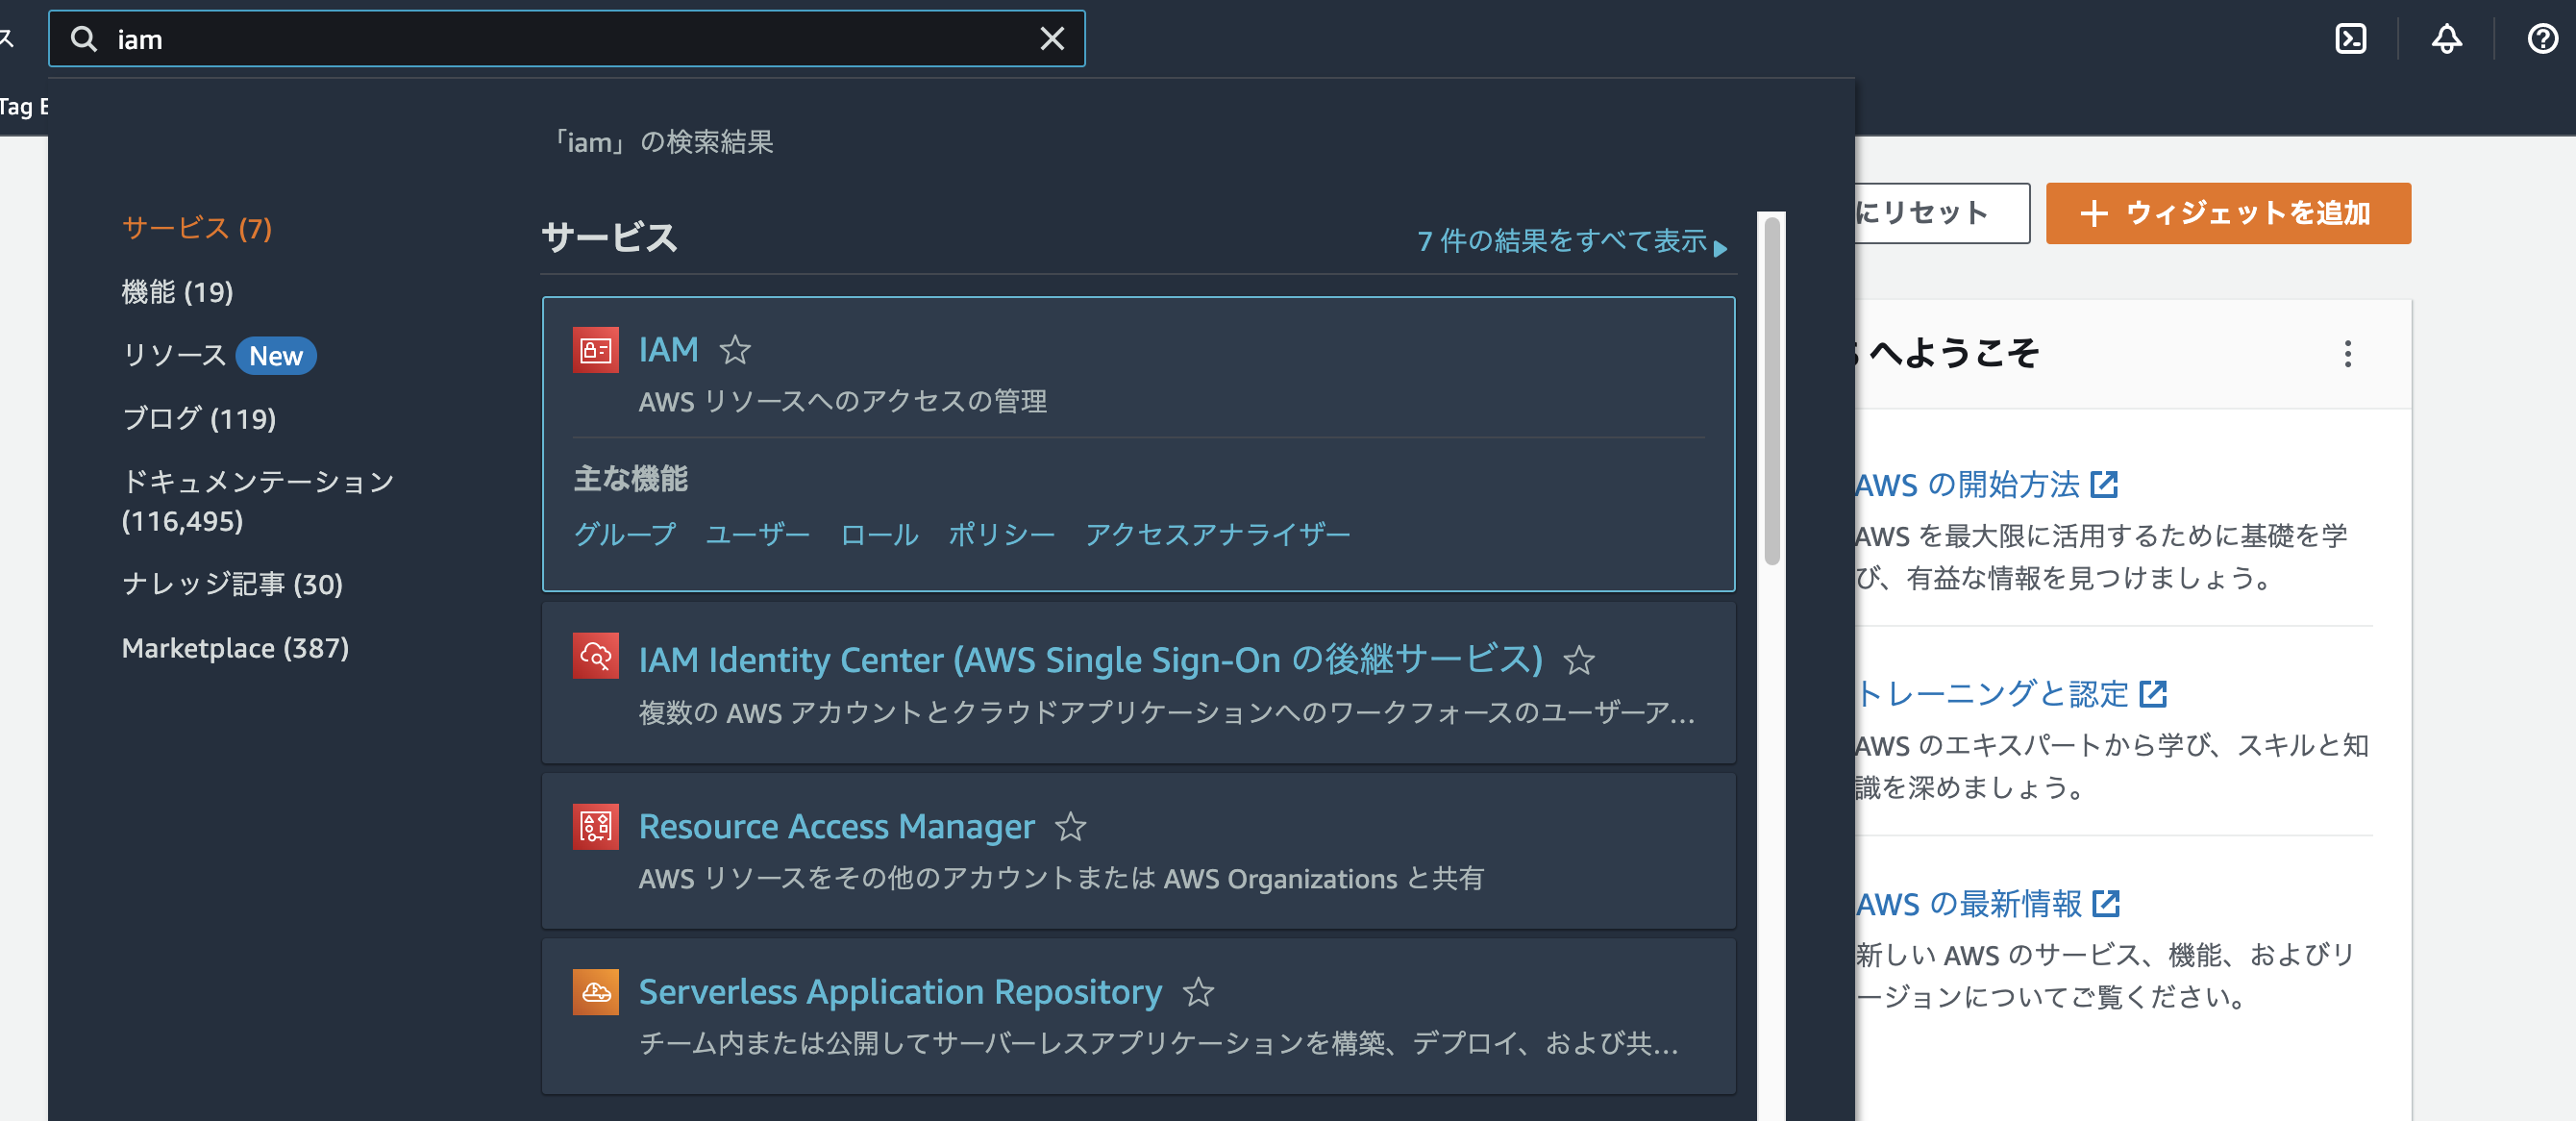
IAM のコンソール画面へアクセスする
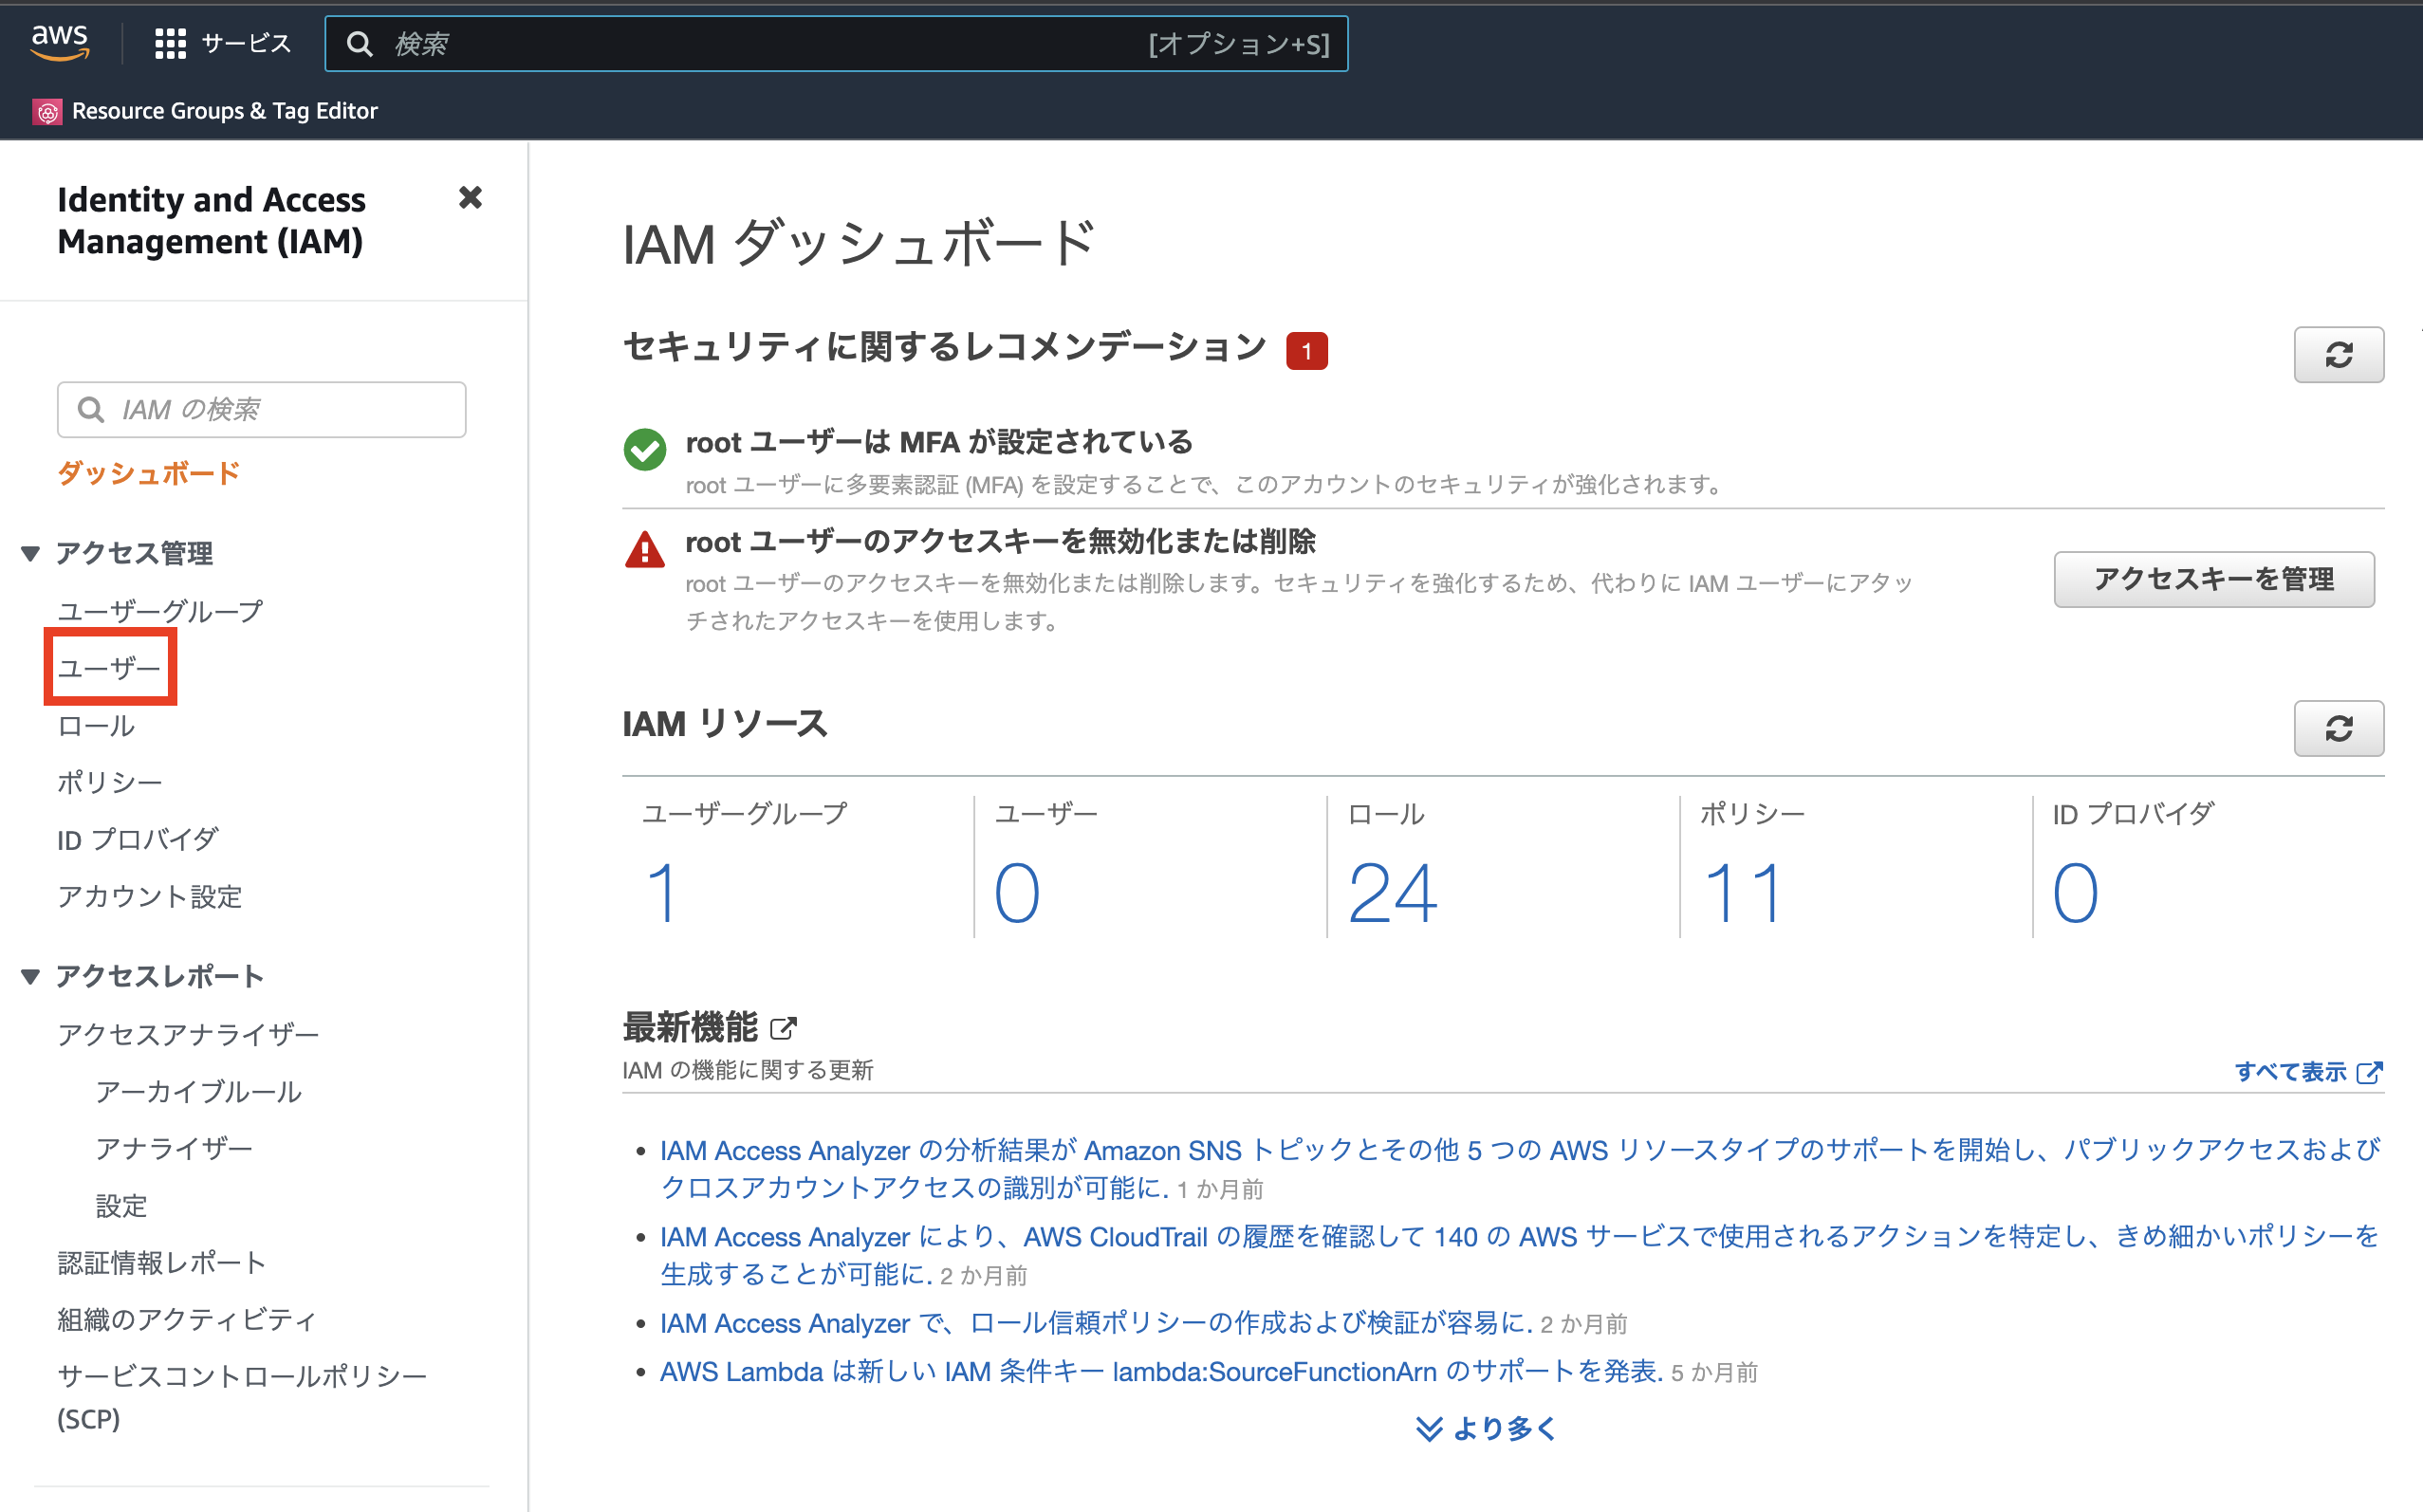
ユーザーをクリック
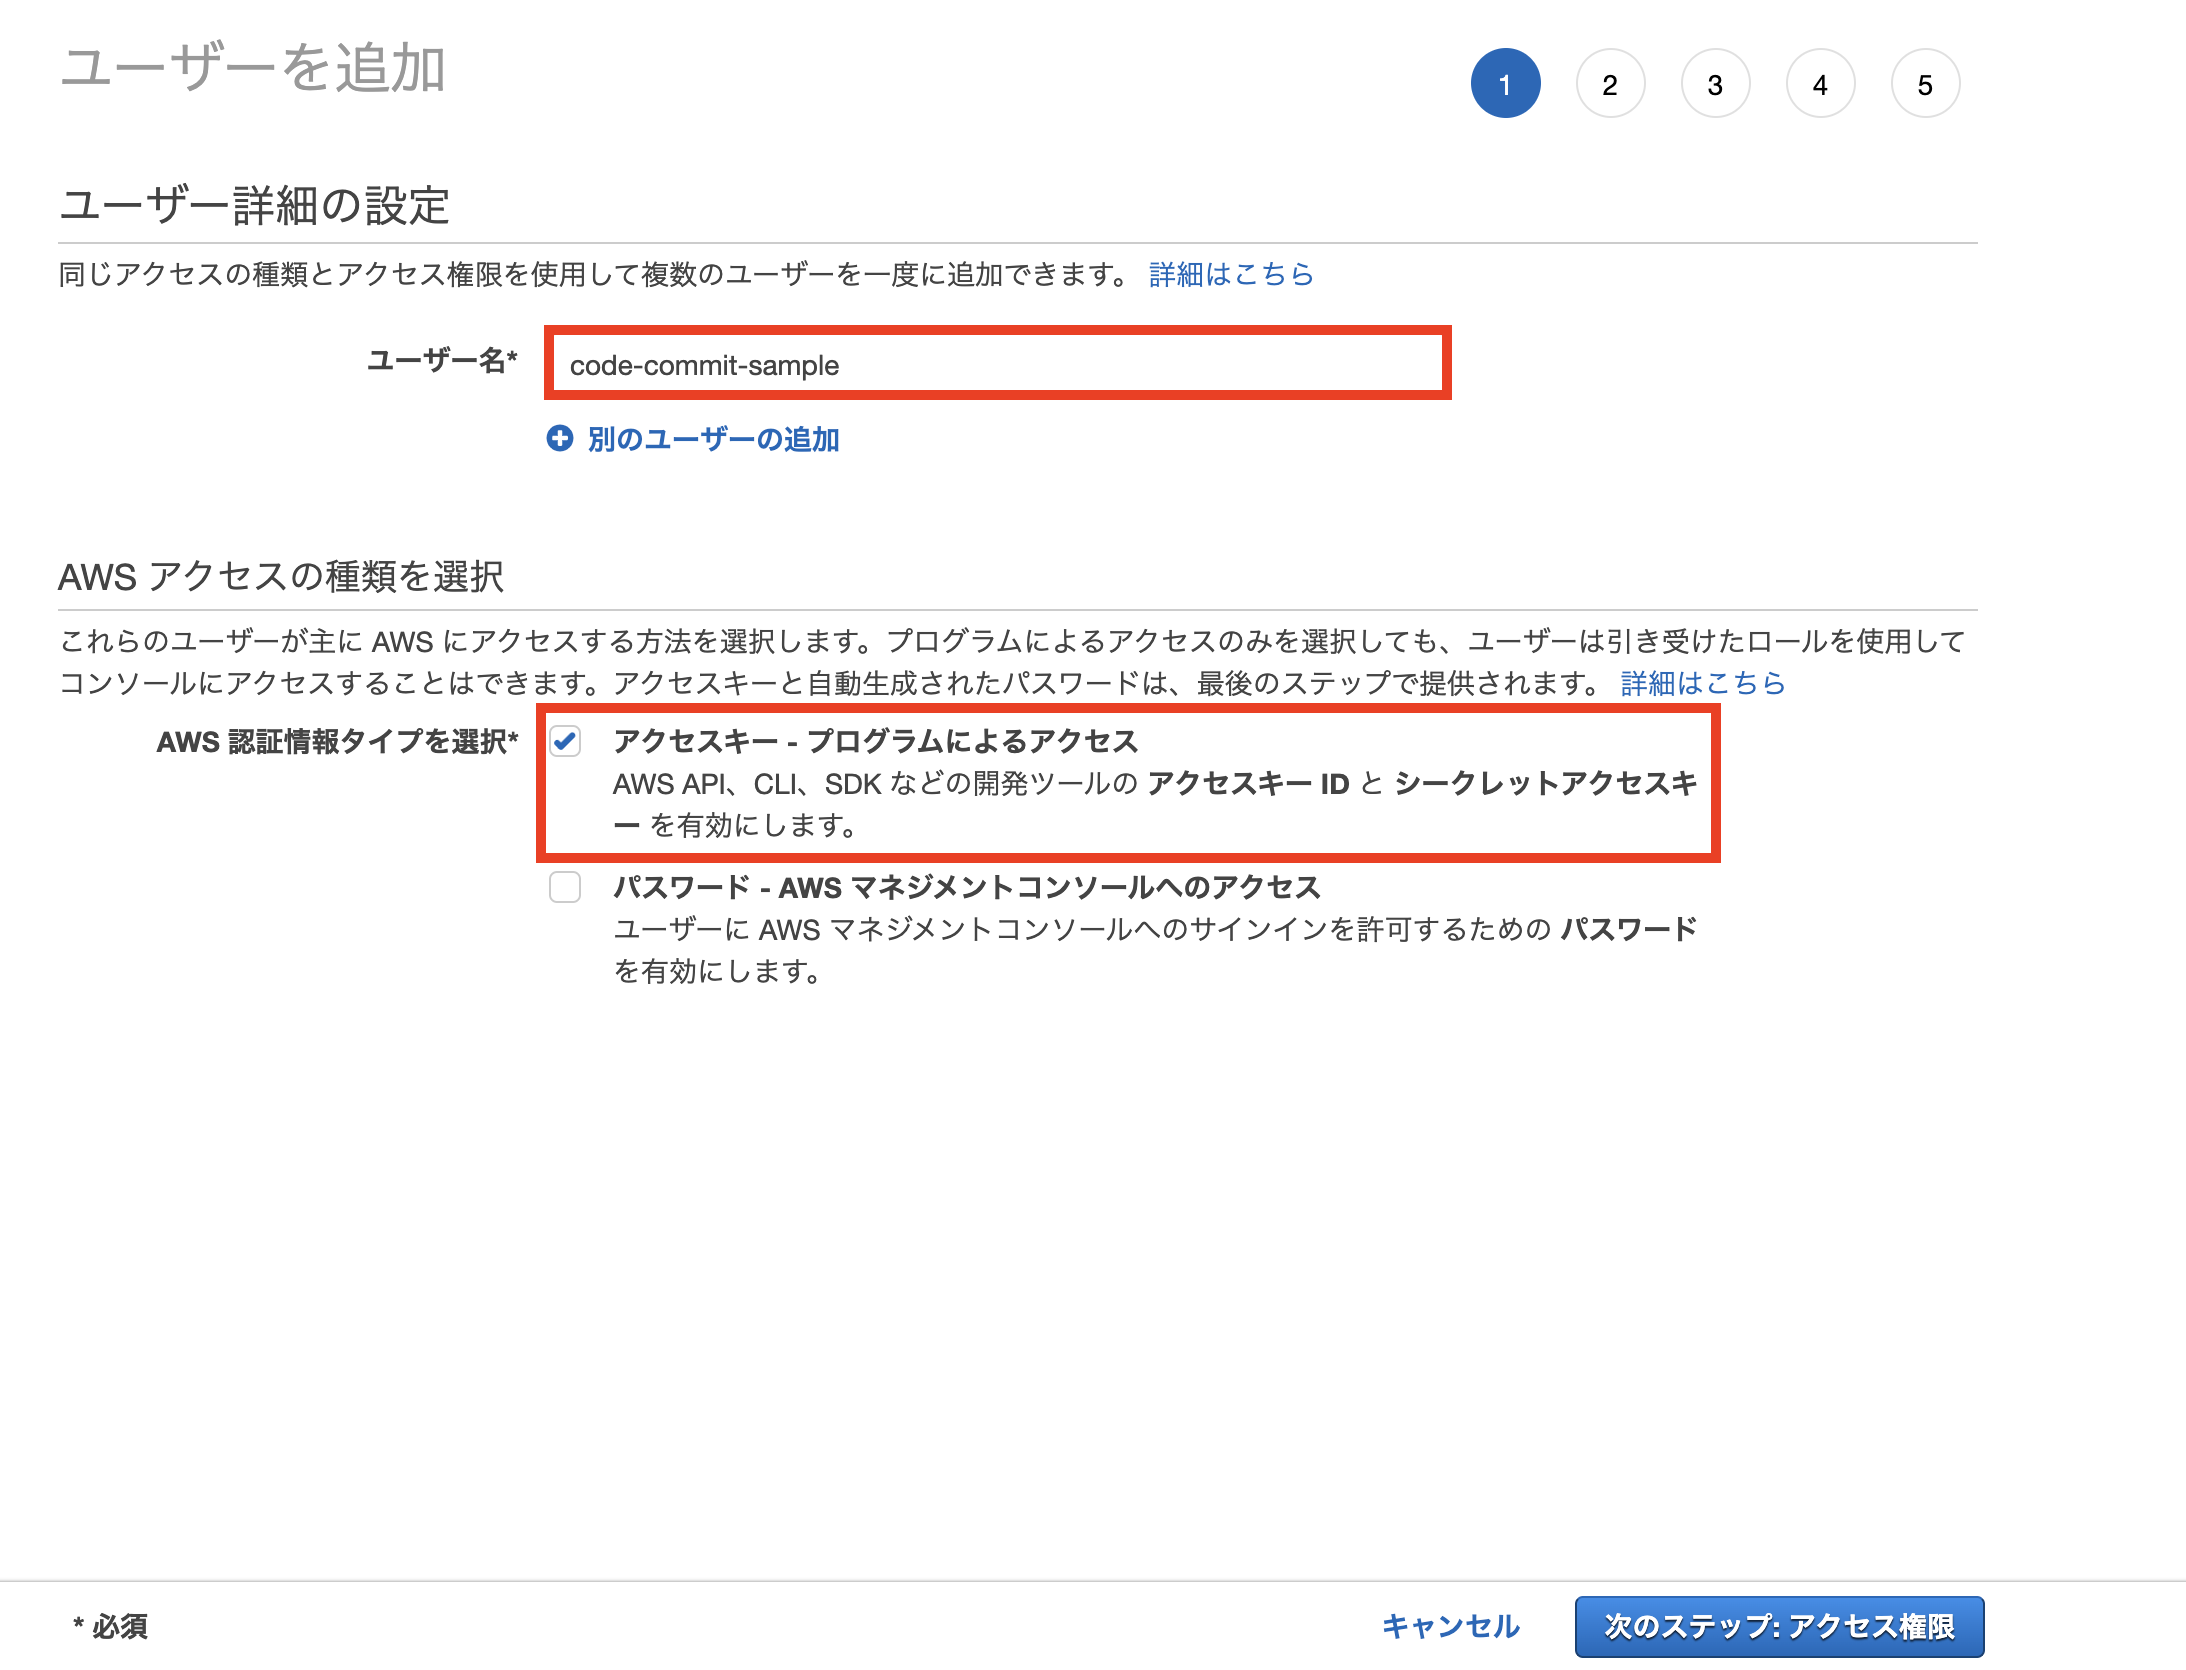
ユーザーを追加をクリック
ユーザー名を入力し、
アクセスキー - プログラムによるアクセス を選択
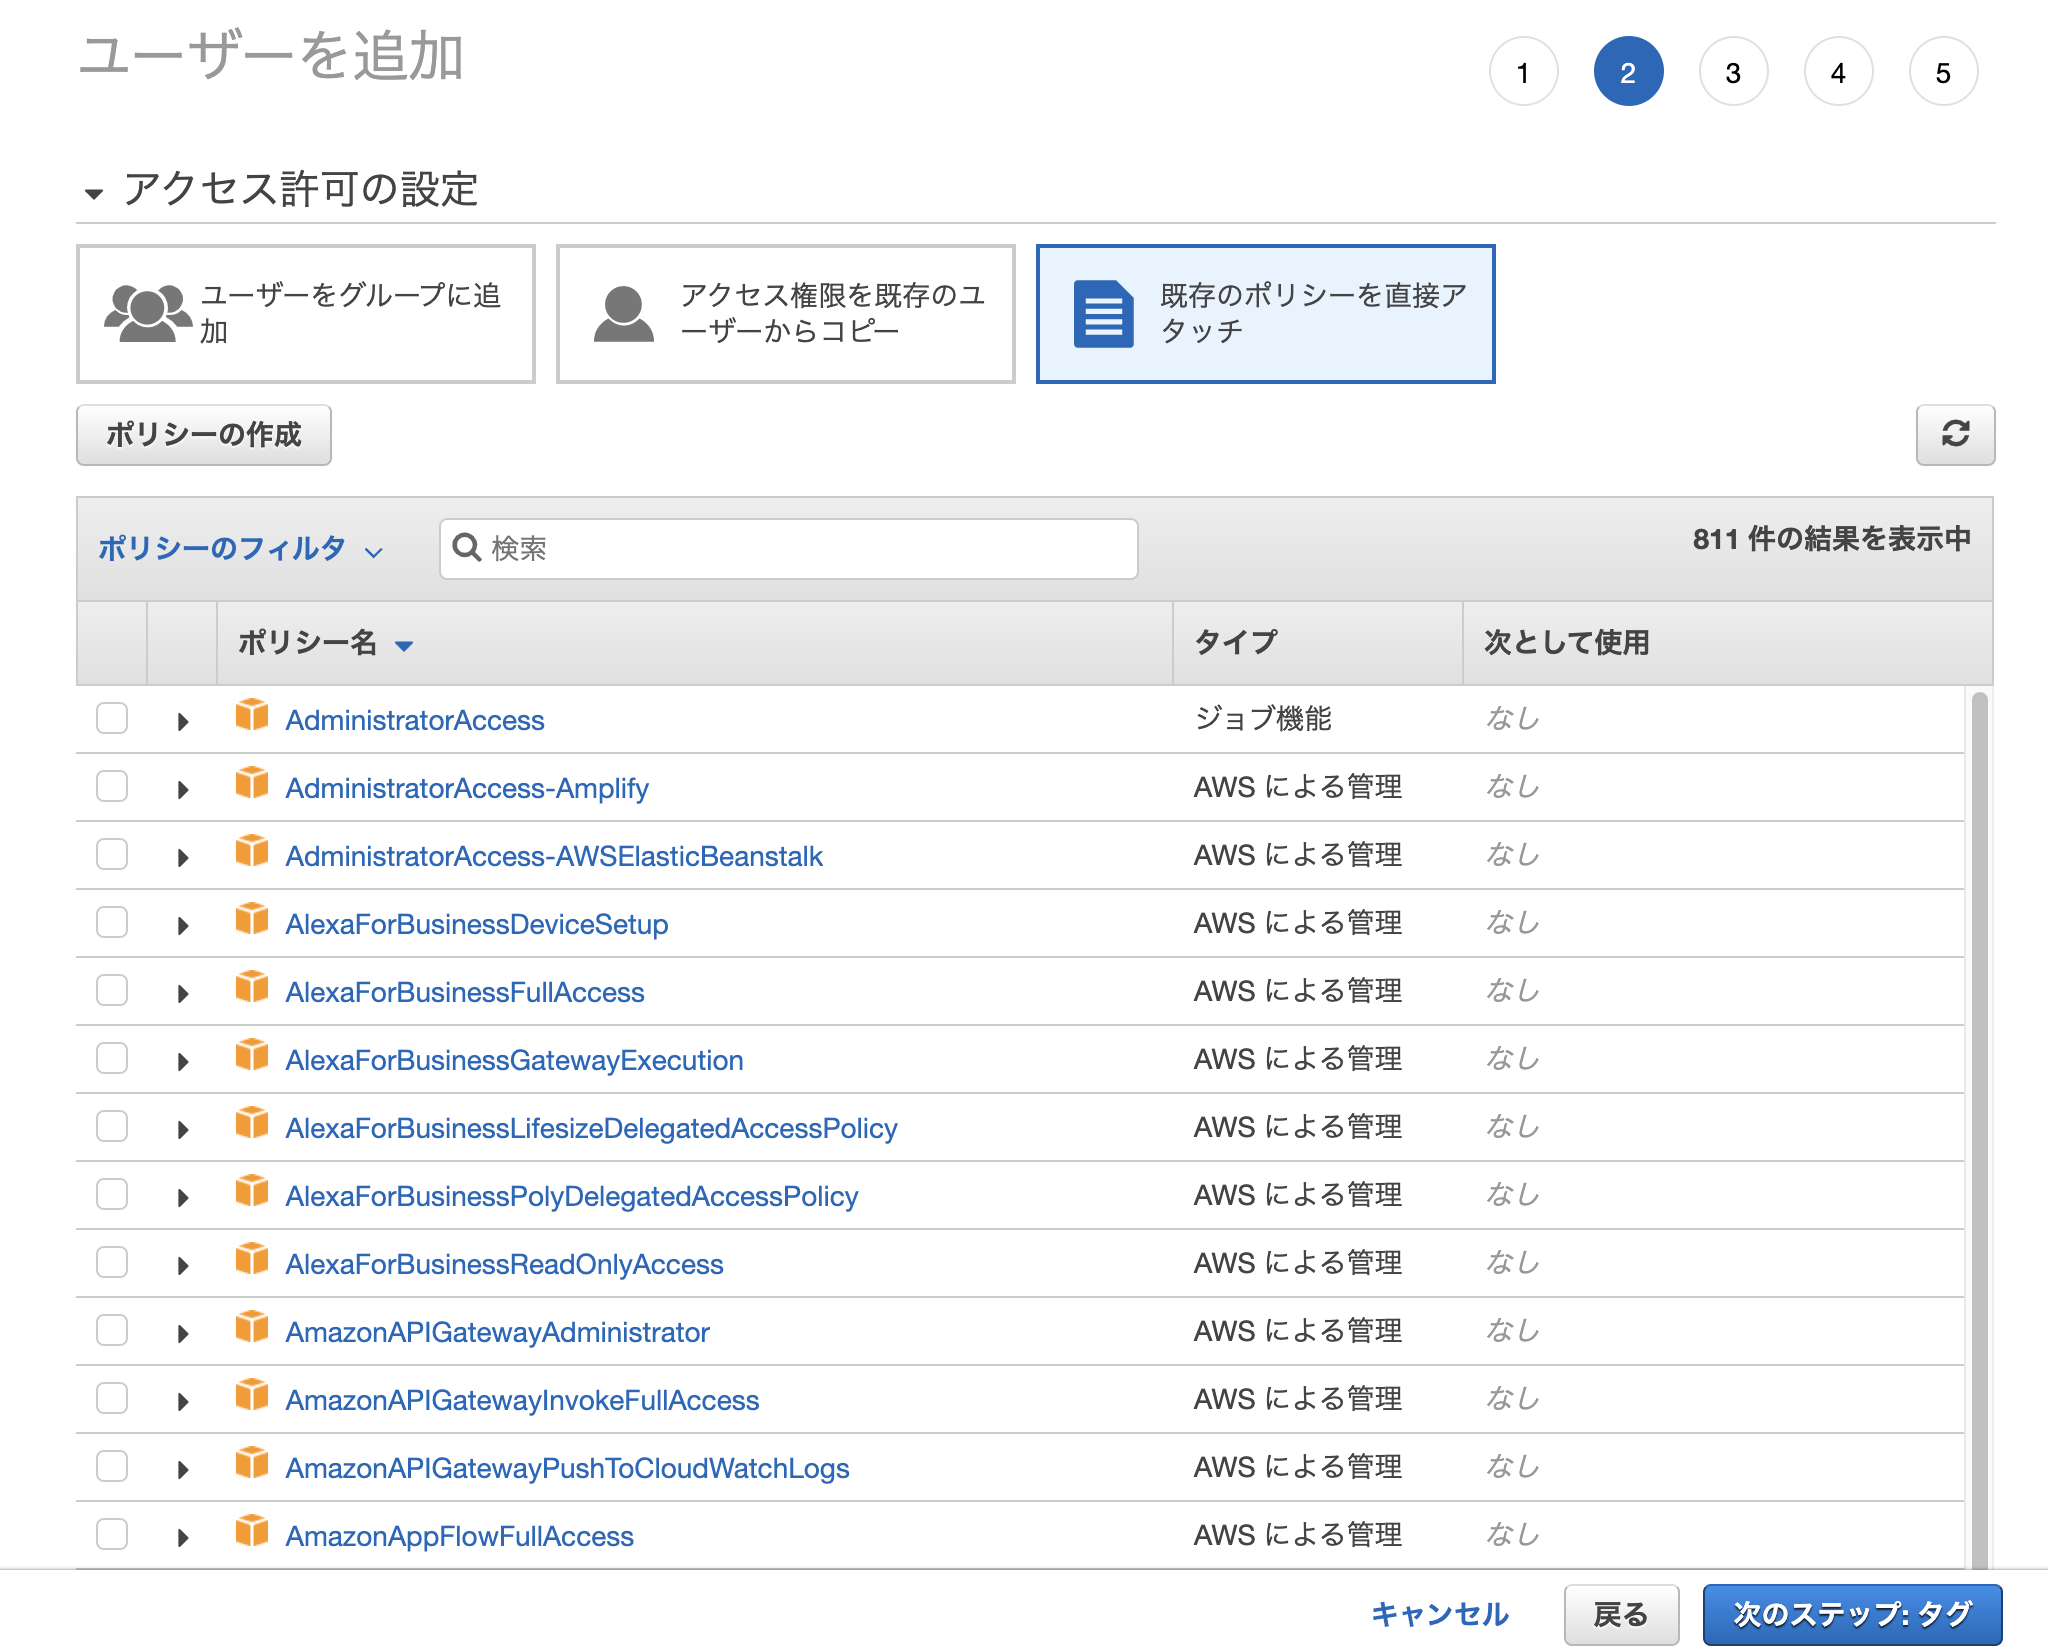
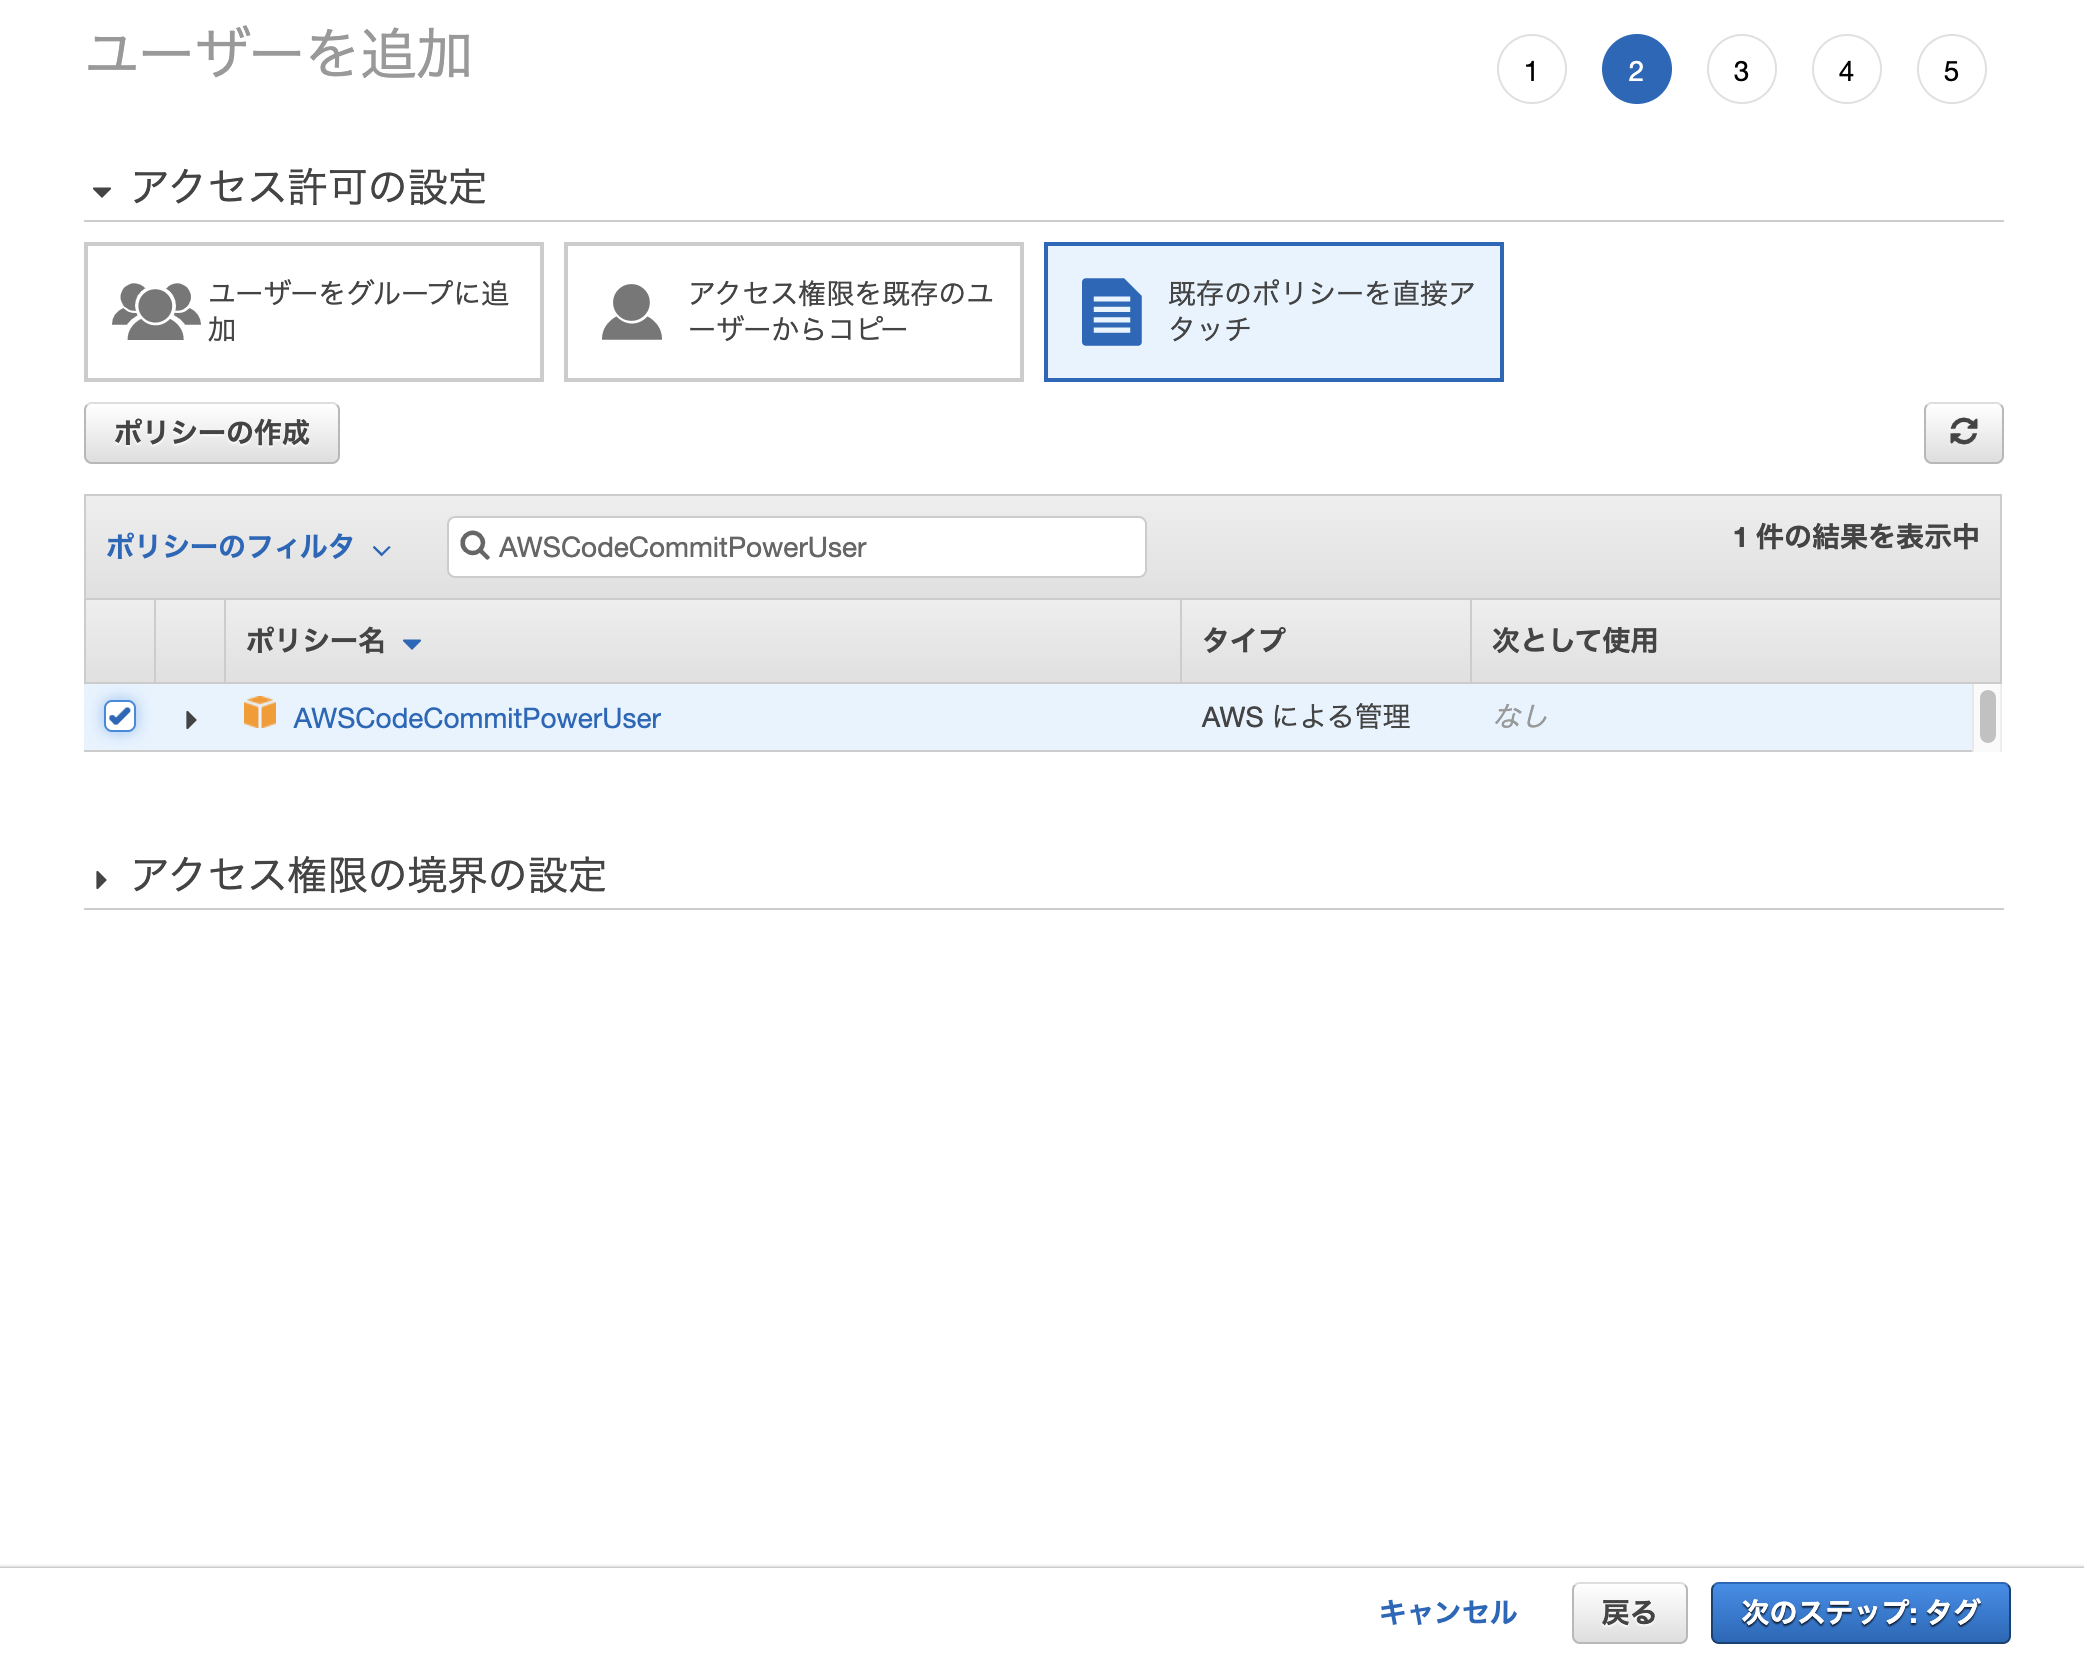
既存のポリシーを直接アタッチ を選択
AWSCodeCommitPowerUser をつけてユーザーを作成
ssh key を作成
 ssh-keygen -f ./codecommit-sample-key
Generating public/private rsa key pair.
Enter passphrase (empty for no passphrase):今回は空白
Enter same passphrase again:今回は空白
Your identification has been saved in ./codecommit-sample-key
Your public key has been saved in ./codecommit-sample-key.pub
認証情報の追加
ユーザー画面からユーザー名をクリック。
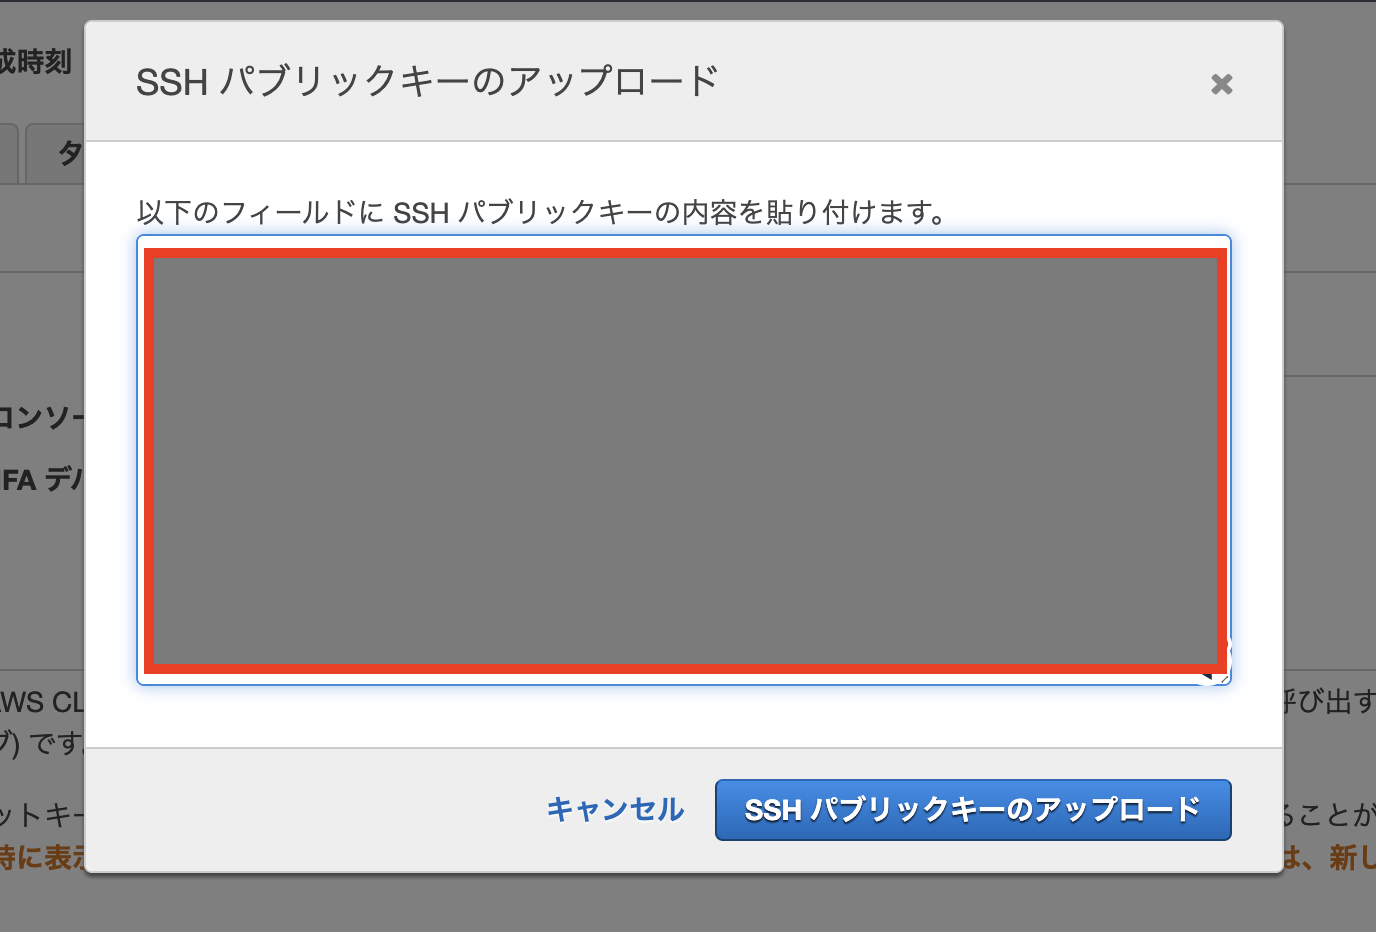
先ほど作成した、codecommit-sample-key.pub の中身を貼り付け。
SSH パブリックキーのアップロード をクリック。
SSH キーID をコピーしておく。
ssh config に設定
vim ~/.ssh/config

#  下記設定を追記
Host git-codecommit.*.amazonaws.com
    User              [SSHキーID]
    IdentityFile      [プライベートキーのパス (例)~/.ssh/test_repo]
git clone を試す
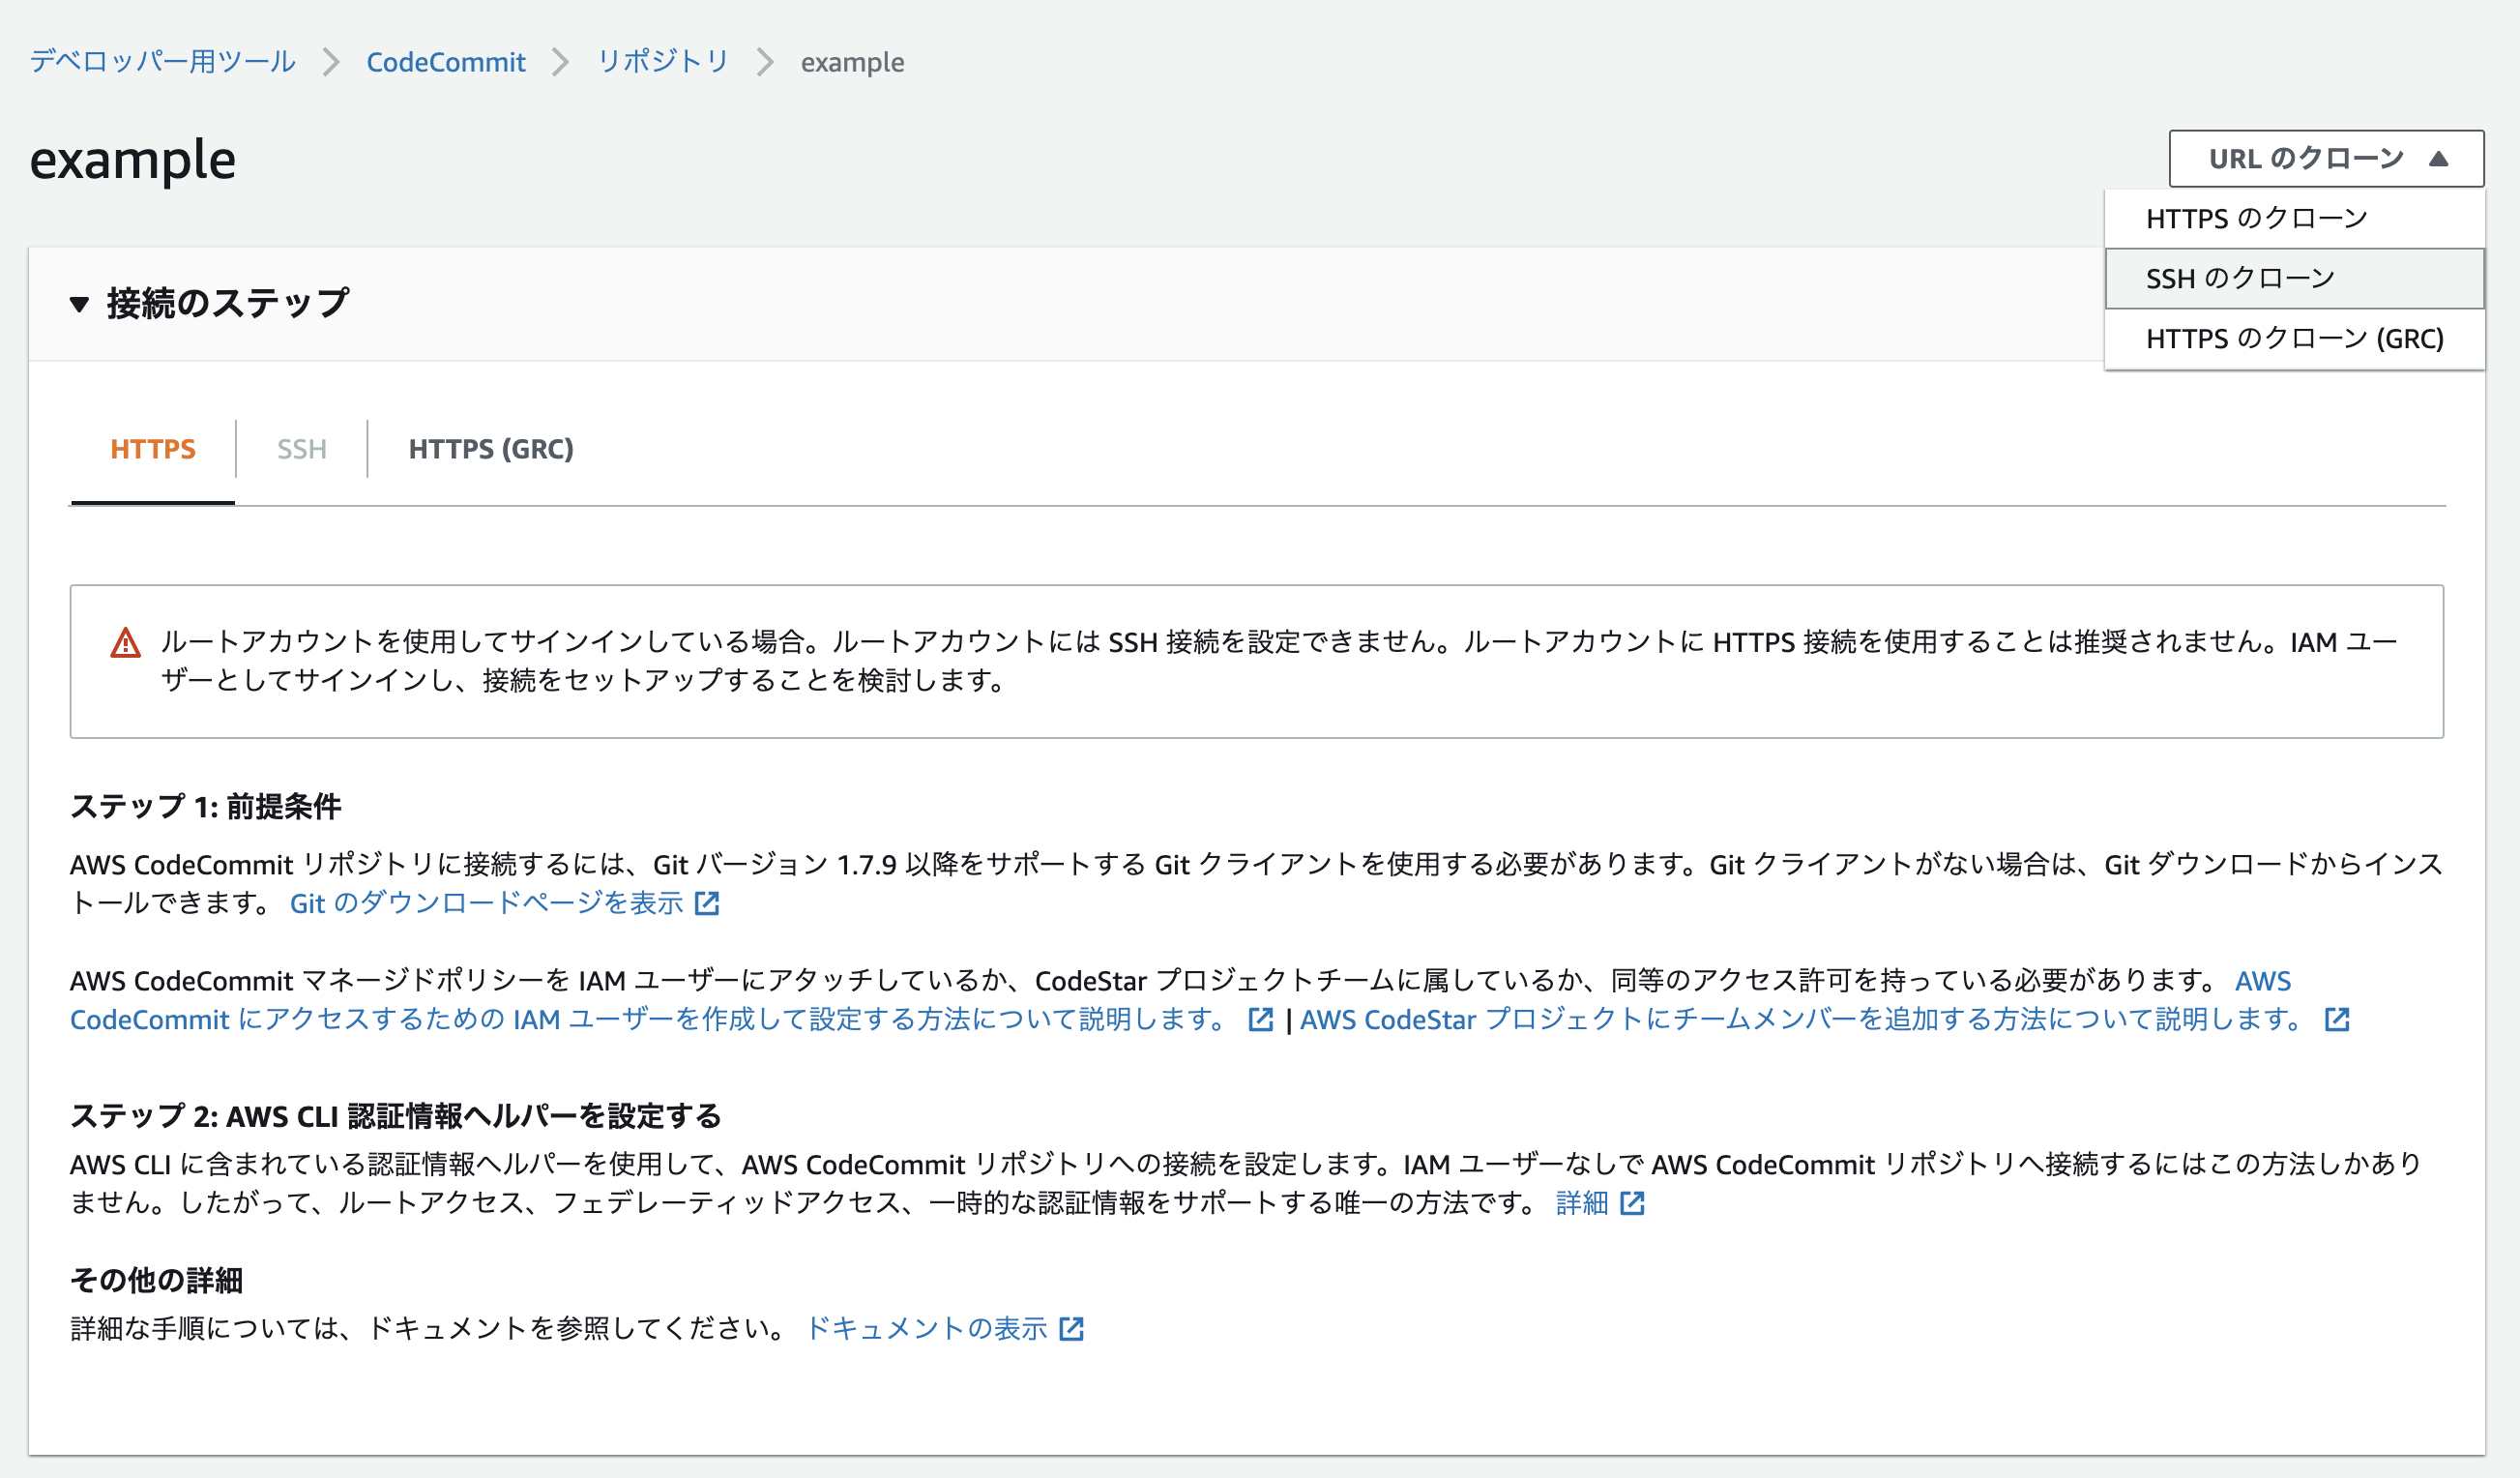
CodeCommit の SSH のクローンで接続情報こコピーしておく
git clone ssh://git-codecommit.ap-northeast-1.amazonaws.com/v1/repos/example
前回作成したファイルをディレクトリ配下に移動させて、push してみる。
ls -l
total 8
drwxr-xr-x  3 kakiuchi  staff   96 11  6 17:03 css
-rw-r--r--@ 1 kakiuchi  staff  252 11  6 13:43 index.html
git push origin master
Warning: Permanently added 'git-codecommit.ap-northeast-1.amazonaws.com' (RSA) to the list of known hosts.
Enumerating objects: 5, done.
Counting objects: 100% (5/5), done.
Delta compression using up to 8 threads
Compressing objects: 100% (3/3), done.
Writing objects: 100% (5/5), 515 bytes | 515.00 KiB/s, done.
Total 5 (delta 0), reused 0 (delta 0), pack-reused 0
To ssh://git-codecommit.ap-northeast-1.amazonaws.com/v1/repos/example
 * [new branch]      master -> master
リポジトリにファイルが上がっているのがわかる。
CodePipeline でデプロイを行う
CodeCommit に push されたタイミングで自動デプロイされるように設定していきます。
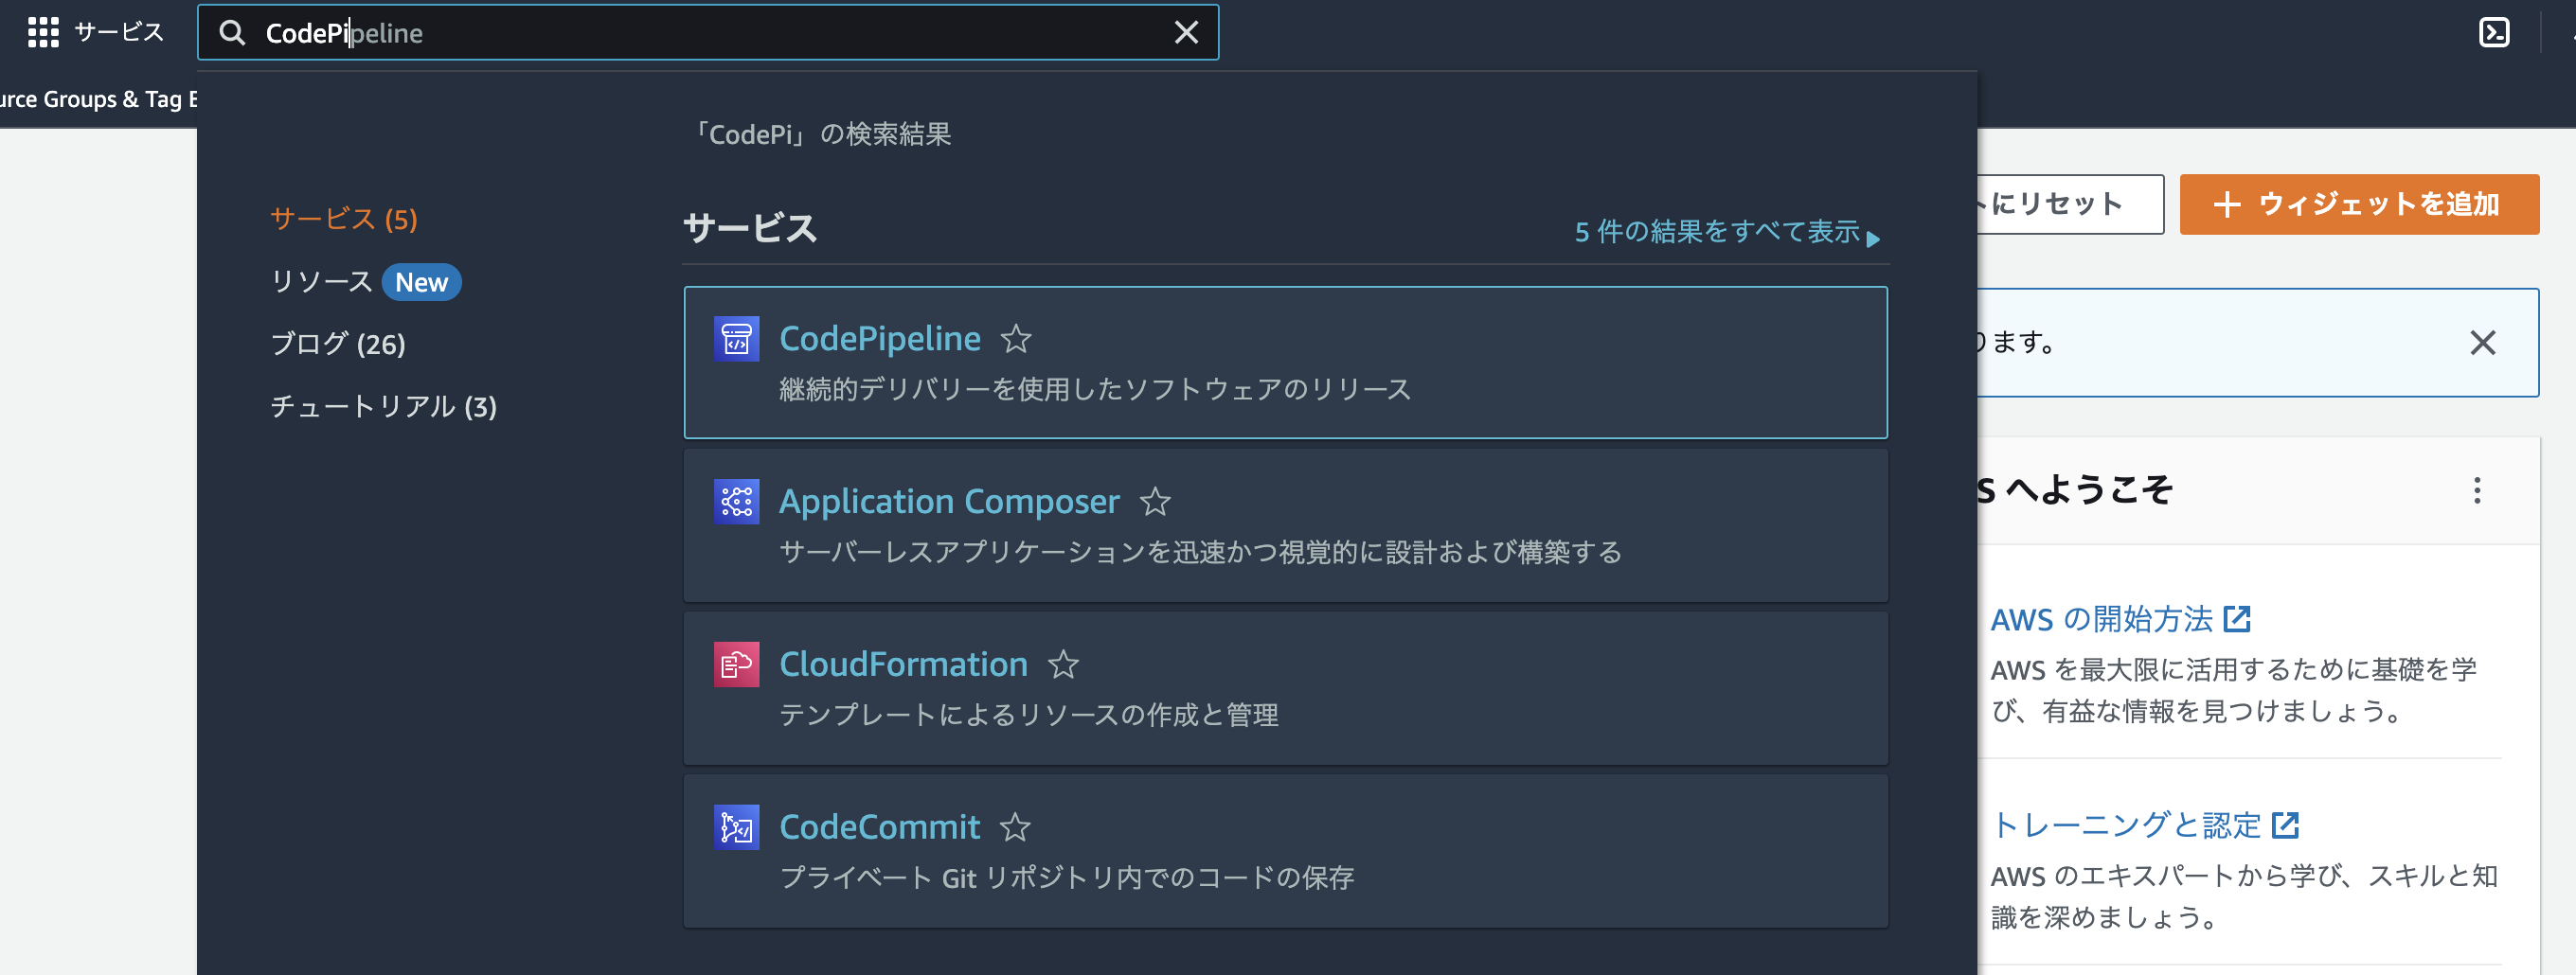
CodePipeline のコンソールを開く。
パイプラインを作成する をクリック。
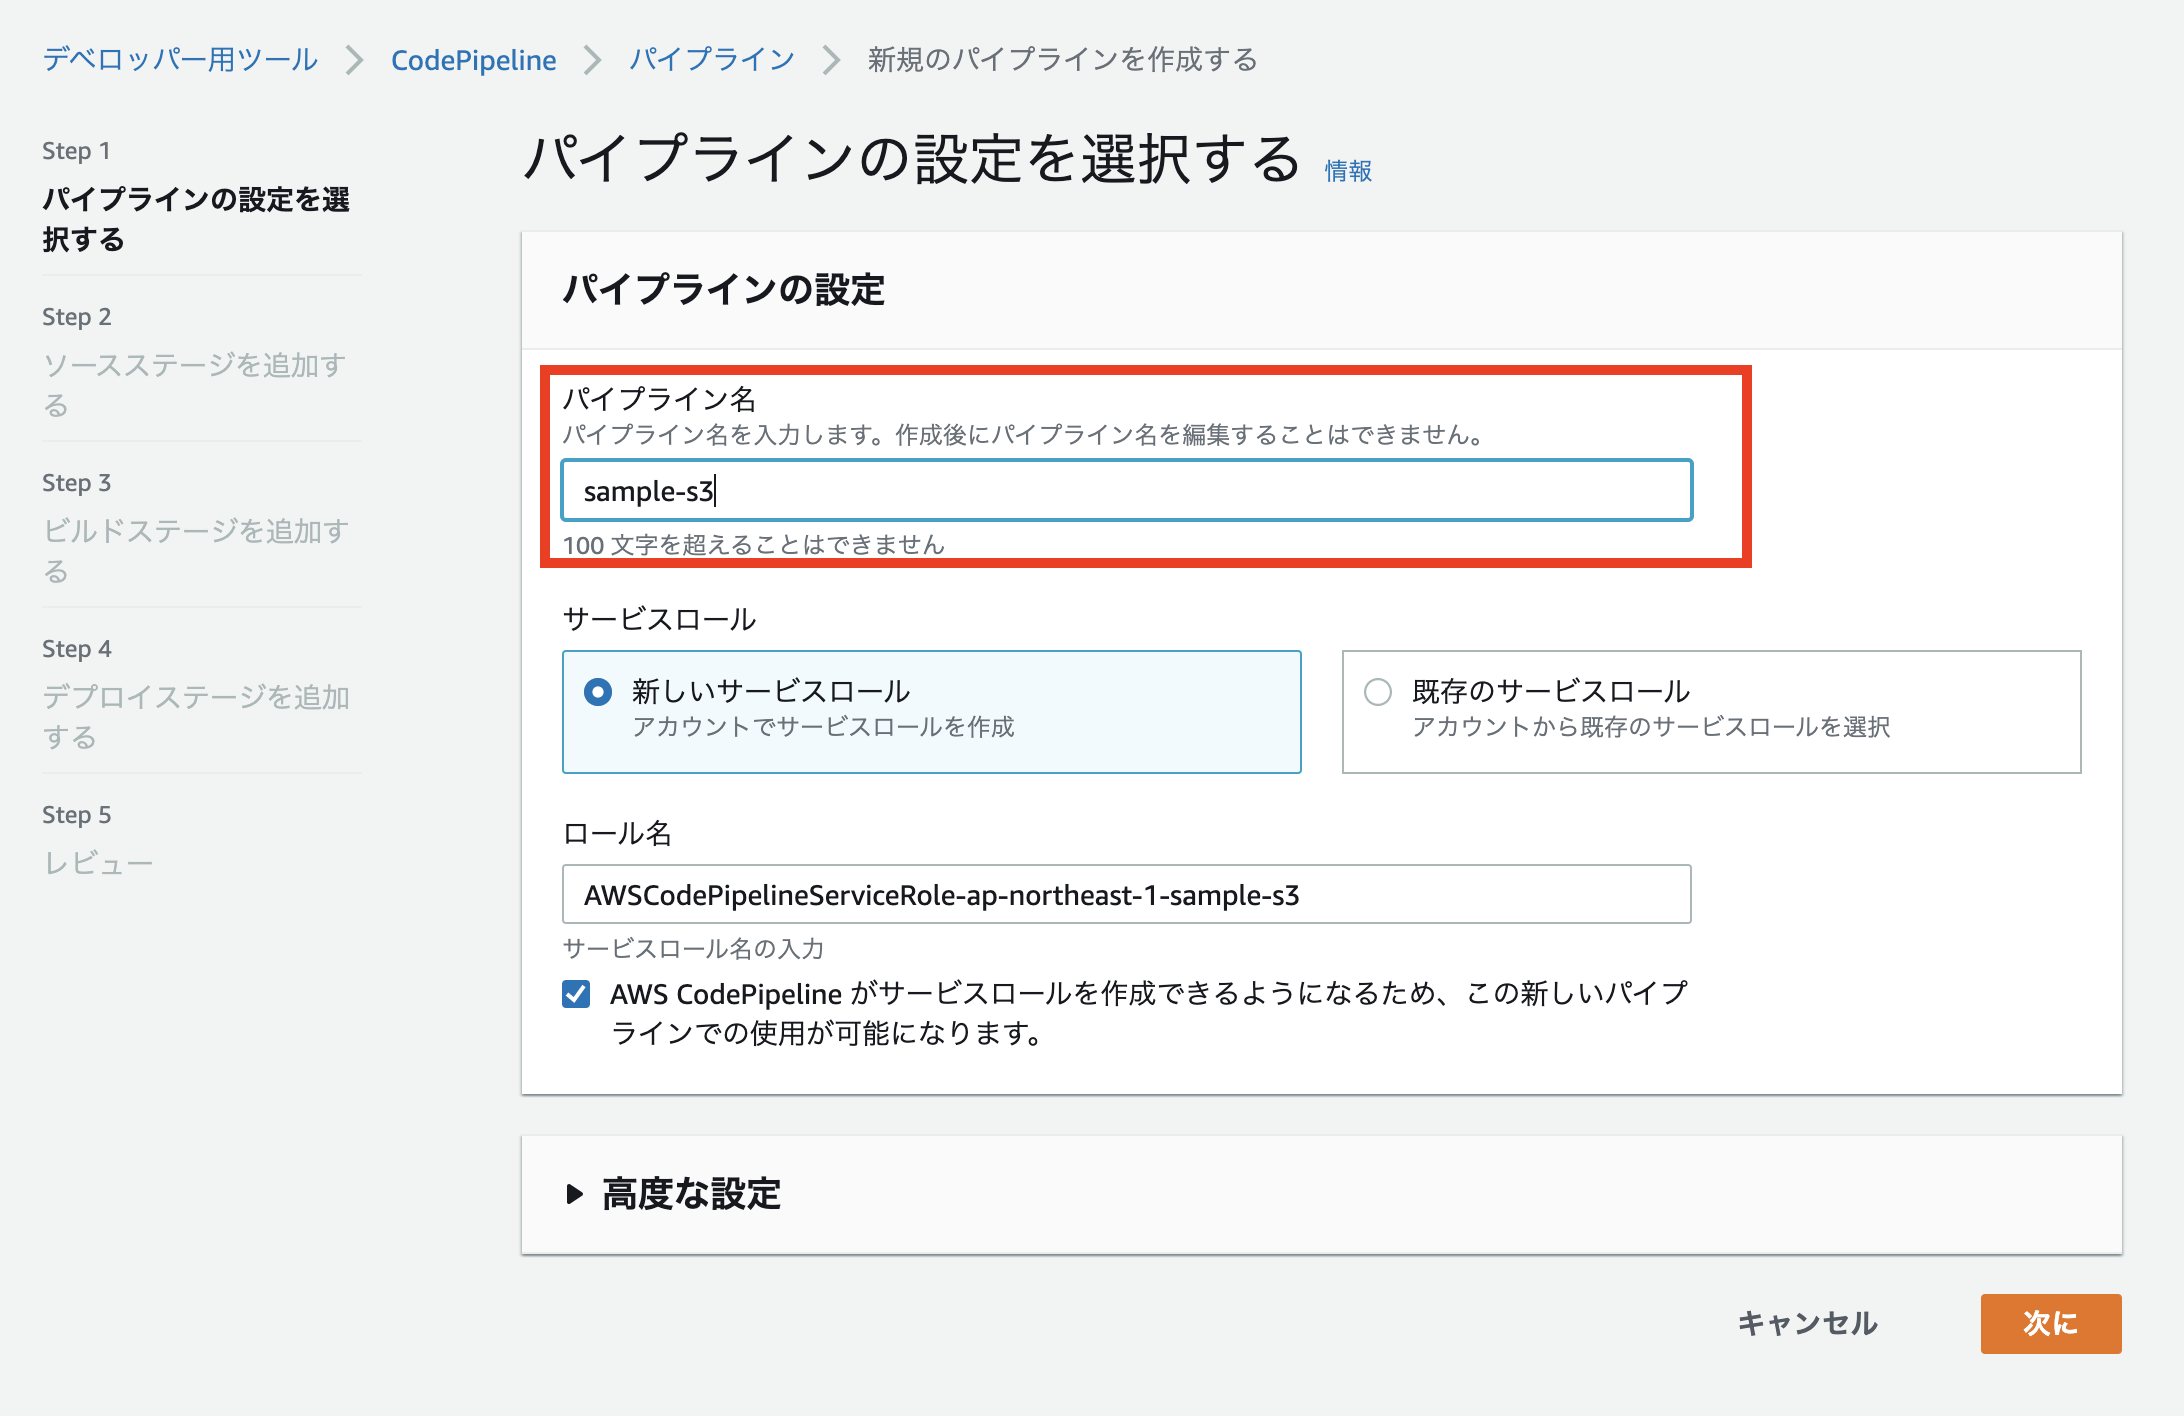
パイプライン名を入力し、次に をクリック
-
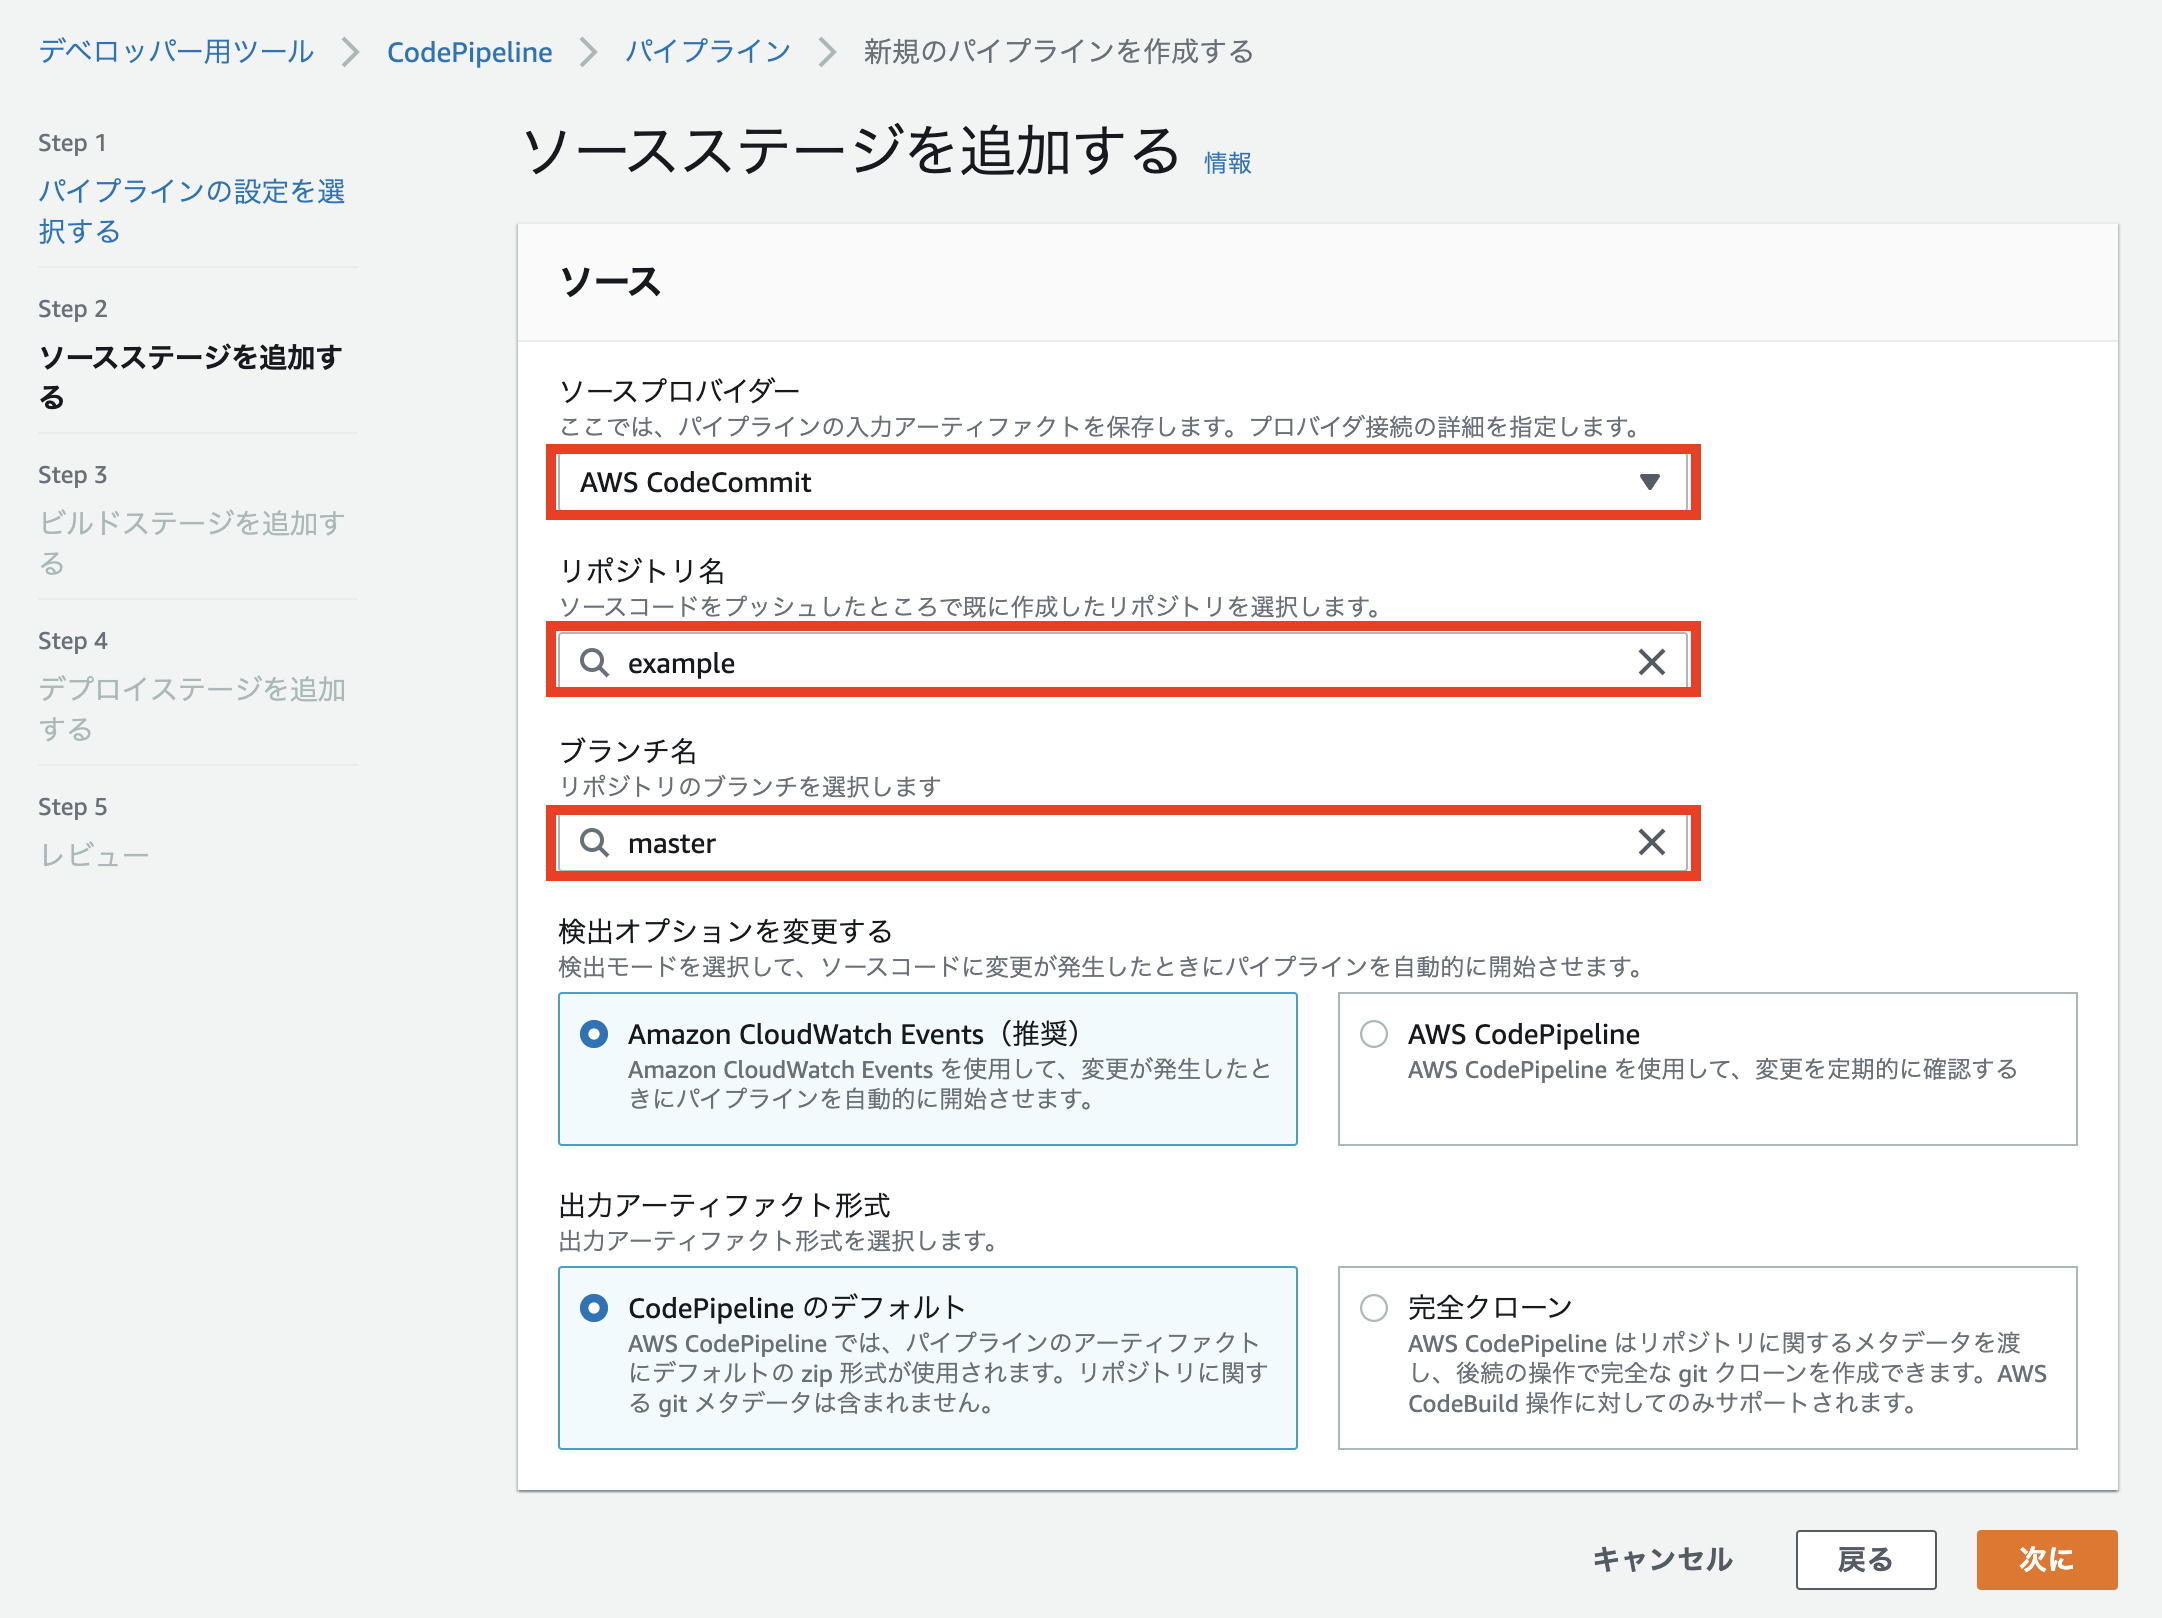
ソースプロバイダーをAWS CodeCommit -
リポジトリ名を先ほど作成したブランチ名 -
ブランチ名をデプロイに使用したいブランチ名
に設定し、次にをクリック
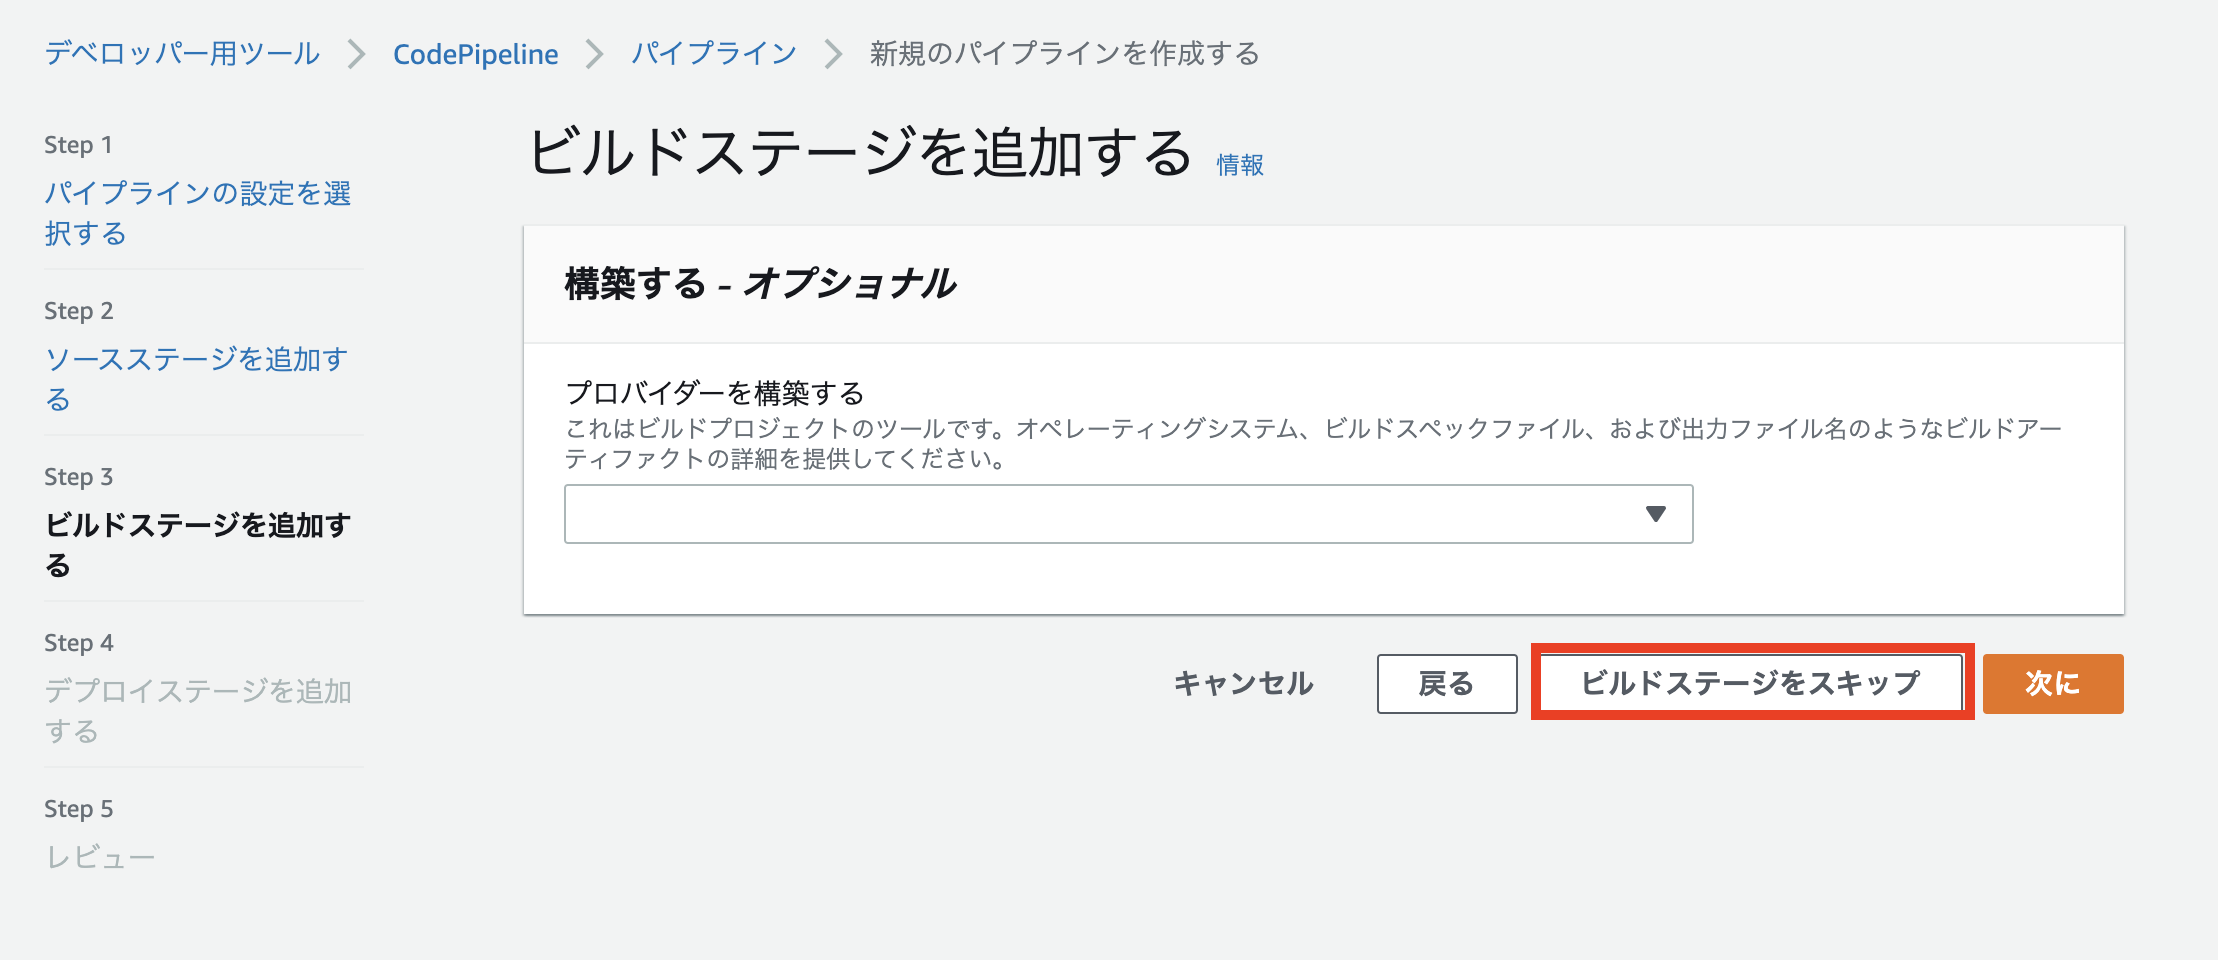
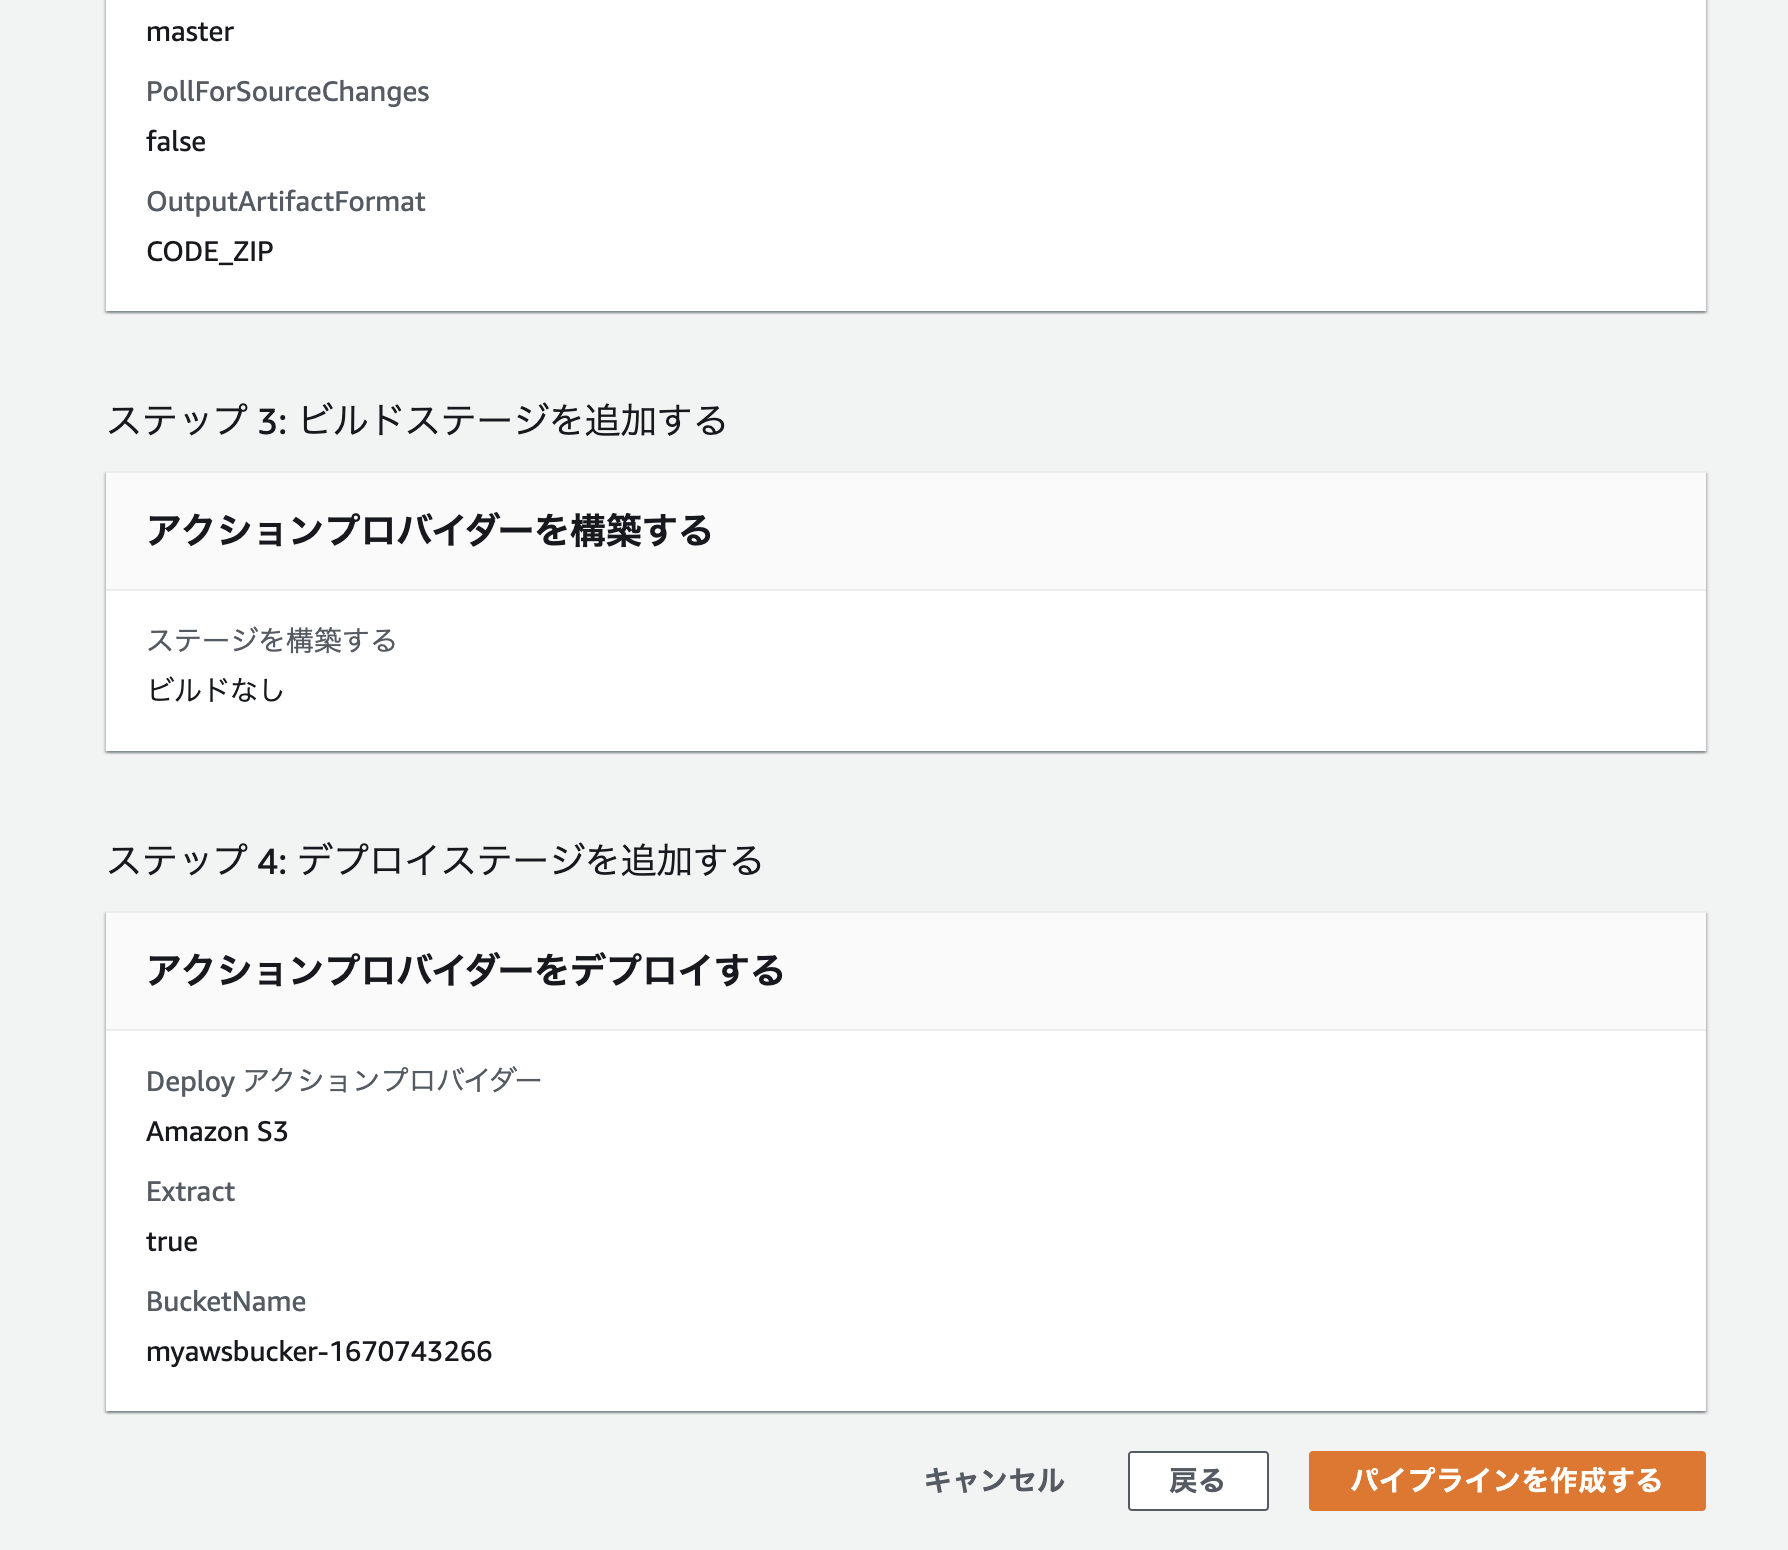
今回ビルドステージは必要ないので、ビルドステージをスキップをクリック
-
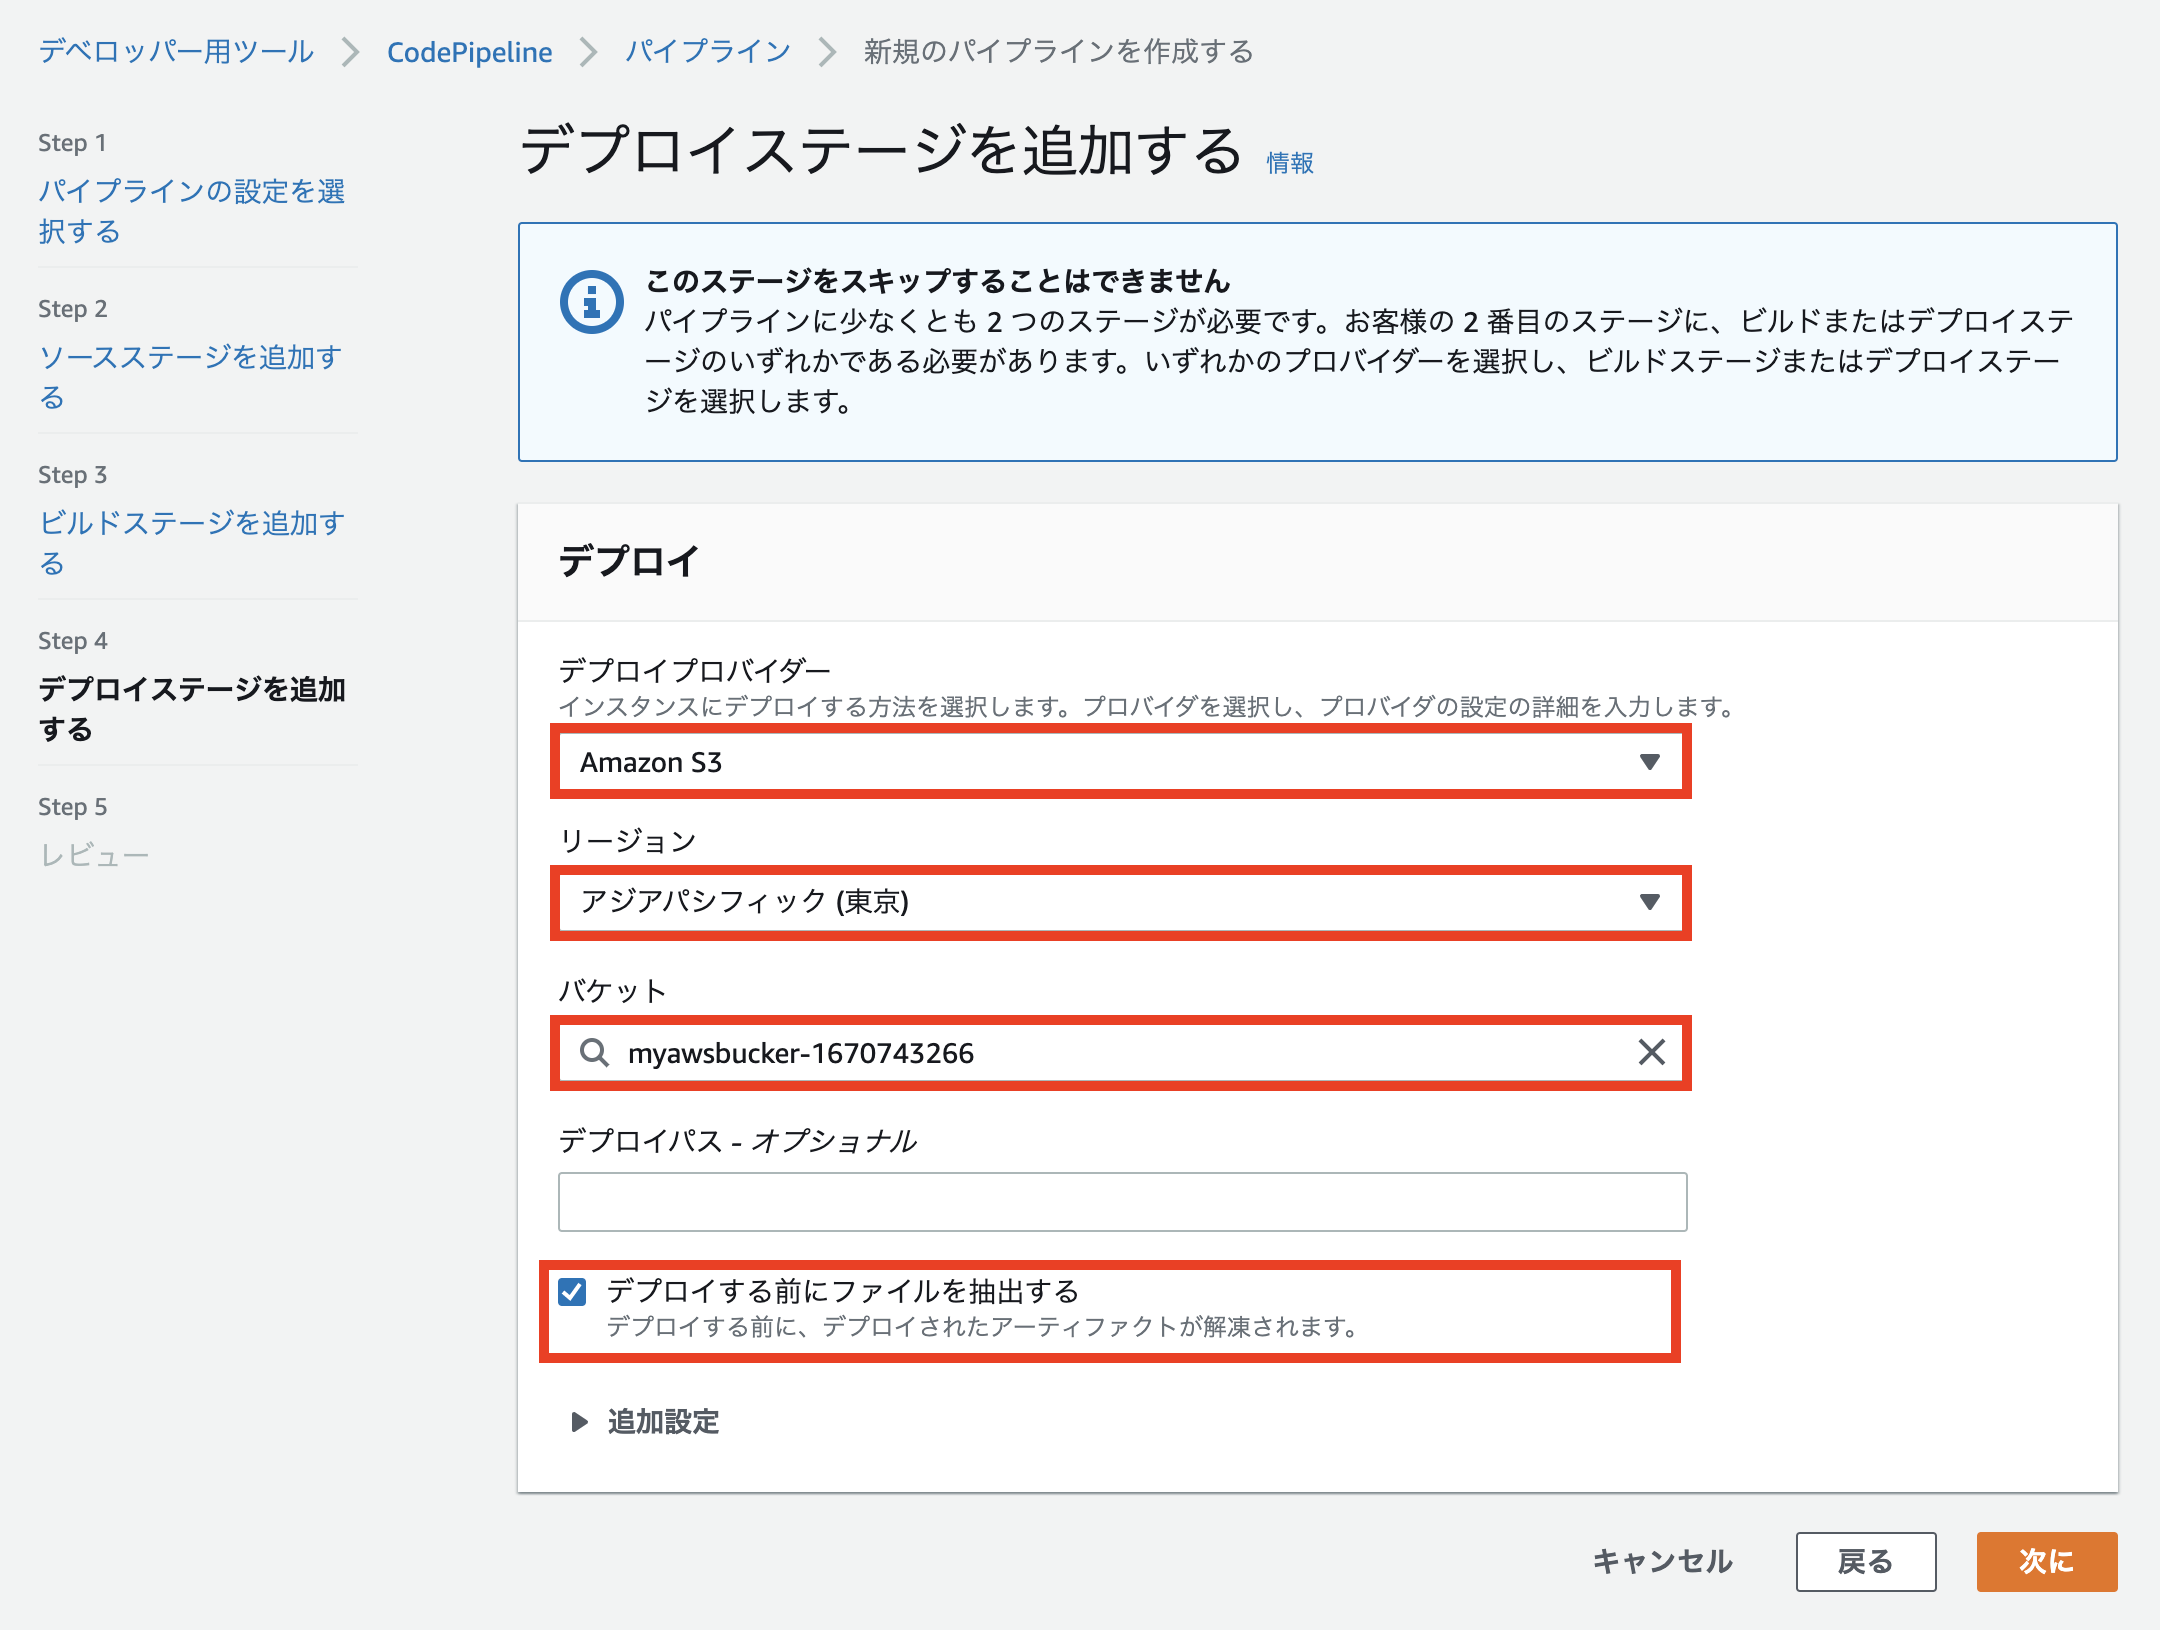
デプロイプロバイダーをAmazon S3に設定 - 作成したパケットのリージョンとバケット名を選択
-
デプロイする前にファイルを抽出するにチェックを入れる
上記の設定ができれば 次に をクリック
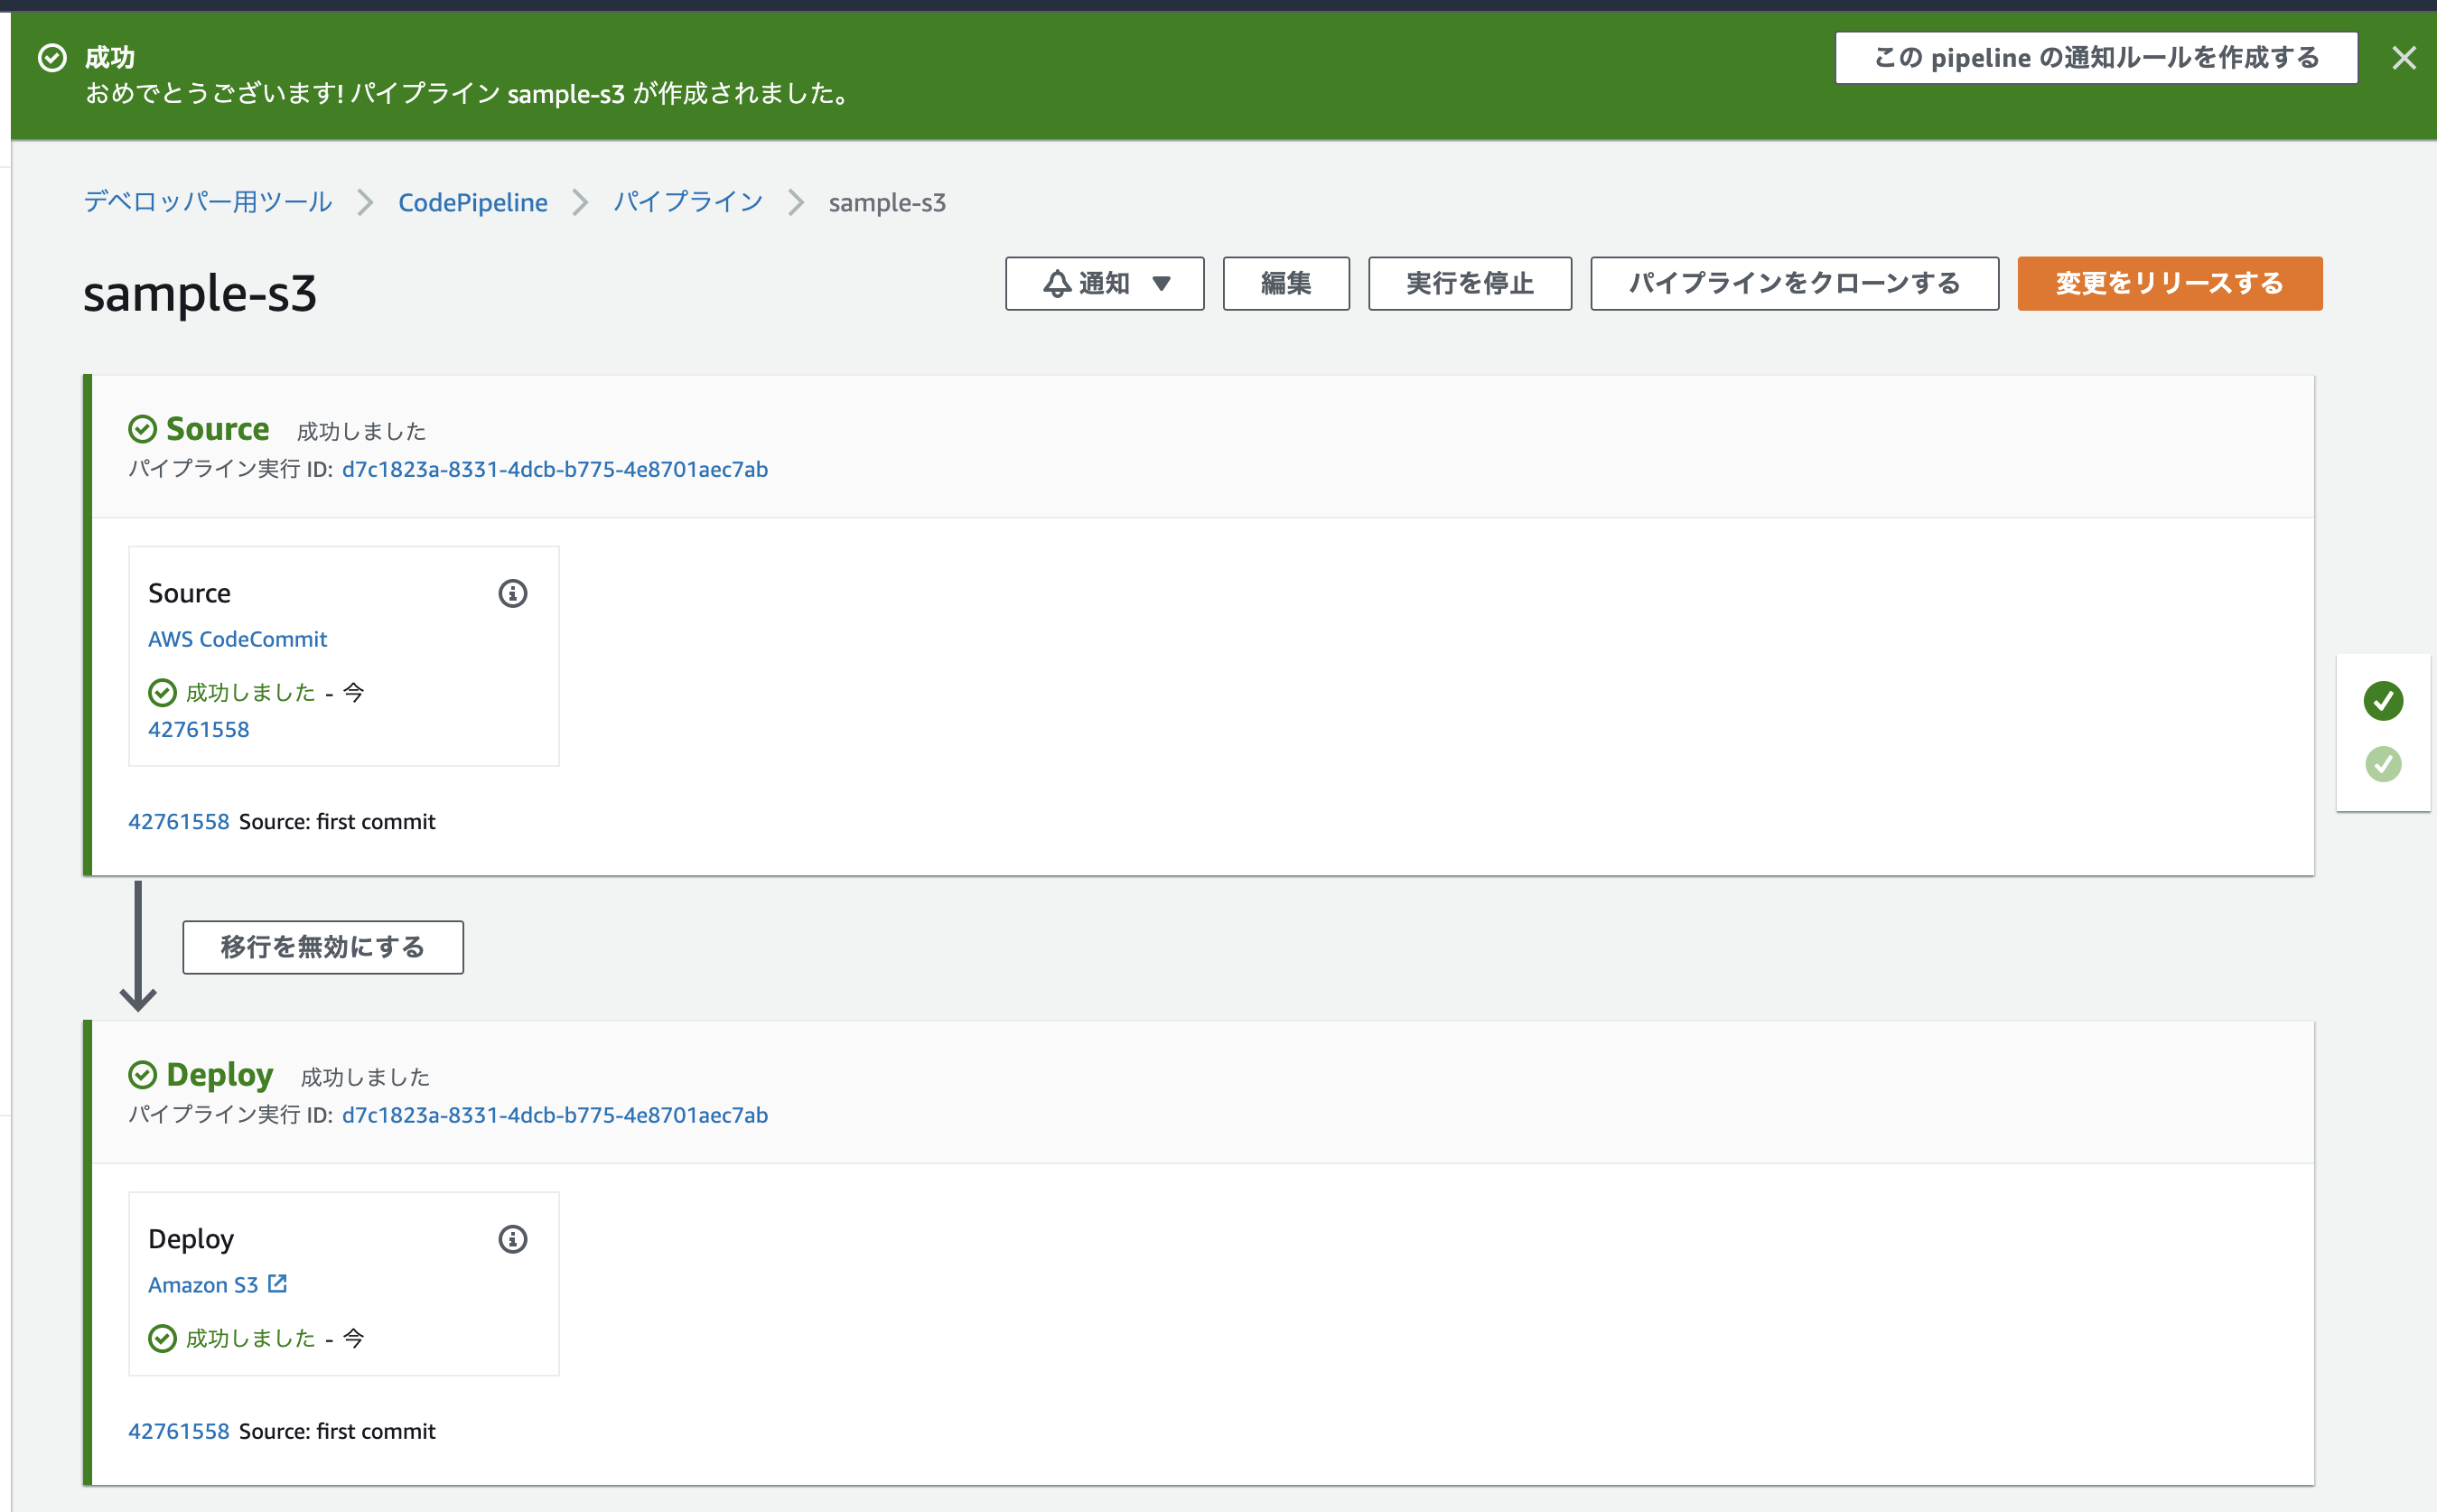
パイプラインを作成する をクリック
パイプラインが生成され、初回のデプロイが走る
この時点ではコードに変更はないので当然画面もそのまま
編集したコードを push してデプロイしてみる
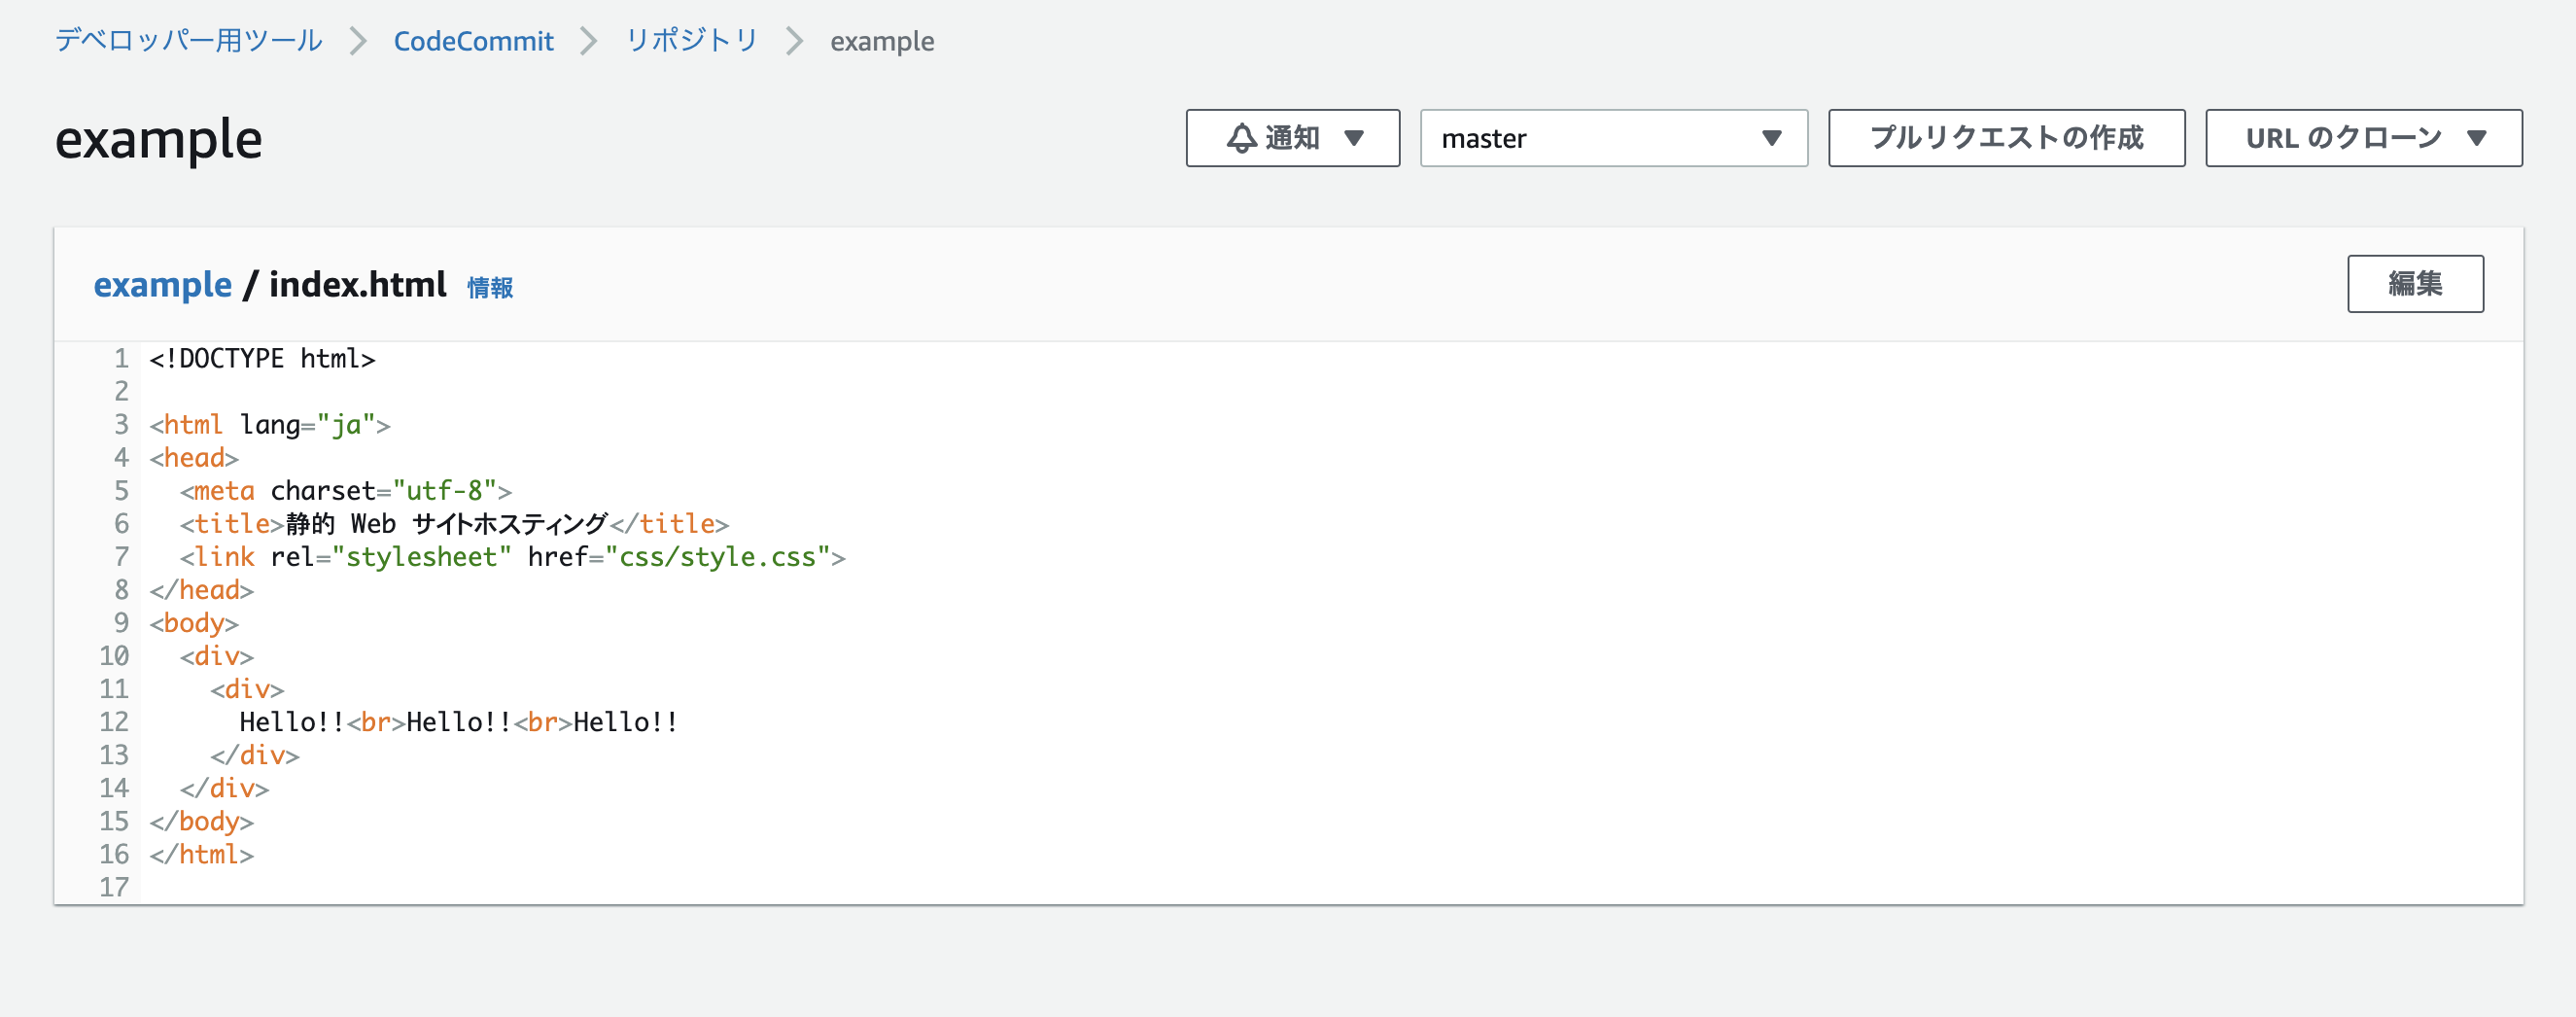
index.html を編集する
<!DOCTYPE html>

<html lang="ja">
<head>
  <meta charset="utf-8">
  <title>静的 Web サイトホスティング</title>
  <link rel="stylesheet" href="css/style.css">
</head>
<body>
  <div>
    <div>
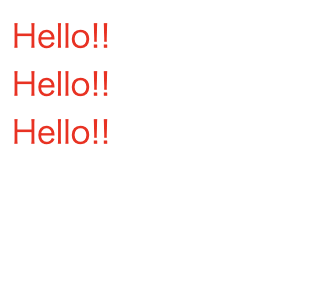
      Hello!!<br>Hello!!<br>Hello!!
    </div>
  </div>
</body>
</html>
CodeCommit へ push
$ git add index.html

$ git commit -m "test commit"

$ git push origin master
CodeCommit
CodeCommit のリポジトリのコードが更新されている
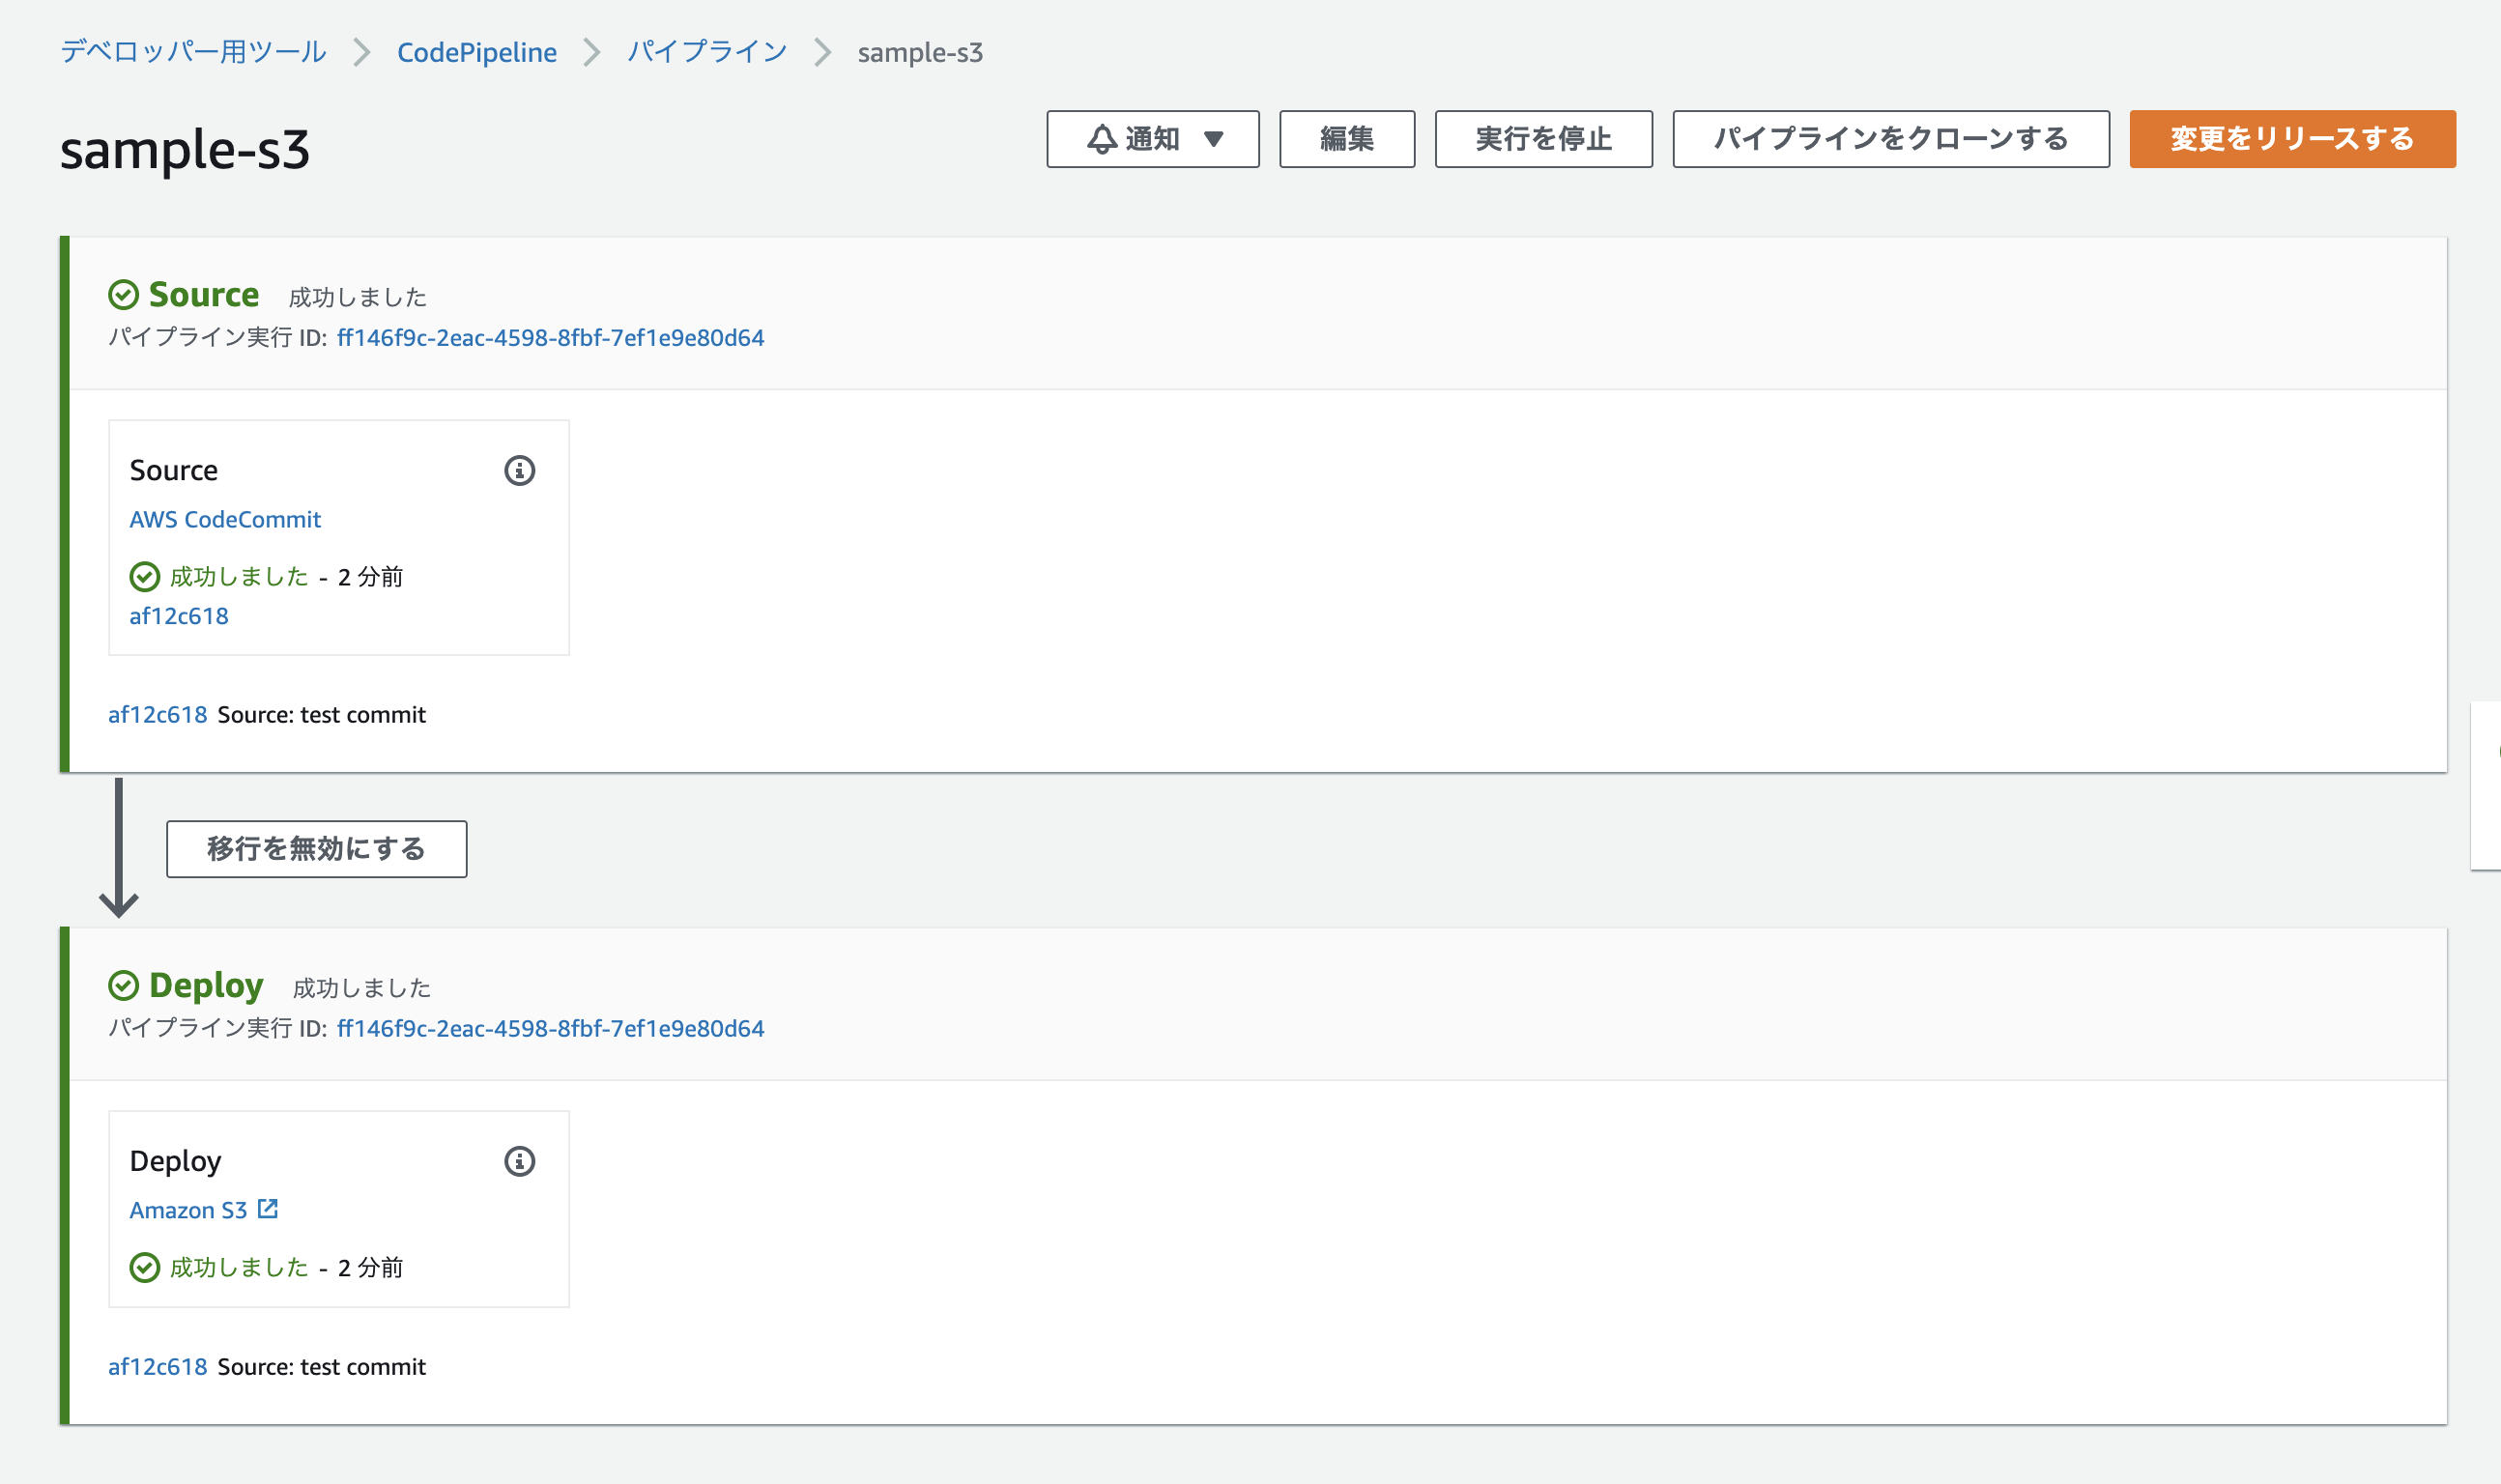
CodePipeline
Deploy が成功している
サイト
ホスティングしているサイトも更新されている
(キャッシュが残っていたら反映まで少し時間がかかるかも)
おわり
明日は yukiの Next についての記事になります!
yuki は普段から Next を触っているので、どんな記事を書いてくれるのか楽しみです!!
