はじめに
本記事はPhoenix1.7をベースとして、Phoenixプロジェクトをネイティブアプリ化するライブラリElixirDesktopを使用し、
スマホアプリを作成する手順を紹介する記事になります
この記事では、環境セットアップと、iOS,Androidのビルド環境を整えます
ElixirDesktopでスマホアプリ作成シリーズ
- Phoenix1.7とElixirDesktopでスマホアプリ開発 セットアップ編
- Phoenix1.7とElixirDesktopでスマホアプリ開発 認証機能編
- Phoenix1.7とElixirDesktopでスマホアプリ開発 CRUD編
- Phoenix1.7とElixirDesktopでスマホアプリ開発 GPSと地図アプリ編
※2023/3/1 Phoenix 1.7が正式版がリリースされたので修正しました
ElixirDesktopについて
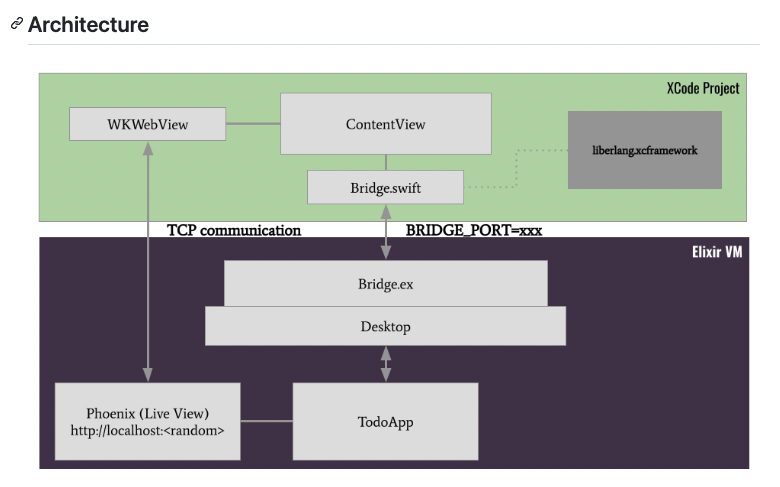
ElixirDesktopはネイティブ環境(iOS, Android)でPhoenixサーバーを起動し、WebViewで画面を表示するするアーキテクチャをとっています
Phoenix 1.7について
大きな変更として以下がありました
- デフォルトCSSがTawilwindになった
- phx.gen.auth のLiveView化
- .form以外のデフォルトのHeexのコンポーネントの追加
- パスのヘルパー機能にverified_routesが追加
verified_routesについては以下で記事にしています
実行環境
Elixir 1.14.1
Elrang 25.0.4
Phoenix 1.7.0
ElixirDesktop 1.4.2
setup
Erlang
こちらにそって ElixirDesktopにopensslをあわせたErlangをインストールします
一緒にxcodeでパッケージ管理ライブラリのcarthageもインストールします
brew install carthage openssl@1.1
export DED_LDFLAGS_CONFTEST="-bundle"
export KERL_CONFIGURE_OPTIONS="--without-javac --with-ssl=$(brew --prefix openssl@1.1)"
asdf install erlang 25.0.4
Phoenix
こちらに沿ってPhoenixを1.7.0-rcにします
1.7.0がリリースされたので以下で最新版がインストールされます
mix archive.install hex phx_new
アプリ構成
- 認証付き
- CRUD
- Headerコンポーネント
- BottomTabコンポーネント
- DBはPostgresql
Project作成
開発はiOS, Android, Phoenixの3つのプロジェクトを1つのフォルダで分けて開発します
わかりやすくするために一度phx.newしたあとにphoenixにリネームします
mkdir spotties
cd spotties
mix phx.new spotties
mv spotties phoenix
cd phoenix
mix ecto.create
gitはプロジェクト毎にしたほうが管理が楽なのでphoenix以下でgit initします
git init
git add .
git commit -m 'init'
iex -S mix phx.server
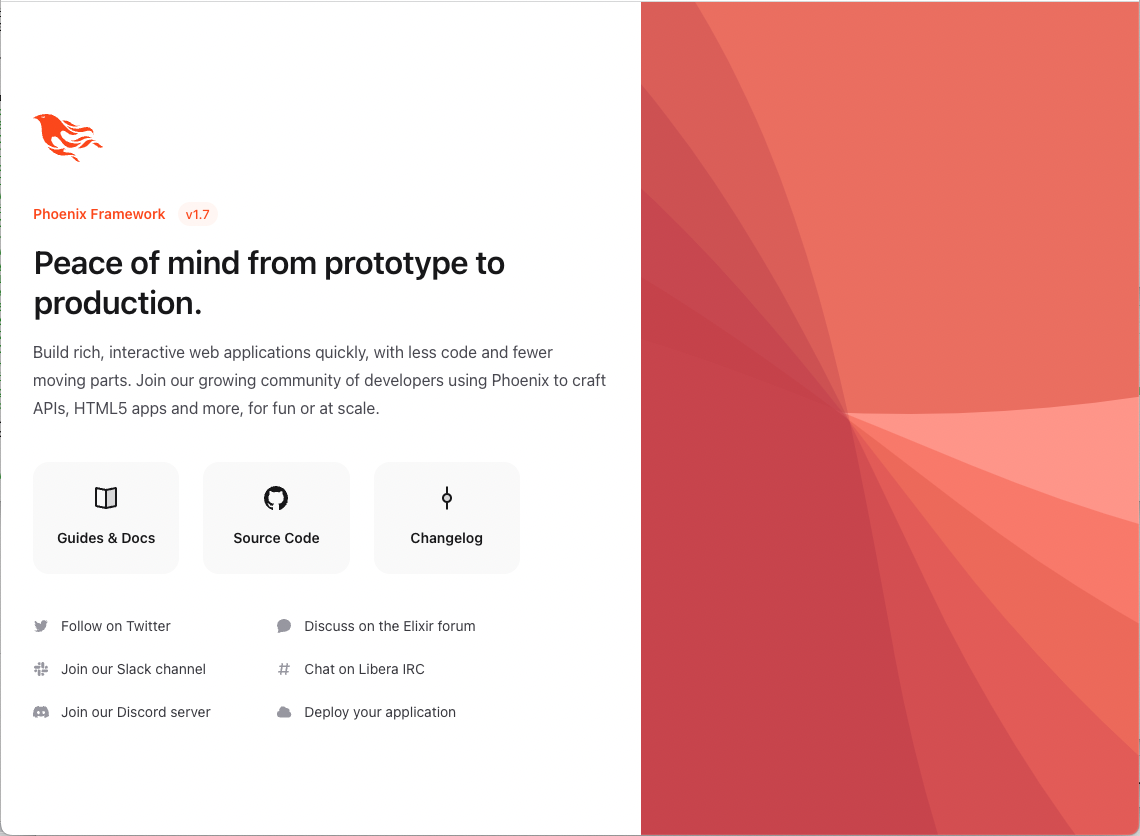
localhost:4000にアクセスしてPhoenix 1.7.0が無事起動することが確認できました
Desktop化
こちらに沿ってやっていきます
https://qiita.com/the_haigo/items/0fd907d24fdde1905aa2
depsにdesktopとスマホ用にwxを追加します
defmodule Spotties.MixProject do
  use Mix.Project
  defp deps do
    [
     ...,
     {:desktop, "~> 1.5"},
     {:wx, "~> 1.1", hex: :bridge, targets: [:android, :ios]}
    ]
  end
end
mix deps.get
もとからあるapplication.exを残して起動時のsupervisor周りを設定します
サンプルに習って設定ファイル等を保存するconfig_dirを掘る処理も追加します
defmodule Spotties do
  use Application

  def config_dir() do
    Path.join([Desktop.OS.home(), ".config", "spotties"])
  end

  @app Mix.Project.config()[:app]
  def start(:normal, []) do
    File.mkdir_p!(config_dir())
    # DB周り
    {:ok, sup} = Supervisor.start_link([Spotties.Repo], name: __MODULE__, strategy: :one_for_one)
    # PubSubとEndpoint,session周り
    {:ok, _} = Supervisor.start_child(sup, SpottiesWeb.Sup)
    # Desktop周り
    port = :ranch.get_port(SpottiesWeb.Endpoint.HTTP)
    {:ok, _} =
      Supervisor.start_child(sup, {
        Desktop.Window,
        [
          app: @app,
          id: SpottiesWindow,
          title: "Spotties",
          size: {400, 800},
          url: "http://localhost:#{port}"
        ]
      })
  end
end
※ 2023/3/2追記
urlのport部分を4000にするとElixirDesktopのPhoenixではなく、ローカルのPhoenixにアクセスしてくれるのでエミュレータ等での開発はこちらが良いかと思います
defmodule SpottiesWeb.Sup do
  use Supervisor

  def start_link([]) do
    Supervisor.start_link(__MODULE__, [], name: __MODULE__)
  end

  def init([]) do
    children = [
      {Phoenix.PubSub, name: Spotties.PubSub},
      SpottiesWeb.Endpoint
    ]

    :session = :ets.new(:session, [:named_table, :public, read_concurrency: true])
    Supervisor.init(children, strategy: :one_for_one, max_restarts: 1000)
  end
end
EndpointをPhoenixからDesktopに変えて Endpoint.urlがなくなったのでEndpointはそのままにして、session管理をcookieからetsに変更します
defmodule SpottiesWeb.Endpoint do
  use Phoenix.Endpoint, otp_app: :spotties

  @session_options [
    store: :ets,
    key: "_spotties_key",
    table: :session
  ]
  ...
end
作成したら mix.exsで起動させるモジュールを変更します
defmodule Spotties.MixProject do
  use Mix.Project

  def application do
    [
-      mod: {Spotties.Application, []},
+      mod: {Spotties, []},
      extra_applications: [:logger, :runtime_tools]
    ]
  end
end
Desktopで起動
開発を行うdev環境として、wxwidgetsの設定をします
server: trueを追加します
config :spotties, SpottiesWeb.Endpoint,
  # Binding to loopback ipv4 address prevents access from other machines.
  # Change to `ip: {0, 0, 0, 0}` to allow access from other machines.
  http: [ip: {127, 0, 0, 1}, port: 4000],
  ...,
  server: true # 追加
以下で起動します
iex -S mix
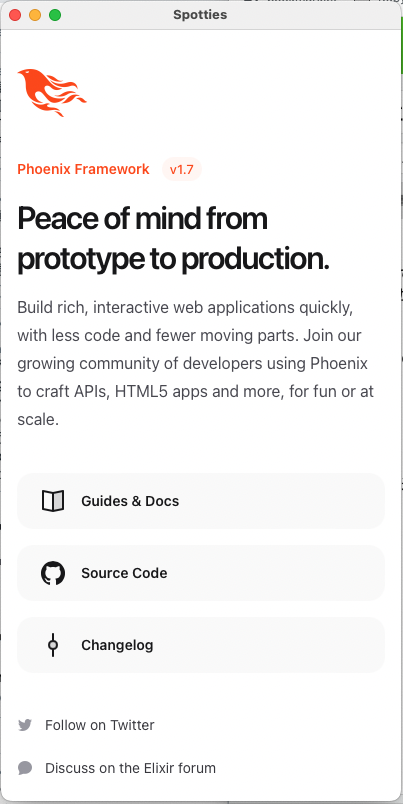
ホットリロードはできますが、リロードボタンがないのでホットリロードされないエラーになった場合は再起動が必要です
iOS,Android共通設定
runtime.exがあると起動に失敗するので runtime_disable.exにリネームします
スマホは prod環境で動かすので config/prod.exにDBとEndpointの設定を追加します
config :spotties, Spotties.Repo,
  username: "postgres",
  password: "postgres",
  database: "spotties_dev",
  stacktrace: true,
  show_sensitive_data_on_connection_error: true,
  pool_size: 10

if Mix.target() == :ios do
  config :spotties, Spotties.Repo, hostname: "127.0.0.1"
end

if Mix.target() == :android do
  config :spotties, Spotties.Repo, hostname: "10.0.2.2"
end

config :spotties, SpottiesWeb.Endpoint,
  http: [ip: {127, 0, 0, 1}, port: 0],
  live_view: [signing_salt: "nt9pr/6W"],
  secret_key_base: "cVZaz98CBZNGr4dk7XhVqYpW49We6OKdzORLS20peE0ZK8Qv3ex6uOLujx/mXS80",
  server: true,
  cache_static_manifest: "priv/static/cache_manifest.json"
iOS Simulatorで動かす
プロジェクトフォルダにios-exampleをcloneします
cloneしたらxcodeのライブラリもインストールします
git clone https://github.com/elixir-desktop/ios-example-app.git ios
cd ios
carthage update --use-xcframeworks
Librariesの liberlangがembedされないので、 Embed & Signに変更します

run_mixがビルドスクリプトなのでphoenixプロジェクトに合わせて変更します
#!/bin/bash
...
BASE=`pwd`
export MIX_ENV=prod
export MIX_TARGET=ios

mix local.hex --force --if-missing
mix local.rebar --force --if-missing

- if [ ! -d "elixir-app" ]; then
-  git clone https://github.com/elixir-desktop/desktop-example-app.git elixir-app
- fi

- # using the right runtime versions
- if [ ! -f "elixir/.tool-versions" ]; then
-  cp .tool-versions elixir-app/
- fi

- cd elixir-app
+ cd ../phoenix

if [ ! -d "deps/desktop" ]; then
  mix deps.get
fi

# 追加したライブラリが無いのでコメントアウト
# if [ ! -d "assets/node_modules" ]; then
#   cd assets && npm i && cd ..
# fi

if [ -f "$BASE/todoapp/app.zip" ]; then
  rm "$BASE/todoapp/app.zip"
fi

mix assets.deploy && \
  mix release --overwrite && \
-  cd _build/ios_prod/rel/todo_app && \
+  cd _build/ios_prod/rel/spotties && \
  zip -9r "$BASE/todoapp/app.zip" lib/ releases/ --exclude "*.so"
xcodeの実行ボタンを押してビルドします
ビルドエラーがでて、原因がわからない場合は以下を実行してログをみて見ましょう
./run_mix
Android Emunlatorで動かす
git clone https://github.com/elixir-desktop/android-example-app.git android
AndroidStudioで cloneしたandroidを開きます、gradle syncがちょっとかかるので待ちましょう
ビルドスクリプトを書き換えます
#!/bin/bash
set -e

BASE=`pwd`
APP_FILE="$BASE/src/main/assets/app.zip"
export MIX_ENV=prod
export MIX_TARGET=android

- if [ ! -d "elixir-app" ]; then
-  git clone https://github.com/elixir-desktop/desktop-example-app.git elixir-app
- fi

# using the right runtime versions
- if [ ! -f "elixir-app/.tool-versions" ]; then
-  cp .tool-versions elixir-app/
- fi

- cd elixir-app
+ cd ../../phoenix

if [ ! -d "deps/desktop" ]; then
  mix local.hex --force
  mix local.rebar
  mix deps.get
fi

# ライブラリを追加していないのでコメントアウト
# if [ ! -d "assets/node_modules" ]; then
#  cd assets && npm i && cd ..
# fi

if [ -f "$APP_FILE" ]; then
  rm "$APP_FILE"
fi

mix assets.deploy && \
  mix release --overwrite && \
-  cd "_build/${MIX_TARGET}_${MIX_ENV}/rel/todo_app" && \
+  cd "_build/${MIX_TARGET}_${MIX_ENV}/rel/spotties" && \
  zip -9r "$APP_FILE" lib/ releases/ --exclude "*.so"
ビルド時に以下のエラーが出たらJavaのバージョンが古いと怒られているので、
メニューバーの Android Studio > preferences > Build,Execution > Build Tools > Gradle を開き Gradle JDKを11以上にしてください
Android Gradle plugin requires Java 11 to run. You are currently using Java 1.8
それでもビルドに失敗した場合は run_mixがあるフォルダに移動してビルドを実行してログを見ましょう
cd android/app
./run_mix
最後に
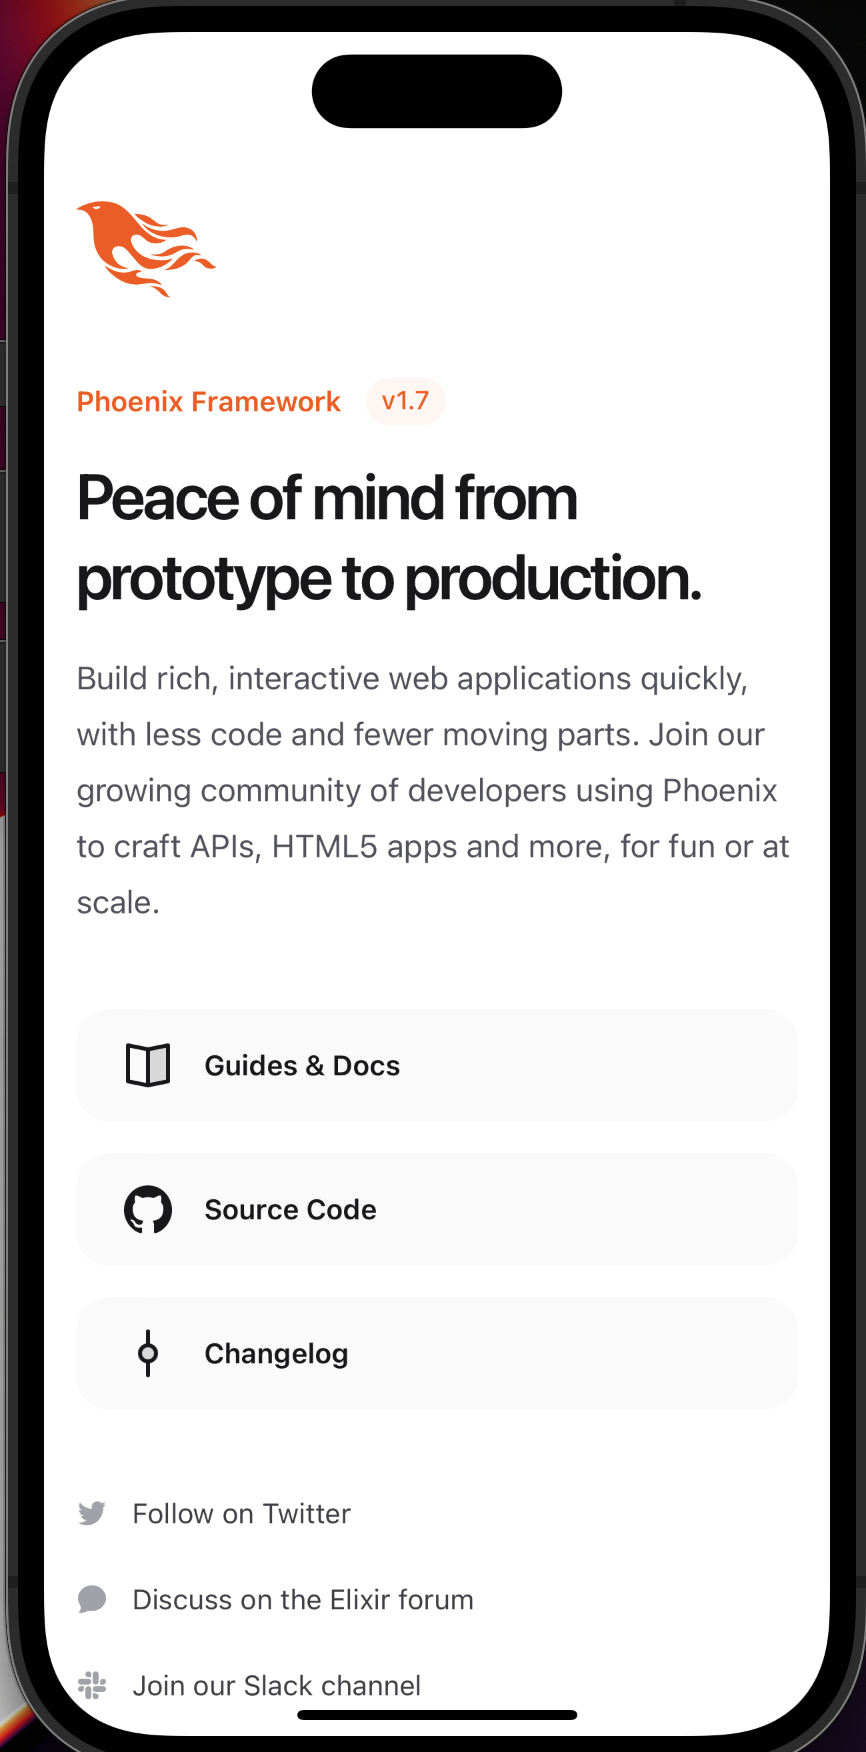
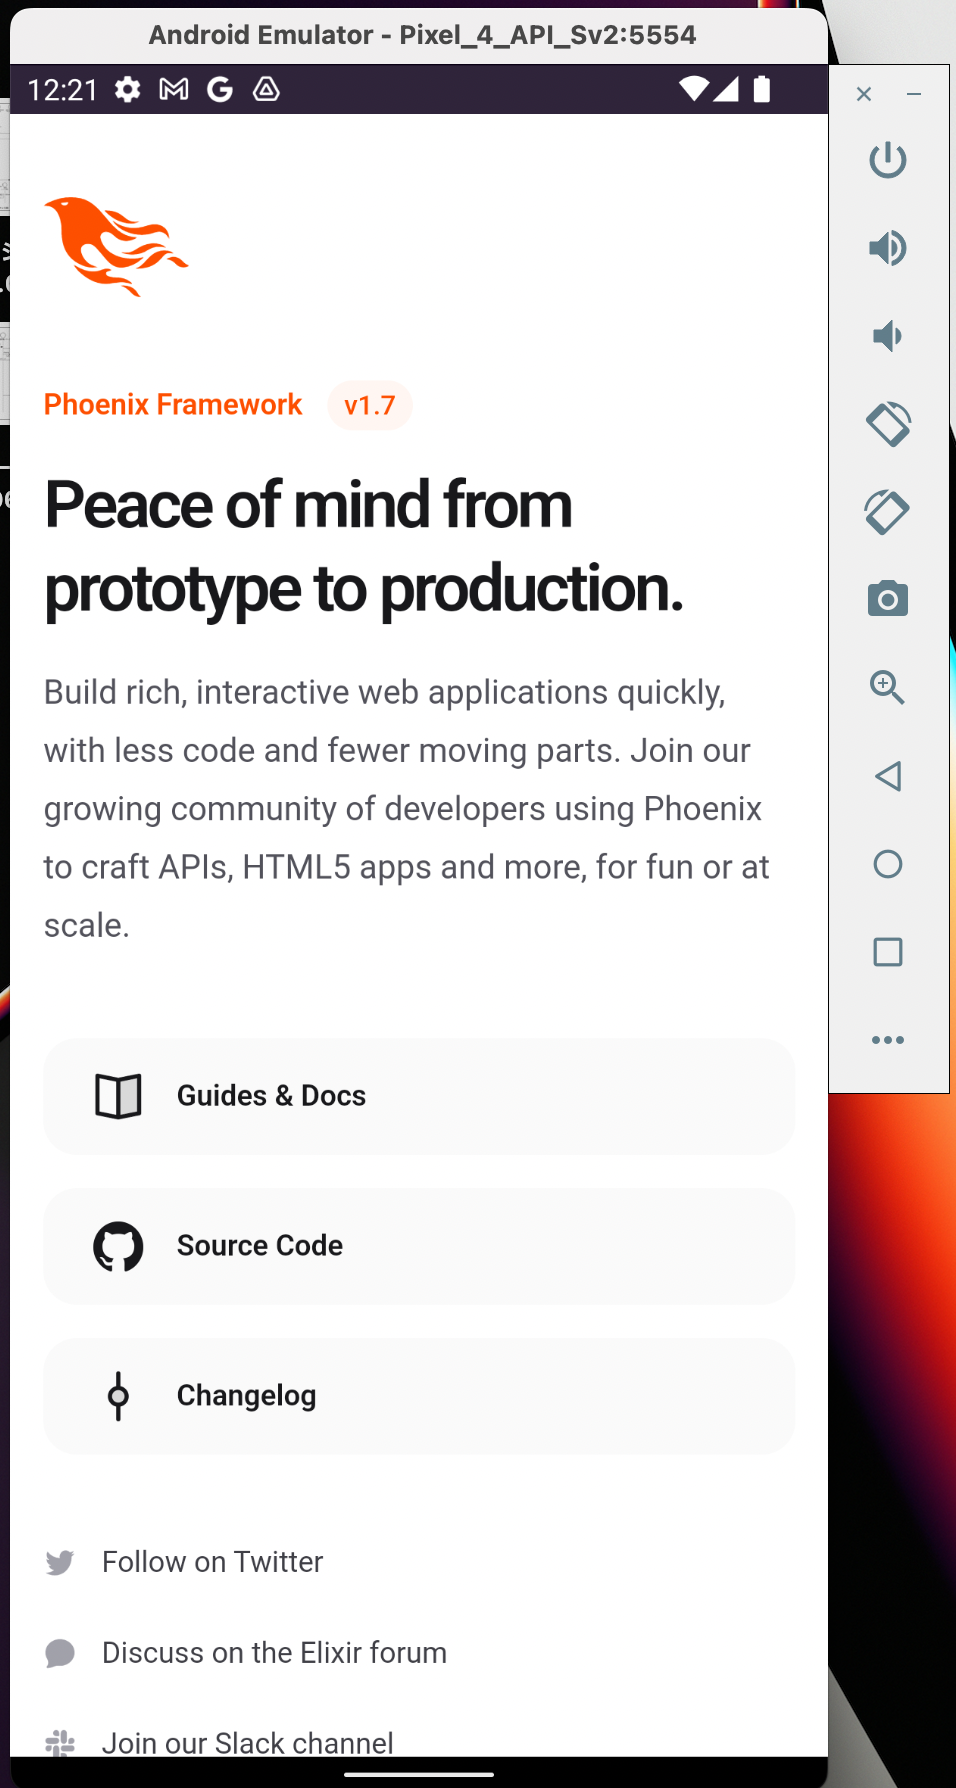
無事 WxWidget, iOS, Androidそれぞれでアプリとして起動できました
開発を進める場合はデベロッパーコンソールがあるので、PhoenixをWebアプリとして起動したほうが楽かもしれなません
Phoenixもmix_targetによって起動できるようにする構築手順は以下なります
本記事は以上になります、ありがとうございました
次は実際にアプリを作っていこうと思います
参考ページ
https://qiita.com/the_haigo/items/27bf18acd28971af31e9
https://qiita.com/the_haigo/items/bc848d80ff8fdf6ffa79
https://github.com/phoenixframework/phoenix/tree/master/installer
https://github.com/elixir-desktop/desktop
https://github.com/elixir-desktop/ios-example-app
https://github.com/elixir-desktop/android-example-app
