pythonでスクレイピングしてWordPressの自分のサイトに自動投稿したい
解決したいこと
pythonでスクレイピングしてWordPressの自分のサイトに自動投稿したい
発生している問題・エラー
下記の参考サイトのコードを打つと
Response [403]
が返ってくる。
↑
下記のサイトで解決しました!
[WordPress]WP REST APIを使おうとすると403(Forbidden Access)エラーになる
しかし、今度は
Response [401]
が返ってくるようになりました。。
WordPressのRESTAPIでアプリケーションパスワードの認証がとおらないなら
↑
こちらのサイトにあるように下記のコードをhtaccessに追記しましたが、まだ401が出てきます。。。
RewriteRule .* - [E=RE> RewriteRule .* - [E=REMOTE_USER:%{HTTP:Authorization}]
参考サイト
該当するソースコード
# Pythonのお勉強 No.4 WordPressの自動投稿
import requests
import urllib
from bs4 import BeautifulSoup
from datetime import datetime

# スクレイピング対象
url = 'https://news.google.com/search'
keyword = "香川真司 OR 久保建英"
params = {'hl':'ja', 'gl':'JP', 'ceid':'JP:ja', 'q':keyword}

# WordPress接続情報
WP_URL = 'https://xxxx.com'
WP_USERNAME = 'userName'
WP_PASSWORD = 'xxxx xxxx xxxx xxxx xxxx xxxx'

# WordPress新規投稿関数
def post_article(status, slug, title, content, category_ids, tag_ids, media_id):

   # REST APIを使うための認証情報
   user_ = WP_USERNAME
   pass_ = WP_PASSWORD
   # 投稿記事情報
   payload = {"status": status,                     #ステータス 公開:publish, 下書き:draft
              "slug": slug,                         #URLスラッグ
              "title": title,                       #タイトル
              "content": content,                   #内容
              "date": datetime.now().isoformat(),   #投稿日時
              "categories": category_ids,           #カテゴリー
              "tags": tag_ids}                      #タグ
   if media_id is not None:
       payload['featured_media'] = media_id         #アイキャッチ画像

   # 記事の新規投稿を行う
   res = requests.post(urllib.parse.urljoin(WP_URL, "wp-json/wp/v2/posts"),     #"wp-json/wp/v2/posts"にPostすると新規投稿になる
                       json=payload,                                            #投稿する記事の内容を設定する
                       auth=(user_, pass_))                                     #ユーザ、パスワードを設定する
   return res

# スクレイピング対象のURLにリクエスト
res = requests.get(url, params=params)
soup = BeautifulSoup(res.content, "html.parser")

# レスポンスからh3階層のニュースを1件抽出する
h3_entry = soup.select_one(".xrnccd")

# ニュースのリンク先URLを取得し、整形してフルパスの<a>タグを作る
h3_link = h3_entry.select_one("h3 a")["href"]
h3_link = urllib.parse.urljoin(url, h3_link)
content = '<a href="' + h3_link + '">' + h3_link + '</a>\n'

# 記事を下書き投稿する
post_article('draft',
             'WordPress-New-Post',
             '【動作確認】WordPress自動投稿',
             content,
             category_ids=[2],
             tag_ids=[5,6],
             media_id=759)
確認したいこと
ーーーーーーーーーーーーーーーーーーーーーーーーーーーーー
WordPress接続情報
WP_URL = 'https://xxxx.com'
WP_USERNAME = 'userName'
WP_PASSWORD = 'xxxx xxxx xxxx xxxx xxxx xxxx'
ーーーーーーーーーーーーーーーーーーーーーーーーーーーーー
↑
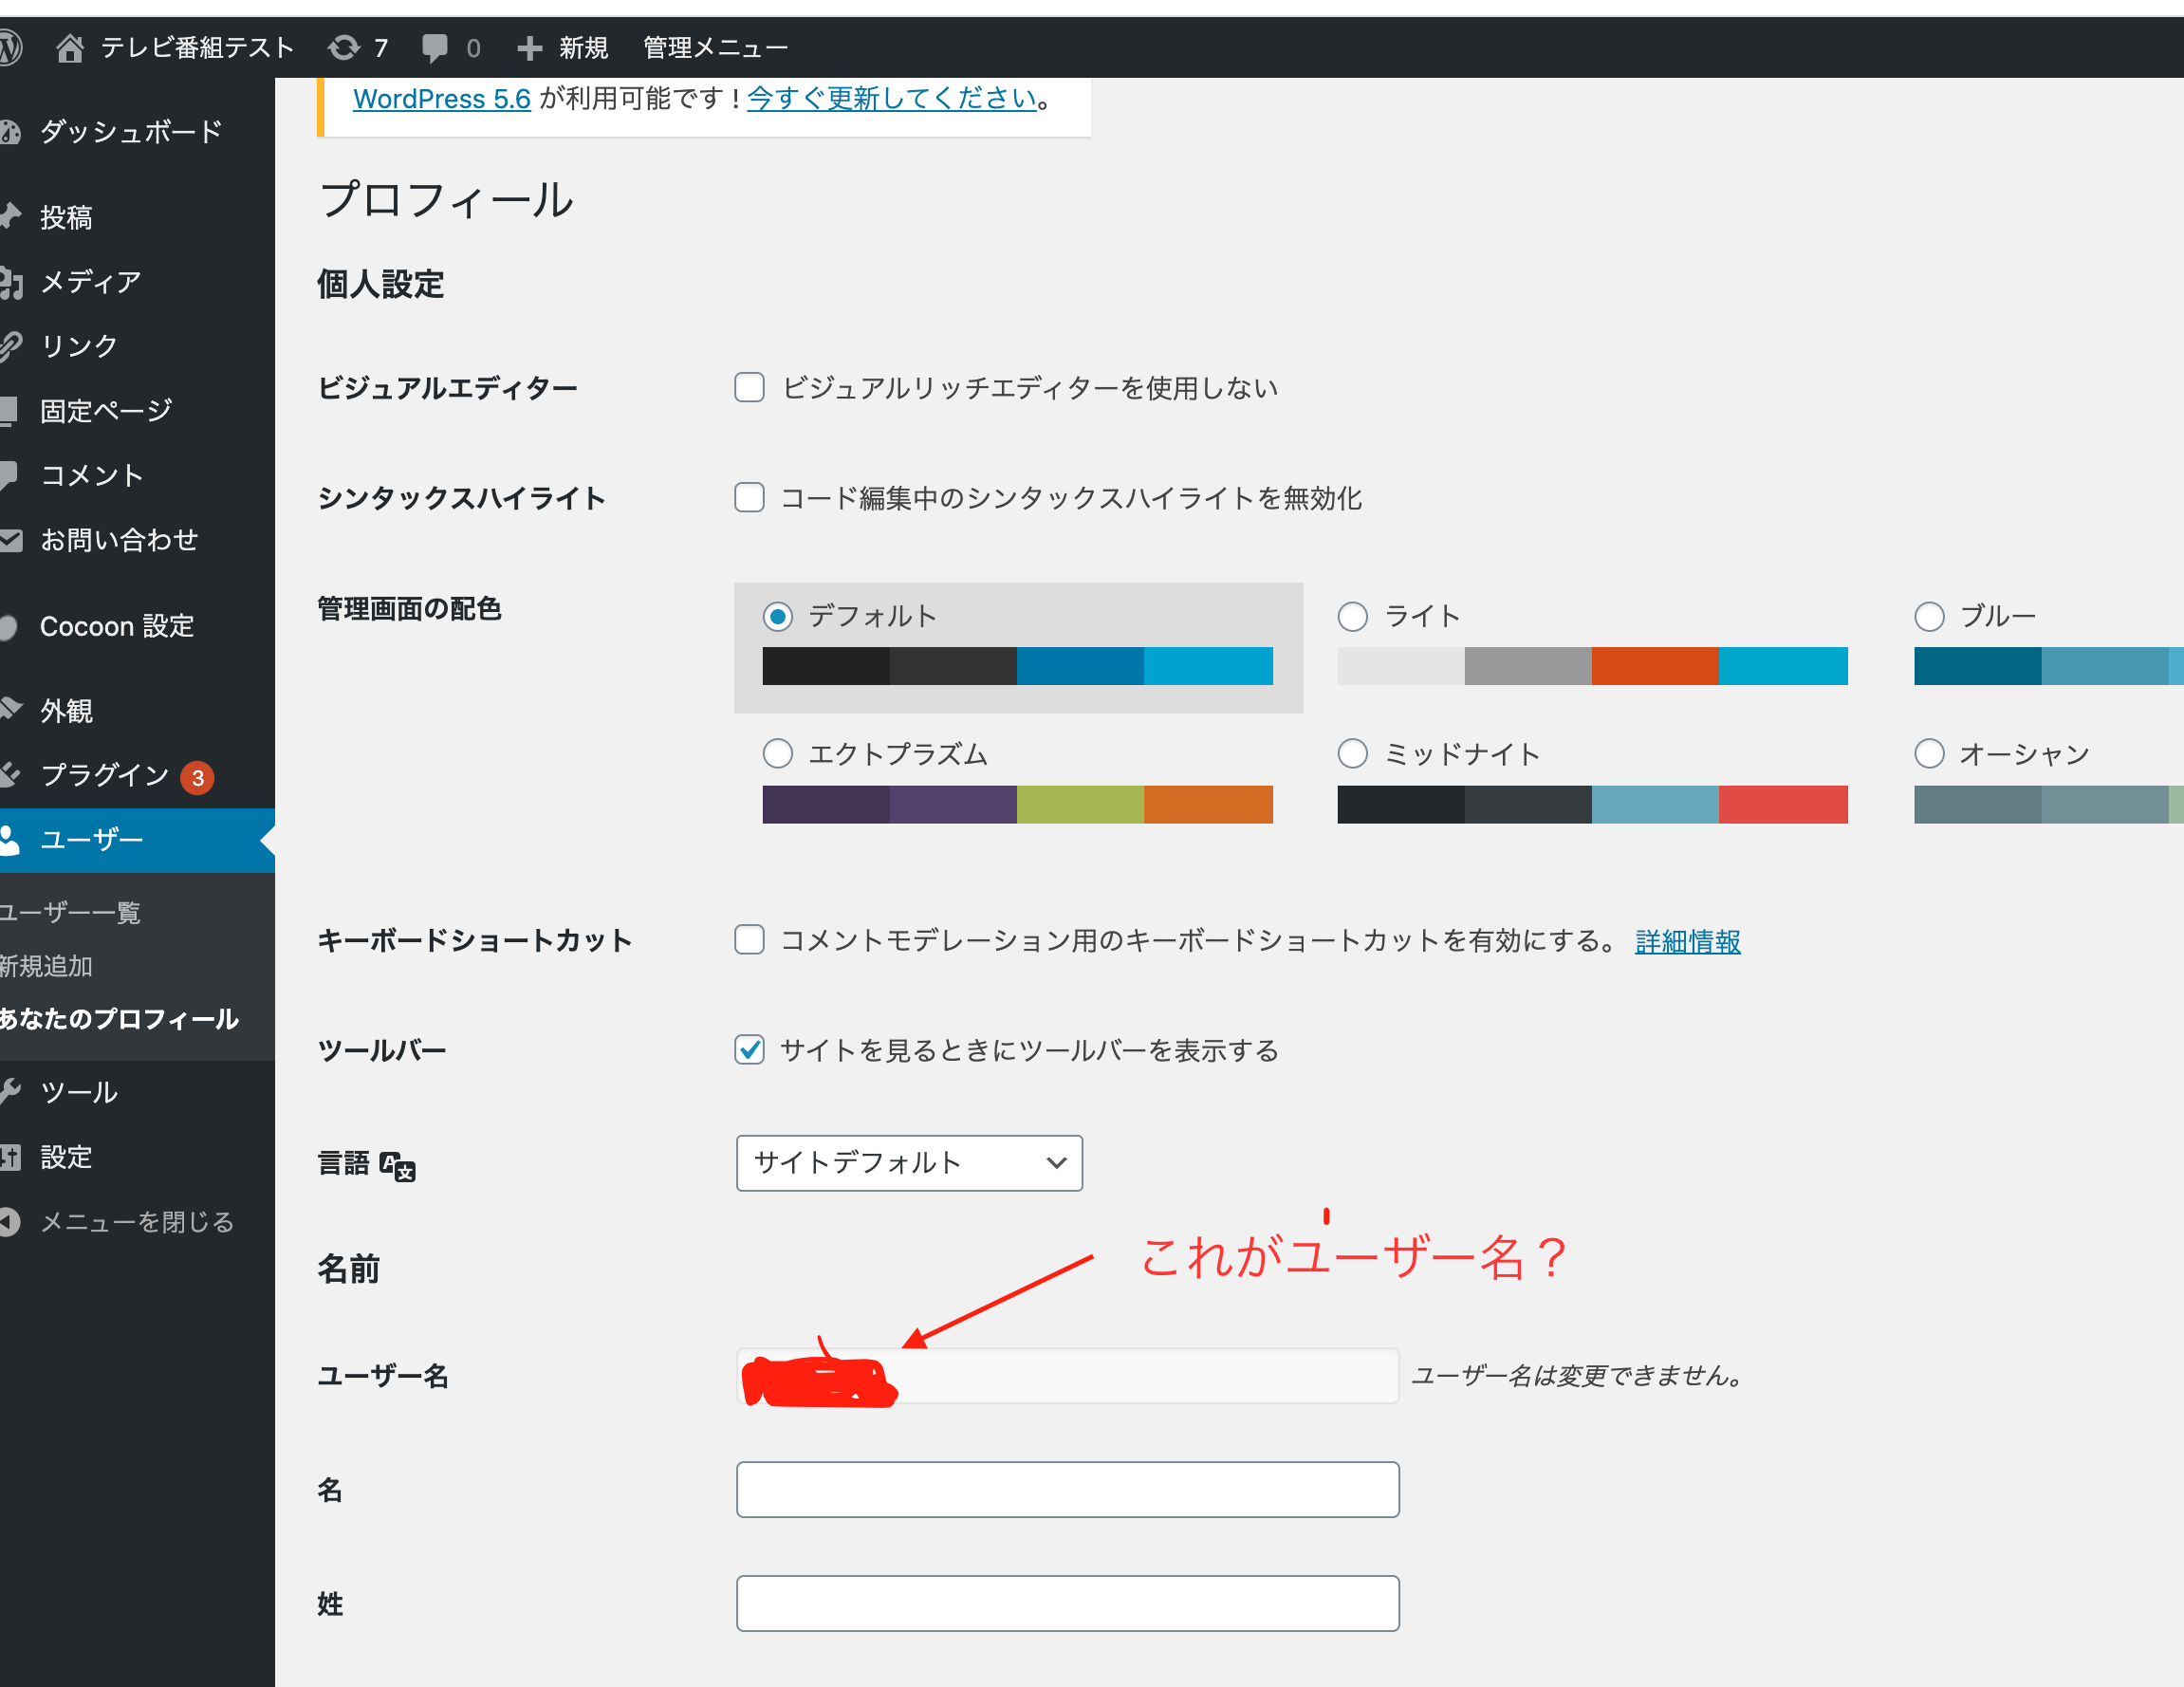
これを自分のに変えたんですが下記の画像の箇所のものを当てはめています。
WP_PASSWORDはApplication Passwordsで生成されたものをこちらに入れています。
自分で試したこと
- Application Passwordsで生成したパスワード、もう一度生成しなおしましたが同じ結果でした。
- セキュリティ系のプラグインは今回使用しているApplication Passwordsだけでした。
- WordPressにログインして新規投稿する(タイトル、本文のみ)の動作確認をしたいのですが、一番シンプルな形はこれなのかな?というコードにしてみました。下記にのでご覧いただきたいです。これだとまだ一度にたくさんのことを実行してるコードになっていますでしょうか?また、不必要であったり必要なところが抜けていたら教えて頂けますでしょうか?
- print(res.text)を入れてみました!ニュース記事的なものがたくさん取れているようでした。
# Pythonのお勉強 No.4 WordPressの自動投稿
import requests
import urllib
from bs4 import BeautifulSoup
from datetime import datetime


# WordPress接続情報
WP_URL = 'xxxxxxxxx'
WP_USERNAME = 'xxxxx'
WP_PASSWORD = 'xxxxxxxxxxxxxx'

# WordPress新規投稿関数
def post_article(status, slug, title, content, category_ids, tag_ids, media_id):

   # REST APIを使うための認証情報
   user_ = WP_USERNAME
   pass_ = WP_PASSWORD
   # 投稿記事情報
   payload = {"status": status,                     #ステータス 公開:publish, 下書き:draft
              "slug": slug,                         #URLスラッグ
              "title": title,                       #タイトル
             }                      #タグ
   if media_id is not None:
       payload['featured_media'] = media_id         #アイキャッチ画像

   # 記事の新規投稿を行う
   res = requests.post(urllib.parse.urljoin(WP_URL, "wp-json/wp/v2/posts"),     #"wp-json/wp/v2/posts"にPostすると新規投稿になる
                       json=payload,                                            #投稿する記事の内容を設定する
                       auth=(user_, pass_))                                     #ユーザ、パスワードを設定する
   return res
print(res.text)


# 記事を下書き投稿する
post_article('draft',
             'WordPress-New-Post',
             '【動作確認】WordPress自動投稿',
             content,
             category_ids=[2],
             tag_ids=[5,6],
             media_id=759)
0 likes

