1. はじめに
本稿ではVSI for VPC上でCockpitを使ってKVMを動かしたいと思います。
- Cockpitとは、LinuxサーバーをWebブラウザからGUIで管理できるオープンソースの管理ツールです。Red Hatを中心に開発されており、RHELやCentOS、Fedoraをはじめ、UbuntuやDebianなど多くのディストリビューションで利用できます。また、CockpitはKVM環境上の仮想マシンを操作することが可能です。
- IBM Cloud上のVSI for VPCそのものは物理的にはKVM上の環境で稼働しており、nested VMは正式にはサポートしていません。しかし、VSI for VPC上でKVMを動かそうと思えば動きます。正式なサポートがなくても、単にちょっとOSを使ってみたいとか、検証目的で利用するのであれば十分でしょう。
2. VSI for VPCをプロビジョニングする
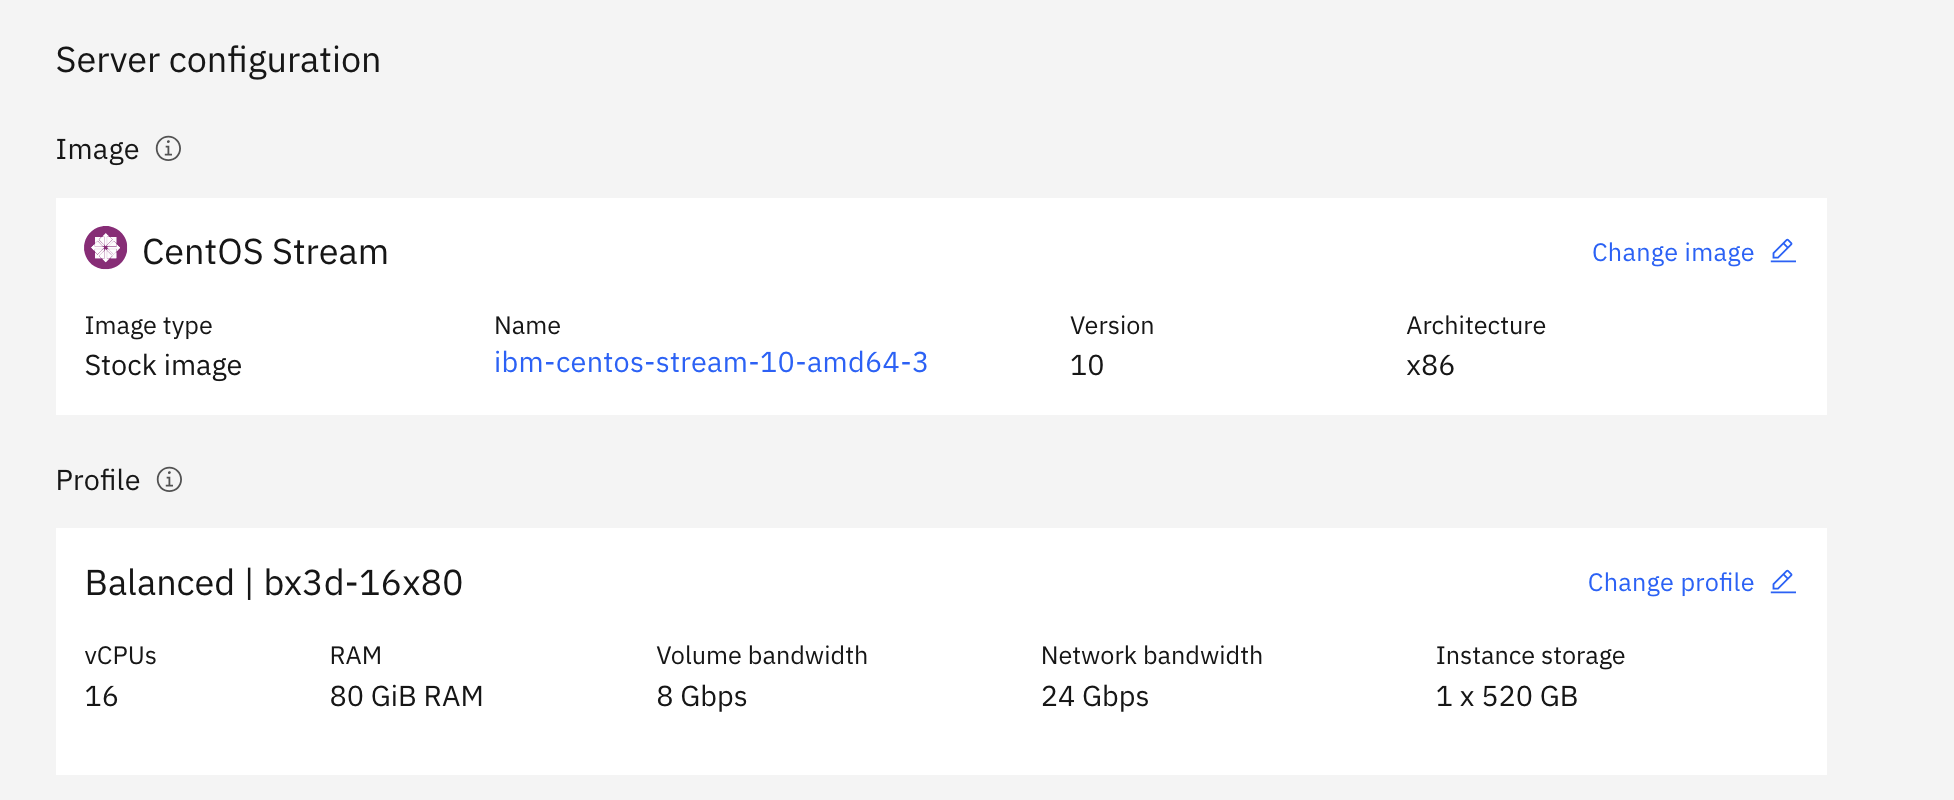
今回は、VMをこの中でいくつか動かしたいので、vCPUもメモリも少し大きめのbx3d-16x80を利用しました。
また、CentOS 10での記事は見たことがないので、動作確認も含めてCentOS 10で試しています。
3. 初期構成
[root@syasuda-cockpit2 ~]# dnf -y update
[root@syasuda-cockpit2 ~]# reboot
[root@syasuda-cockpit2 ~]# cat /etc/redhat-release
CentOS Stream release 10 (Coughlan)

[root@syasuda-cockpit2 ~]# uname -a
Linux syasuda-cockpit2 6.12.0-120.el10.x86_64 #1 SMP PREEMPT_DYNAMIC Thu Aug 14 05:04:31 UTC 2025 x86_64 GNU/Linux

[root@syasuda-cockpit2 ~]# lscpu  | grep -i "Model name"
Model name:                              Intel Xeon Processor (SapphireRapids)
BIOS Model name:                         pc-i440fx-6.2  CPU @ 2.0GHz

[root@syasuda-cockpit2 ~]# lscpu | grep Virtualization
Virtualization:                          VT-x
Virtualization type:                     full

[root@syasuda-cockpit2 ~]# ip a
1: lo: <LOOPBACK,UP,LOWER_UP> mtu 65536 qdisc noqueue state UNKNOWN group default qlen 1000
    link/loopback 00:00:00:00:00:00 brd 00:00:00:00:00:00
    inet 127.0.0.1/8 scope host lo
       valid_lft forever preferred_lft forever
    inet6 ::1/128 scope host noprefixroute
       valid_lft forever preferred_lft forever
2: eth0: <BROADCAST,MULTICAST,UP,LOWER_UP> mtu 1500 qdisc mq state UP group default qlen 1000
    link/ether 02:00:35:6d:95:c9 brd ff:ff:ff:ff:ff:ff
    altname enp0s3
    altname ens3
    altname enx0200356d95c9
    inet 10.50.0.39/24 brd 10.50.0.255 scope global dynamic noprefixroute eth0
       valid_lft 209sec preferred_lft 209sec
    inet6 fe80::35ff:fe6d:95c9/64 scope link noprefixroute
       valid_lft forever preferred_lft forever

[root@syasuda-cockpit2 ~]# ip r
default via 10.50.0.1 dev eth0 proto dhcp src 10.50.0.39 metric 100
10.50.0.0/24 dev eth0 proto kernel scope link src 10.50.0.39 metric 100
4. Cockpitと関連モジュールのインストール
Cockpitをインストールします。またCockpitだけではKVMを管理できないので、追加アドオンとしてcockpit-machinesとlibvirtをインストールします。
[root@syasuda-cockpit2 ~]# dnf install -y cockpit cockpit-machines libvirt
[root@syasuda-cockpit2 ~]# systemctl start cockpit
[root@syasuda-cockpit2 ~]# systemctl start libvirtd
[root@syasuda-cockpit2 ~]# ss -anpt
State             Recv-Q            Send-Q                         Local Address:Port                          Peer Address:Port             Process
LISTEN            0                 128                                  0.0.0.0:22                                 0.0.0.0:*                 users:(("sshd",pid=1188,fd=7))
LISTEN            0                 32                             192.168.122.1:53                                 0.0.0.0:*                 users:(("dnsmasq",pid=24831,fd=6))
ESTAB             0                 36                                10.50.0.39:22                           192.168.100.6:58203             users:(("sshd-session",pid=3645,fd=4),("sshd-session",pid=3346,fd=4))
LISTEN            0                 4096                                       *:9090                                     *:*                 users:(("cockpit-tls",pid=24746,fd=3),("systemd",pid=1,fd=56))
LISTEN            0                 128                                     [::]:22                                    [::]:*                 users:(("sshd",pid=1188,fd=8))
[root@syasuda-cockpit2 ~]# lsmod | grep kvm
kvm_intel             446464  0
kvm                  1392640  1 kvm_intel
irqbypass              12288  1 kvm

[root@syasuda-cockpit2 ~]# virt-host-validate
  QEMU: Checking for hardware virtualization                                 : PASS
  QEMU: Checking if device '/dev/kvm' exists                                 : PASS
  QEMU: Checking if device '/dev/kvm' is accessible                          : PASS
  QEMU: Checking if device '/dev/vhost-net' exists                           : PASS
  QEMU: Checking if device '/dev/net/tun' exists                             : PASS
  QEMU: Checking for cgroup 'cpu' controller support                         : PASS
  QEMU: Checking for cgroup 'cpuacct' controller support                     : PASS
  QEMU: Checking for cgroup 'cpuset' controller support                      : PASS
  QEMU: Checking for cgroup 'memory' controller support                      : PASS
  QEMU: Checking for cgroup 'devices' controller support                     : PASS
  QEMU: Checking for cgroup 'blkio' controller support                       : PASS
  QEMU: Checking for device assignment IOMMU support                         : WARN (No ACPI DMAR table found, IOMMU either disabled in BIOS or not supported by this hardware platform)
  QEMU: Checking for secure guest support                                    : WARN (Unknown if this platform has Secure Guest support)
5. Cockpit UI
5-1. Cockpit UIにアクセス。
https://<VSI for VPCのIPアドレス>:9090にアクセスする。
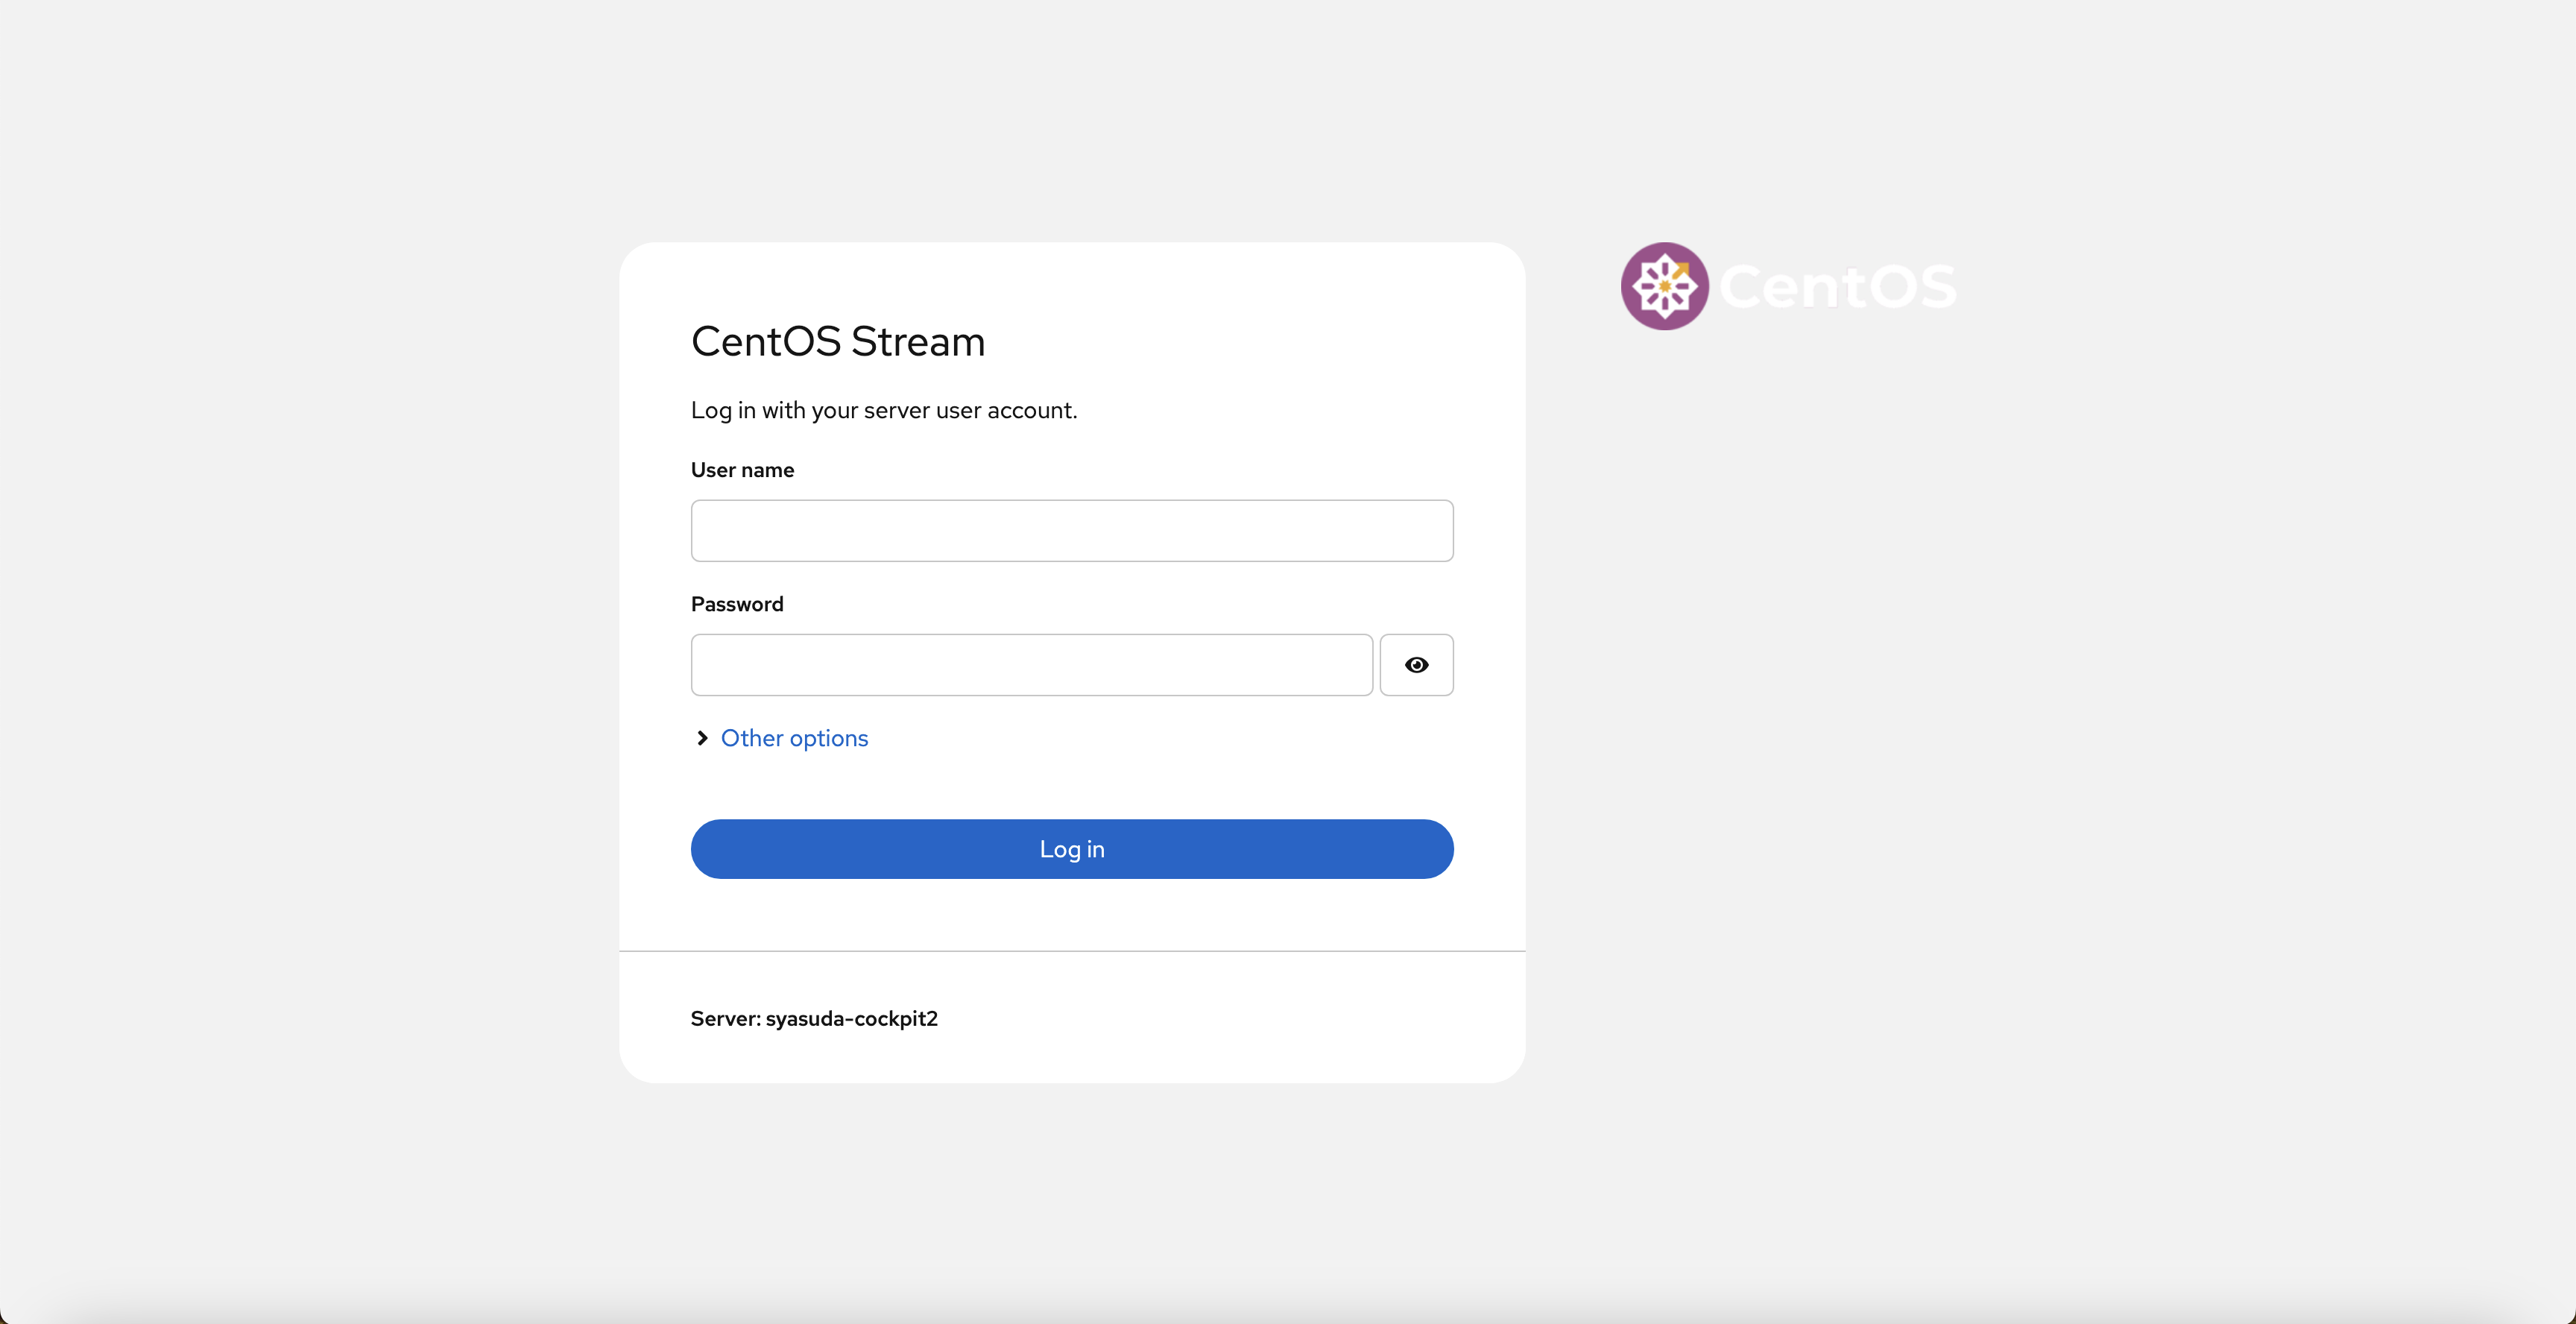
5-2. rootパスワードの設定と一般ユーザーの作成
UIにこのままではログインできないので、rootユーザーにパスワードを設定する。
[root@syasuda-cockpit2 ~]# passwd
New password:
Retype new password:
passwd: password updated successfully
しかし、rootでログインしようとするとPermission Deniedになります。
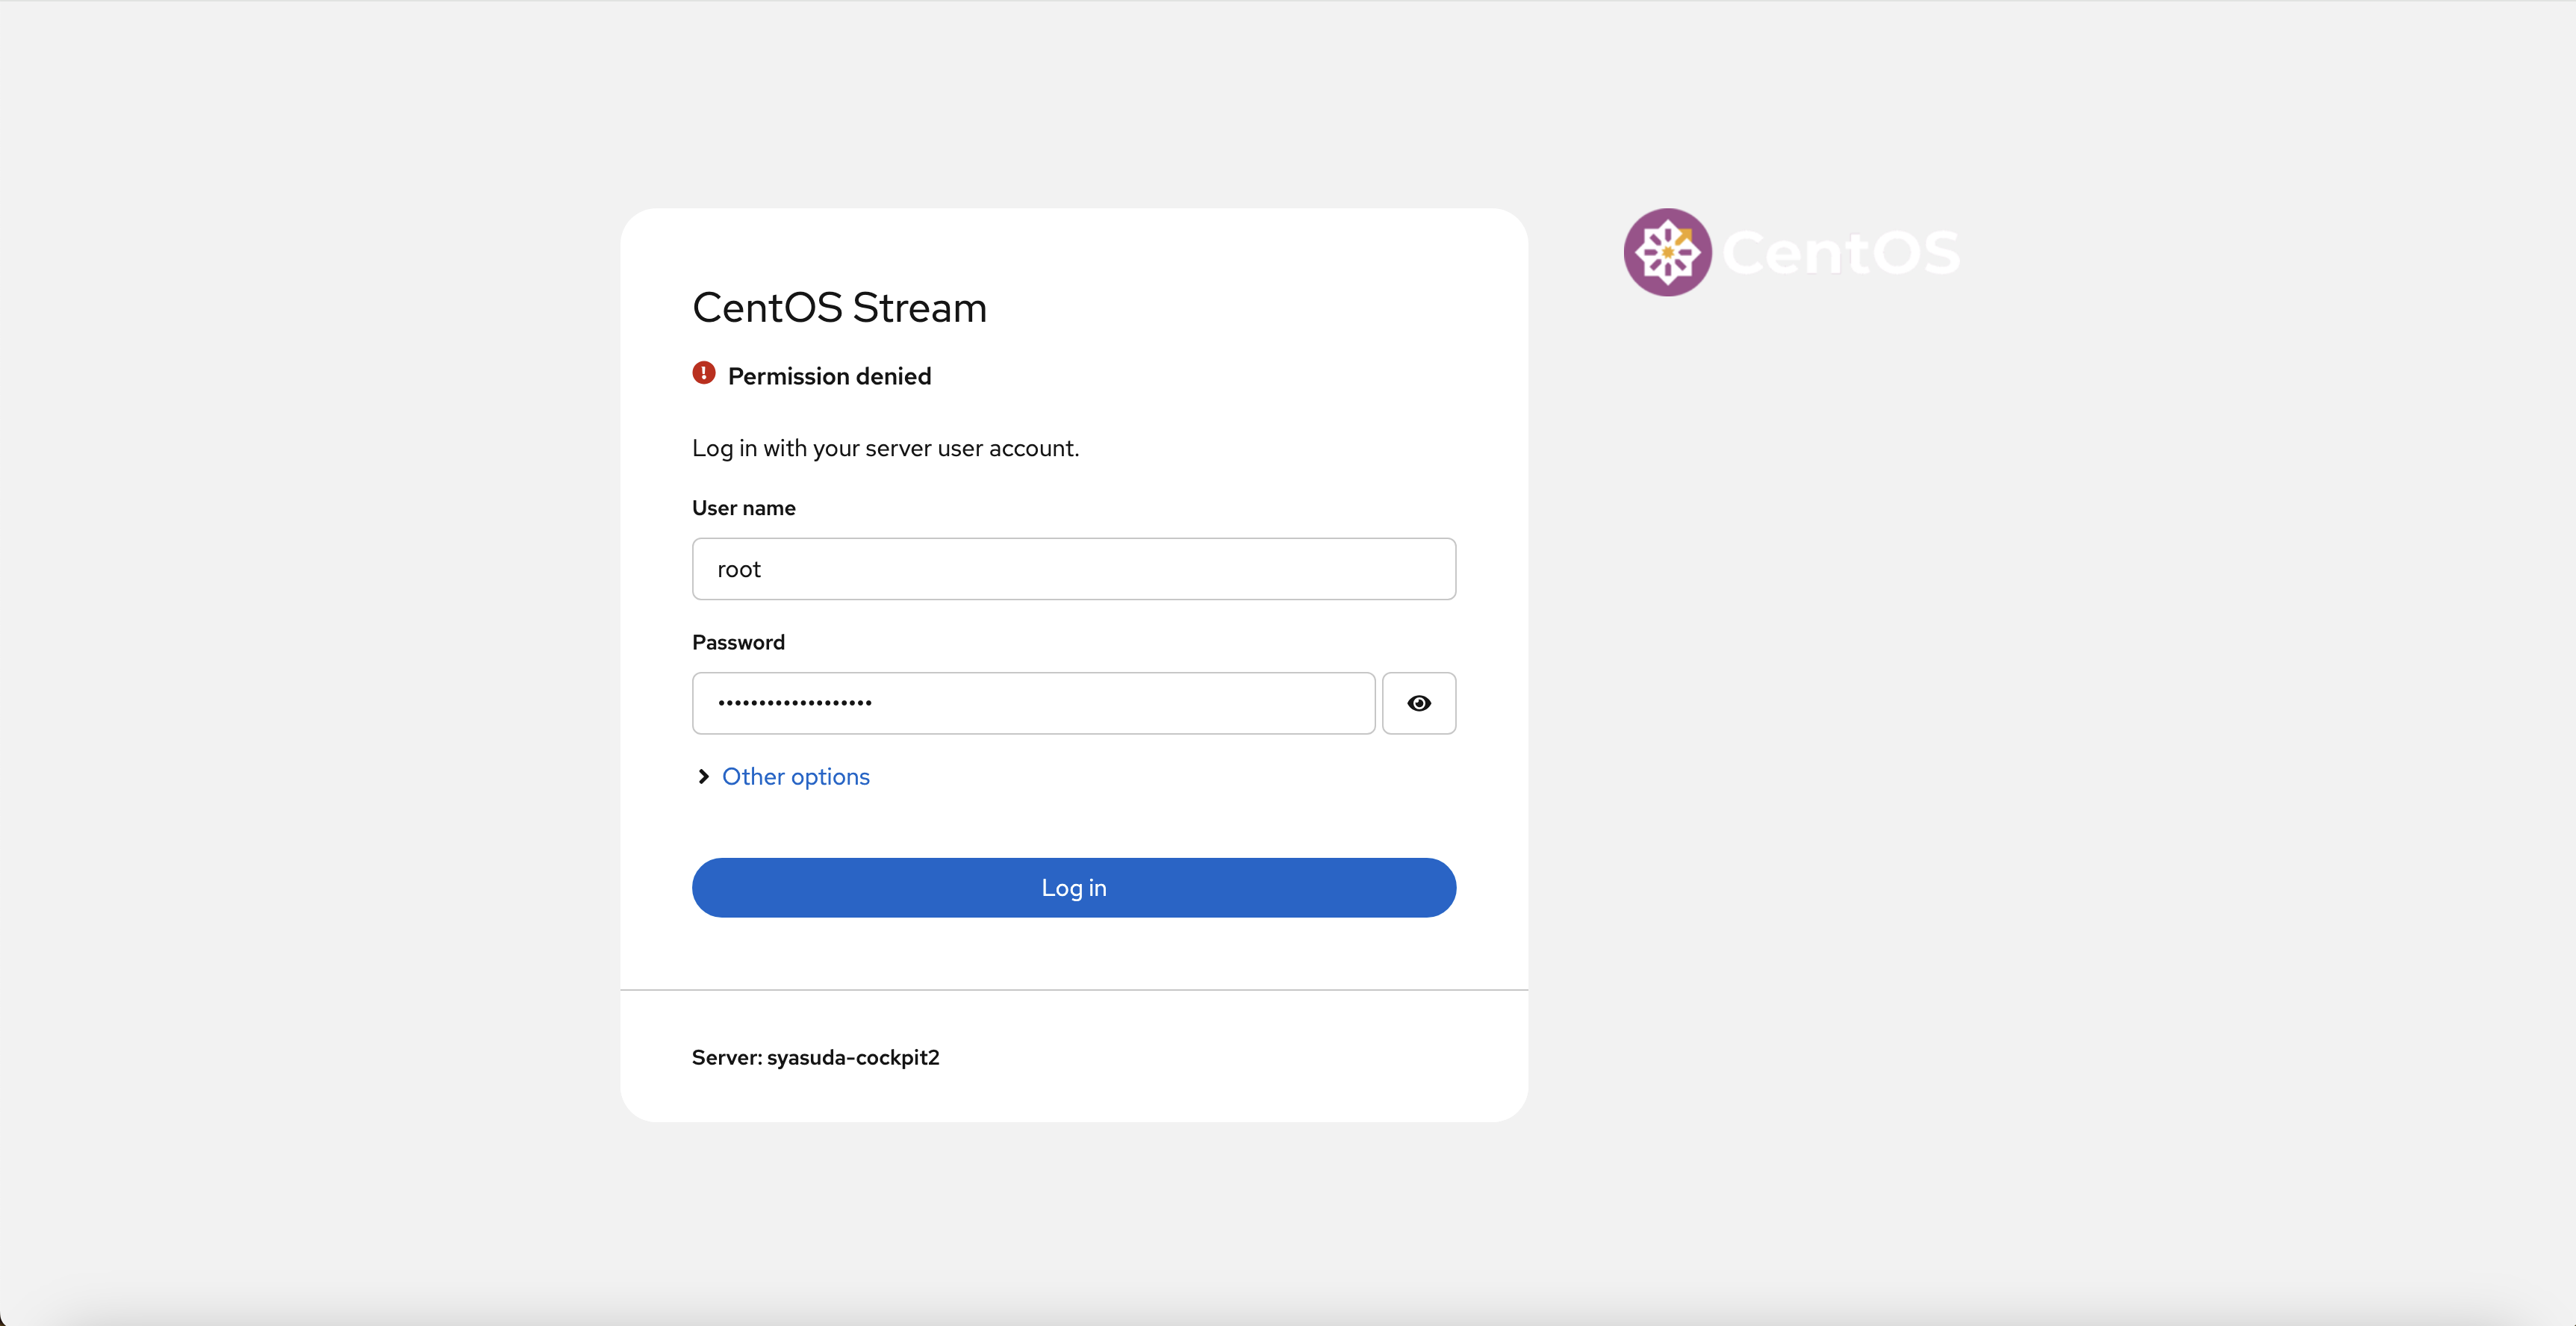
これは、rootユーザーでのログインがデフォルトで許可されていないためです。
[root@syasuda-cockpit2 ~]# cat /etc/cockpit/disallowed-users
# List of users which are not allowed to login to Cockpit
root
もちろんこの設定を変更しても良いのですが、今回はsudoが実行可能な一般ユーザーを作成します。
[root@syasuda-cockpit2 ~]# cat /etc/sudoers | grep -v "^#" | grep -v "^$"
Defaults   !visiblepw
Defaults    always_set_home
Defaults    match_group_by_gid
Defaults    always_query_group_plugin
Defaults    env_reset
Defaults    env_keep =  "COLORS DISPLAY HOSTNAME HISTSIZE KDEDIR LS_COLORS"
Defaults    env_keep += "MAIL PS1 PS2 QTDIR USERNAME LANG LC_ADDRESS LC_CTYPE"
Defaults    env_keep += "LC_COLLATE LC_IDENTIFICATION LC_MEASUREMENT LC_MESSAGES"
Defaults    env_keep += "LC_MONETARY LC_NAME LC_NUMERIC LC_PAPER LC_TELEPHONE"
Defaults    env_keep += "LC_TIME LC_ALL LANGUAGE LINGUAS _XKB_CHARSET XAUTHORITY"
Defaults    secure_path = /sbin:/bin:/usr/sbin:/usr/bin
root	ALL=(ALL) 	ALL
%wheel	ALL=(ALL)	ALL
[root@syasuda-cockpit2 ~]# useradd -G wheel syasuda1
[root@syasuda-cockpit2 ~]# passwd syasuda1
New password:
Retype new password:
passwd: password updated successfully
5-3. Cockpitへのログイン
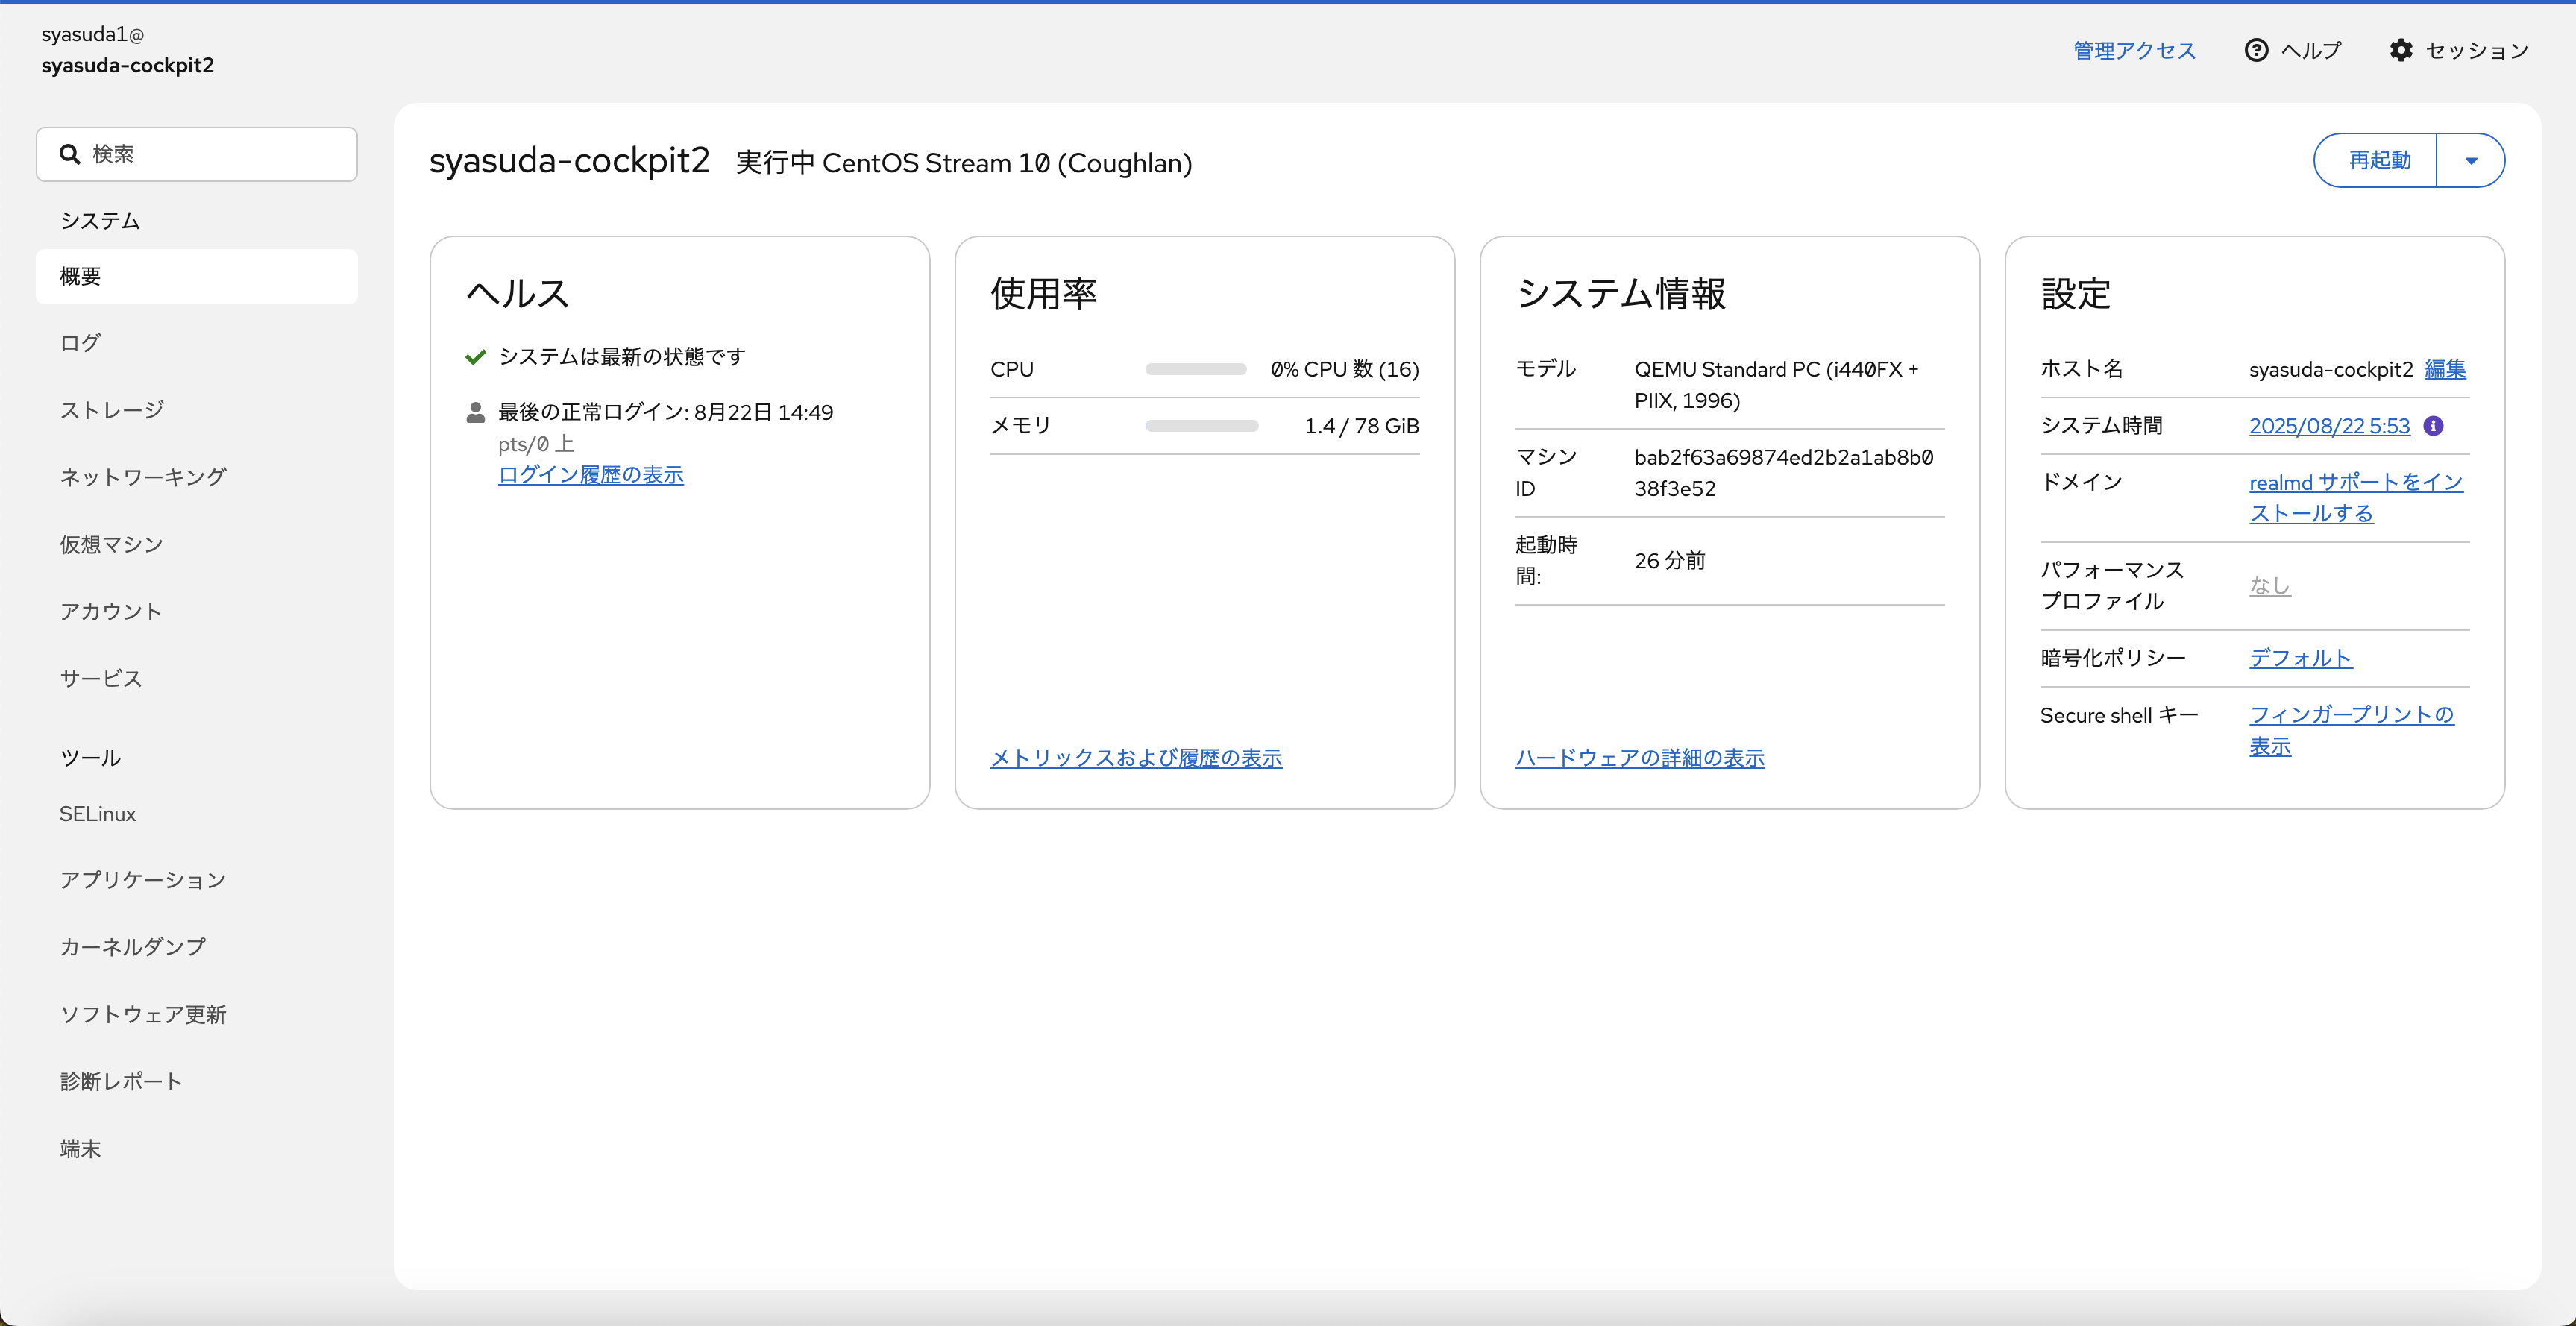
- 上で作成した一般ユーザーでログイン

- ログイン後。
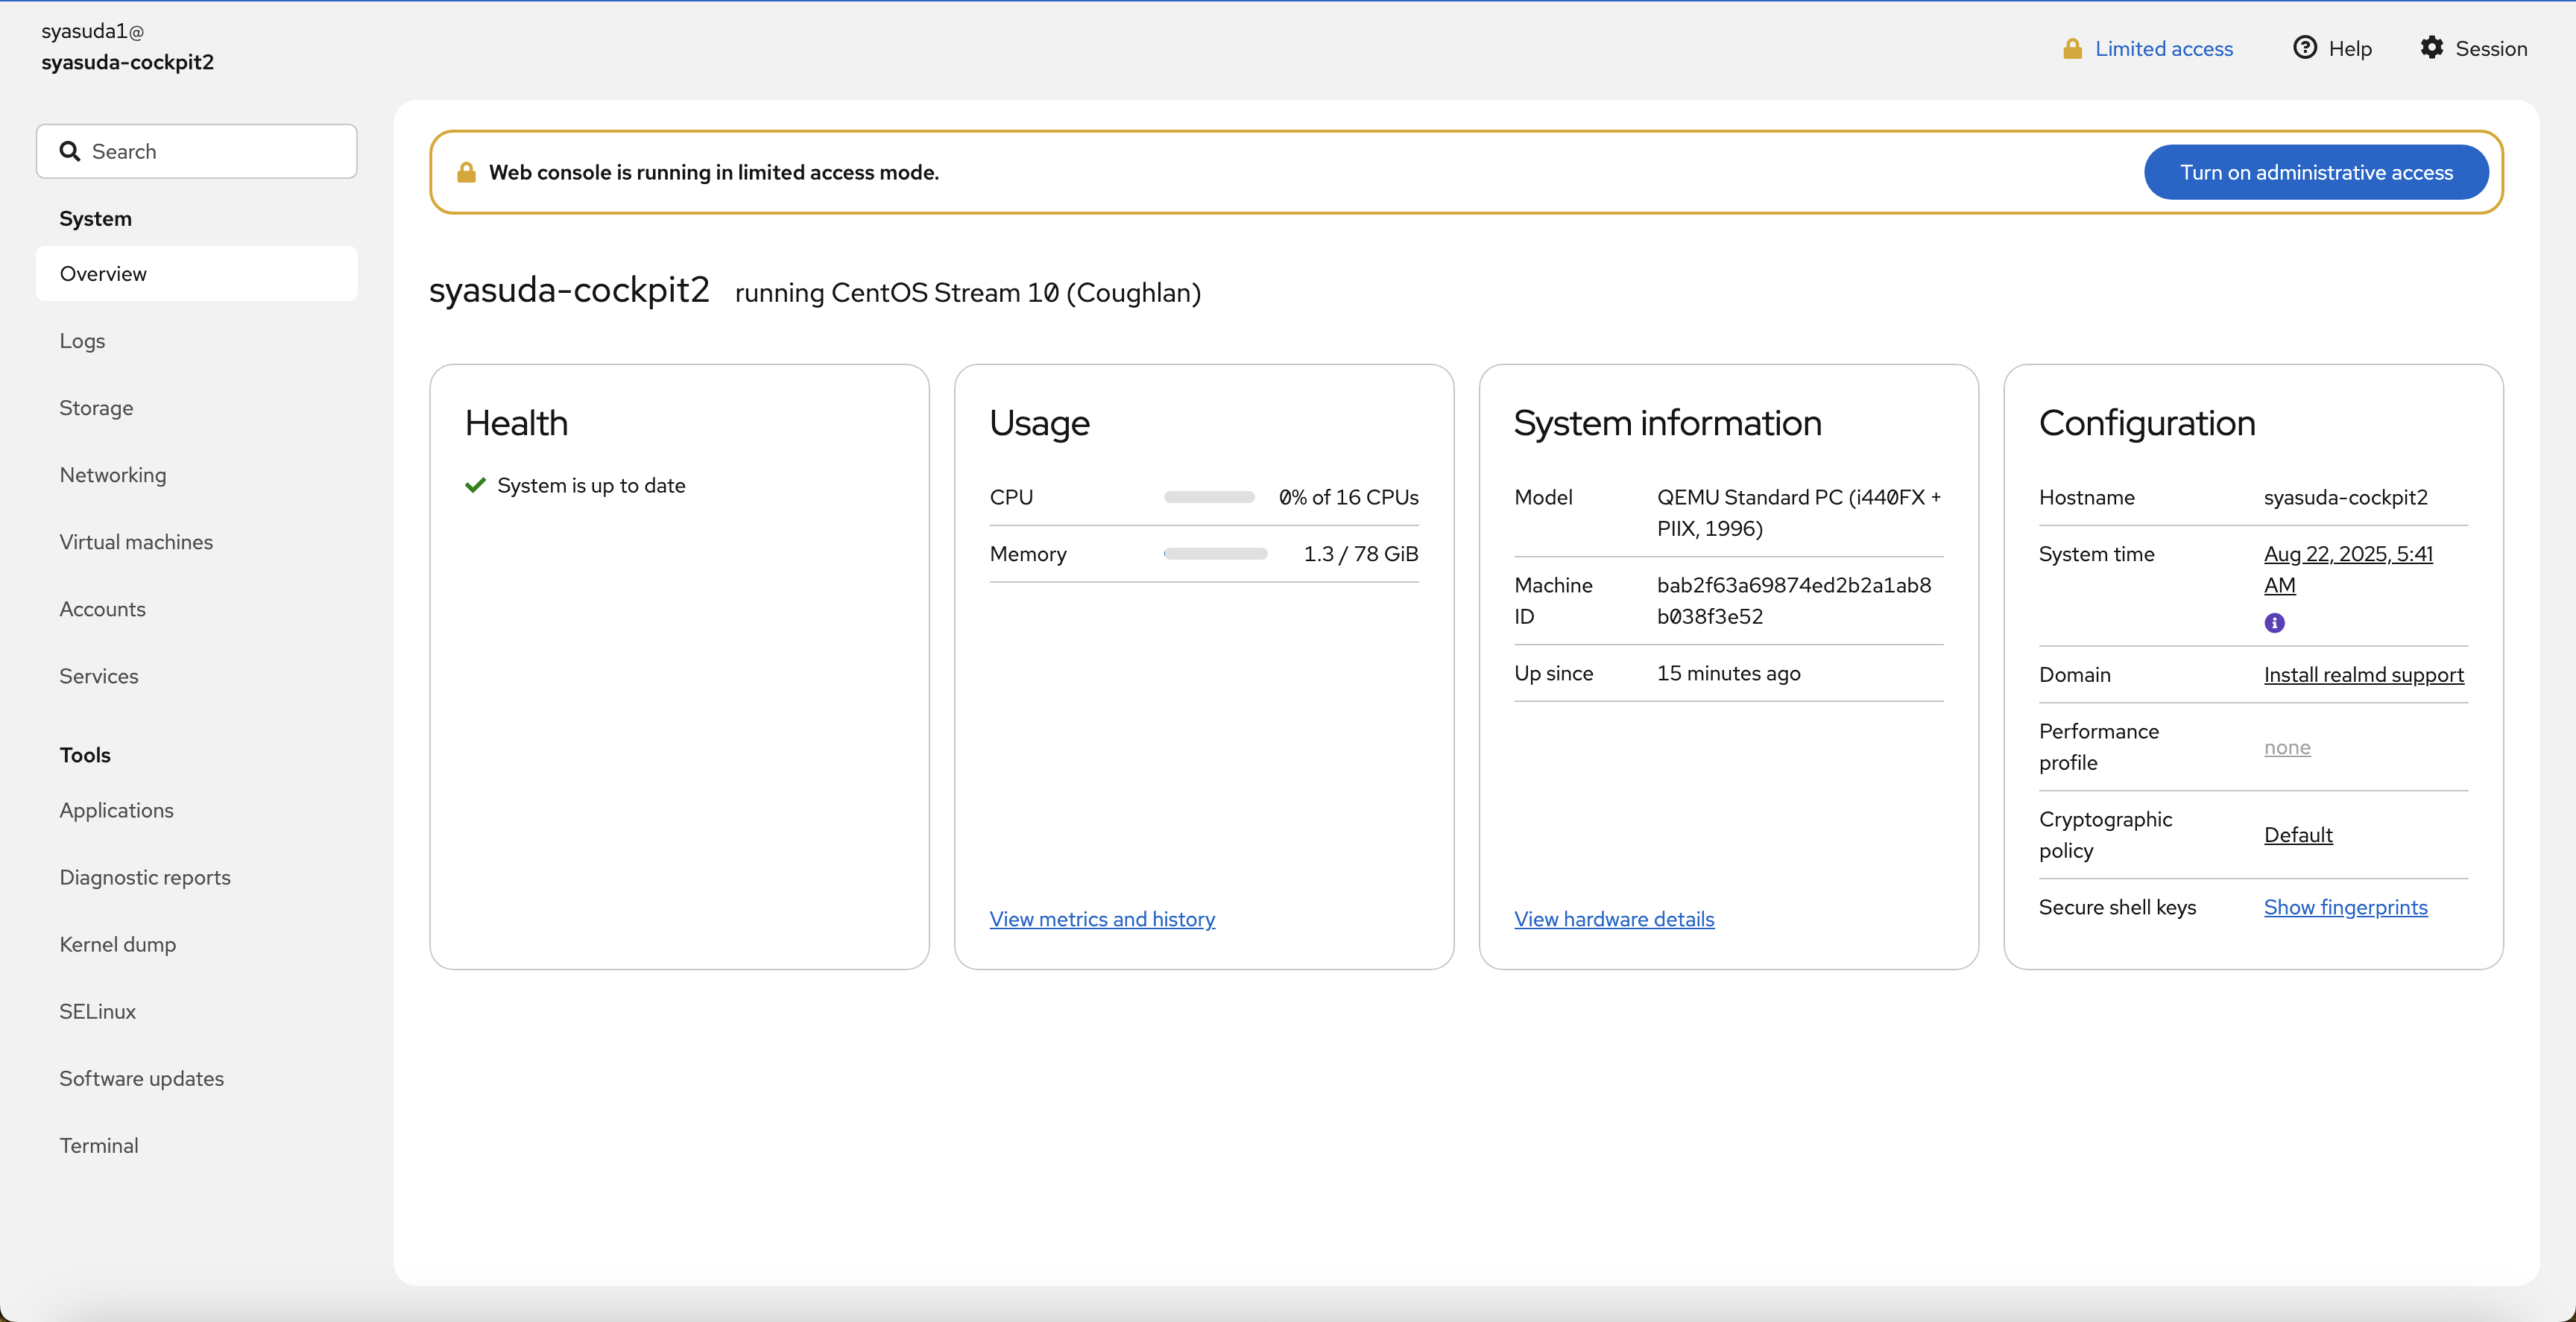
5-4. Administrative権限を有効
- 右上に表示されている
Turn on Addministrative Accessを押下して、管理者権限に昇格。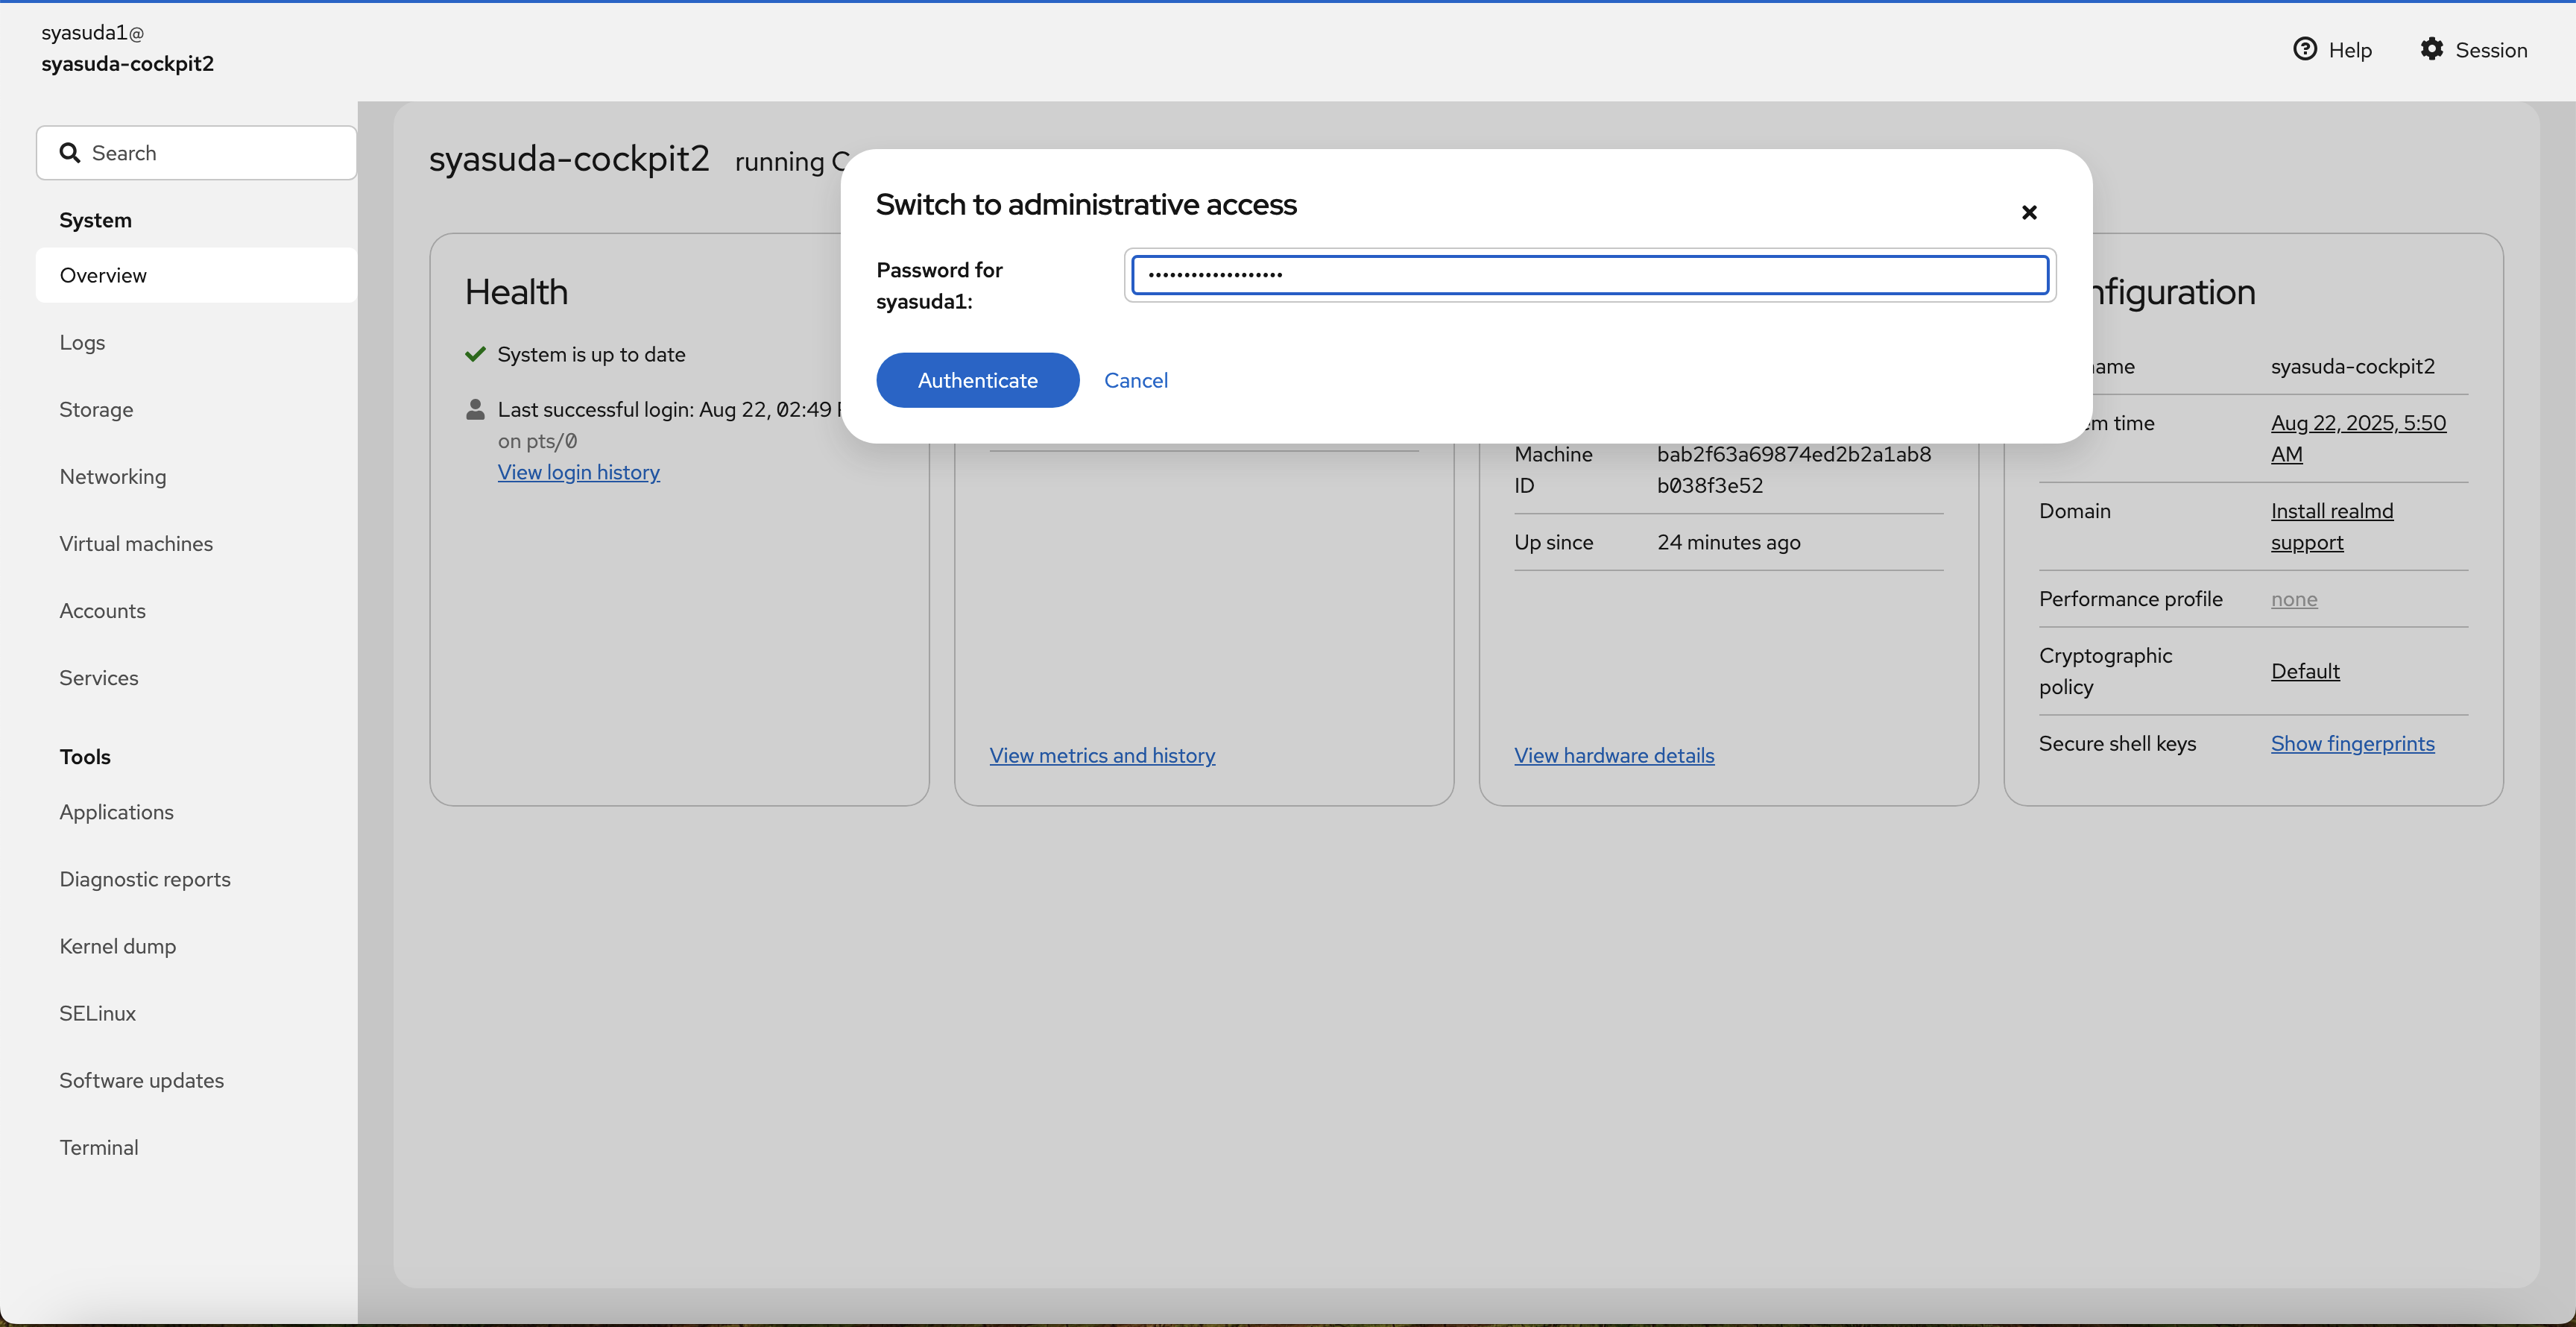
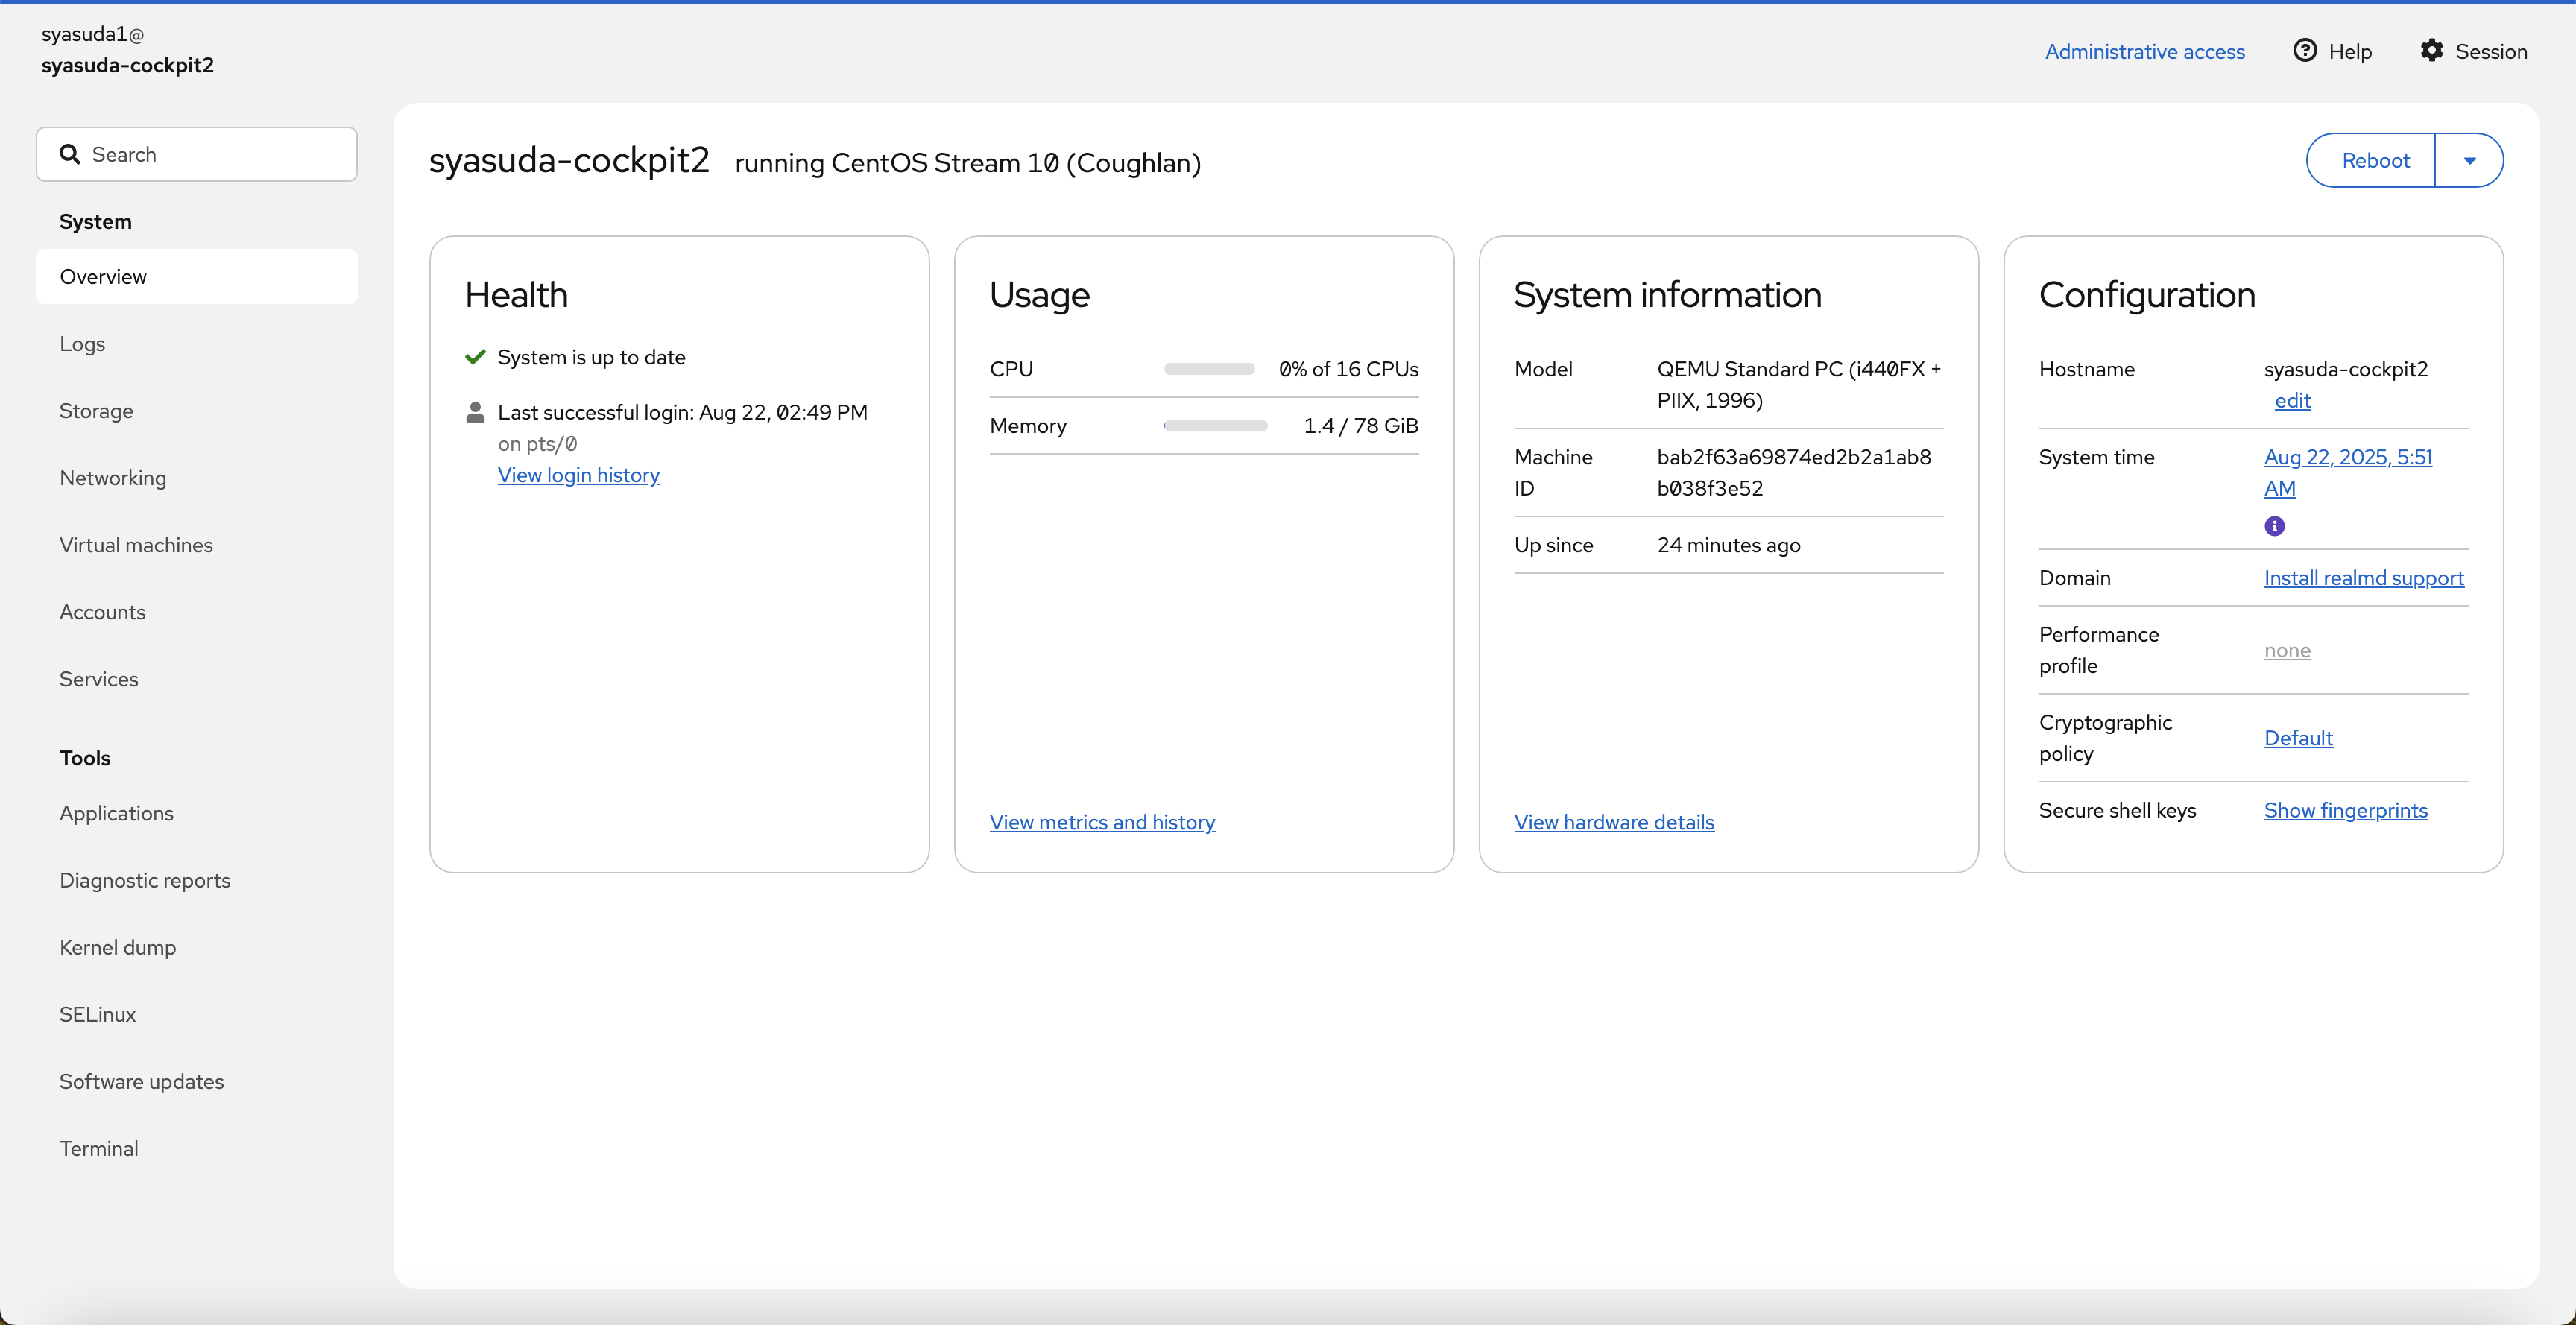
- すると管理者権限で実行できるようになる。
管理者権限に昇格させるのは、内部的にsudoを実行しています。よってsudoが実行できるユーザーでCockpitにログインする必要があります。
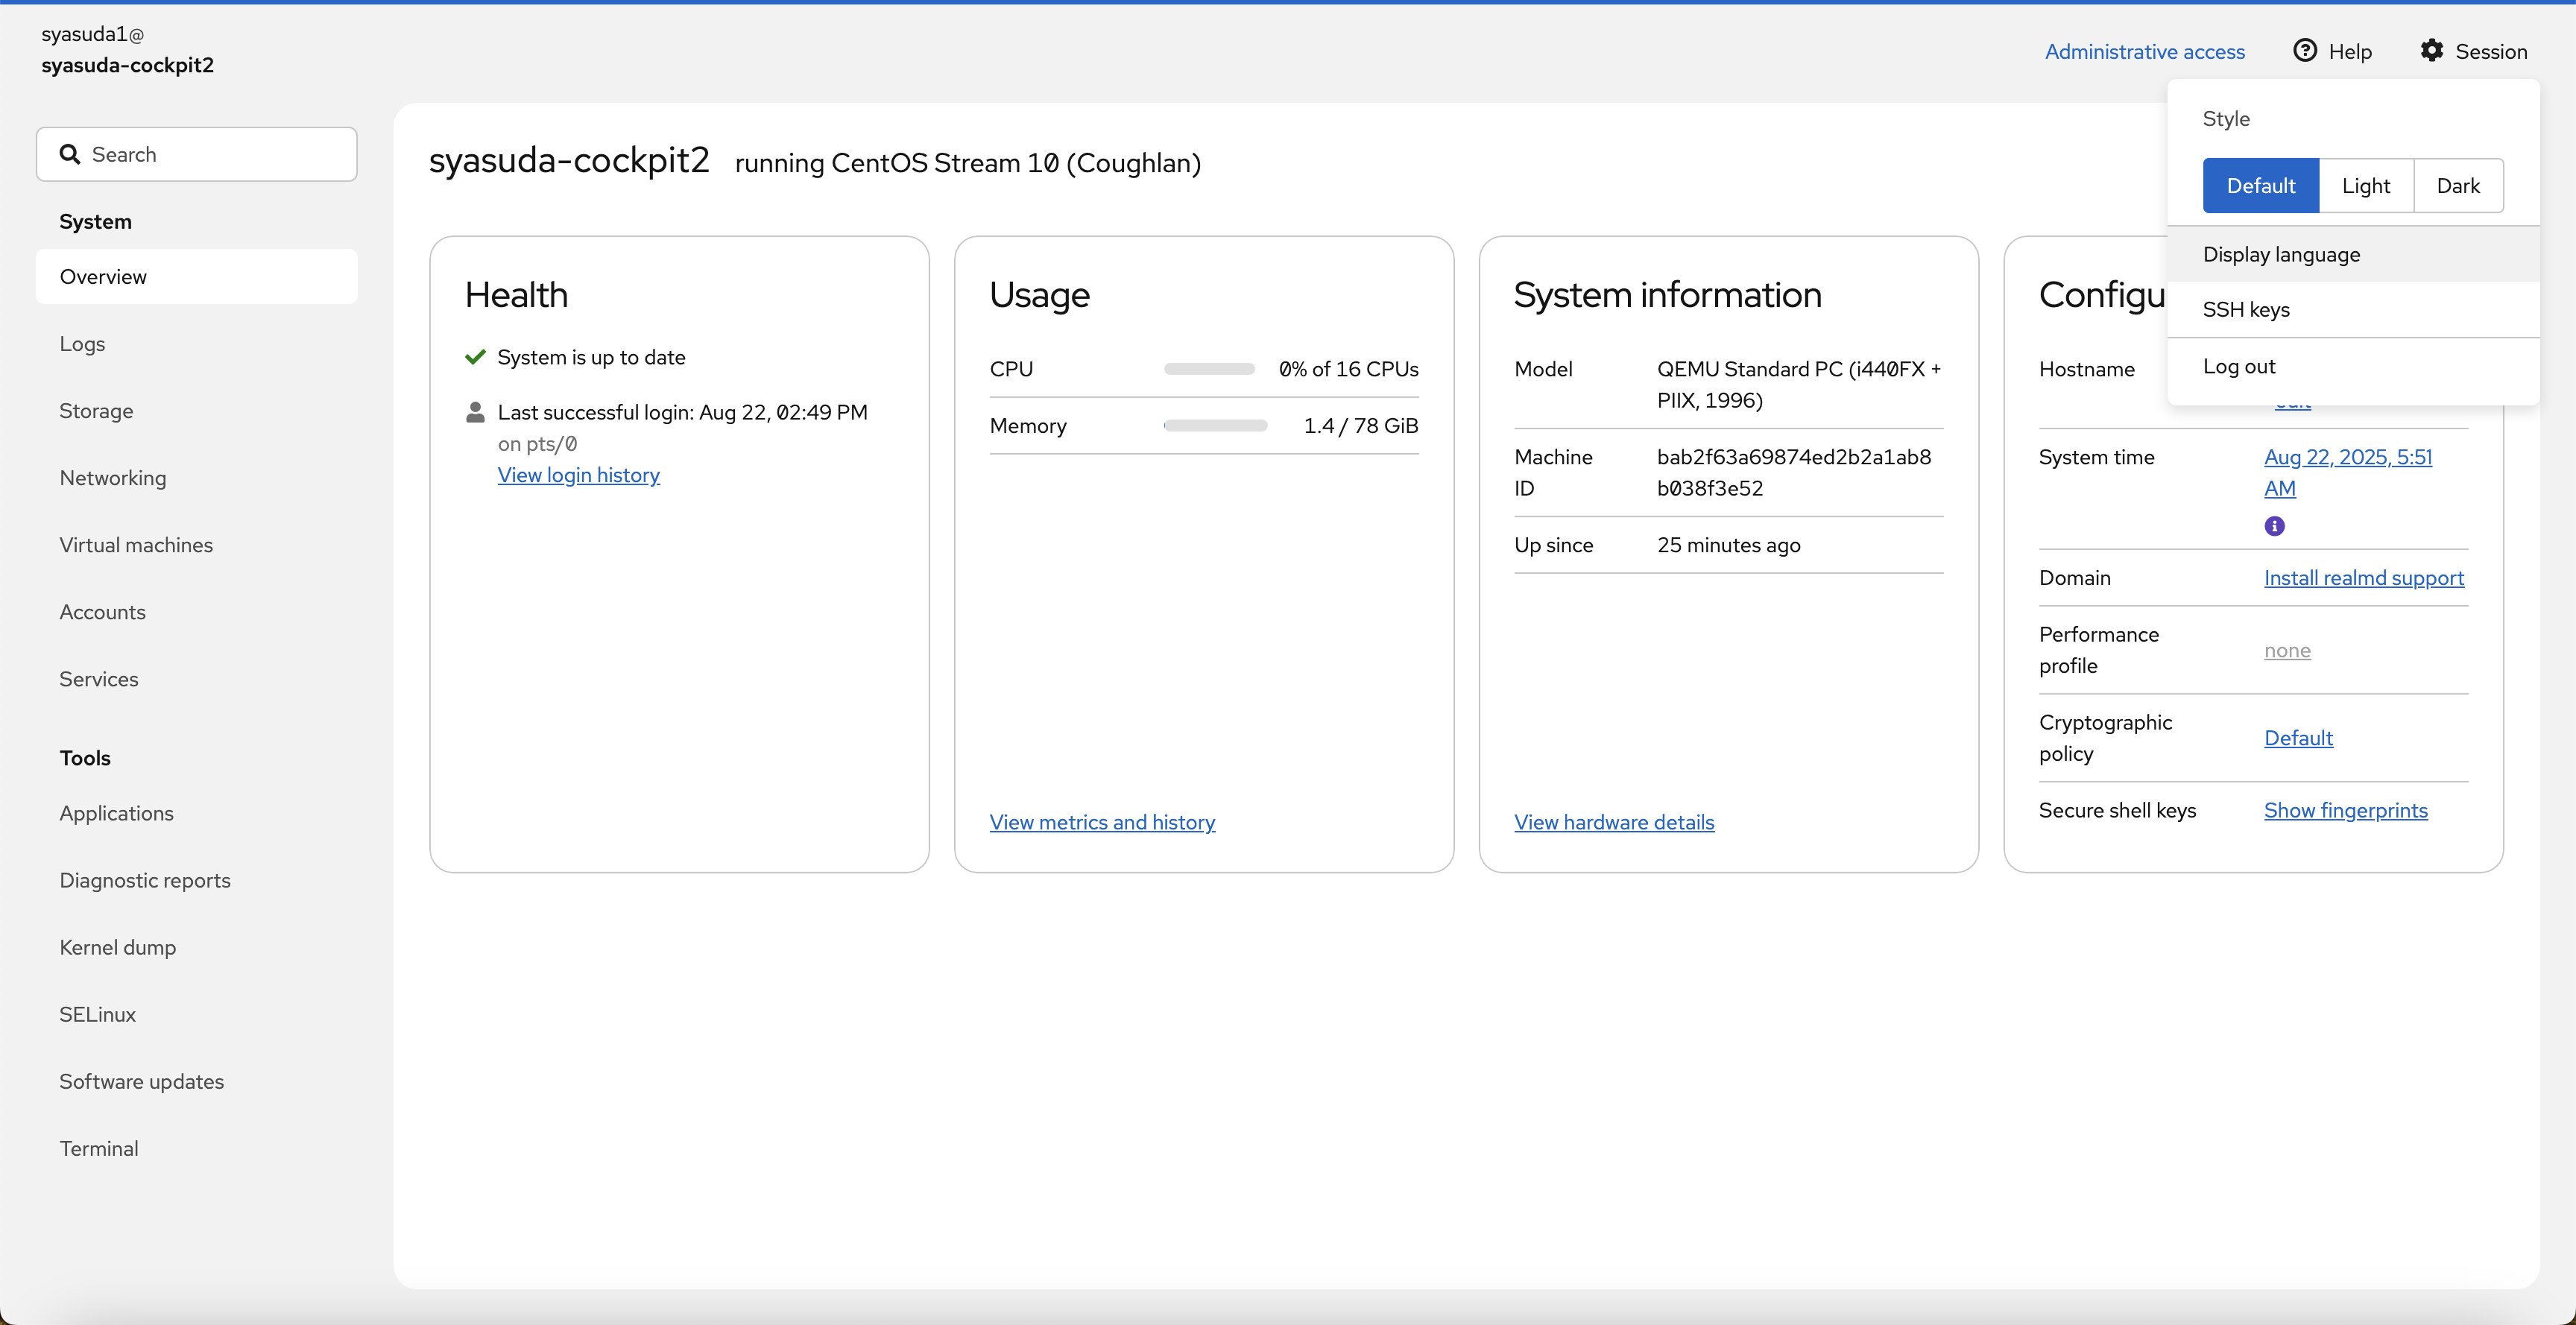
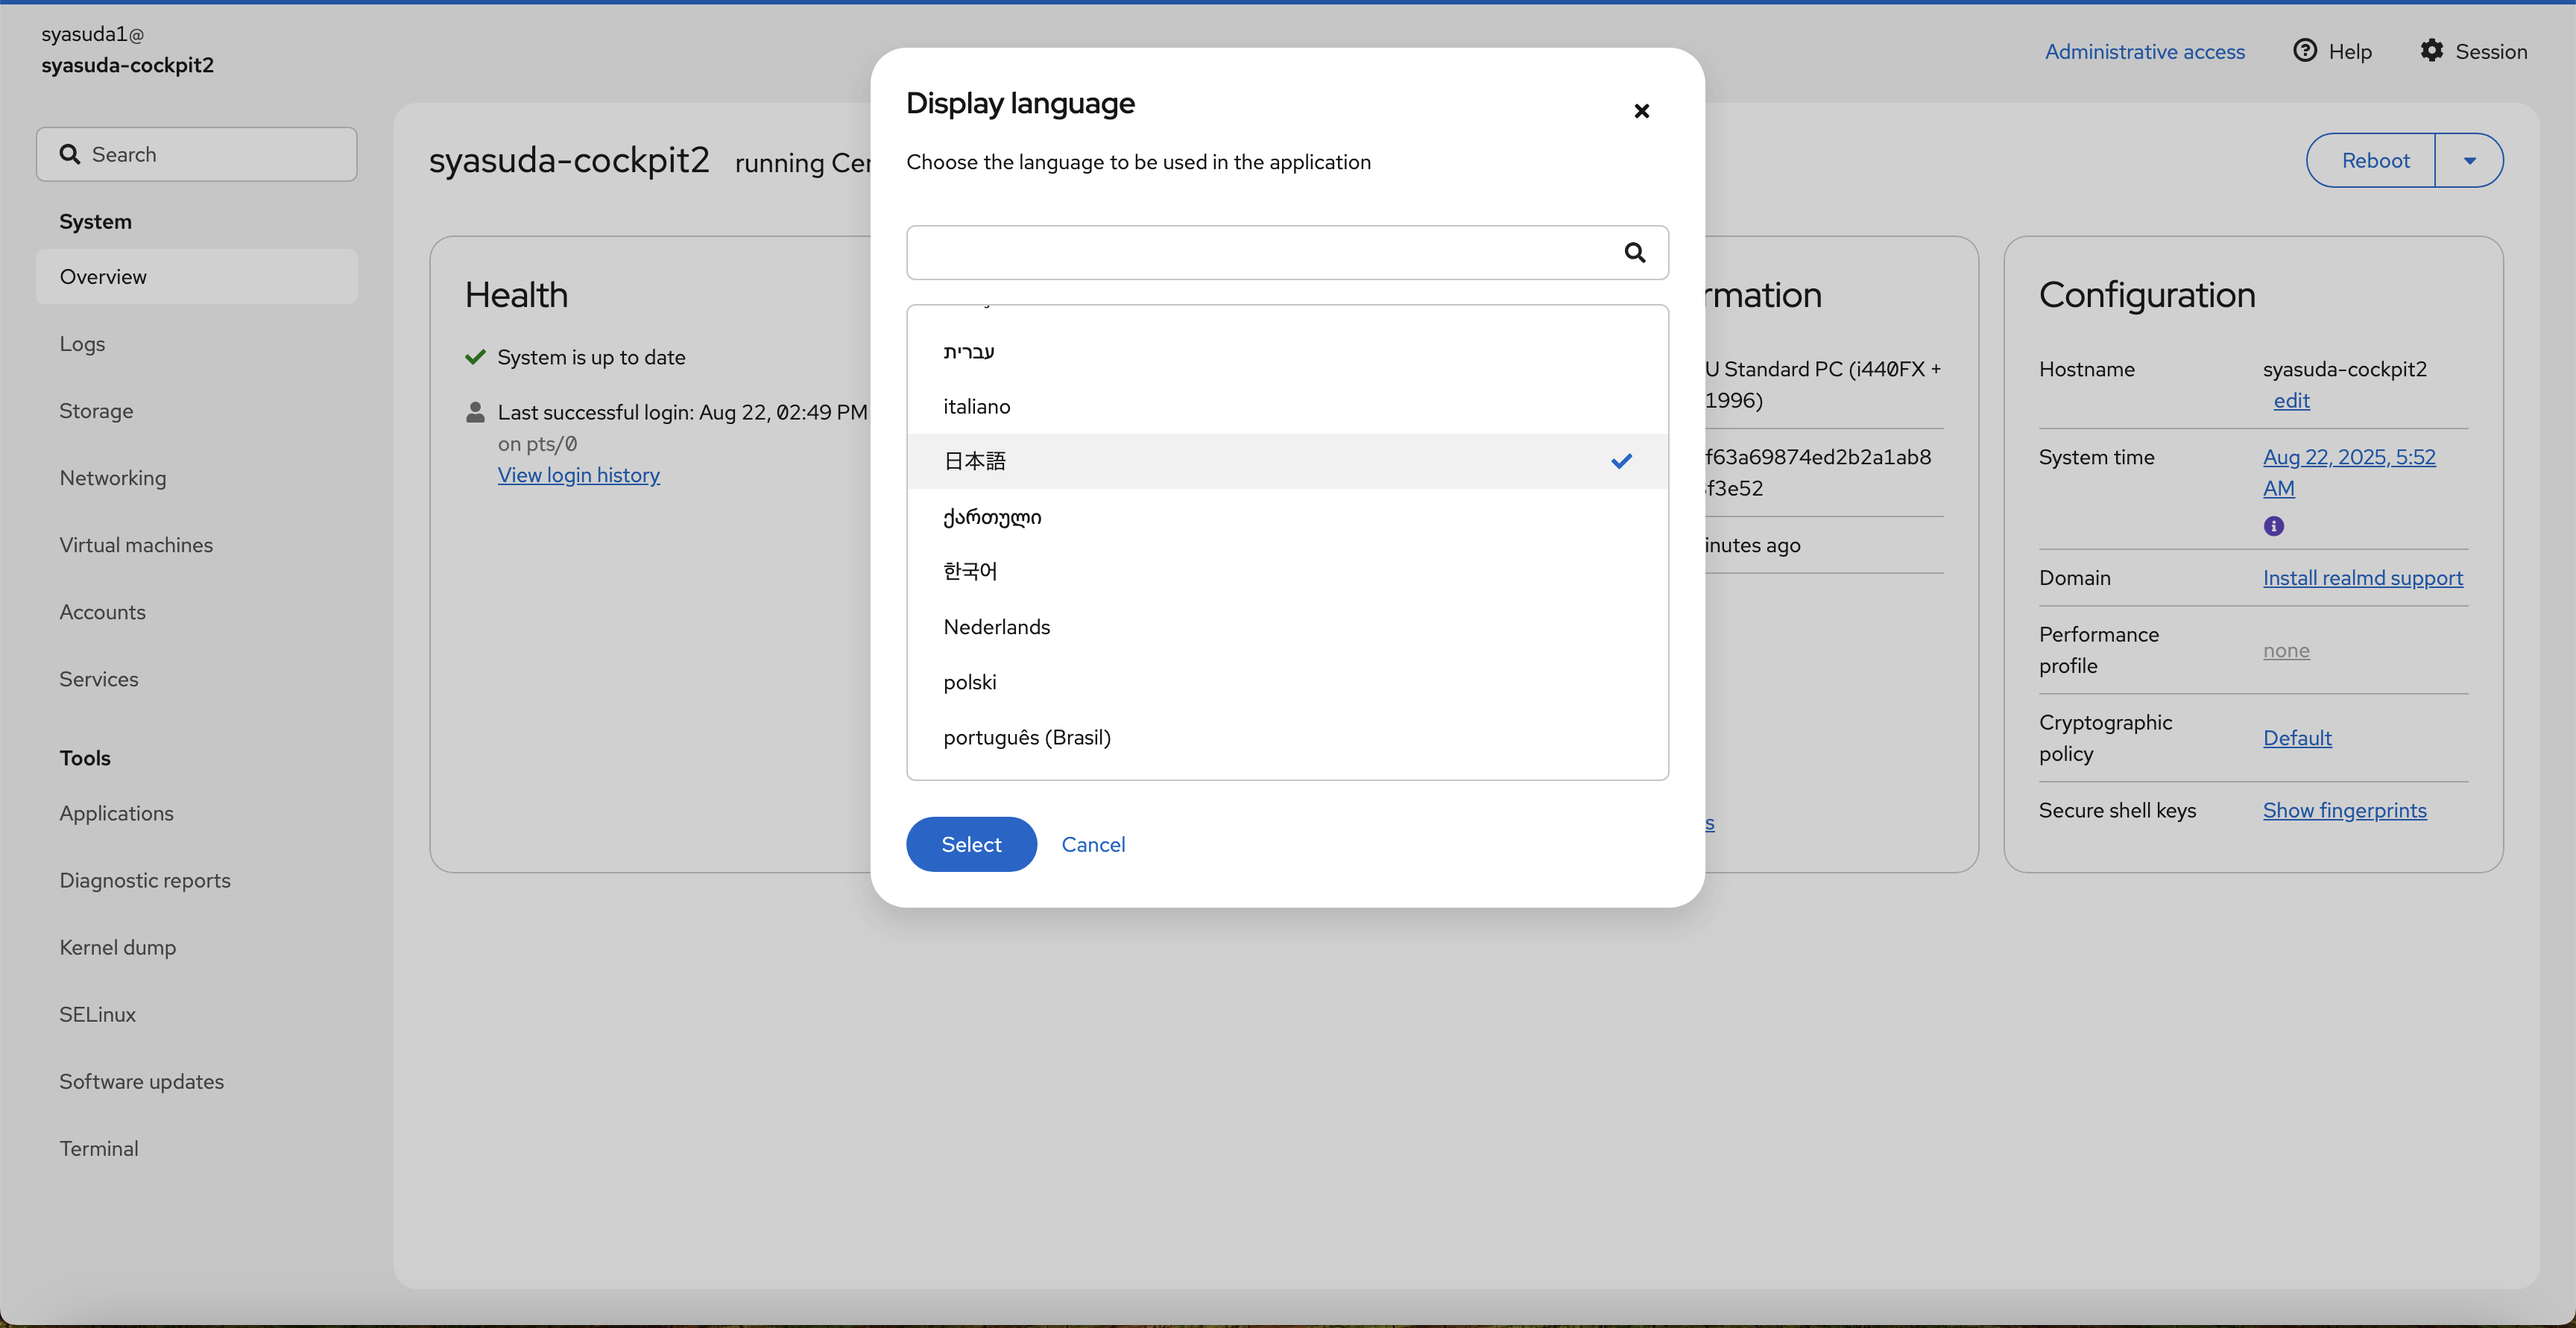
5-5. その他
-
以下より日本語に変更することも可能です(私はこういう管理コンソールは英語の方が好きなので、以下の操作は英語で行きます)。
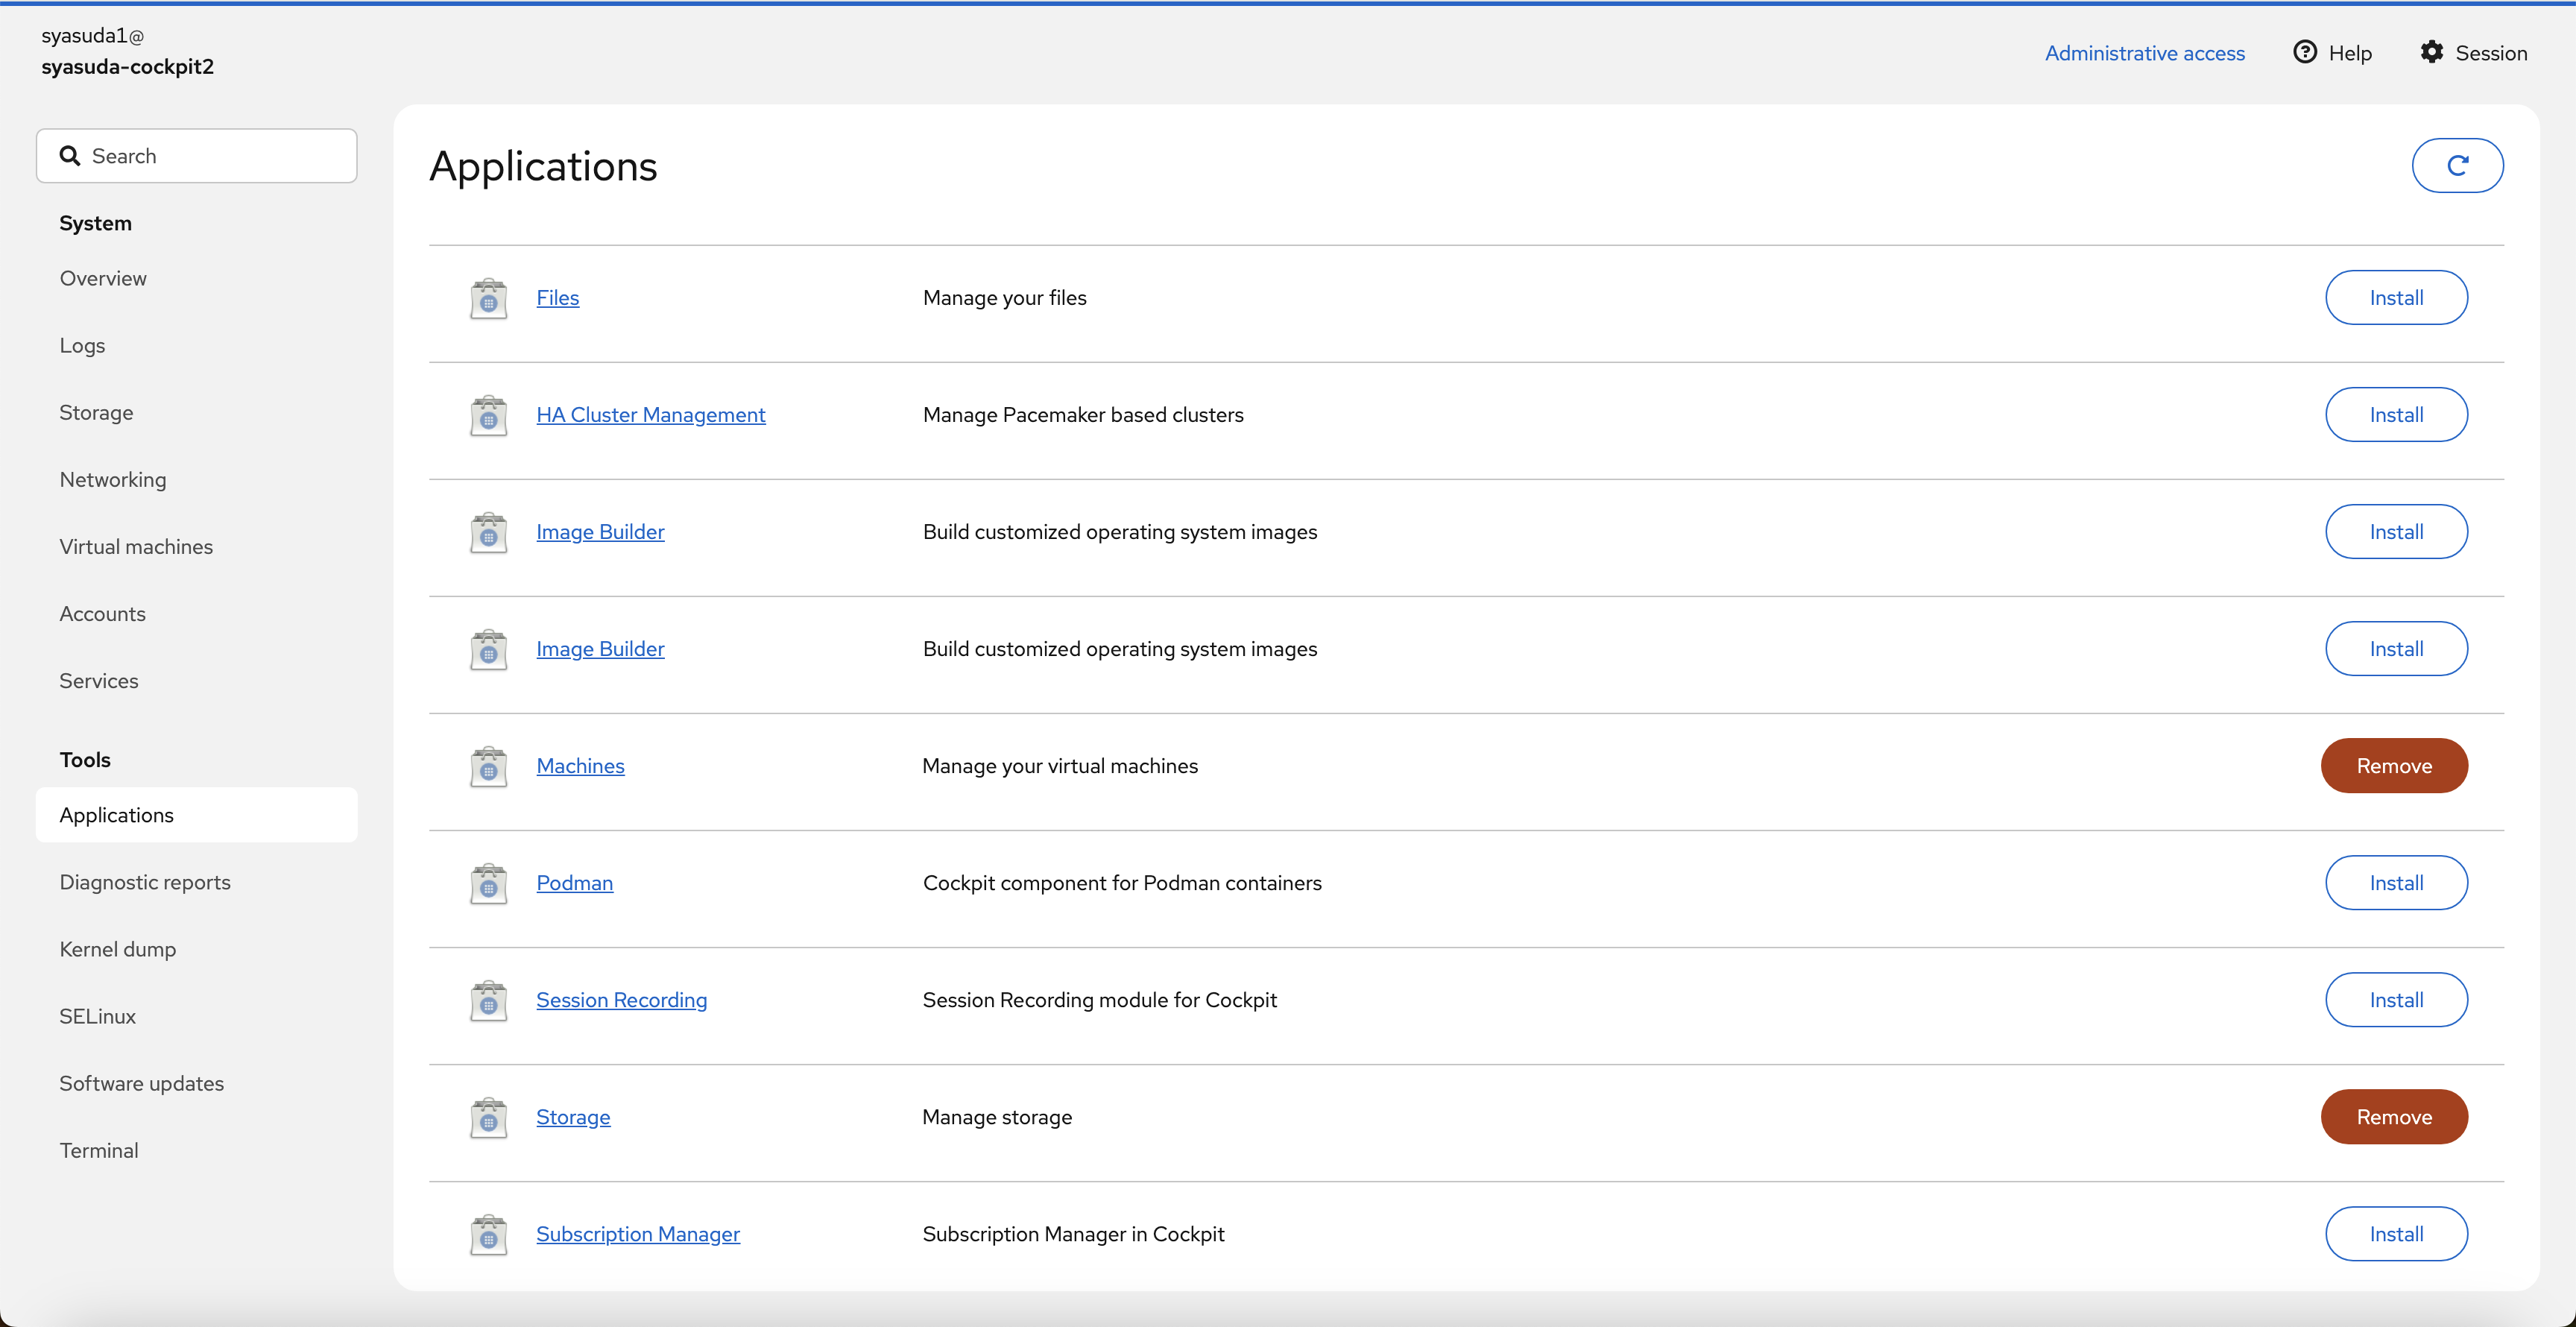
-
追加モジュールをインストールすることで、さらに他のアプリケーションを管理することが可能です。
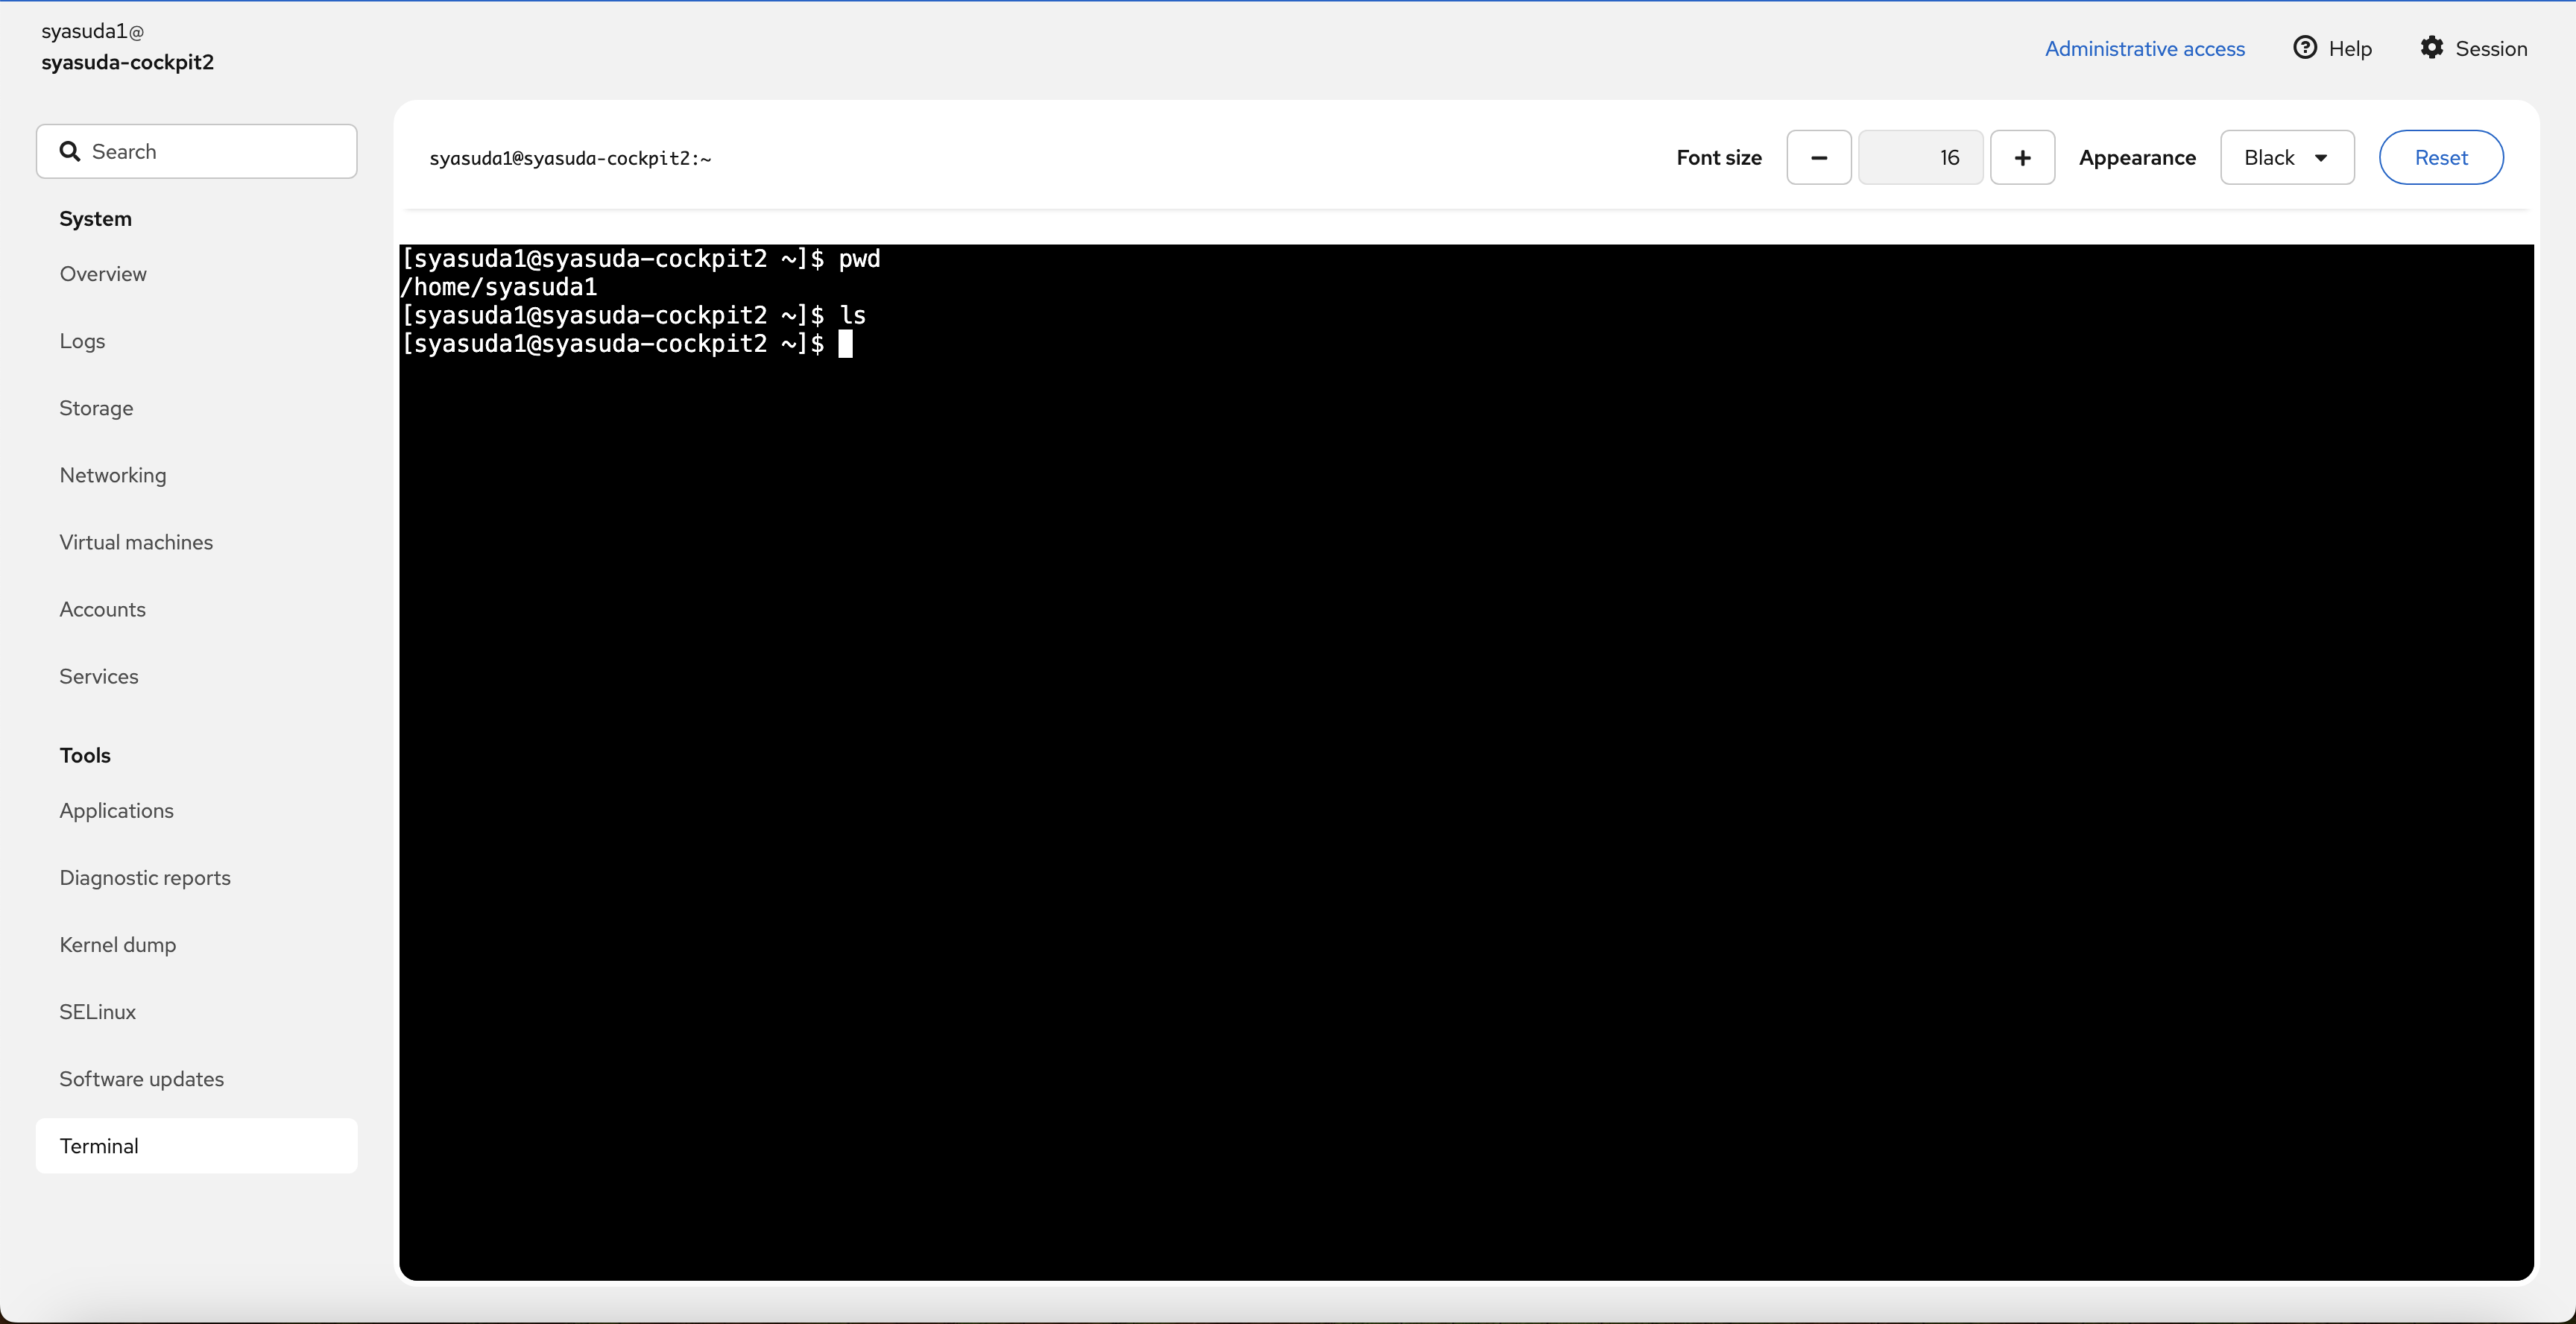
-
またCockpitからコンソール利用も利用可能です。
6. ストレージ設定
デフォルトでは/var/lib/libvirt/imagesにVMイメージが配置されます。ちょっと試すだけならそのままでも良いのですが、複数のVMを利用するとディスク領域は圧迫されてしまうため、VMイメージはもっと大きなディスク領域に配置するのが一般的でしょう。今回は、せっかくbx3d-16x80にローカルディスクが用意されているので、それを利用します。本来はCLIを利用するのが一般的ですが、Cockpitに慣れる意味も含めて、UI上でディスクのフォーマットやKVM用ストレージプールの作成をします。
このbx3d-16x80に用意されているローカルディスクは、実際はinstance storageと呼ばれるものです。ホストの再起動でデータが失われることはありませんが、ホストの停止やシャットダウンやホスト障害によってデータは失われます。例えば、課金を止めるためにVSIをシャットダウンしたらデータは消えてしまうことに注意してください。今回は検証目的であり、わざわざ別のディスクを割り当てるのが面倒だったためにinstance storageを使っていますが、本番用途では別途Block Storageを用意した方が良いでしょう。
https://cloud.ibm.com/docs/vpc?topic=vpc-instance-storage
6-1. DISKのフォーマット
- Storageに移動。vdbが余っているので、これを利用。
vdb - VirtIP Disk(02e7-13956af2-7843-4)を押下。
- パーティションを区切ってLVMを構成することもできるが、今回は単にxfsにフォーマットするだけにする。
Formatを押下。
- マウントポイントやフォーマットなどを指定。

- 完了

[root@syasuda-cockpit2 ~]# df -h
Filesystem      Size  Used Avail Use% Mounted on
/dev/vda3       100G  4.4G   96G   5% /
devtmpfs        4.0M     0  4.0M   0% /dev
tmpfs            40G     0   40G   0% /dev/shm
efivarfs        256K   22K  230K   9% /sys/firmware/efi/efivars
tmpfs            16G  9.2M   16G   1% /run
tmpfs           1.0M     0  1.0M   0% /run/credentials/systemd-journald.service
/dev/vda1       100M  8.5M   92M   9% /boot/efi
tmpfs           7.9G  4.0K  7.9G   1% /run/user/0
tmpfs           1.0M     0  1.0M   0% /run/credentials/getty@tty1.service
tmpfs           7.9G   48K  7.9G   1% /run/user/1002
/dev/vdb        485G  9.3G  475G   2% /data
6-2. Storage Poolの作成
- Virtual Machinesに移動し、左上の
0 Storage poolsを押下。
-
Create storage poolを押下
- 先ほど作成したディレクトリを選択。

- 作成完了。Activateを実施。

- Activate完了。

[root@syasuda-cockpit2 ~]# virsh pool-list
 Name      State    Autostart
-------------------------------
 default   active   yes

[root@syasuda-cockpit2 ~]# virsh pool-info default
Name:           default
UUID:           0198523e-924e-451d-9cf1-243ad1298982
State:          running
Persistent:     yes
Autostart:      yes
Capacity:       484.05 GiB
Allocation:     9.30 GiB
Available:      474.75 GiB

[root@syasuda-cockpit2 ~]# virsh pool-dumpxml default
<pool type='dir'>
  <name>default</name>
  <uuid>0198523e-924e-451d-9cf1-243ad1298982</uuid>
  <capacity unit='bytes'>519746097152</capacity>
  <allocation unit='bytes'>9985708032</allocation>
  <available unit='bytes'>509760389120</available>
  <source>
  </source>
  <target>
    <path>/data</path>
    <permissions>
      <mode>0755</mode>
      <owner>0</owner>
      <group>0</group>
      <label>system_u:object_r:unlabeled_t:s0</label>
    </permissions>
  </target>
</pool>
7. ネットワーク設定
ネットワークも、単にVMを動かすだけならどんなIPアドレスが割り振られても構わないのですが、一般的には自由にIPアドレスを割り振りたいので、今回は192.168.0.0/24からDHCPで割り振ることにします。
-
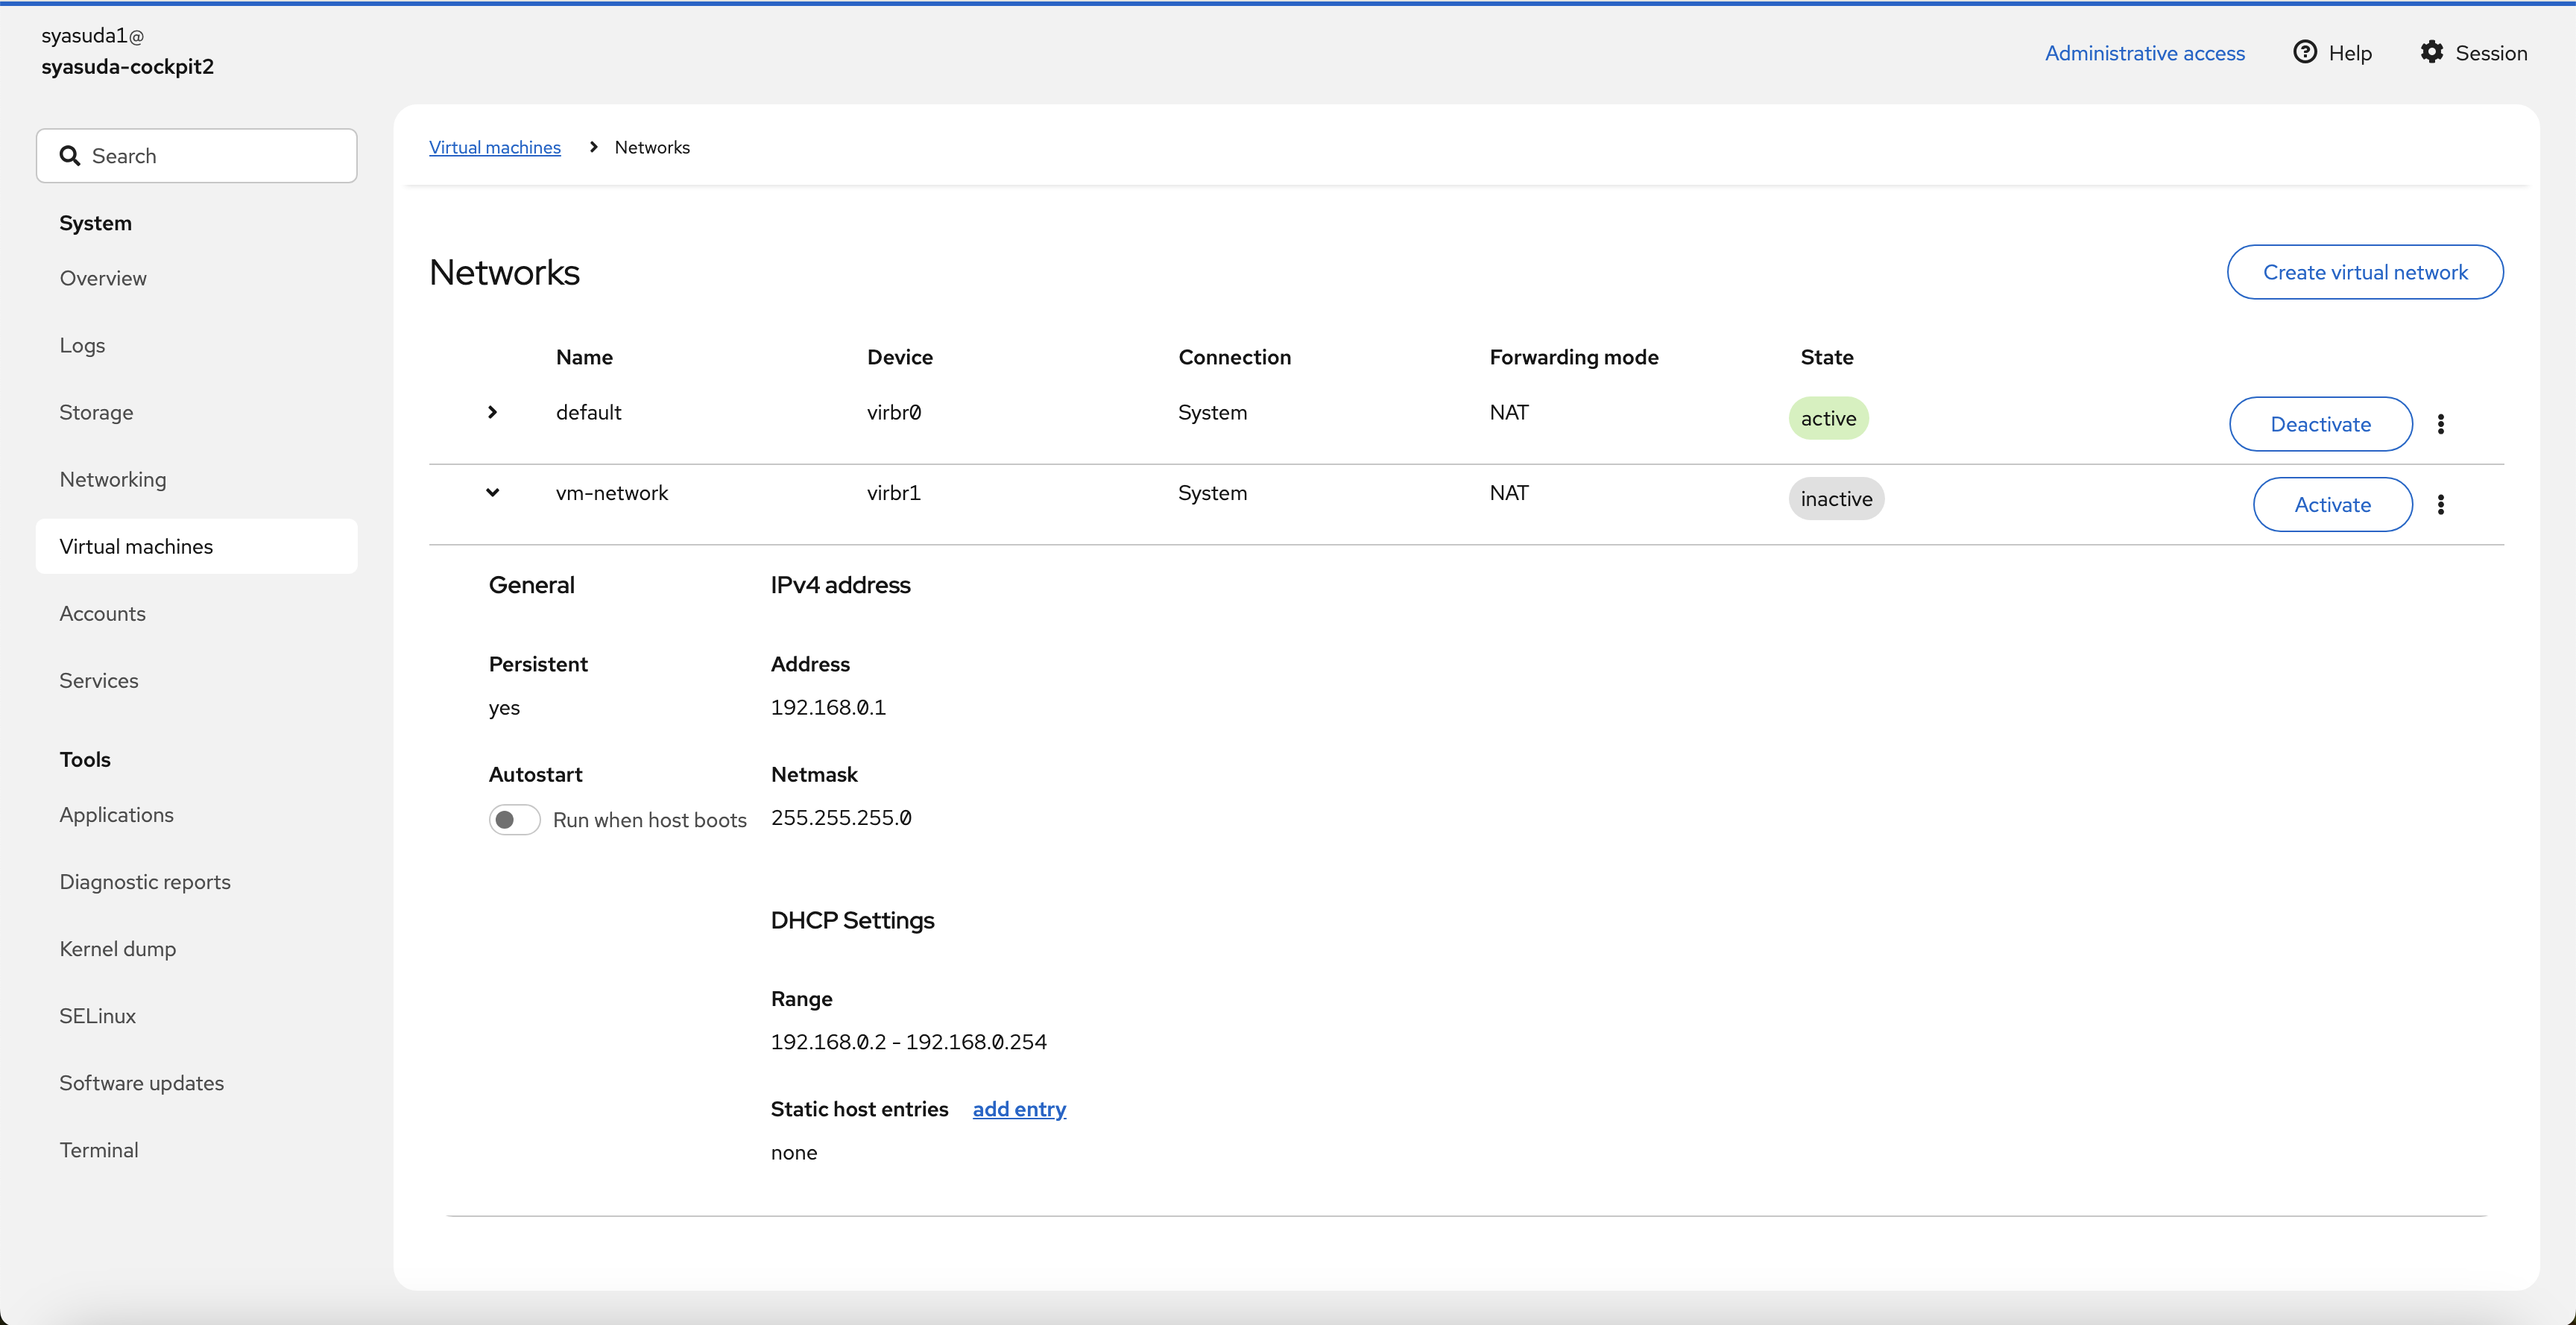
Virtual machinesに移動し、1 Networkを押下。
- すでに存在しているNetworkを確認(これは利用しない。削除しても良かったが、特に害もないのでこのまま残しておく)。

- 新規にNetworkを作成。

- Activateする。また、Auto startもActivateする。

[root@syasuda-cockpit2 ~]# ip a
1: lo: <LOOPBACK,UP,LOWER_UP> mtu 65536 qdisc noqueue state UNKNOWN group default qlen 1000
    link/loopback 00:00:00:00:00:00 brd 00:00:00:00:00:00
    inet 127.0.0.1/8 scope host lo
       valid_lft forever preferred_lft forever
    inet6 ::1/128 scope host noprefixroute
       valid_lft forever preferred_lft forever
2: eth0: <BROADCAST,MULTICAST,UP,LOWER_UP> mtu 1500 qdisc mq state UP group default qlen 1000
    link/ether 02:00:35:6d:95:c9 brd ff:ff:ff:ff:ff:ff
    altname enp0s3
    altname ens3
    altname enx0200356d95c9
    inet 10.50.0.39/24 brd 10.50.0.255 scope global dynamic noprefixroute eth0
       valid_lft 175sec preferred_lft 175sec
    inet6 fe80::35ff:fe6d:95c9/64 scope link noprefixroute
       valid_lft forever preferred_lft forever
14: virbr0: <NO-CARRIER,BROADCAST,MULTICAST,UP> mtu 1500 qdisc htb state DOWN group default qlen 1000
    link/ether 52:54:00:ba:87:92 brd ff:ff:ff:ff:ff:ff
    inet 192.168.122.1/24 brd 192.168.122.255 scope global virbr0
       valid_lft forever preferred_lft forever
15: virbr1: <NO-CARRIER,BROADCAST,MULTICAST,UP> mtu 1500 qdisc htb state DOWN group default qlen 1000
    link/ether 52:54:00:9f:4a:7d brd ff:ff:ff:ff:ff:ff
    inet 192.168.0.1/24 brd 192.168.0.255 scope global virbr1
       valid_lft forever preferred_lft forever

[root@syasuda-cockpit2 ~]# ip r
default via 10.50.0.1 dev eth0 proto dhcp src 10.50.0.39 metric 100
10.50.0.0/24 dev eth0 proto kernel scope link src 10.50.0.39 metric 100
192.168.0.0/24 dev virbr1 proto kernel scope link src 192.168.0.1 linkdown
192.168.122.0/24 dev virbr0 proto kernel scope link src 192.168.122.1 linkdown
8. VMの作成
-
Virtual machinesに移動し、Create VMを押下。
- 色々なインストール方法や色々なOSがサポートされていることがわかる。今回は、
Download an OS(ネットワーク経由でOSをダウンロードしてインストールしてくる)と、Rocky Linuxを選択。Storage Sizeは20GB(デフォルトのサイズのままだとRocky Linuxをインストールできなかった)、メモリは4GBを選択。ここで、設定を色々変更したいので、Create and runではなく、Create and editを押下してカスタマイズを行う。


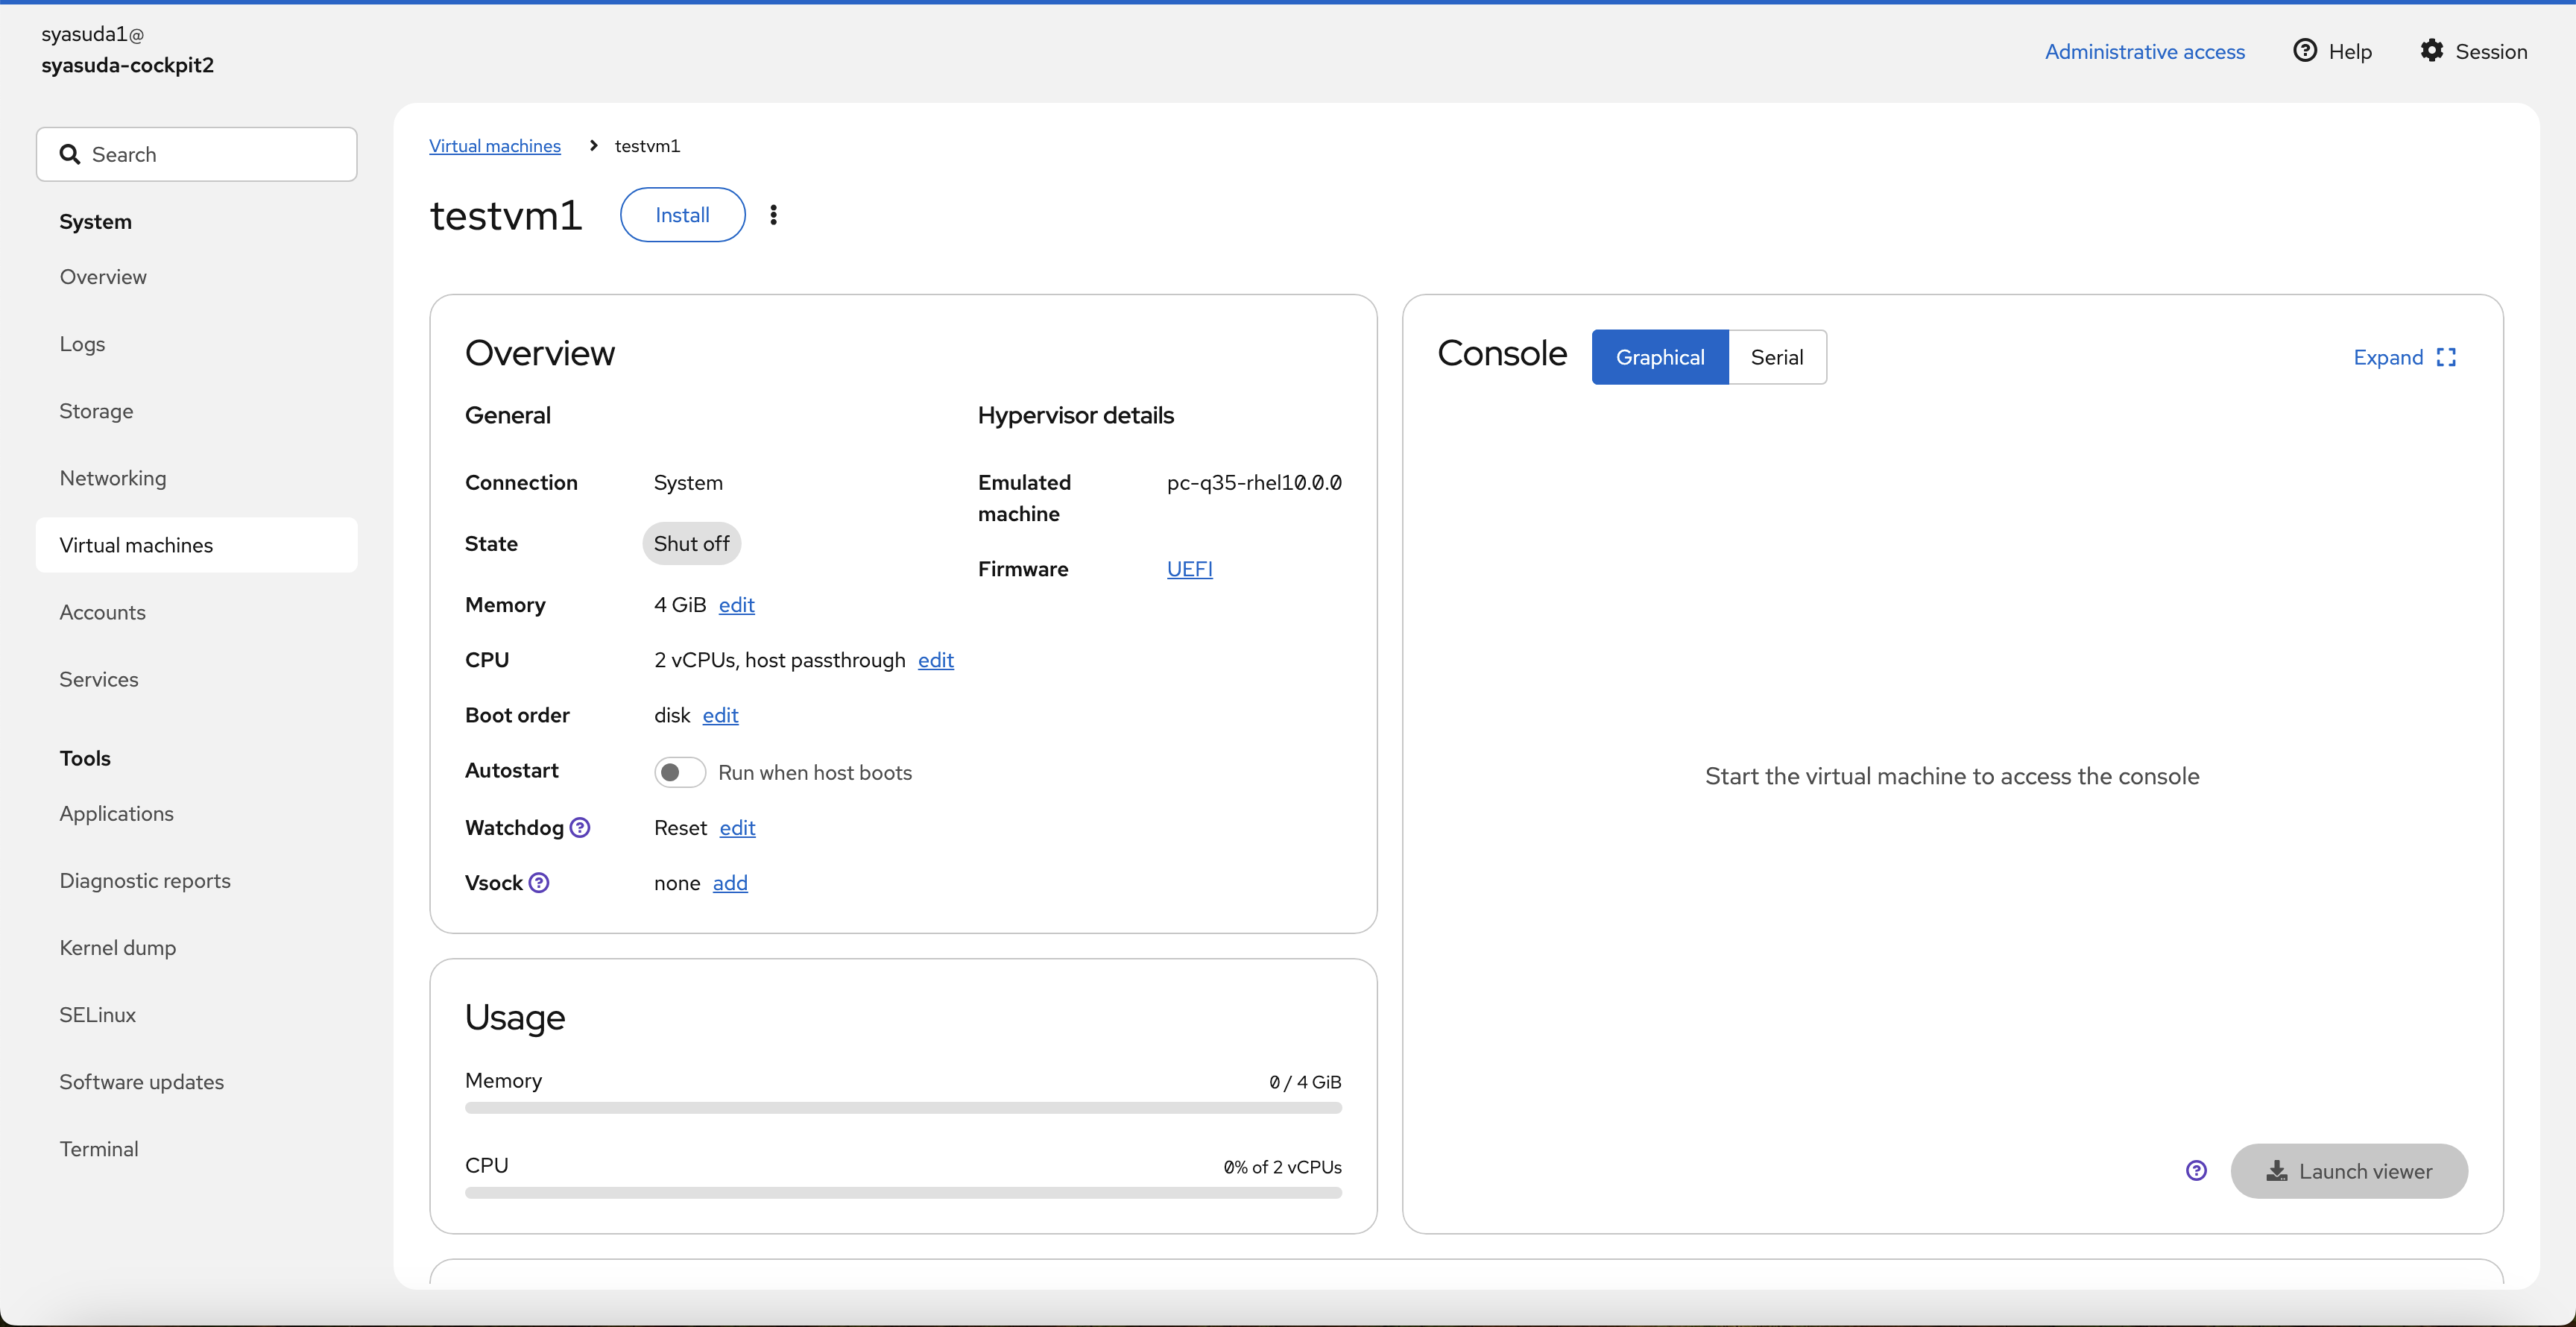
- カスタマイズの例1。FirmwareをBIOSからUEFIにする(必須ではないが今回は検証も兼ねて変更)。
- Before:
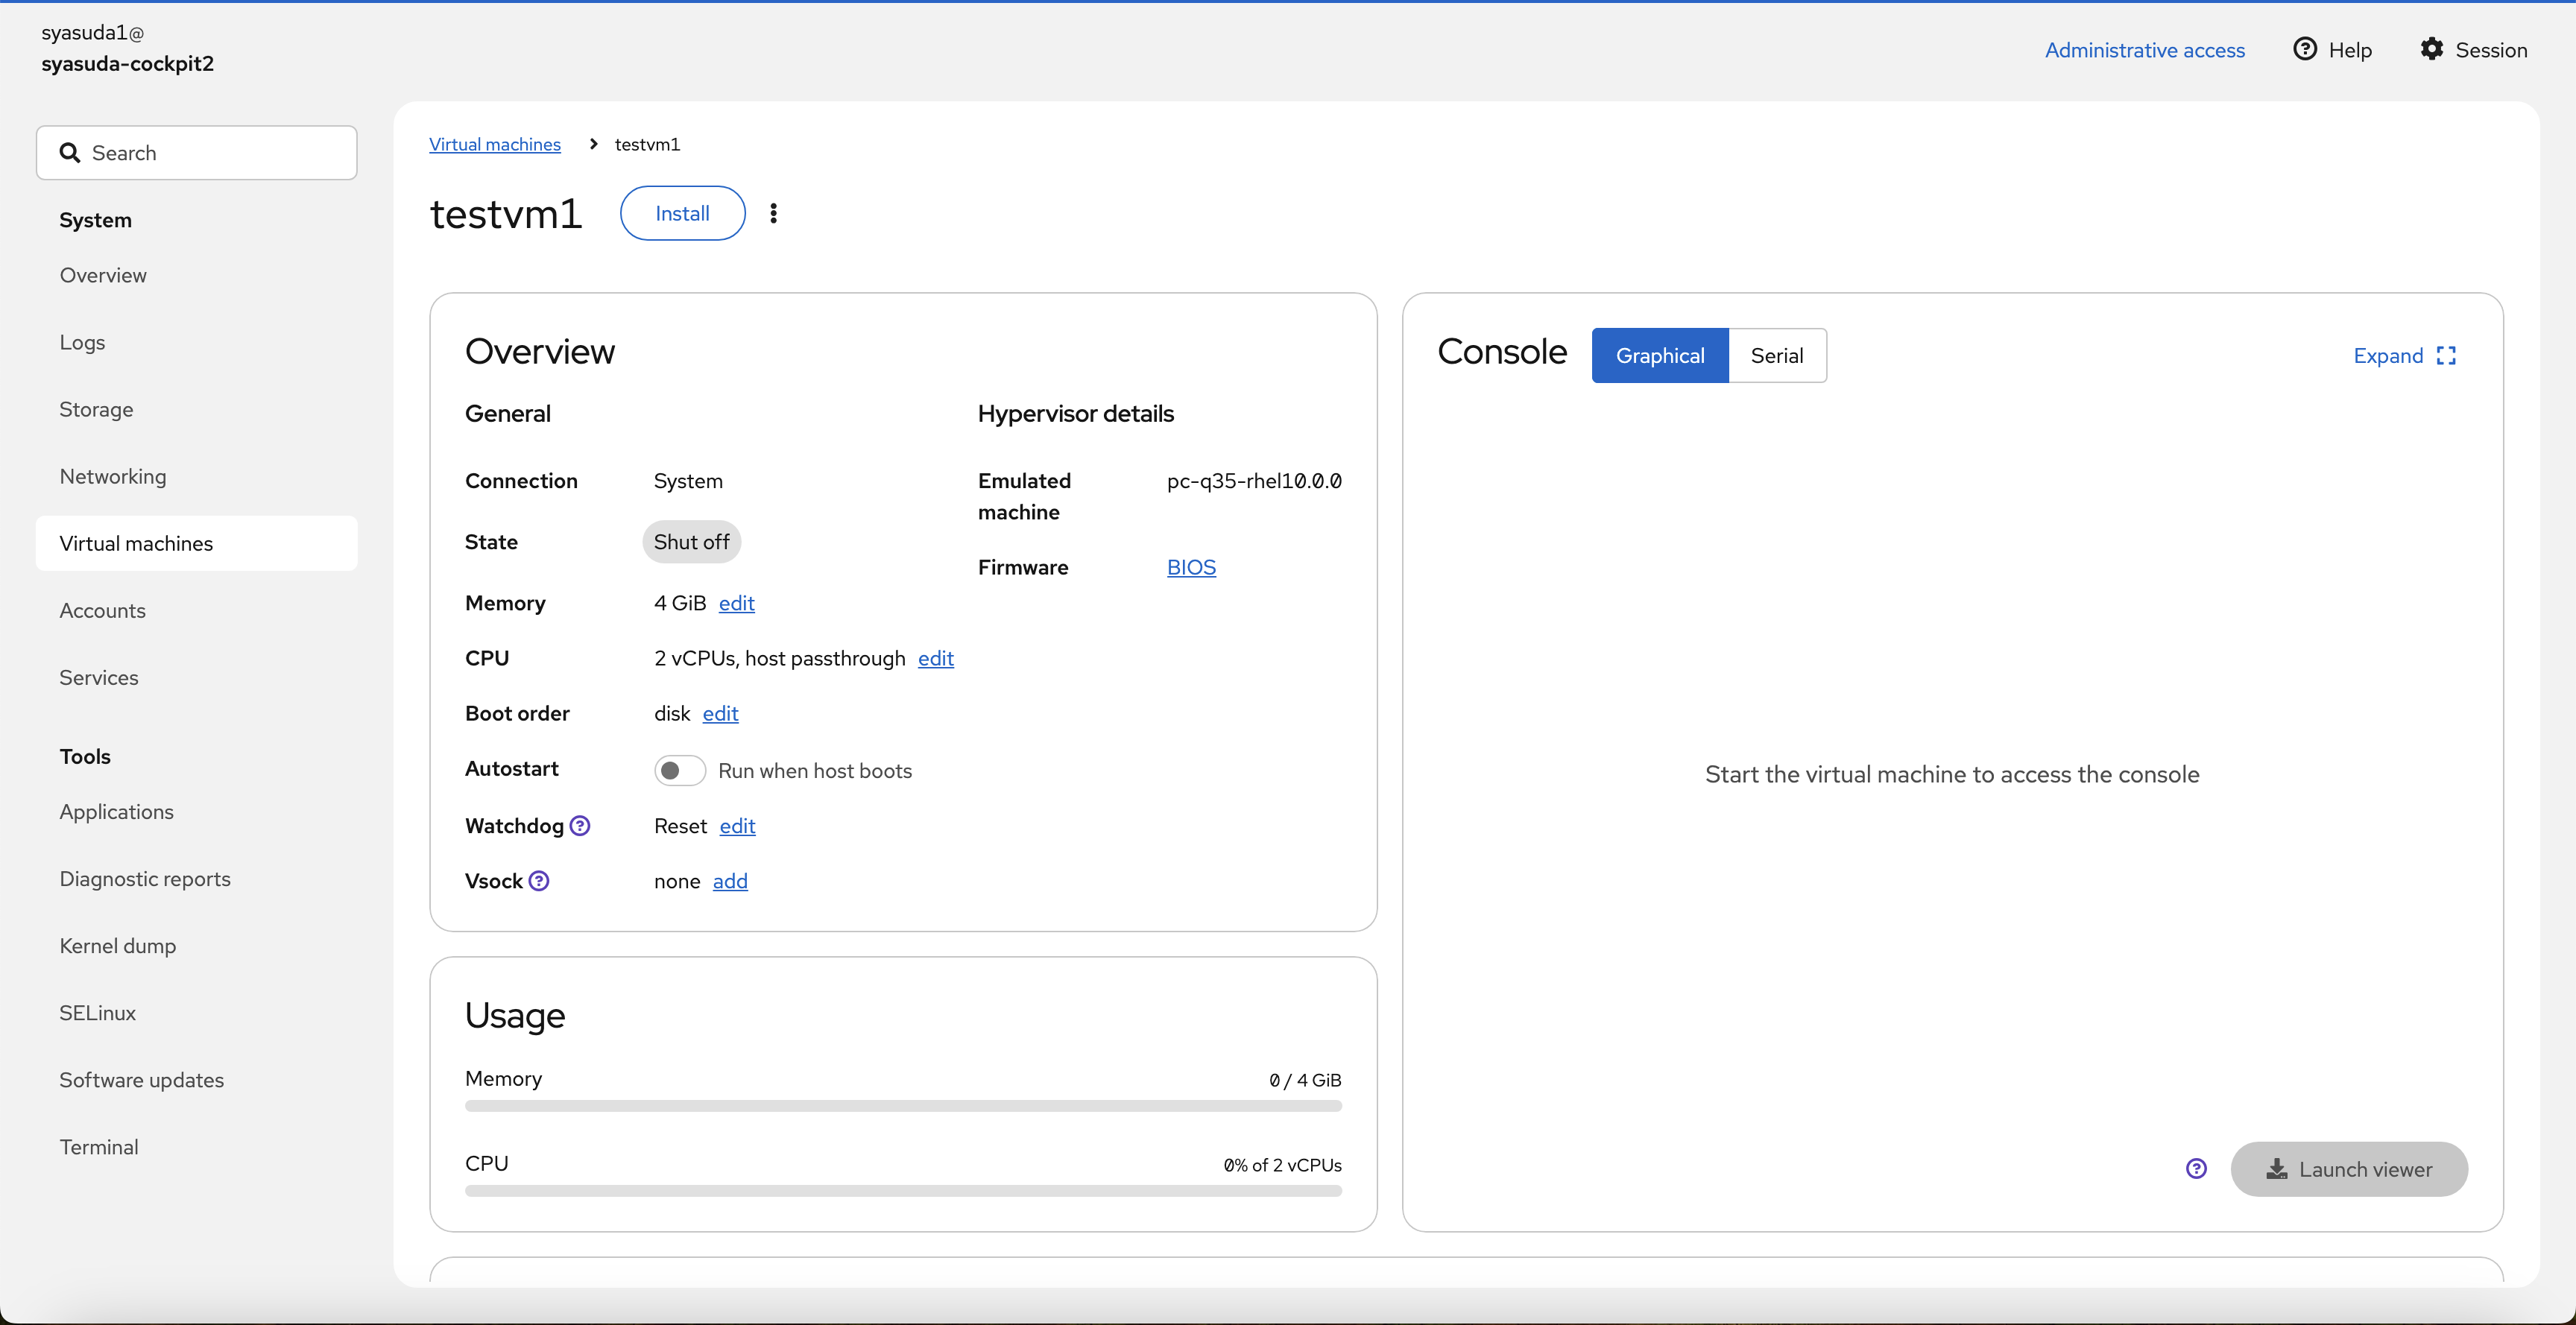
- After:
- Before:
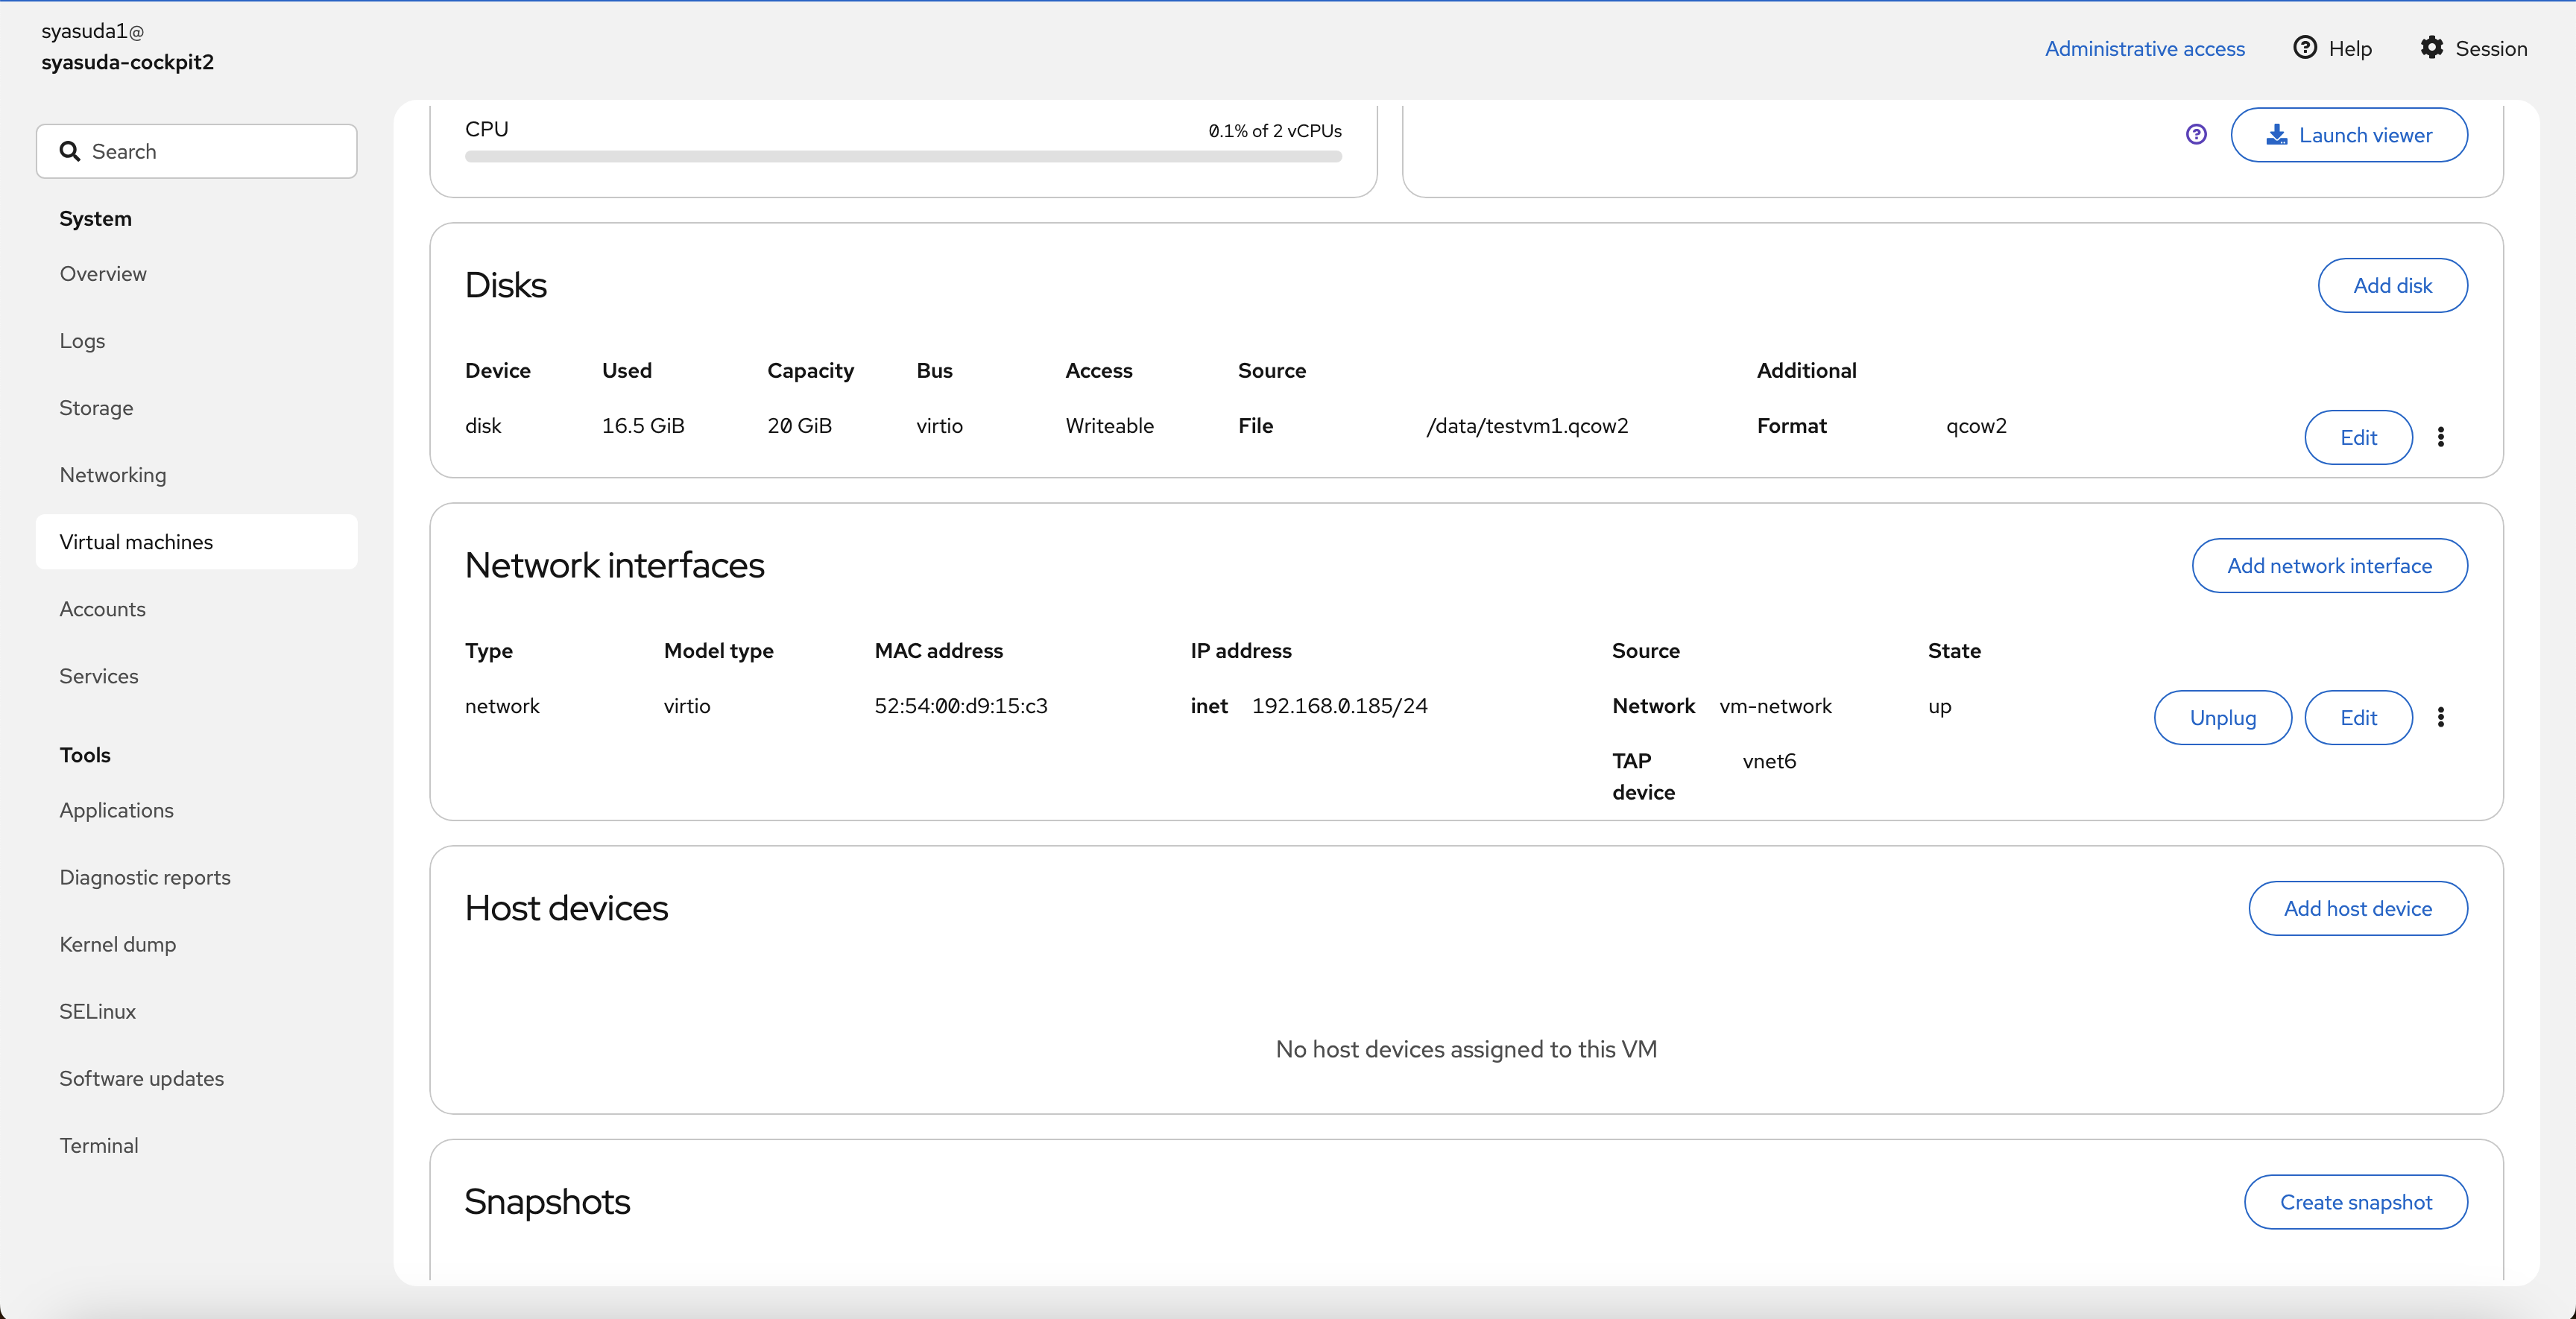
- カスタマイズの例2。VMのネットワークを
default(デフォルトで用意されていたもの)からvm-network(先ほど作成したネットワーク)に変更。

-
Installを押下
- 以下、インストール作業が実施。
- ネットワーク越しにインストーラーがダウンロードされて、インストーラーが起動される。言語を選択。

- 各種設定

- Root password

- User Creation(一般ユーザーの作成)。デフォルトでRocky Linuxはrootユーザーによるパスワード方式でのSSHアクセスを禁じているため、一般ユーザーを作成しておく

- Installation Destination

- 全部設定できたら次へ

- インストールの開始

- インストール完了

- Reboot後

9. VMへのアクセスと設定確認。
以下のように、192.168.0.185/24が割り当てられていることを確認。
[root@syasuda-cockpit2 ~]# ssh kvmuser01@192.168.0.185
kvmuser01@192.168.0.185's password:

[kvmuser01@localhost ~]$ su -
Password:

[root@localhost ~]# ip a
1: lo: <LOOPBACK,UP,LOWER_UP> mtu 65536 qdisc noqueue state UNKNOWN group default qlen 1000
    link/loopback 00:00:00:00:00:00 brd 00:00:00:00:00:00
    inet 127.0.0.1/8 scope host lo
       valid_lft forever preferred_lft forever
    inet6 ::1/128 scope host
       valid_lft forever preferred_lft forever
2: enp1s0: <BROADCAST,MULTICAST,UP,LOWER_UP> mtu 1500 qdisc fq_codel state UP group default qlen 1000
    link/ether 52:54:00:d9:15:c3 brd ff:ff:ff:ff:ff:ff
    inet 192.168.0.185/24 brd 192.168.0.255 scope global dynamic noprefixroute enp1s0
       valid_lft 2743sec preferred_lft 2743sec
    inet6 fe80::5054:ff:fed9:15c3/64 scope link noprefixroute
       valid_lft forever preferred_lft forever

[root@localhost ~]# ip r
default via 192.168.0.1 dev enp1s0 proto dhcp src 192.168.0.185 metric 100
192.168.0.0/24 dev enp1s0 proto kernel scope link src 192.168.0.185 metric 100

[root@localhost ~]# cat /etc/resolv.conf
# Generated by NetworkManager
search vm-network
nameserver 192.168.0.1

[root@localhost ~]# dmesg | grep -i kvm
[    0.000000] DMI: Red Hat KVM/RHEL, BIOS edk2-20250523-2.el10 05/23/2025
[    0.000000] Hypervisor detected: KVM
[    0.000000] kvm-clock: Using msrs 4b564d01 and 4b564d00
[    0.000000] kvm-clock: using sched offset of 9043644866 cycles
[    0.000002] clocksource: kvm-clock: mask: 0xffffffffffffffff max_cycles: 0x1cd42e4dffb, max_idle_ns: 881590591483 ns
[    0.060187] kvm-guest: APIC: eoi() replaced with kvm_guest_apic_eoi_write()
[    0.060278] kvm-guest: KVM setup pv remote TLB flush
[    0.060339] kvm-guest: setup PV sched yield
[    0.060371] Booting paravirtualized kernel on KVM
[    0.067834] kvm-guest: PV spinlocks enabled
[    0.123968] kvm-guest: APIC: send_IPI_mask() replaced with kvm_send_ipi_mask()
[    0.123973] kvm-guest: APIC: send_IPI_mask_allbutself() replaced with kvm_send_ipi_mask_allbutself()
[    0.123975] kvm-guest: setup PV IPIs
[    0.675548] clocksource: Switched to clocksource kvm-clock
[    1.902044] systemd[1]: Detected virtualization kvm.
[    3.508717] systemd[1]: Detected virtualization kvm.

[root@localhost ~]# dmesg |grep -i uefi
[    1.662430] integrity: Loading X.509 certificate: UEFI:db
[    1.662460] integrity: Loading X.509 certificate: UEFI:db
[    1.662470] integrity: Loaded X.509 cert 'Microsoft Corporation: Windows UEFI CA 2023: aefc5fbbbe055d8f8daa585473499417ab5a5272'
[    1.662470] integrity: Loading X.509 certificate: UEFI:db
[    1.662479] integrity: Loaded X.509 cert 'Microsoft Corporation UEFI CA 2011: 13adbf4309bd82709c8cd54f316ed522988a1bd4'
[    1.662485] integrity: Loading X.509 certificate: UEFI:db
[    1.662501] integrity: Loaded X.509 cert 'Microsoft UEFI CA 2023: 81aa6b3244c935bce0d6628af39827421e32497d'
[    1.665948] integrity: Loading X.509 certificate: UEFI:MokListRT (MOKvar table)
[    1.666354] integrity: Loading X.509 certificate: UEFI:MokListRT (MOKvar table)
[root@syasuda-cockpit2 ~]# ip a
1: lo: <LOOPBACK,UP,LOWER_UP> mtu 65536 qdisc noqueue state UNKNOWN group default qlen 1000
    link/loopback 00:00:00:00:00:00 brd 00:00:00:00:00:00
    inet 127.0.0.1/8 scope host lo
       valid_lft forever preferred_lft forever
    inet6 ::1/128 scope host noprefixroute
       valid_lft forever preferred_lft forever
2: eth0: <BROADCAST,MULTICAST,UP,LOWER_UP> mtu 1500 qdisc mq state UP group default qlen 1000
    link/ether 02:00:35:6d:95:c9 brd ff:ff:ff:ff:ff:ff
    altname enp0s3
    altname ens3
    altname enx0200356d95c9
    inet 10.50.0.39/24 brd 10.50.0.255 scope global dynamic noprefixroute eth0
       valid_lft 155sec preferred_lft 155sec
    inet6 fe80::35ff:fe6d:95c9/64 scope link noprefixroute
       valid_lft forever preferred_lft forever
14: virbr0: <NO-CARRIER,BROADCAST,MULTICAST,UP> mtu 1500 qdisc htb state DOWN group default qlen 1000
    link/ether 52:54:00:ba:87:92 brd ff:ff:ff:ff:ff:ff
    inet 192.168.122.1/24 brd 192.168.122.255 scope global virbr0
       valid_lft forever preferred_lft forever
15: virbr1: <BROADCAST,MULTICAST,UP,LOWER_UP> mtu 1500 qdisc htb state UP group default qlen 1000
    link/ether 52:54:00:9f:4a:7d brd ff:ff:ff:ff:ff:ff
    inet 192.168.0.1/24 brd 192.168.0.255 scope global virbr1
       valid_lft forever preferred_lft forever
17: vnet6: <BROADCAST,MULTICAST,UP,LOWER_UP> mtu 1500 qdisc noqueue master virbr1 state UNKNOWN group default qlen 1000
    link/ether fe:54:00:d9:15:c3 brd ff:ff:ff:ff:ff:ff
    inet6 fe80::fc54:ff:fed9:15c3/64 scope link proto kernel_ll
       valid_lft forever preferred_lft forever

[root@syasuda-cockpit2 ~]# ip link show master virbr1
17: vnet6: <BROADCAST,MULTICAST,UP,LOWER_UP> mtu 1500 qdisc noqueue master virbr1 state UNKNOWN mode DEFAULT group default qlen 1000
    link/ether fe:54:00:d9:15:c3 brd ff:ff:ff:ff:ff:ff

[root@syasuda-cockpit2 ~]# virsh list --all
 Id   Name      State
-------------------------
 8    testvm1   running

[root@syasuda-cockpit2 ~]# virsh domifaddr testvm1
 Name       MAC address          Protocol     Address
-------------------------------------------------------------------------------
 vnet6      52:54:00:d9:15:c3    ipv4         192.168.0.185/24
また、単なるQEMUにおけるソフトウェア・エミュレーションモードではなく、KVMとしてVMが稼働していることは、以下でも確認できます。
[root@syasuda-cockpit2 ~]# ps -ef |grep qemu-kvm
qemu       33446       1  3 12:24 ?        00:00:43 /usr/libexec/qemu-kvm -name guest=testvm1,debug-threads=on -S -object {"qom-type":"secret","id":"masterKey0","format":"raw","file":"/var/lib/libvirt/qemu/domain-8-testvm1/master-key.aes"} -blockdev {"driver":"file","filename":"/usr/share/edk2/ovmf/OVMF_CODE.secboot.fd","node-name":"libvirt-pflash0-storage","auto-read-only":true,"discard":"unmap"} -blockdev {"node-name":"libvirt-pflash0-format","read-only":true,"driver":"raw","file":"libvirt-pflash0-storage"} -blockdev {"driver":"file","filename":"/var/lib/libvirt/qemu/nvram/testvm1_VARS.fd","node-name":"libvirt-pflash1-storage","read-only":false} -machine pc-q35-rhel10.0.0,usb=off,smm=on,dump-guest-core=off,memory-backend=pc.ram,pflash0=libvirt-pflash0-format,pflash1=libvirt-pflash1-storage,hpet=off,acpi=on -accel kvm -cpu host,migratable=on -global driver=cfi.pflash01,property=secure,value=on -m size=4194304k -object {"qom-type":"memory-backend-ram","id":"pc.ram","size":4294967296} -overcommit mem-lock=off -smp 2,sockets=2,cores=1,threads=1 -uuid fd196bde-e171-490b-89ad-d4f53aee07a8 -no-user-config -nodefaults -chardev socket,id=charmonitor,fd=34,server=on,wait=off -mon chardev=charmonitor,id=monitor,mode=control -rtc base=utc,driftfix=slew -global kvm-pit.lost_tick_policy=delay -no-shutdown -global ICH9-LPC.disable_s3=1 -global ICH9-LPC.disable_s4=1 -boot strict=on -device {"driver":"pcie-root-port","port":16,"chassis":1,"id":"pci.1","bus":"pcie.0","multifunction":true,"addr":"0x2"} -device {"driver":"pcie-root-port","port":17,"chassis":2,"id":"pci.2","bus":"pcie.0","addr":"0x2.0x1"} -device {"driver":"pcie-root-port","port":18,"chassis":3,"id":"pci.3","bus":"pcie.0","addr":"0x2.0x2"} -device {"driver":"pcie-root-port","port":19,"chassis":4,"id":"pci.4","bus":"pcie.0","addr":"0x2.0x3"} -device {"driver":"pcie-root-port","port":20,"chassis":5,"id":"pci.5","bus":"pcie.0","addr":"0x2.0x4"} -device {"driver":"pcie-root-port","port":21,"chassis":6,"id":"pci.6","bus":"pcie.0","addr":"0x2.0x5"} -device {"driver":"pcie-root-port","port":22,"chassis":7,"id":"pci.7","bus":"pcie.0","addr":"0x2.0x6"} -device {"driver":"pcie-root-port","port":23,"chassis":8,"id":"pci.8","bus":"pcie.0","addr":"0x2.0x7"} -device {"driver":"pcie-root-port","port":24,"chassis":9,"id":"pci.9","bus":"pcie.0","multifunction":true,"addr":"0x3"} -device {"driver":"pcie-root-port","port":25,"chassis":10,"id":"pci.10","bus":"pcie.0","addr":"0x3.0x1"} -device {"driver":"pcie-root-port","port":26,"chassis":11,"id":"pci.11","bus":"pcie.0","addr":"0x3.0x2"} -device {"driver":"pcie-root-port","port":27,"chassis":12,"id":"pci.12","bus":"pcie.0","addr":"0x3.0x3"} -device {"driver":"pcie-root-port","port":28,"chassis":13,"id":"pci.13","bus":"pcie.0","addr":"0x3.0x4"} -device {"driver":"pcie-root-port","port":29,"chassis":14,"id":"pci.14","bus":"pcie.0","addr":"0x3.0x5"} -device {"driver":"qemu-xhci","p2":15,"p3":15,"id":"usb","bus":"pci.2","addr":"0x0"} -device {"driver":"virtio-serial-pci","id":"virtio-serial0","bus":"pci.3","addr":"0x0"} -blockdev {"driver":"file","filename":"/data/testvm1.qcow2","node-name":"libvirt-1-storage","auto-read-only":true,"discard":"unmap"} -blockdev {"node-name":"libvirt-1-format","read-only":false,"discard":"unmap","driver":"qcow2","file":"libvirt-1-storage","backing":null} -device {"driver":"virtio-blk-pci","bus":"pci.4","addr":"0x0","drive":"libvirt-1-format","id":"virtio-disk0","bootindex":1} -netdev {"type":"tap","fd":"35","vhost":true,"vhostfd":"37","id":"hostnet0"} -device {"driver":"virtio-net-pci","netdev":"hostnet0","id":"net0","mac":"52:54:00:d9:15:c3","bus":"pci.1","addr":"0x0"} -chardev pty,id=charserial0 -device {"driver":"isa-serial","chardev":"charserial0","id":"serial0","index":0} -chardev socket,id=charchannel0,fd=33,server=on,wait=off -device {"driver":"virtserialport","bus":"virtio-serial0.0","nr":1,"chardev":"charchannel0","id":"channel0","name":"org.qemu.guest_agent.0"} -chardev socket,id=chrtpm,path=/run/libvirt/qemu/swtpm/8-testvm1-swtpm.sock -tpmdev emulator,id=tpm-tpm0,chardev=chrtpm -device {"driver":"tpm-crb","tpmdev":"tpm-tpm0","id":"tpm0"} -device {"driver":"usb-tablet","id":"input0","bus":"usb.0","port":"1"} -audiodev {"id":"audio1","driver":"none"} -vnc 127.0.0.1:0,audiodev=audio1 -device {"driver":"virtio-vga","id":"video0","max_outputs":1,"bus":"pcie.0","addr":"0x1"} -global ICH9-LPC.noreboot=off -watchdog-action reset -device {"driver":"virtio-balloon-pci","id":"balloon0","bus":"pci.5","addr":"0x0"} -object {"qom-type":"rng-random","id":"objrng0","filename":"/dev/urandom"} -device {"driver":"virtio-rng-pci","rng":"objrng0","id":"rng0","bus":"pci.6","addr":"0x0"} -sandbox on,obsolete=deny,elevateprivileges=deny,spawn=deny,resourcecontrol=deny -msg timestamp=on
root       33899   32869  0 12:42 pts/1    00:00:00 grep --color=auto qemu-kvm
QEMUのオプションにおいて、-enable-kvm は古い形式で、現在は -accel kvm が推奨されています。両方とも KVM を使ってハードウェアアクセラレーションを有効にする目的で使われます。